This Instant Pot Sausage Gravy recipe is easy and delicious. Serve it over homemade or canned biscuits for the ultimate breakfast.

This post contains affiliate links, please read my full disclaimer here.
Full Recipe Ingredients/Instructions are available in the
recipe card at the bottom of the post.
You can find important tips/tricks in the
blog post.
I love using my Instant Pot Pressure Cooker to make breakfast in the mornings. I keep oatmeal, cornmeal poridge, Instant Pot egg bites, grits, and this breaksfast sausage on regular rotation.
I used to make my sausage gravy on my stove top but it’s so much easier to make in the Instant Pot, so why not. The great thing is after it’s done cooking, the Instant Pot will keep it warm for you. This makes it the perfect breakfast idea for those weekend morning breakfast.
You can serve this Instant Pot Sausage Gravy with homemade biscuits or canned biscuits. I won’t lie...depending on my mood, I will sometimes just throw some Pilsburys in the oven. If you can do homemade though...do it.

How to Make Instant Pot Sausage Gravy
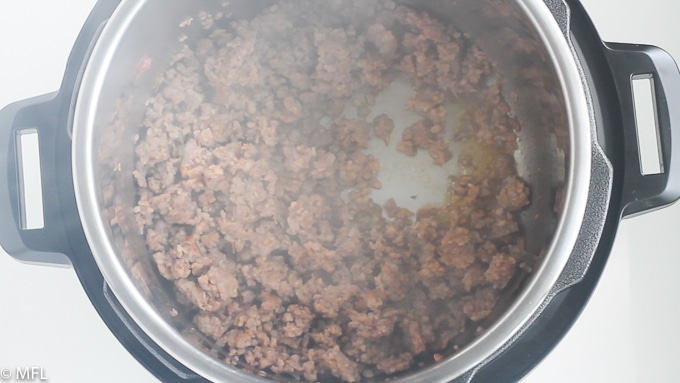
First, you will want to set your Instant Pot on sauté and brown your pork sausage. I use plain pork sausage but you could experiment with the different flavors if you like.
Once your meat is brown, you will add your butter and stir until the butter has melted in. Added fat is good for this recipe.
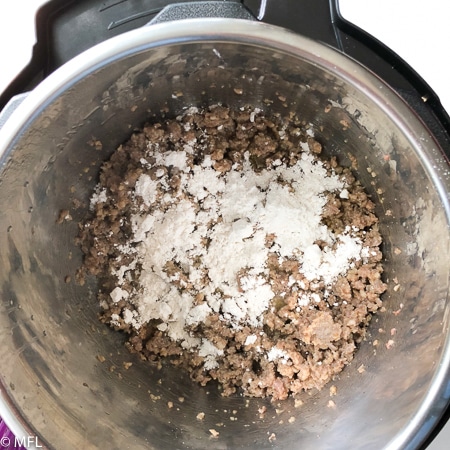
Then you’ll sprinkle your flour over the meat and stir for about 1 minute. Then add in your maple syrup, milk, salt, and black pepper, and stir, ensuring that there are no brown bits stuck to the bottom.
Turn off your Instant Pot and then set it to low pressure, cook time of 2 minutes. Cover and walk away.
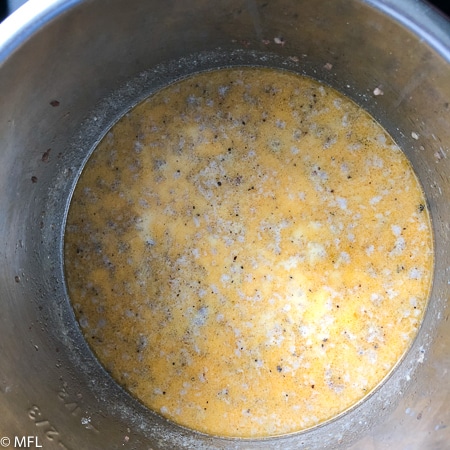
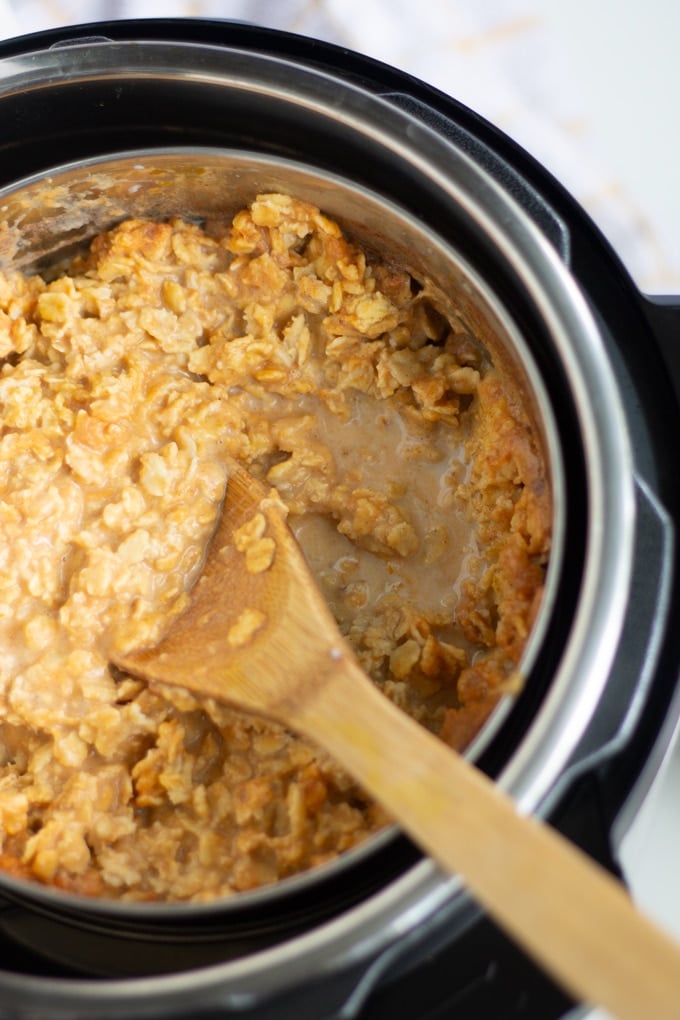
Once timer goes off, do a quick release and open. Your gravy will look watery but stir and it will thicken up. If you want it even thicker, select medium sauté and cook and stir until desire thickness is reached.
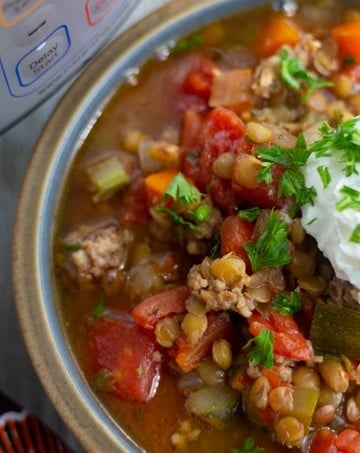
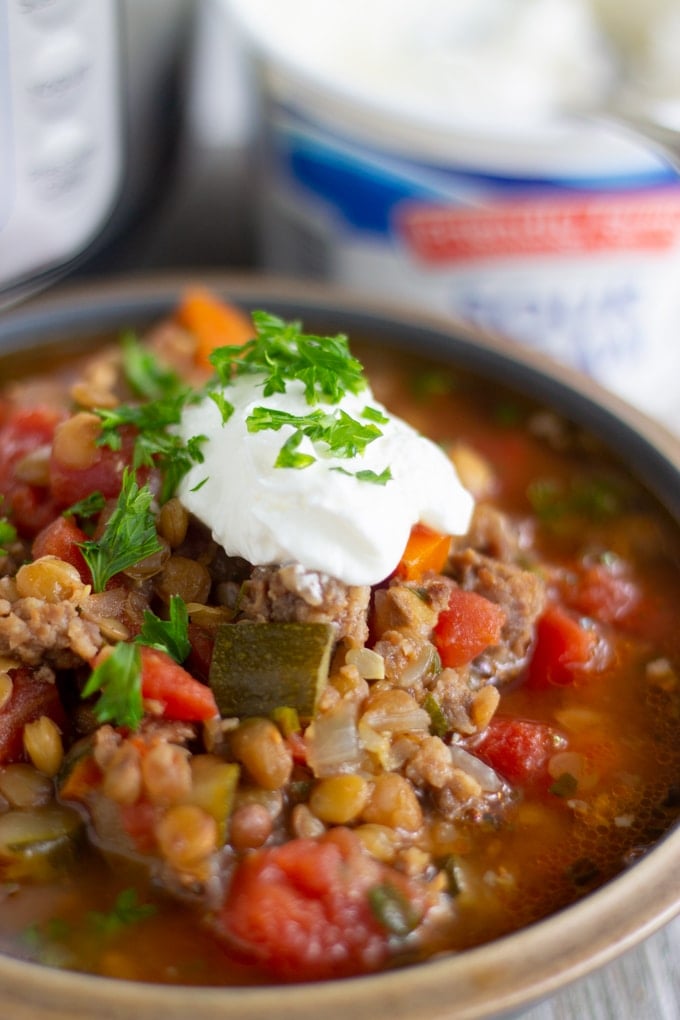
How to Serve Instant Pot Sausage Gravy
Serve this sausage gravy over fluffy oven baked biscuits that have been broken in half. Or eat it by the spoonful...which is what I do from time to time.
If you are looking for biscuit tips, you can check out my post on what I learned making Bojangles biscuits. The tips and tricks are great.
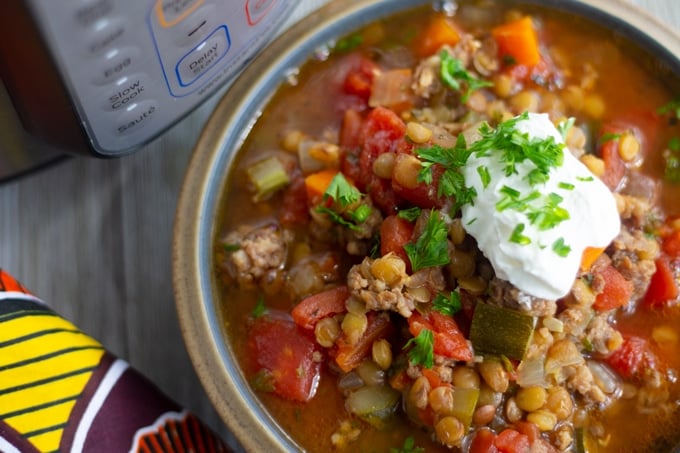
I like to keep my gravy warm by turning on the slow cooker function in my IP rather than the keep warm function. I set it to slow cook on medium and cover it with my Instant Pot glass lid. That way my family can go for seconds and thirds without worrying that the gravy is cold.

I hope you enjoy this Instant Pot Gravy as much as we do. Looking for more Instant Pot recipes for breakfast? Try these out:
- Instant Pot Copycat Starbucks "Sous Vide" Egg Bites
- Pressure Cooker Pumpkin Pie Oatmeal
- Instant Pot Jamaican Cormeal Porridge
- Creamy Instant Pot Grits with Cheddar and Jalapeño
Pin Instant Pot Sausage Gravy for Later


Instant Pot Sausage Gravy
Ingredients
- 1 lb pork sausage
- 3 Tablespoon butter unsalted
- ¼ cup All-purpose flour
- 3 cups milk
- 1 Tablespoon maple syrup
- 2 teaspoon salt
- 1 teaspoon black pepper
Instructions
- Set Instant Pot to Sauté and select “More” setting. Once Instant Pot displays “HOT” add your sausage. Stir and brown sausage until it is no longer pink, about 5 minutes.
- Add butter and stir until butter is melted. Sprinkle flour over meat and stir. Cook for about one minute while stirring.
- Add milk, maple syrup, salt and black pepper. Stir, ensuring that there are no brown bits stuck to the bottom.
- Press cancel on Instant Pot. Select “Pressure Cook" and adjust machine to low pressure and a time of 2 minutes. Cover the Instant Pot with the pressure cooking lid, ensuring that the valve is set to "Seal."
- Once timer goes off, do a quick release by turning the Valve to “Venting.” Once all the pressure is released, open the lid and stir the gravy.
- The gravy will thicken upon stirring. If you would like the gravy thicker, select Sauté and put it on the normal setting. Cook, while stirring, until desired thickness is reached.
Notes
Notes on Instant Pot Sausage Gravy
- This recipe was made in a 6 Qt Instant Pot DUO.
- The Instant Pot Lux does not have a low pressure cooker function. In order to cook without the low pressure function, continue to cook with the sauté function (after browining the meat and adding the other ingredients)
for about 10-15 minutes or until gravy has thickened to desired consistency. - This is great to keep warm in the Instant Pot while having breakfast.
Nutrition
Step by Step Photos of Instant Pot Sausage Gravy