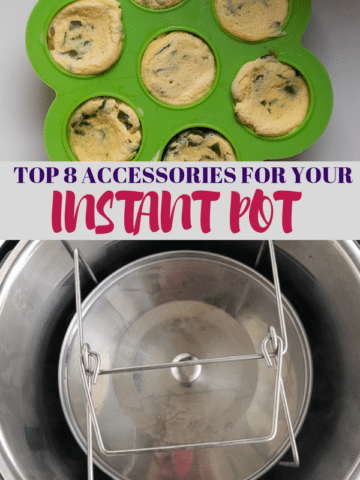
I love using my Instant Pot to make unique recipes. I use my normal insert a ton but will also use my Instant Pot Accessories to get the most out of my Instant Pot. Here's a list of the 9 best accessories to have for your Instant Pot.
This post may contain affiliate links, please read my full disclosure here.
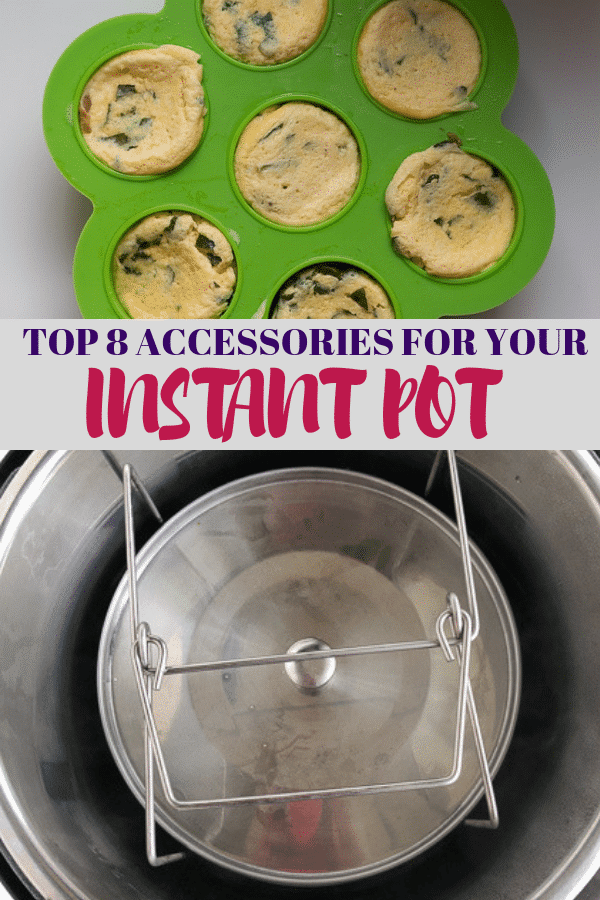
1. The Egg Bite Mold

![]()
- I use this mold to make my soft and creamy Copycat Sous Vide Egg Bites in the Instant Pot. I like this one because I never spray them and my egg bites slide right on out when I finish making them.
2. Double Stacking Steamer Insert

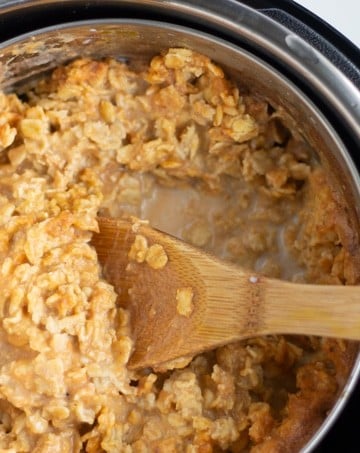
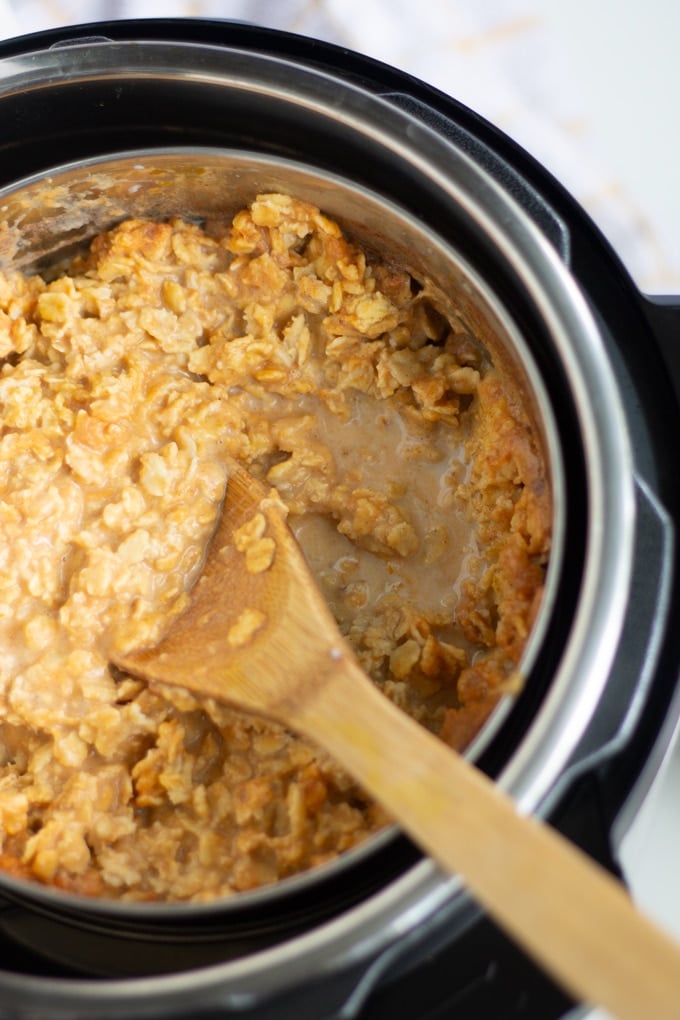
I use this double stacking insert for heating up leftovers or cooking foods that I don't want to overlap (I use it a lot to make double batches of baby food). I also use it to make grits, polenta, and oatmeal when I don't want to risk the bottom of my pot getting scortched. The cooktime takes a little longer with the inserts but I don't mind, especially if it can save me time on the dishes. I make my creamy pressure cooker pumpkin pie oatmeal in one of these stackable inserts.
3. 6 Pack Instant Pot Accessories Steamer Set

![]()
I found that buying an accessory kit is useful because you get more products for less money. This set comes with a Steamer Basket, Steamer Base Egg Steamer, Springform Pan for making cake, Rack Silicone Oven for resting hot pots/pans, mitts Plate Dish Clip for taking hot stuff or extremely cold stuff out the pot.
4. Silicone Steamer

![]()
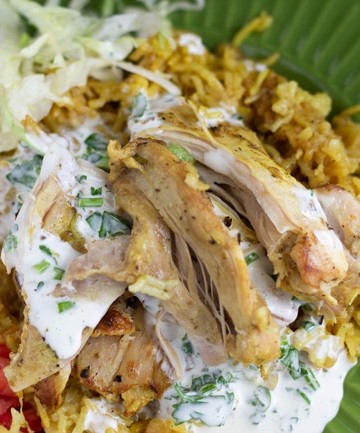
I love using silicone products in my Instant Pot now, rather than the traditional metal steamers. Primarily because food does not stick to them. I use silicone to steam vegetables as well as fish/chicken. My Pressure Cooker Salmon with Garlic Herb Cream Sauce is the perfect dish for this steamer.
5. A Pressure Cooker Bakeware Sling

![]()
Cheesecakes, Oatmeal, and any pot in pot recipe could benefit from a sling. I know many times it's suggested to make a foil sling to lower your cake pans into the Instant Pot. This is 100 times more easier and is great for using in the Instant Pot.
6. Steam Release Diverter

![]()
A big concern with any Instant Pot owner is that steam that shoots out the top during a quick release. It could possibly damage your cabinets over time. This allows the steam to shoot sideways, rather than upwards. Be careful where you point that steam though.
7. Instant Pot Tempered Glass Lid

![]()
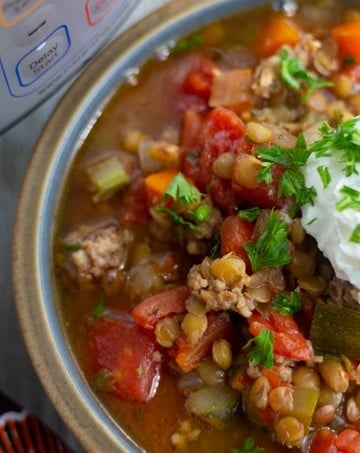
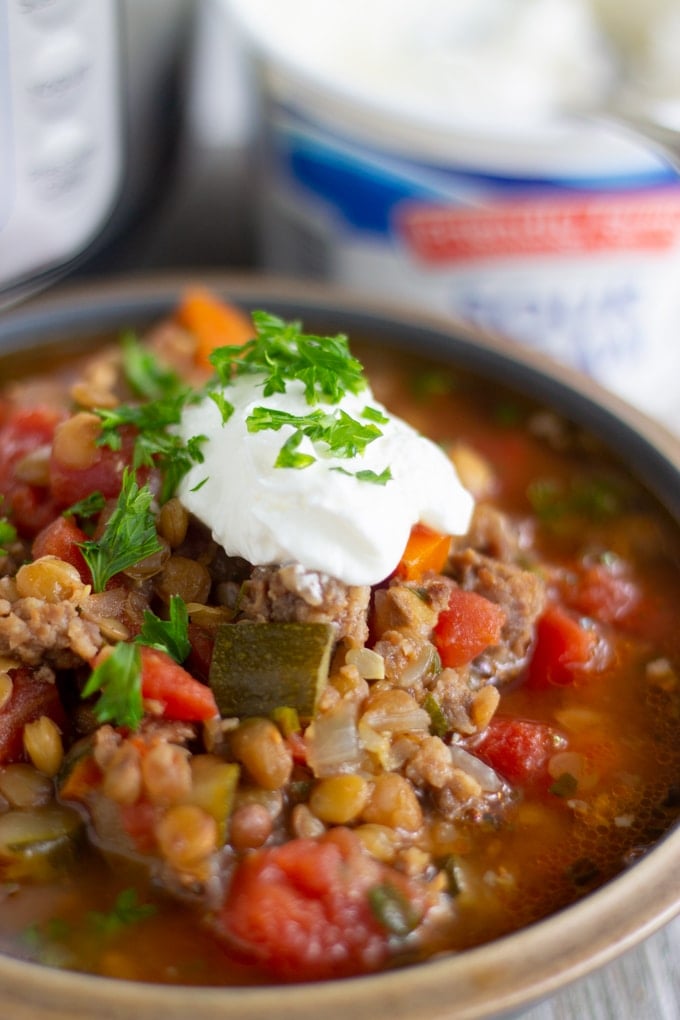
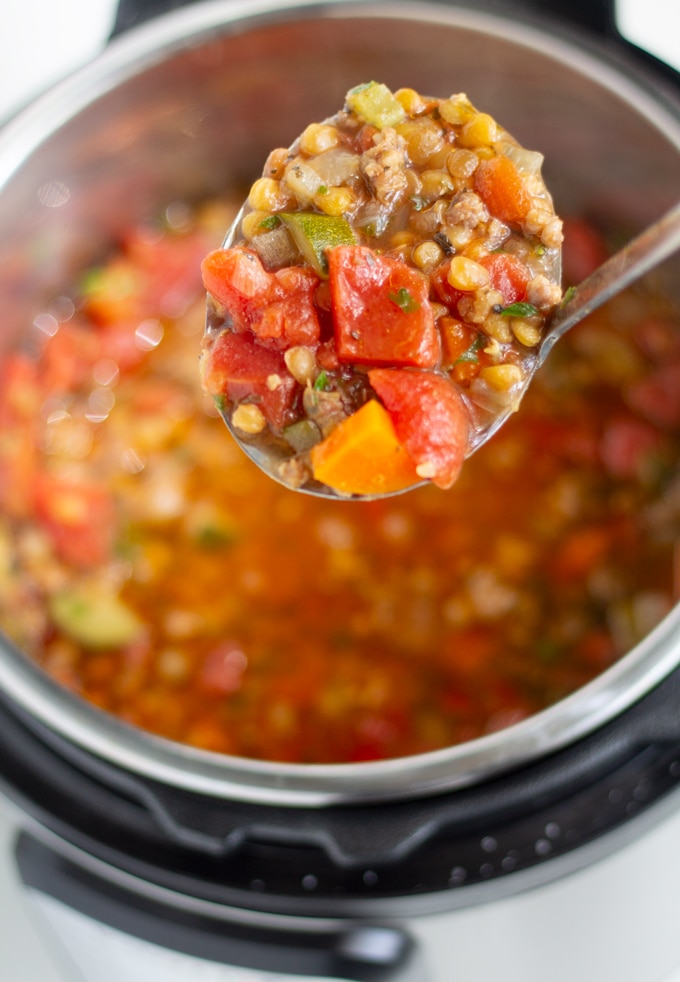
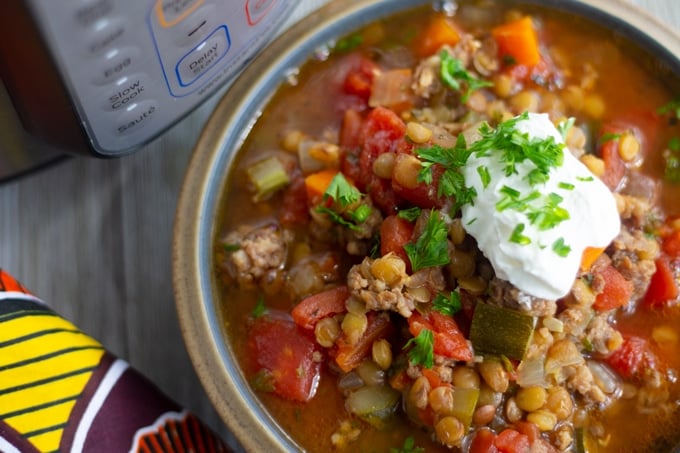
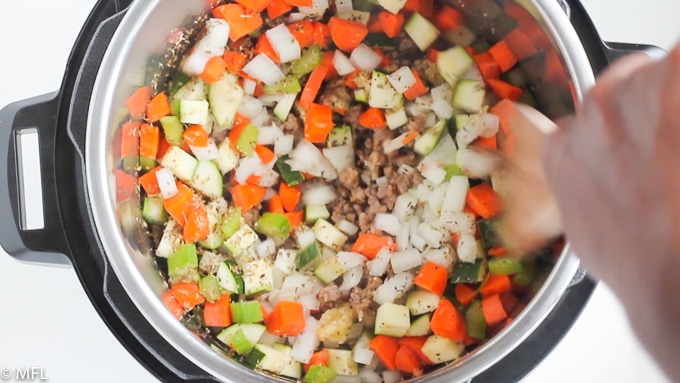
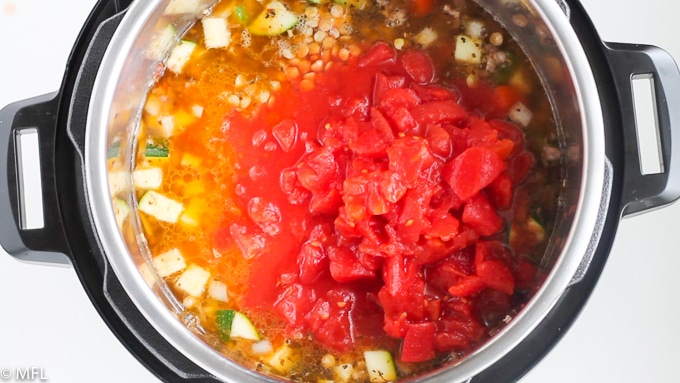
This lid is to be used only if you are using the Instant Pot slow cooking function or after the cook process is over, not during pressure cooking. I love using it to cover foods after they have cooked, especially chili, like my Pressure Cooker Turkey Chili, my Pressure Cooker Lentil and Sausage Soup, and my Instant Pot Breakfast Sausage Gravy. Just keep the soup on the keep warm function and cover with the glass lid.
8. Extra Sealing Rings

![]()
Having an extra set of sealing rings for the Instant Pot comes in handy. The sealing ring can take on the smells of your food, especially garlic. It can also start to feel loose over extending use. I use these extra rings when making desserts or breakfast in my Instant Pot and keep the standard ring for when I am cooking dinner.
9. A Pressure Cooker Cookbook

![]()
A good pressure cooker cookbook is always helpful. This Old Gal's Cookbook is great for those new or established Instant Pot users. You can read my full book review here.
These are my favorite Instant Pot Accessories. I use these in my 6 qt Instant Pot. what are your favorite accessories? Please leave them in the comments below 🙂