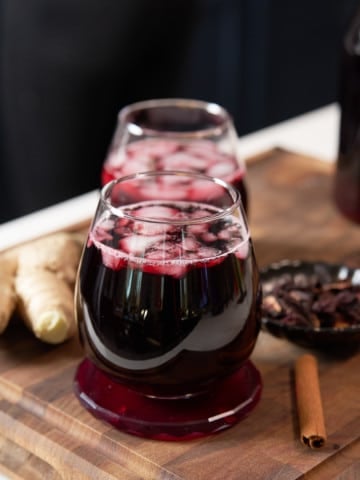
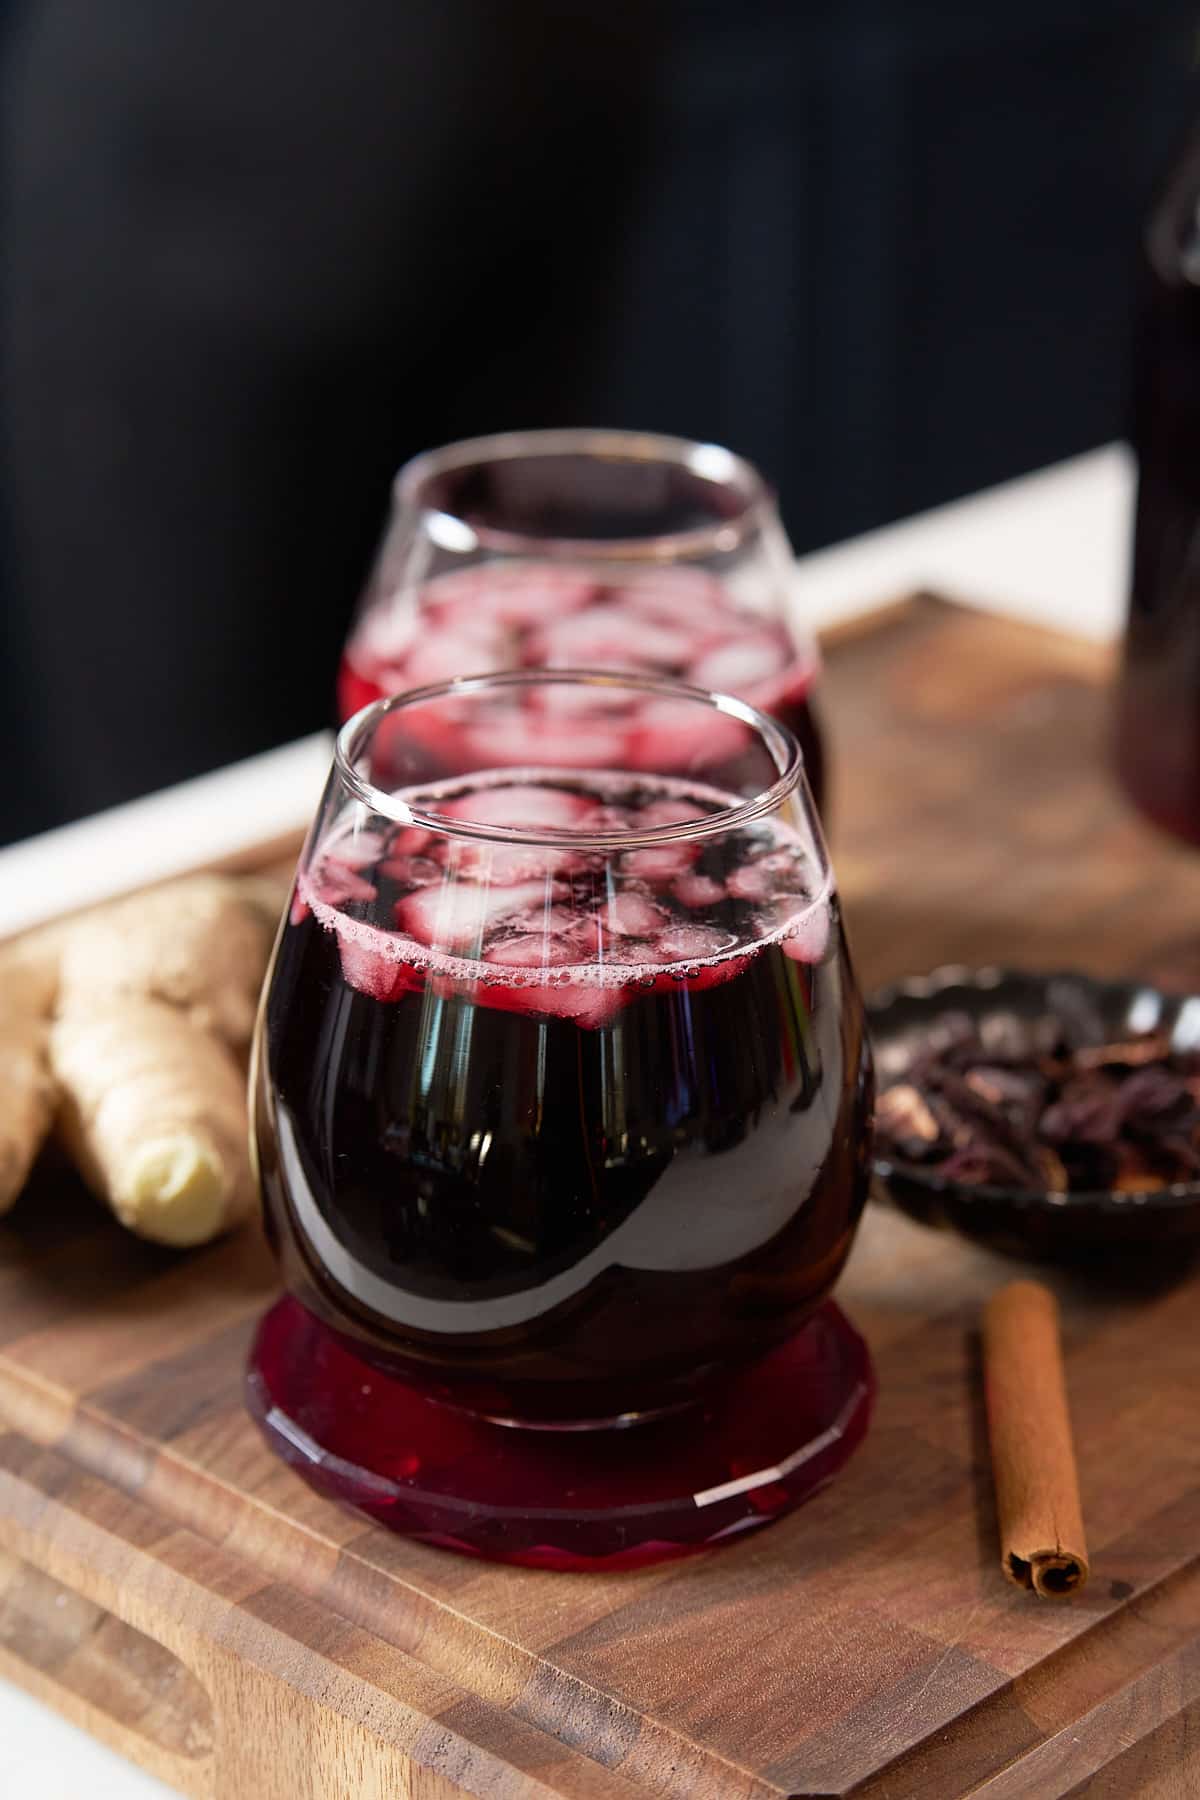
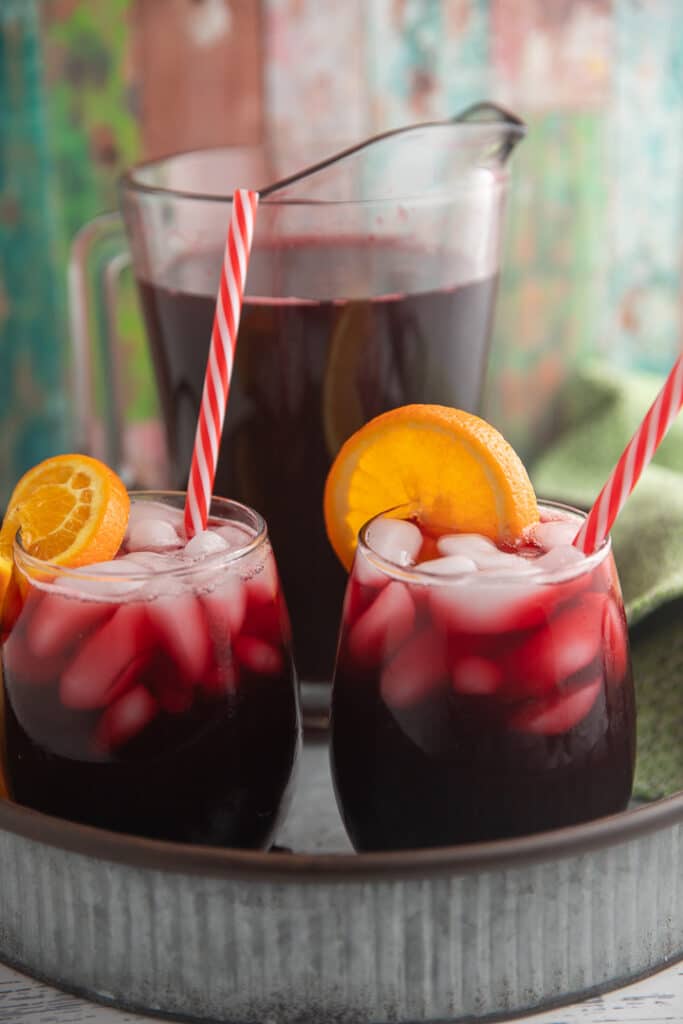
This Jamaican sorrel drink is a Holiday staple. It's made from dried sorrel steeped with warming spices until it turns a gorgeous ruby color. The flavor is tart and slightly sweet, and I love serving it ice-cold.
You’ll find the full recipe with ingredient amounts and instructions in the recipe card at the bottom of this post. Be sure to check out the blog post itself for extra tips and tricks!
Every Christmas morning deserves a tall glass of cold, refreshing sorrel punch. I know, it seems backward to drink a tall glass of cold anything during the winter, but this sorrel punch is a traditional drink I grew up drinking. It’s pretty much a must in any Caribbean household.

Sorrel generally involves overnight steeping of fresh or dried sorrel to release the flavors. It's pretty quick to get everything together; you just need patience in getting the herbs to steep long enough to release maximum flavor.
Initially, I made this in a pressure cooker to speed up the process, but the traditional stovetop method is best. You just gotta give it a day or 2 to get the best flavor possible. But the wait is so well worth it.
For more drink recipes, check out my Homemade Cranberry Lemonade and Slow Cooker Hot Holiday Punch.
♡, Tanya
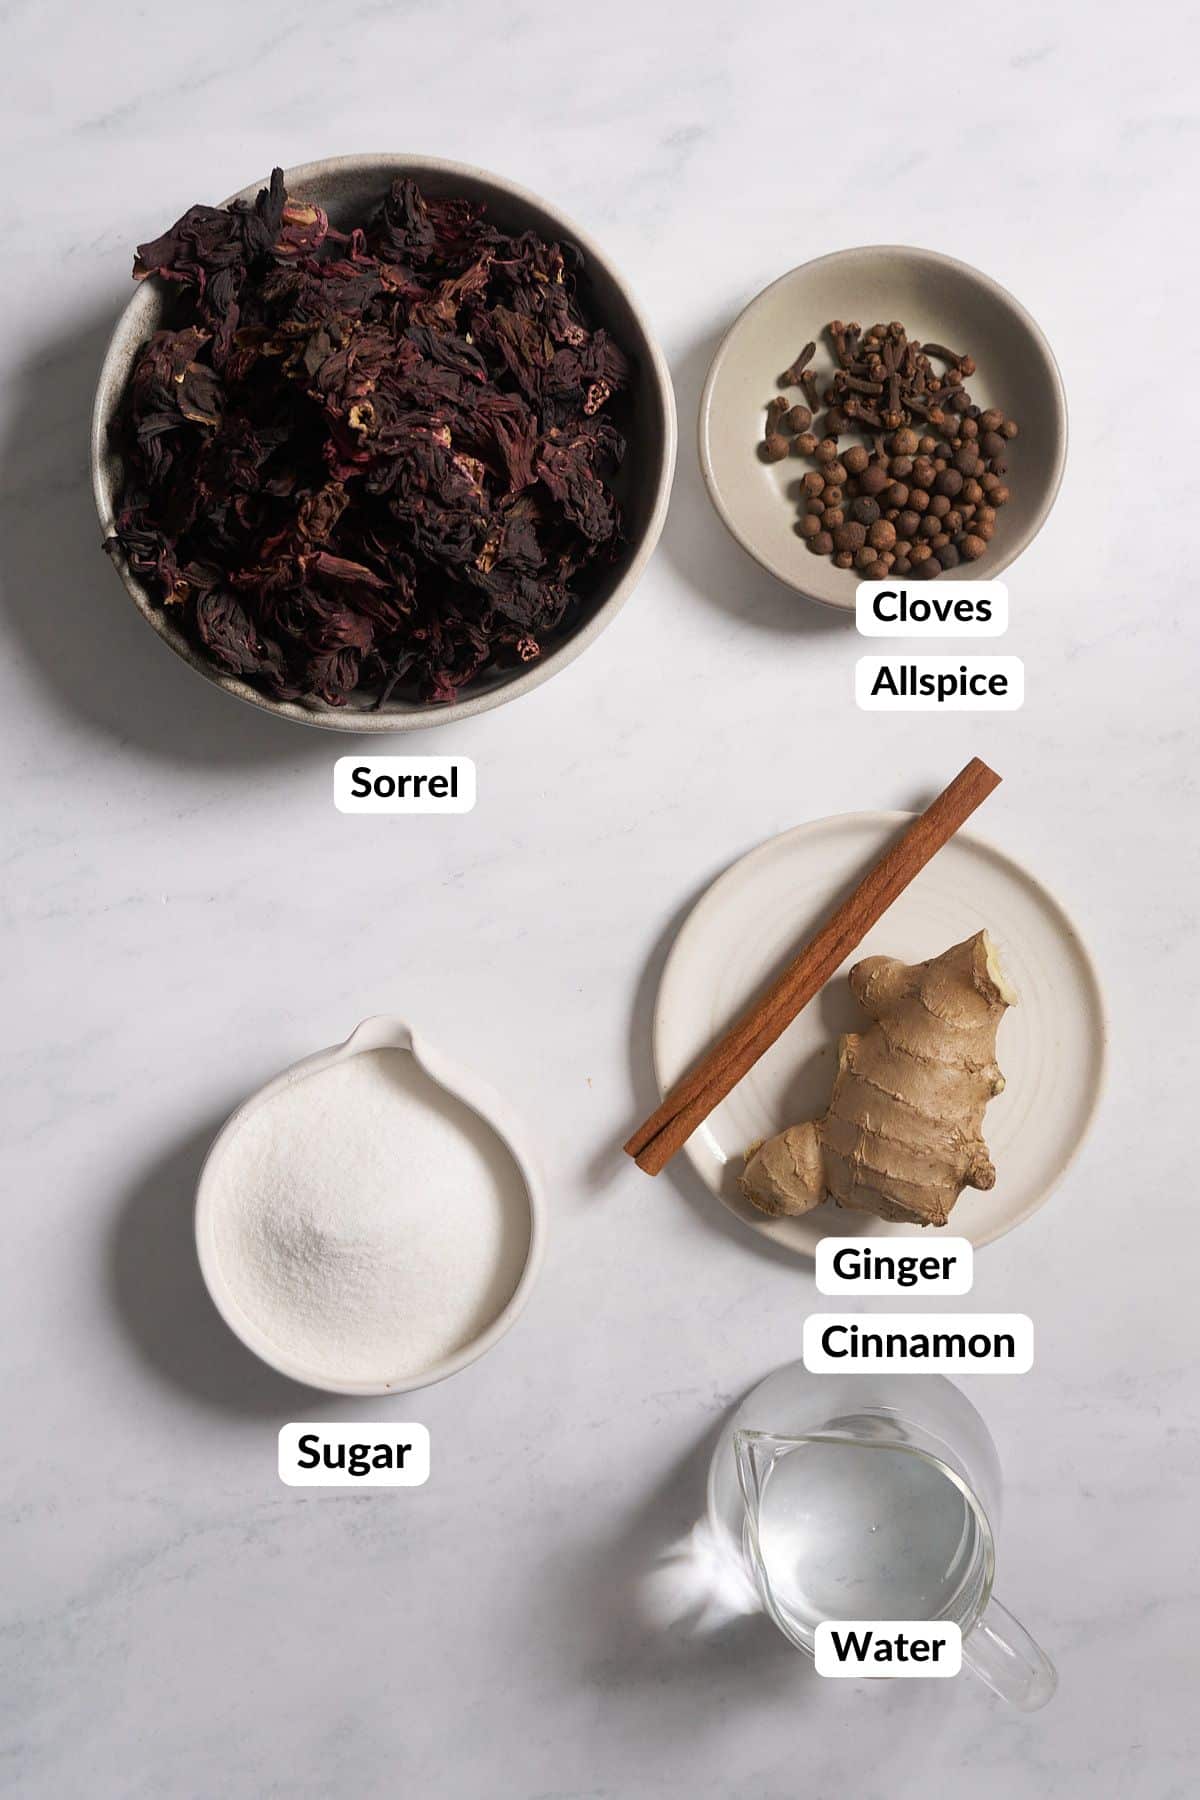
A Quick Look at the Ingredients
- Sorrel - These are the dried sepals of the hibiscus flower, deep red in color. I use dried sorrel, which you can find at Caribbean markets or online.
- Ginger - Freshly grated ginger is best. It makes a real difference in the flavor, so don't skip this step.
- Whole Spices - I use pimento seeds (allspice berries), whole cloves, and a cinnamon stick. These warm spices give the drink its signature holiday flavor. Feel free to use more or less of these, but I strongly suggest using whole spices rather than ground. Ground spices may make your drink muddy.
- Water - The base for steeping everything together.
How to make this sorrel drink
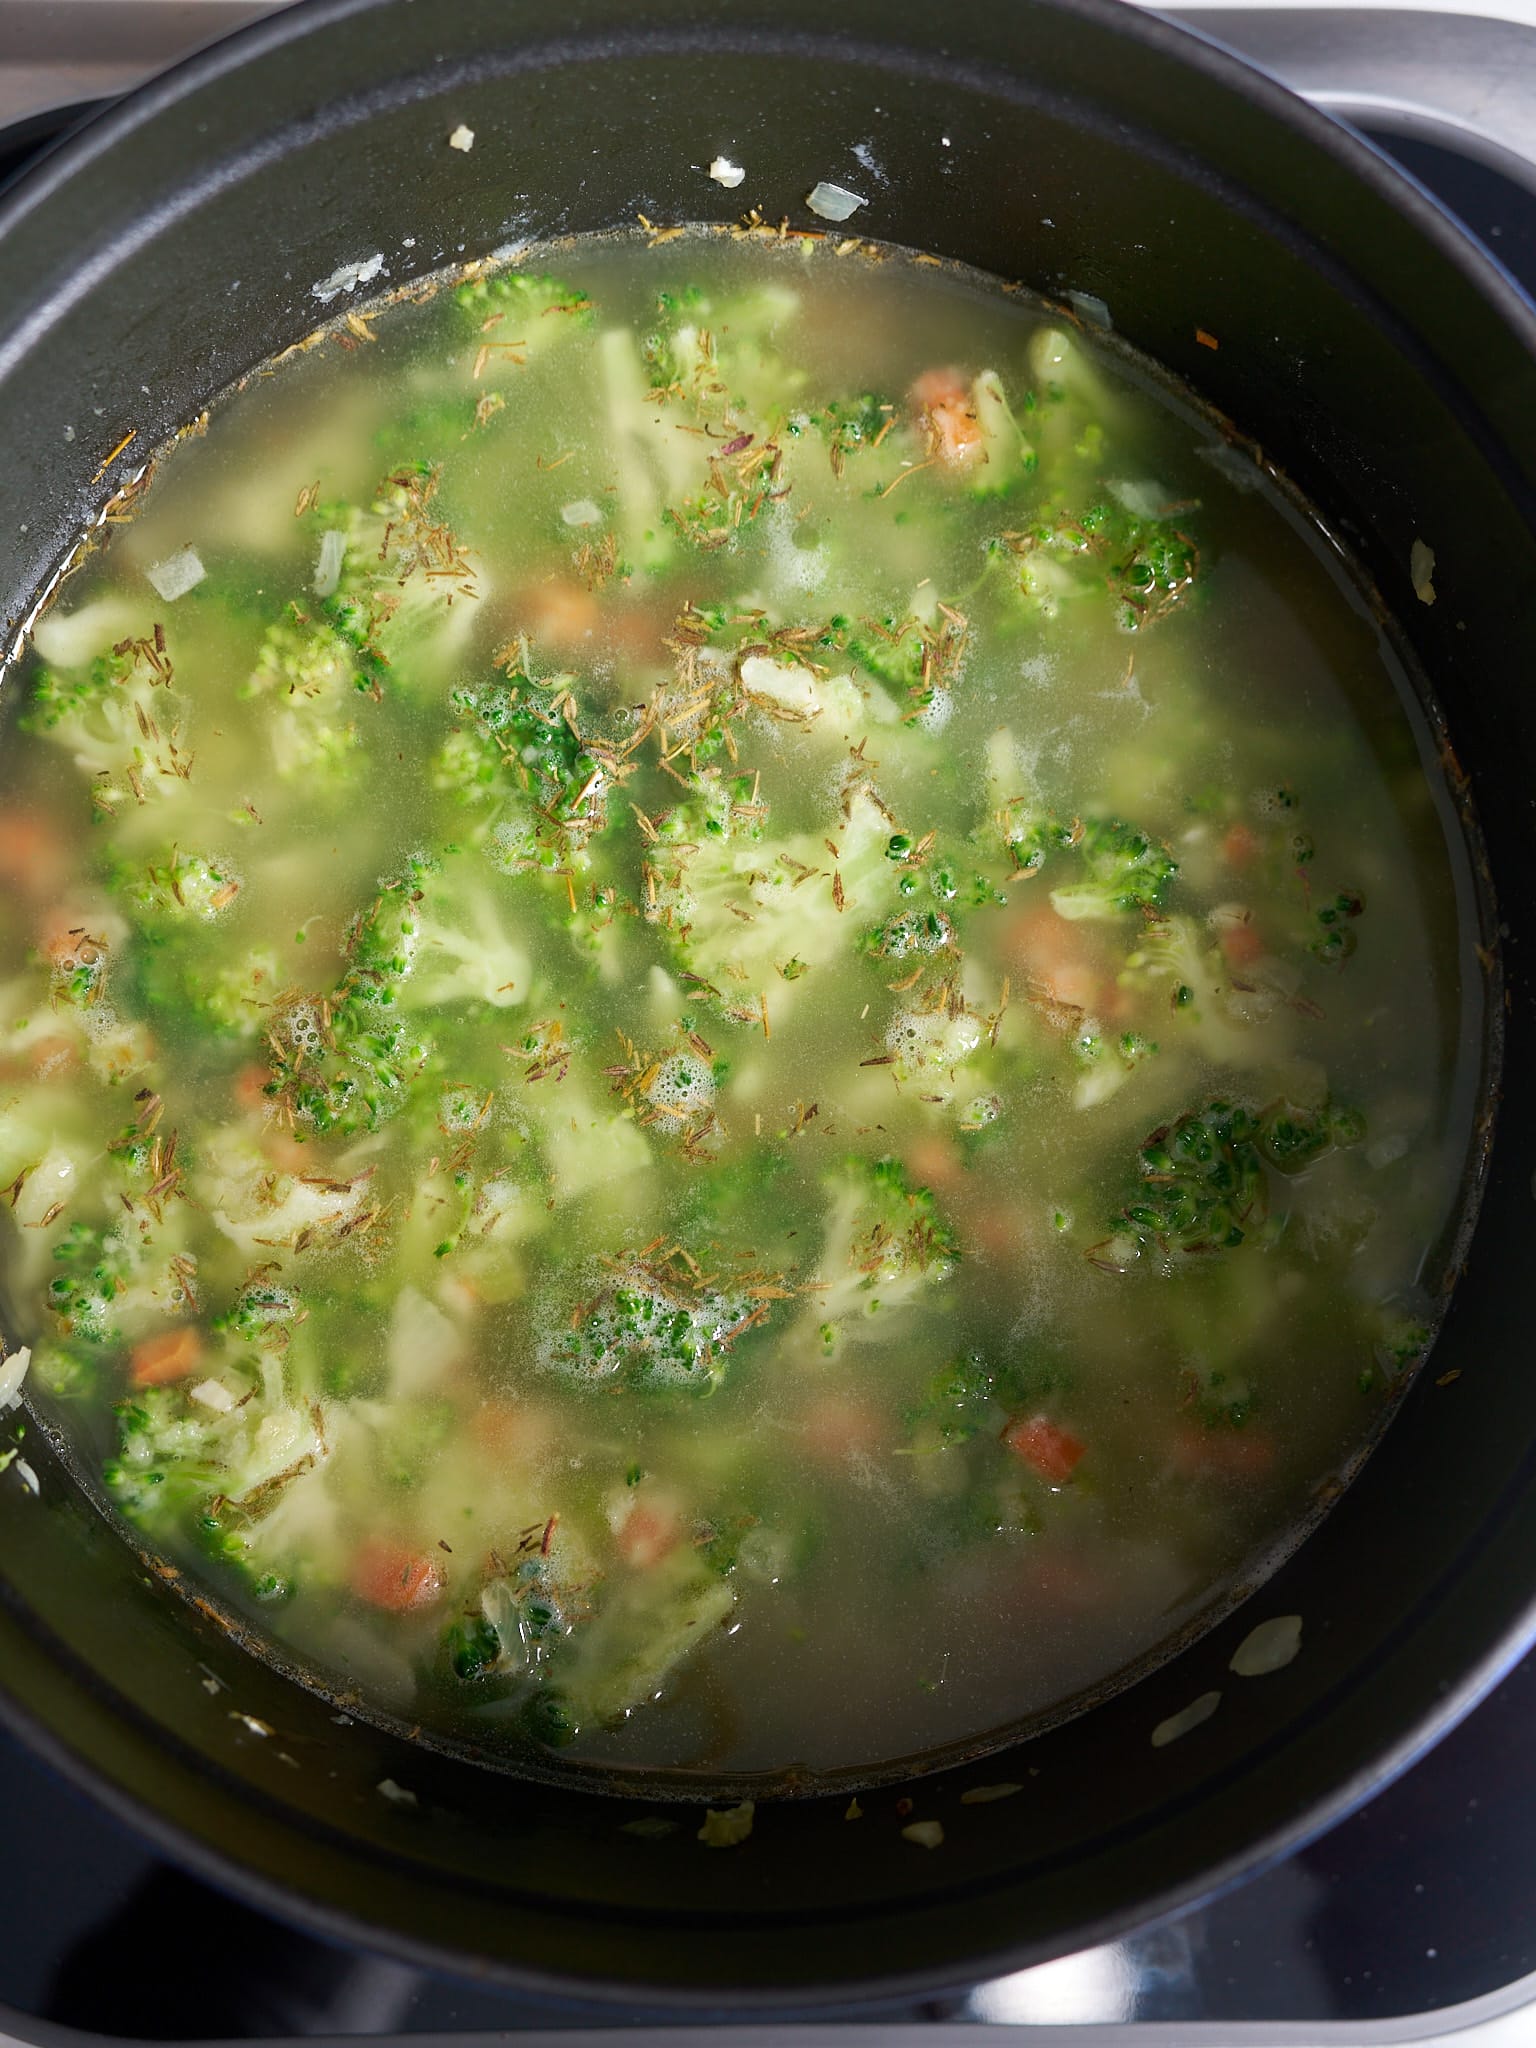
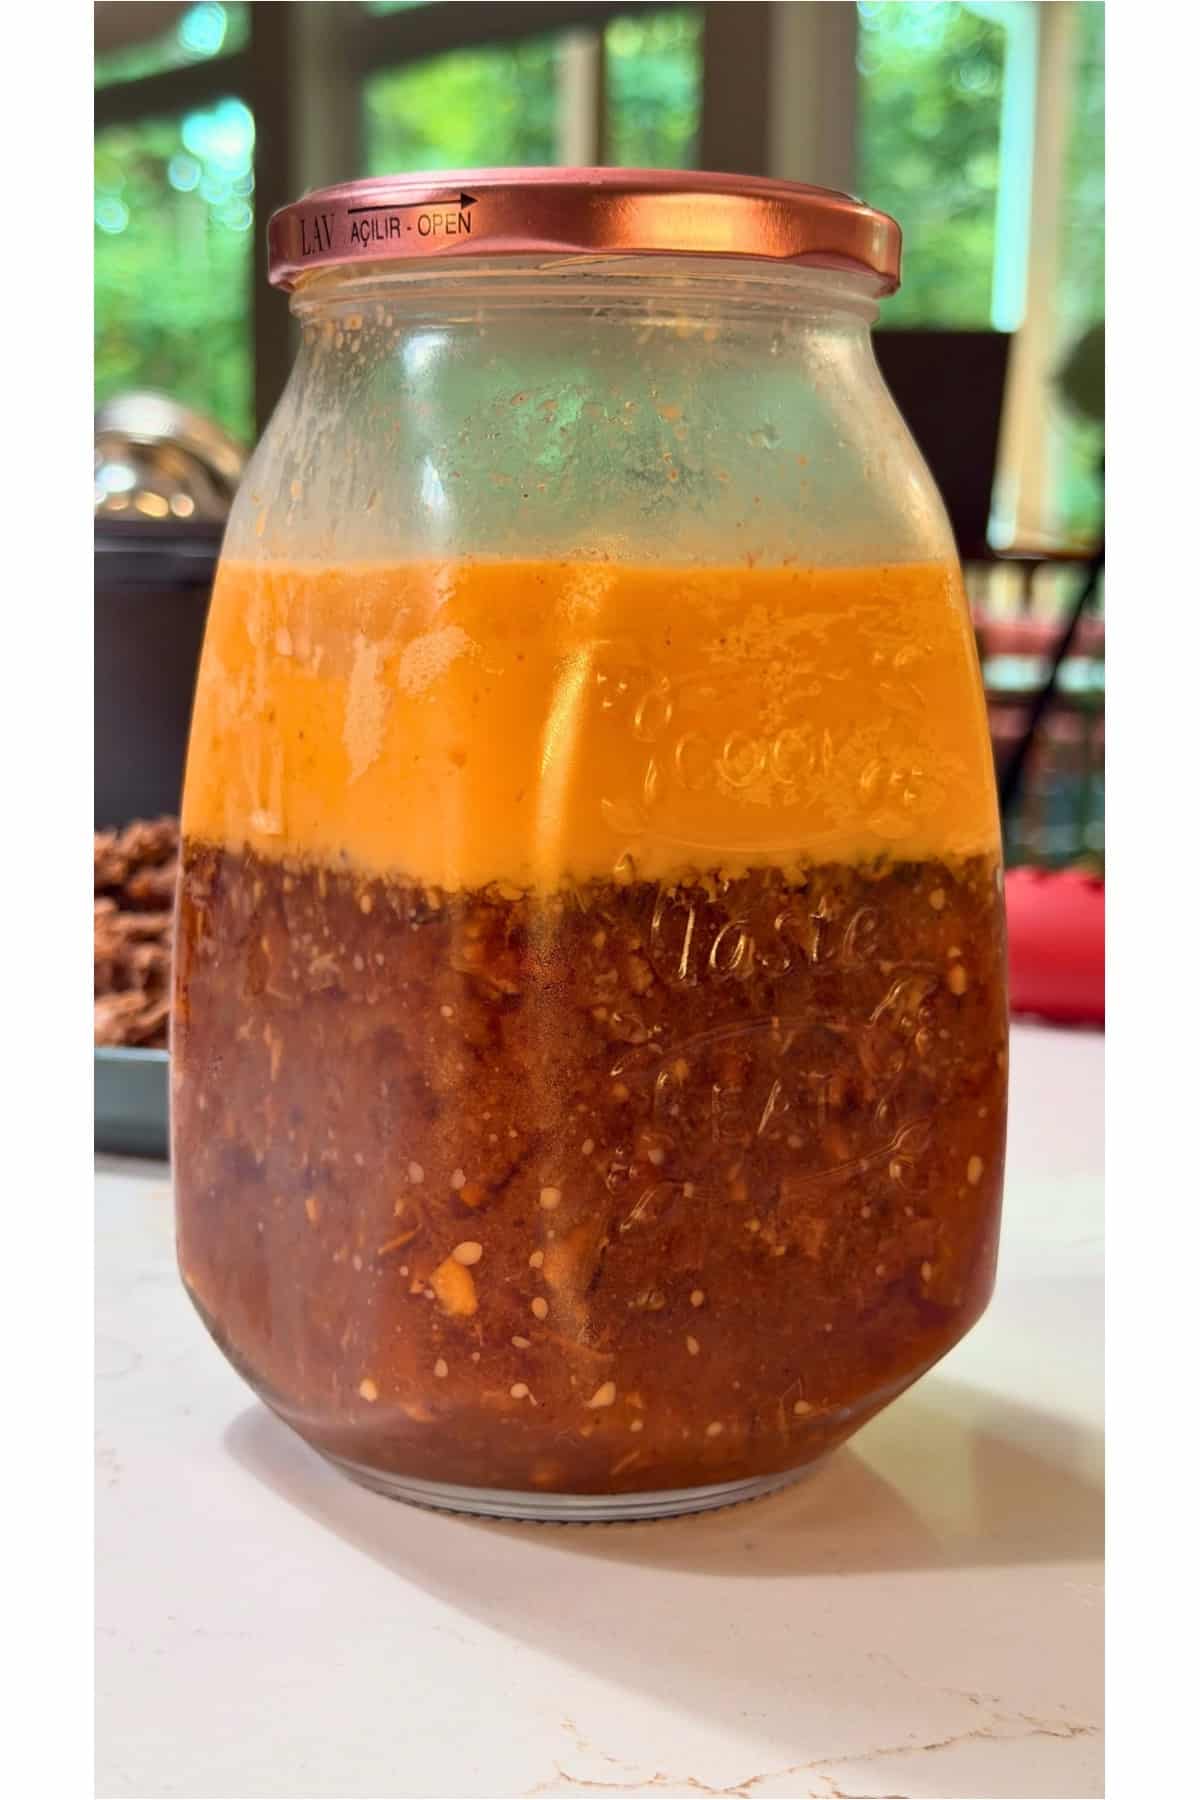
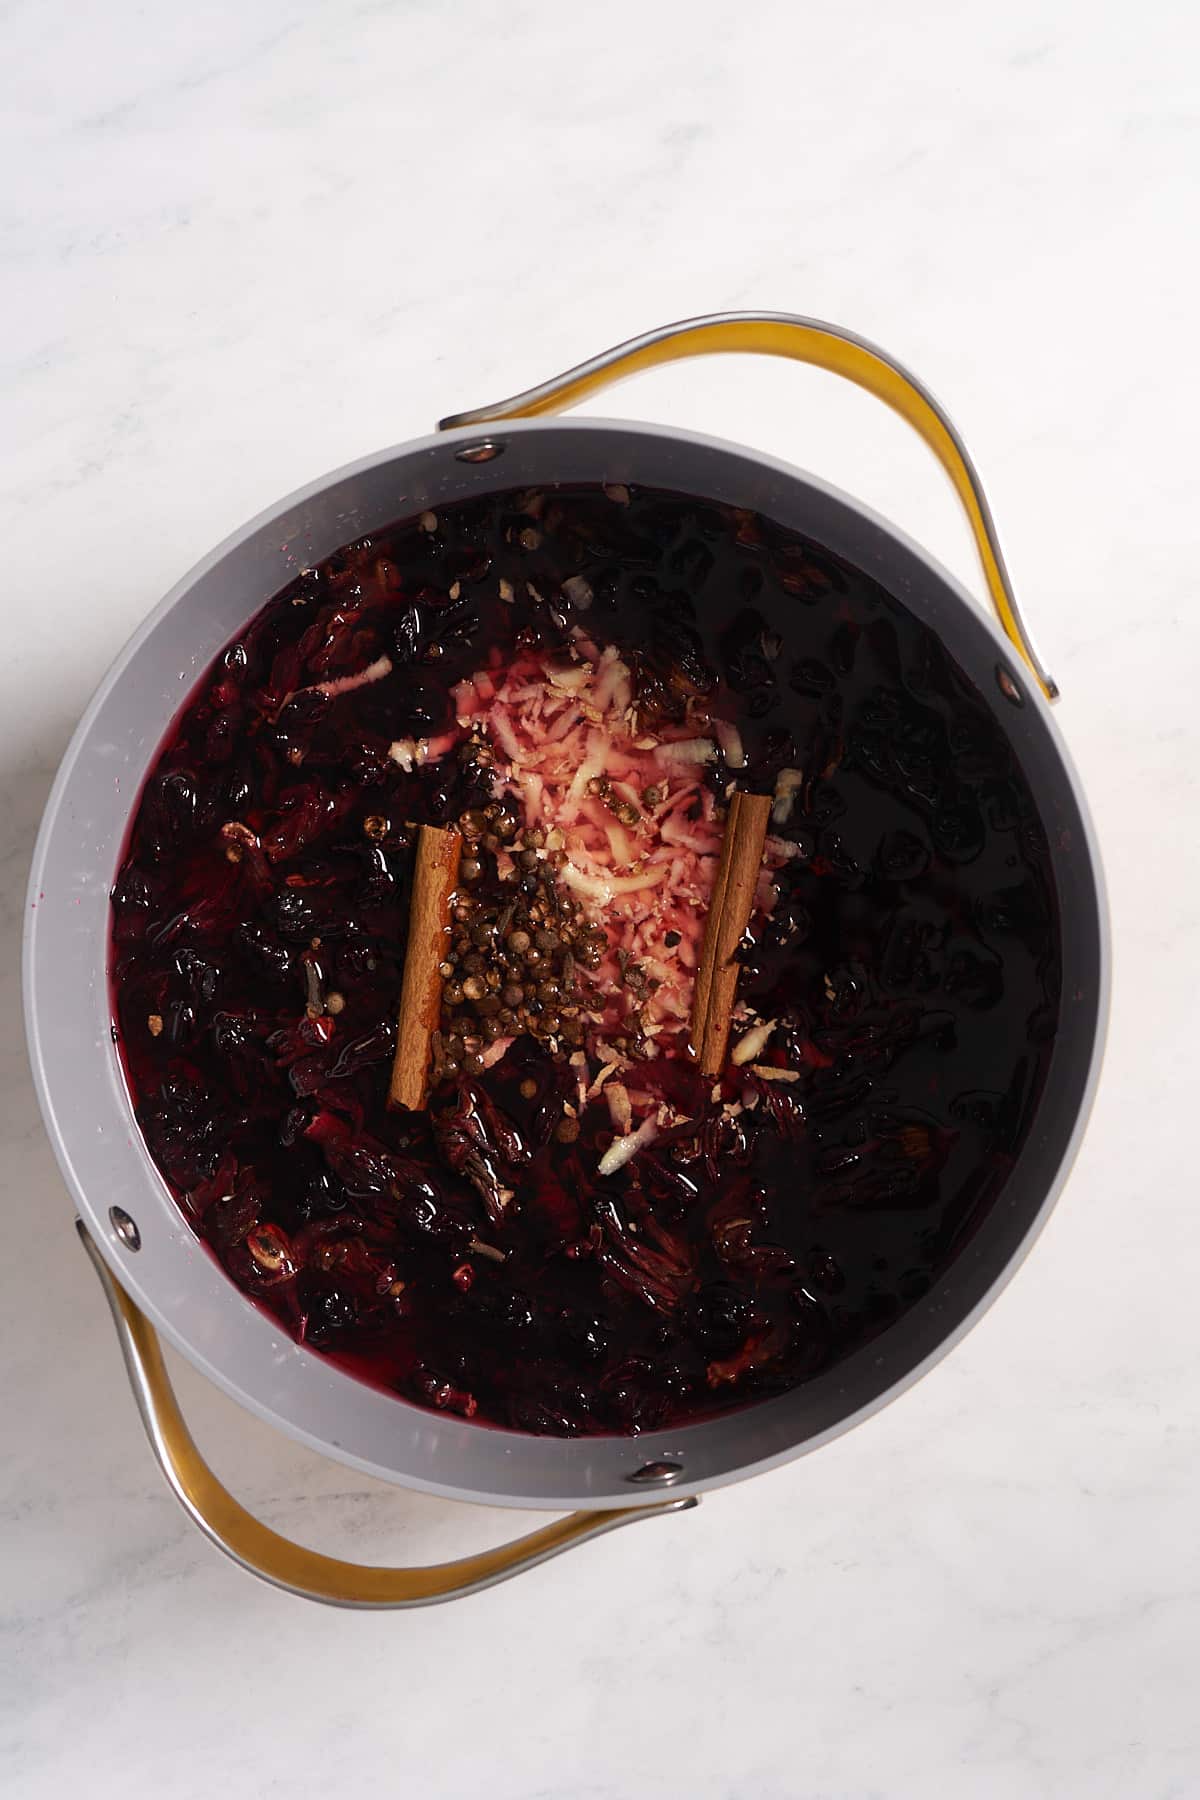
Step 1: Wash the sorrel and ginger and drain the water. Add the sorrel, ginger, pimento seeds, cloves, and cinnamon stick to a large pot with the water and bring to a boil.
Step 2: Remove from heat immediately and cover the pot. Let the mixture steep for at least 8 hours, or preferably overnight in the refrigerator.
Step 3: Strain the mixture and discard the solids. Sweeten with sugar to taste, stirring until fully dissolved.

Step 4: Serve chilled over ice. Store in the refrigerator for up to 2 weeks. The flavor improves after a day or two.

What is sorrel?
Caribbean sorrel is also known as the Roselle plant (Hibiscus sabdariffa), which is a species of the hibiscus flower. This sorrel is not the same as the leafy green plant known as sorrel. This sorrel is bright red in color and gives dishes an amazing, deep, rich red color, perfect for Christmas!
It adds a tart and tangy flavor, similar to cranberries or pomegranate. Another popular name for this beautiful flower is "flor de jamaica."
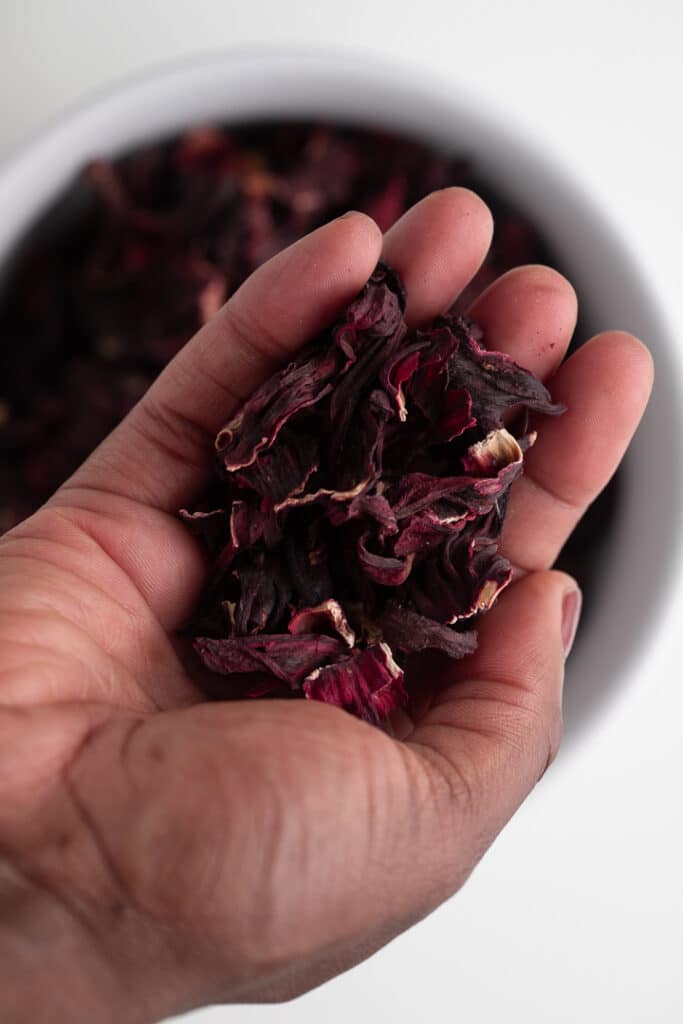
You can find dried sorrel leaves in Caribbean markets or online.
There are also many well-known health benefits of sorrel, a.k.a. hibiscus. To be honest, I like to prepare and drink this year-round, not just for Christmas.
How do you serve it?
This punch is best served ice cold, so once you have made it, keep it in the fridge until you are ready to serve. Fill glasses with ice, pour the drink over it, and garnish with a fresh orange slice.
Tanya's Top Tips
- Use freshly grated ginger rather than pre-grated for the best flavor. Don't skip on grating the ginger, it makes a difference in the flavor.
- If you prefer some alcohol in your holiday drinks, you can easily spike this sorrel drink. Add white rum or vodka to the pitcher or to the individual glasses before serving.
- For a fizzy drink, I add a splash of Ginger ale to the top when serving.
More Holiday Drink Recipes
- Jamaican Style Carrot Juice Recipe
- Jamaican Ginger Beer
- Jamaican Rum Punch Recipe
- Green Sherbet Punch
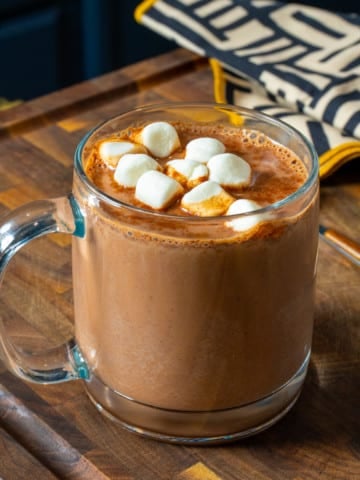
- Hot Cocoa

Jamaican Sorrel Drink Recipe
Equipment
Ingredients
- 4 Oz dried sorrel about 3 cups
- 3 Oz ginger grated
- 1 Tablespoon pimento seeds allspice berries
- 1 teaspoon whole cloves
- 1 stick cinnamon
- 10 cups water
- sugar to taste
Instructions
- Wash the sorrel and ginger and drain the water. Add the sorrel, ginger, pimento seeds, cloves, and cinnamon stick to a large pot with the water and bring to a boil.
- Remove from heat immediately and cover the pot. Let the mixture steep for at least 8 hours, or preferably overnight in the refrigerator.
- Strain the mixture and discard the solids. Sweeten with sugar to taste, stirring until fully dissolved.
- Serve chilled over ice. Store in the refrigerator for up to 2 weeks. The flavor improves after a day or two.
Video
Notes
- Use freshly grated ginger rather than pre-grated for the best flavor.
- Sweeten with brown sugar or dilute with additional water to suit your tastes.
- I usually add about 1 cup of sugar.
Nutrition
This post was originally published September 14, 2020. It has been updated with new photos and information.