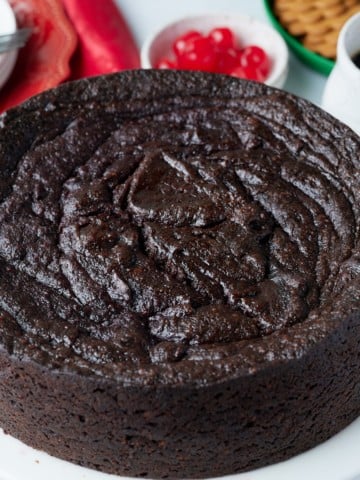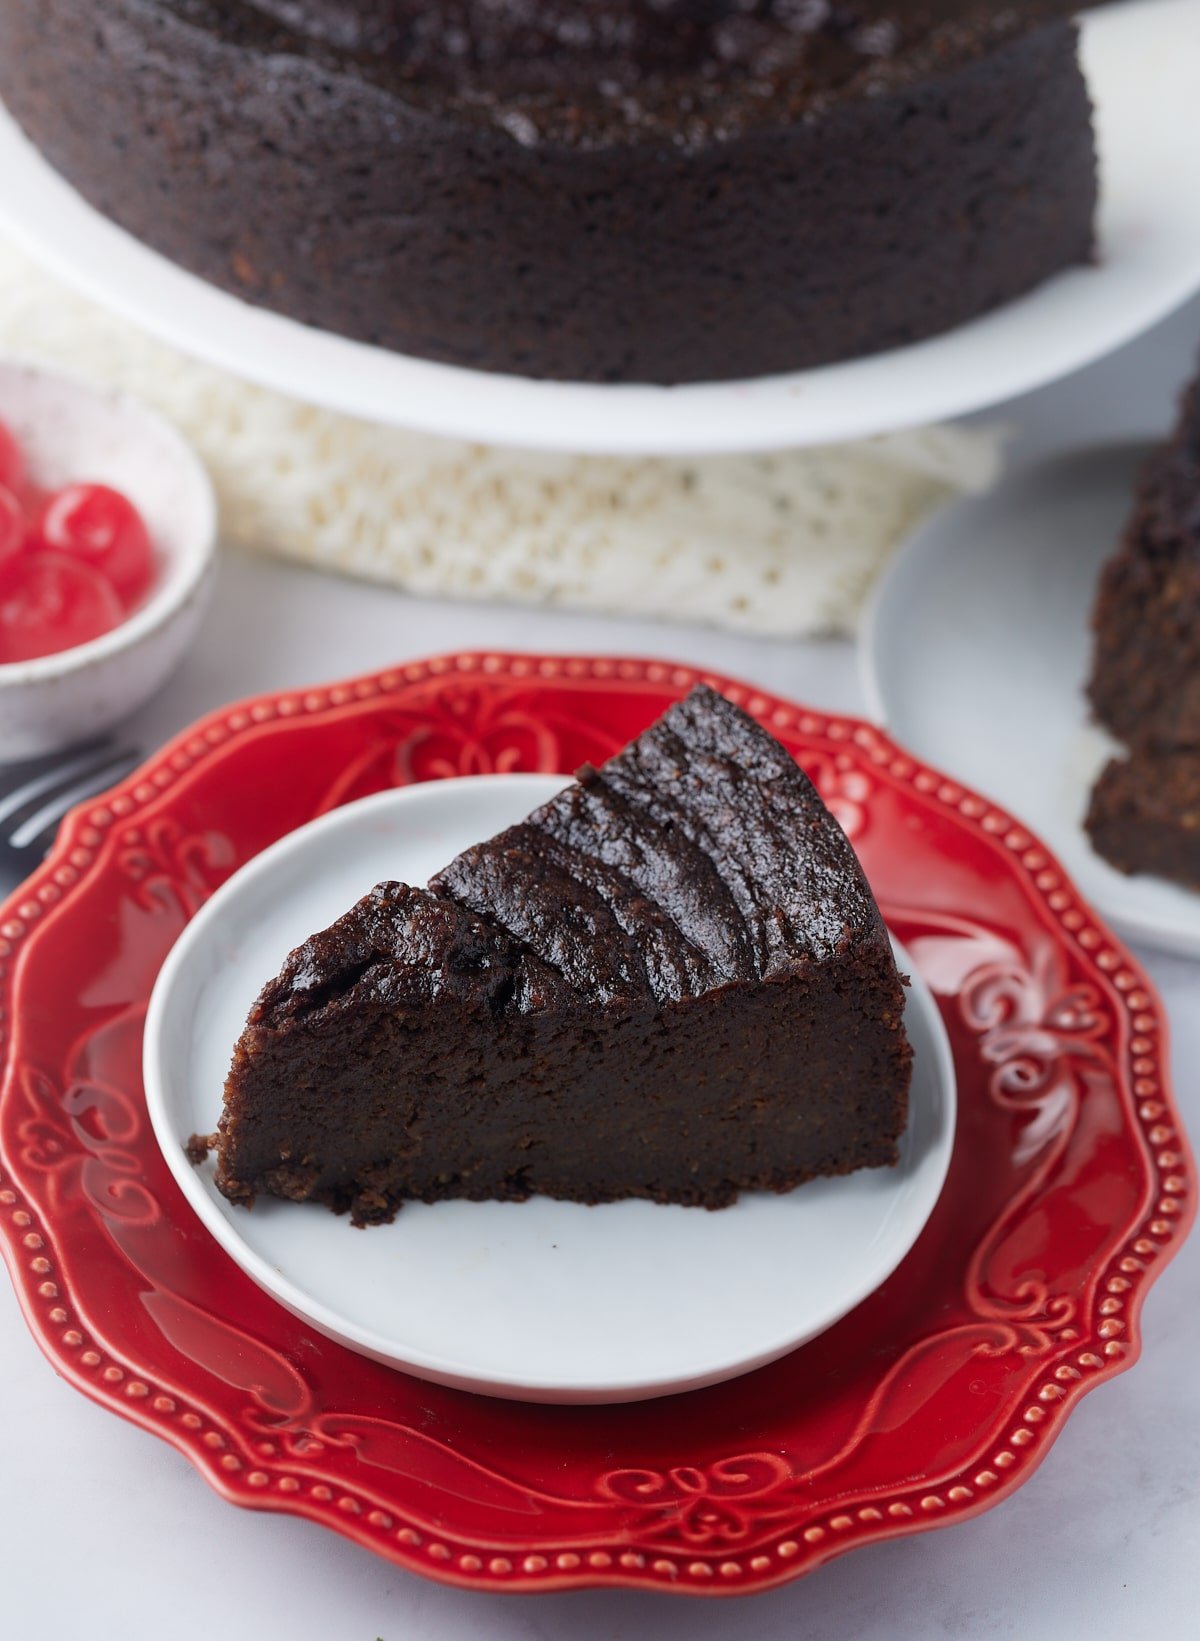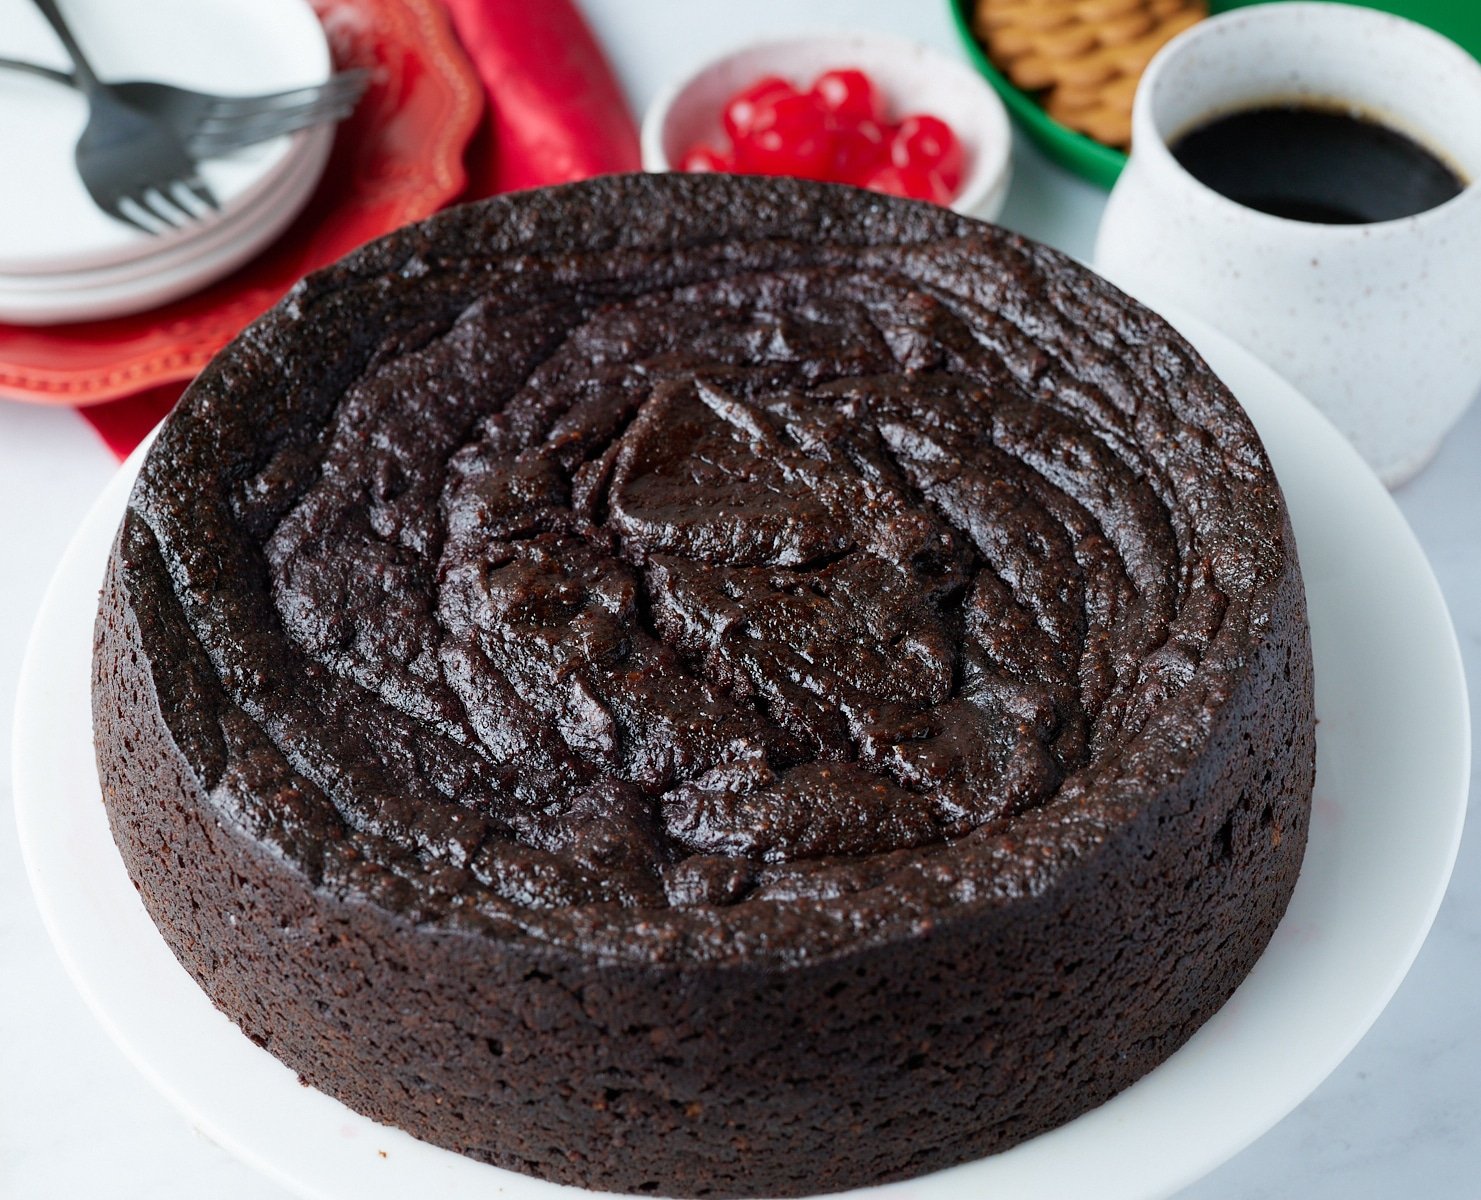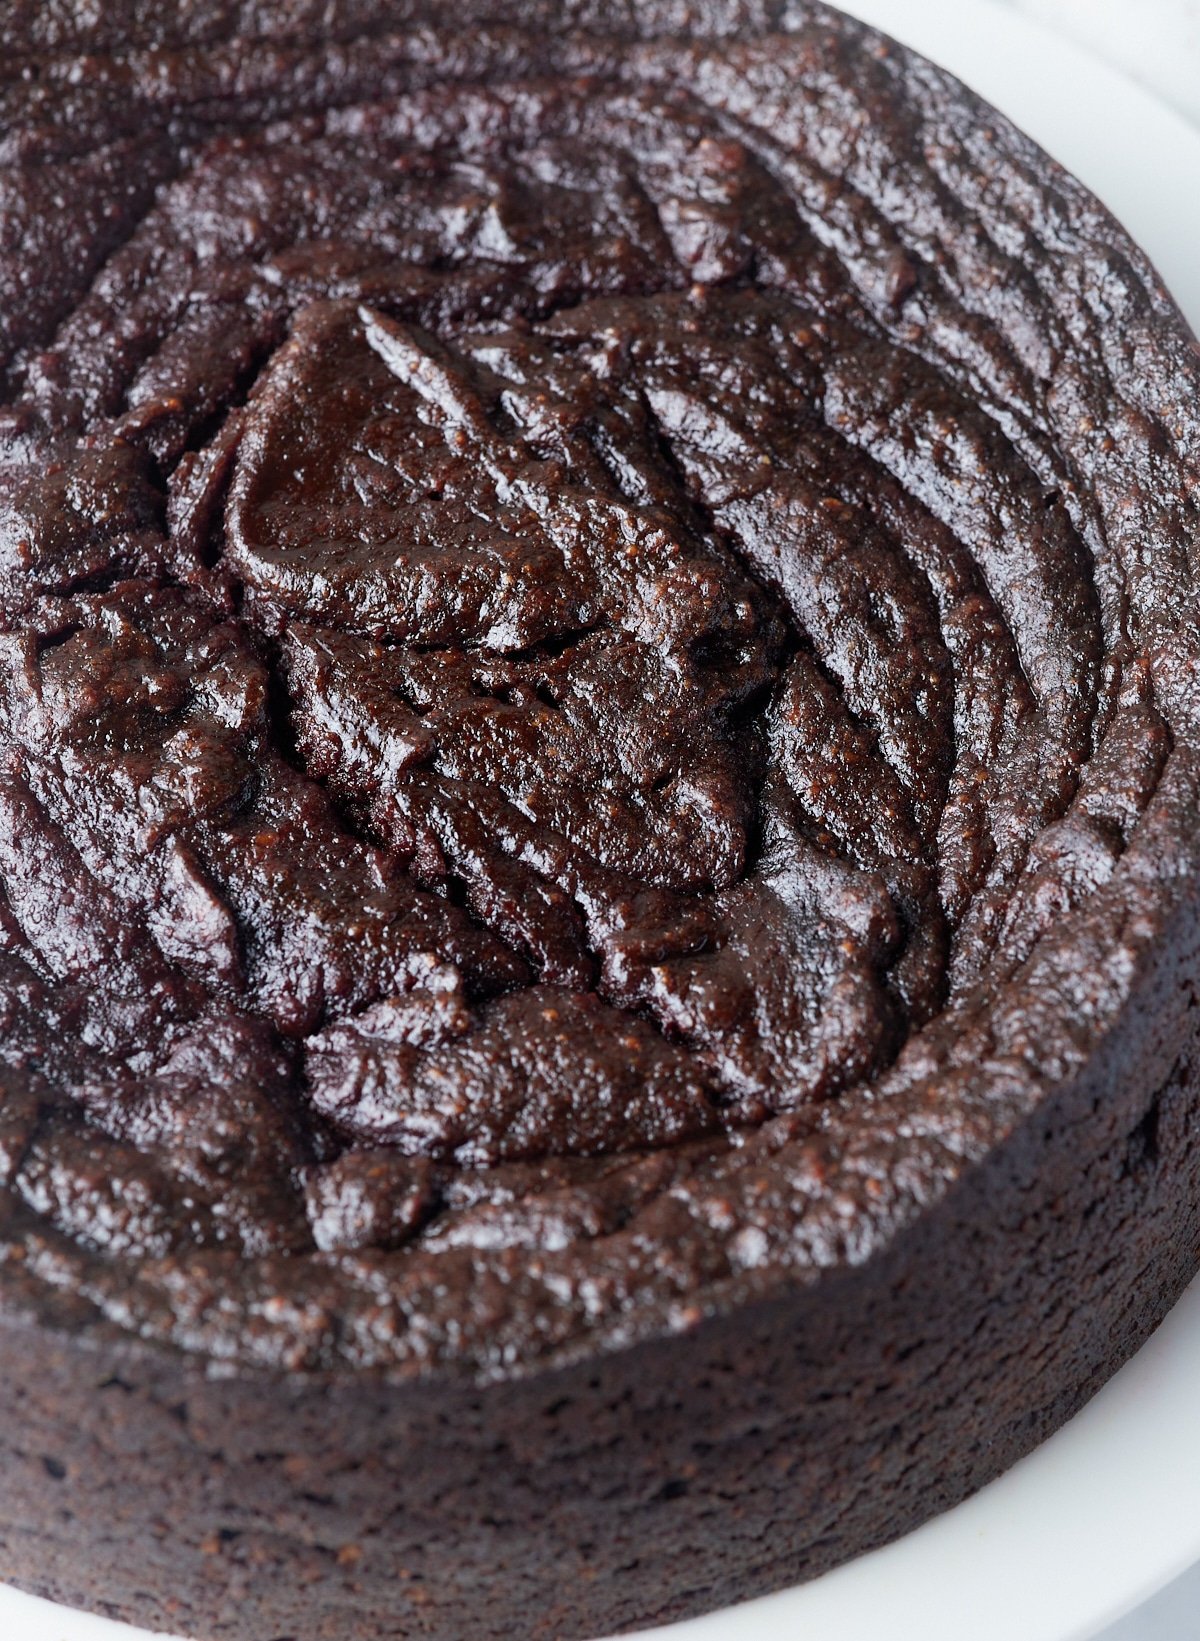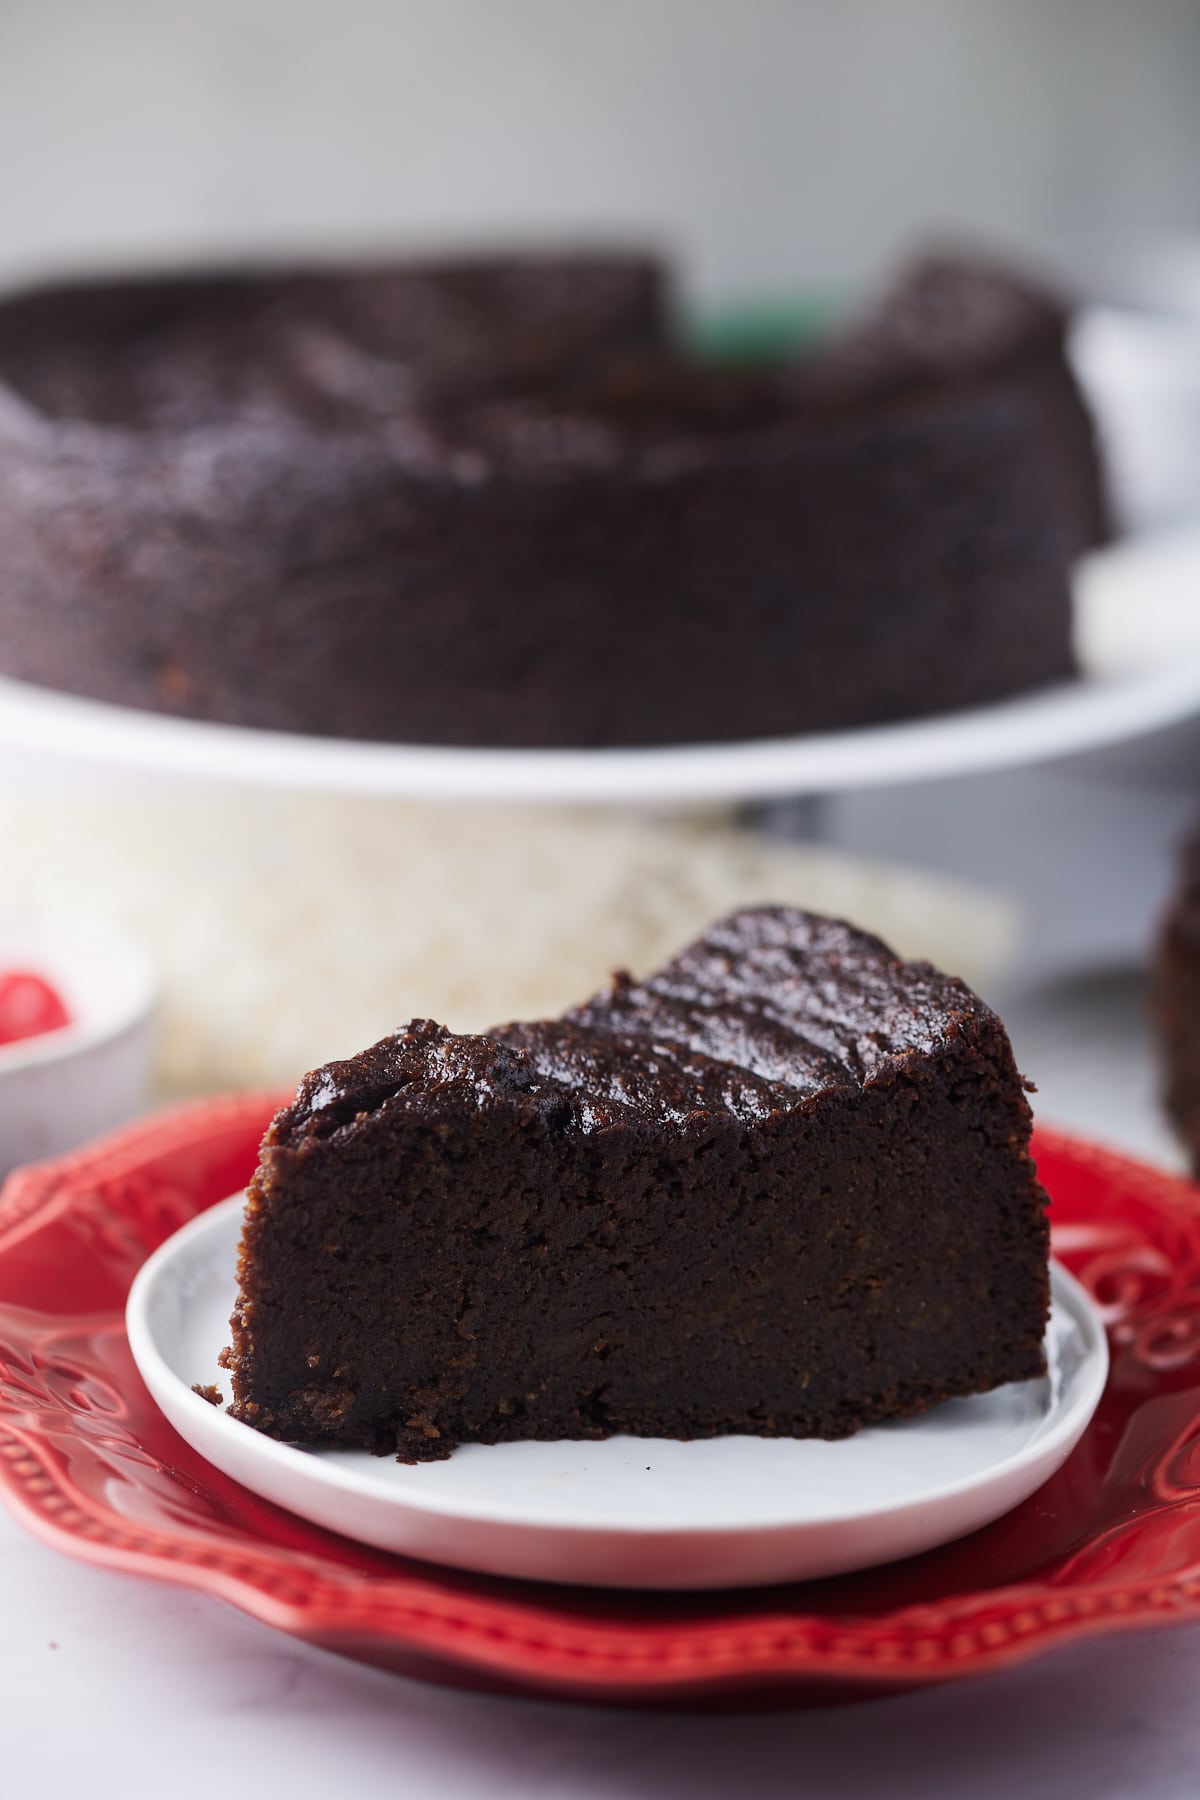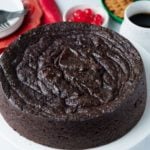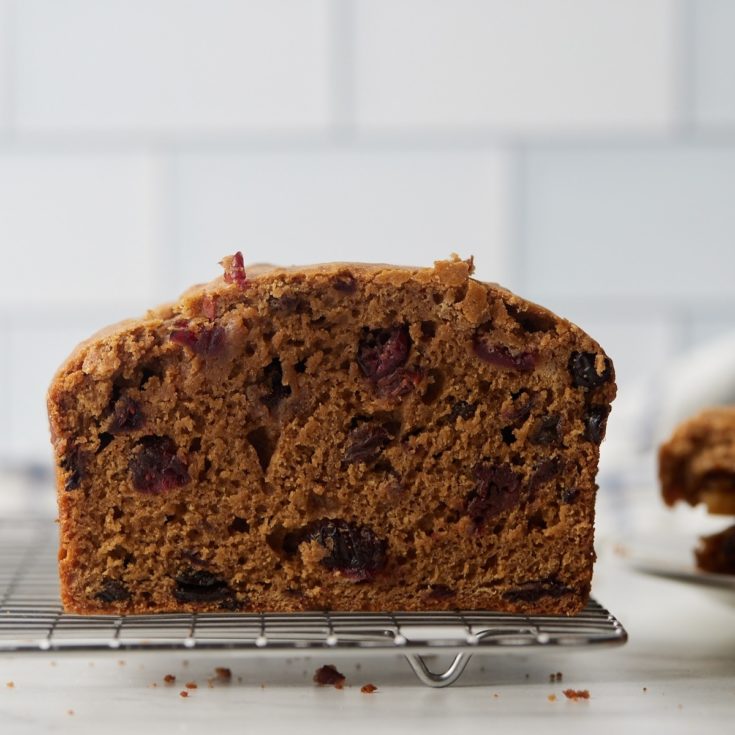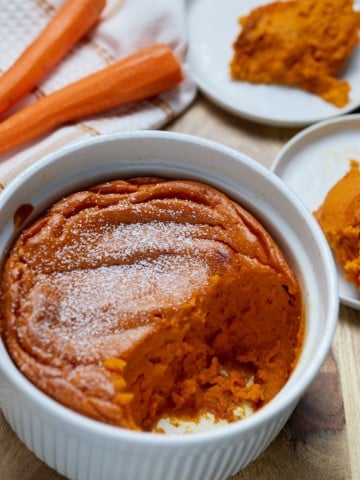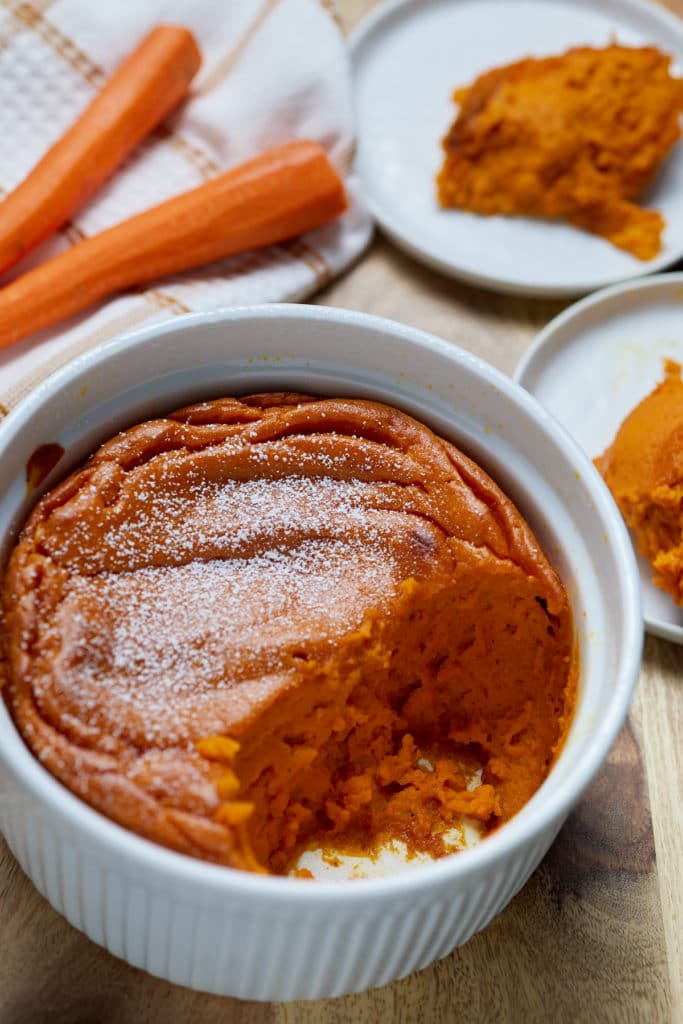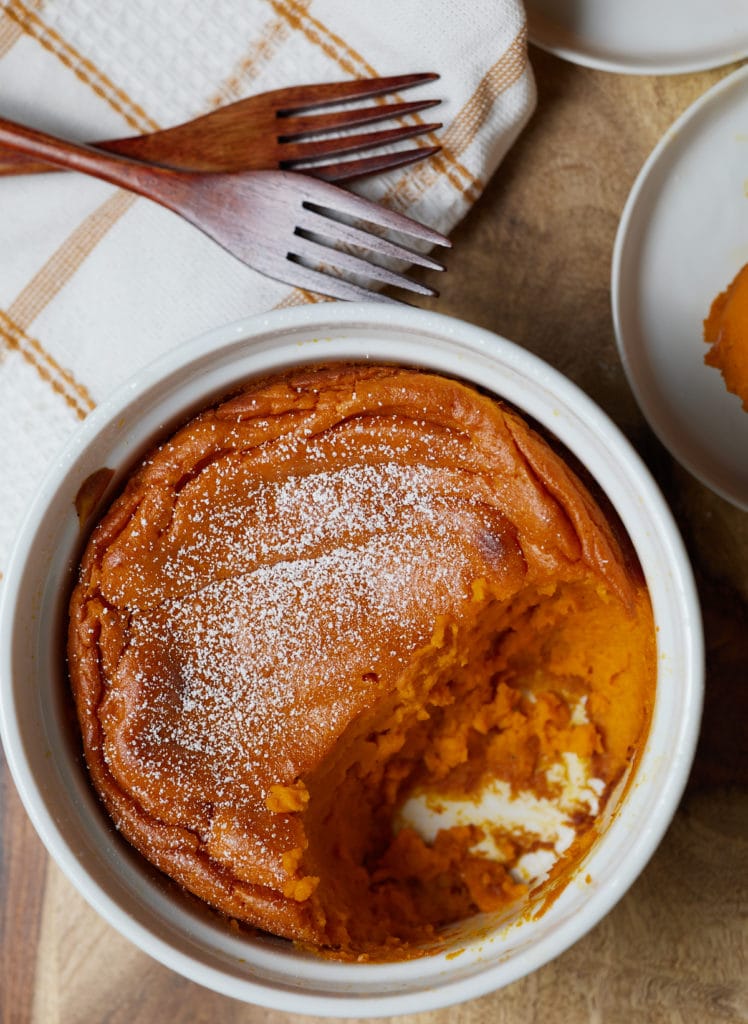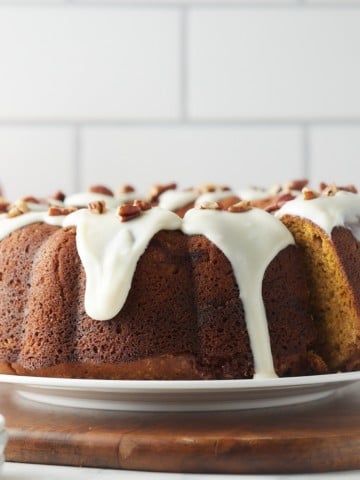
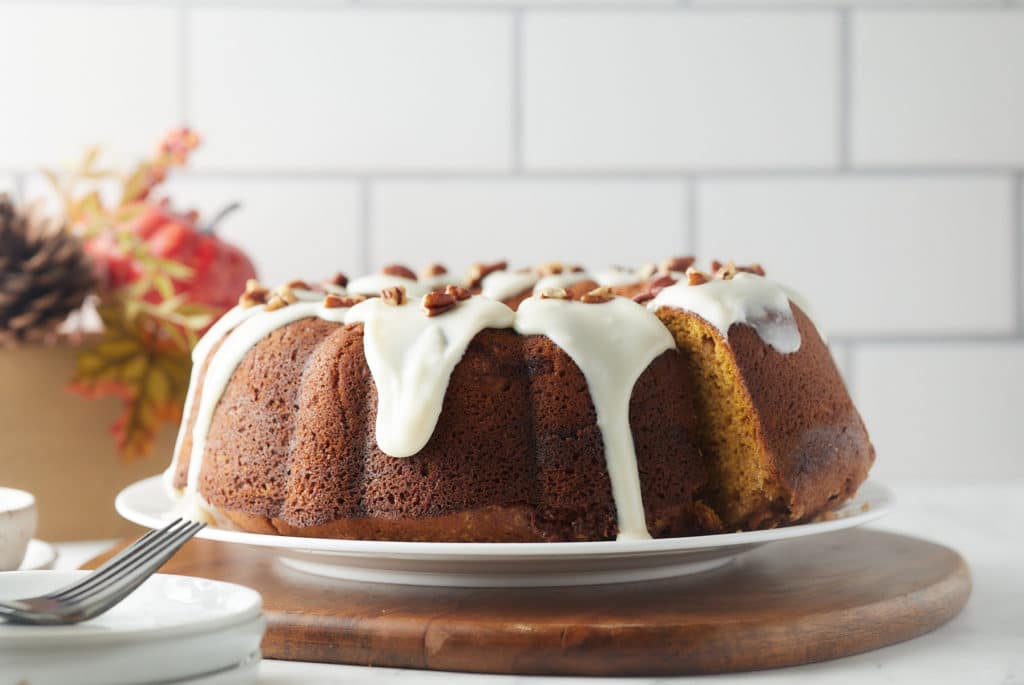
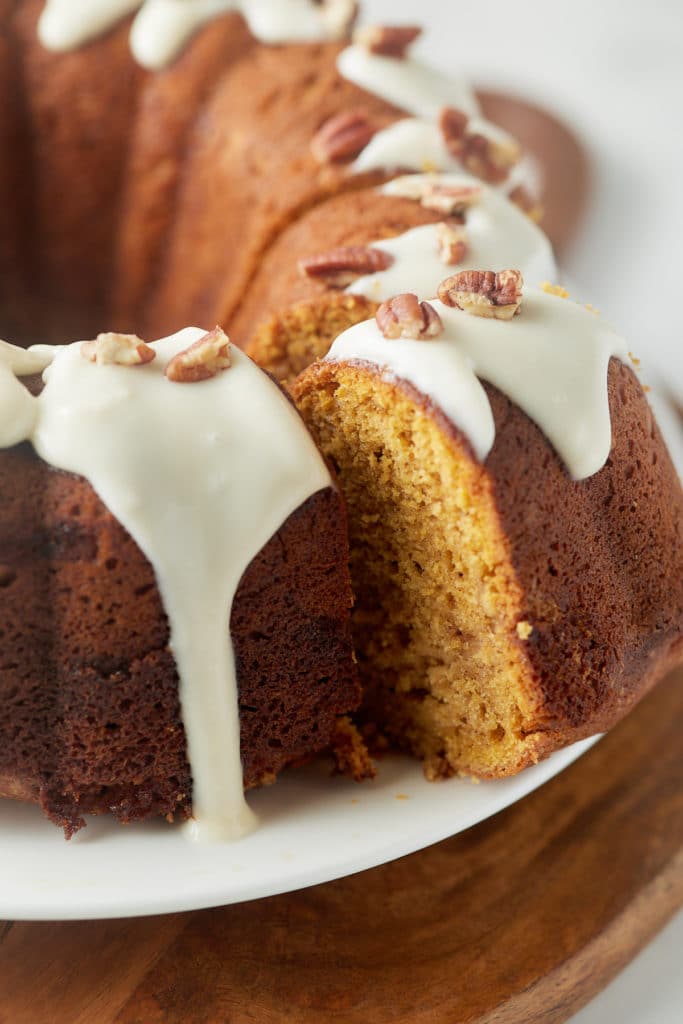
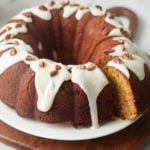
Topped with a cream cheese glaze, this sweet potato bundt cake is perfectly spiced and deliciously sweet. Simple to make, it's a great addition for your Thanksgiving menu with it's wonderful warming flavors.
This post contains affiliate links, please read my full disclaimer here.
You’ll find the full recipe with ingredient amounts and instructions in the recipe card at the bottom of this post. Be sure to check out the blog post itself for extra tips and tricks!
This sweet potato bundt cake is a wonderful way to mix up your Thanksgiving desserts, but it can easily be enjoyed throughout the year!
Spiced with cinnamon, ginger and cloves, sweet potato puree is mixed into the batter resulting in a perfectly moist bundt cake.
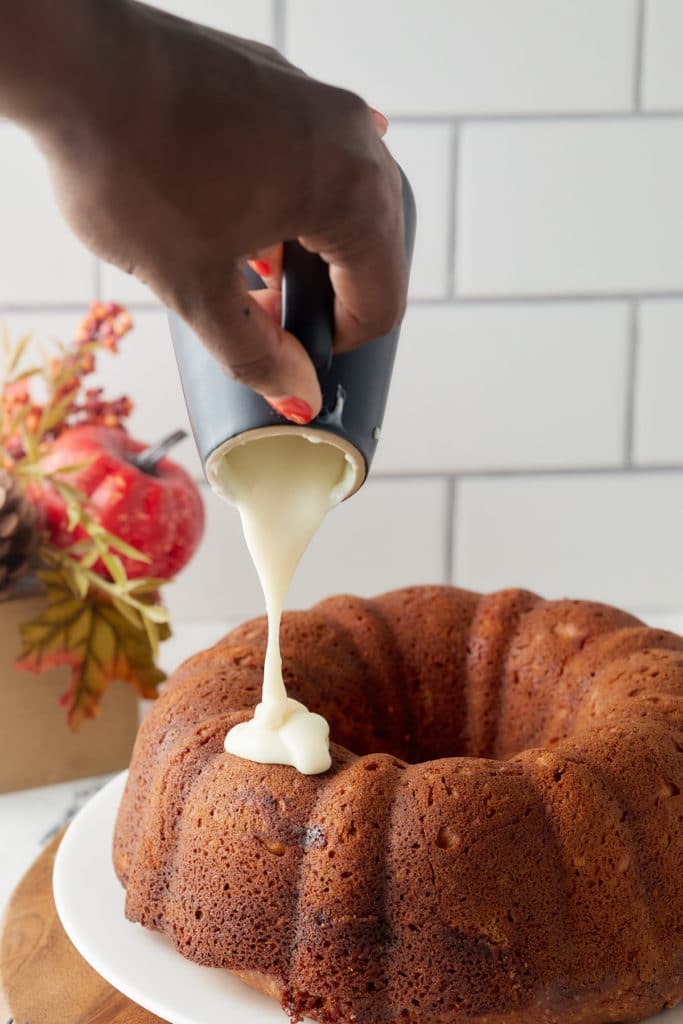
Finished with a sweet cream cheese glaze, this is a delicious occasion cake that everyone will love. I love that it's easy to make too!
Be sure to try my Orange Poppy Seed Bundt Cake and Pumpkin Cake too!
How to make a sweet potato bundt cake
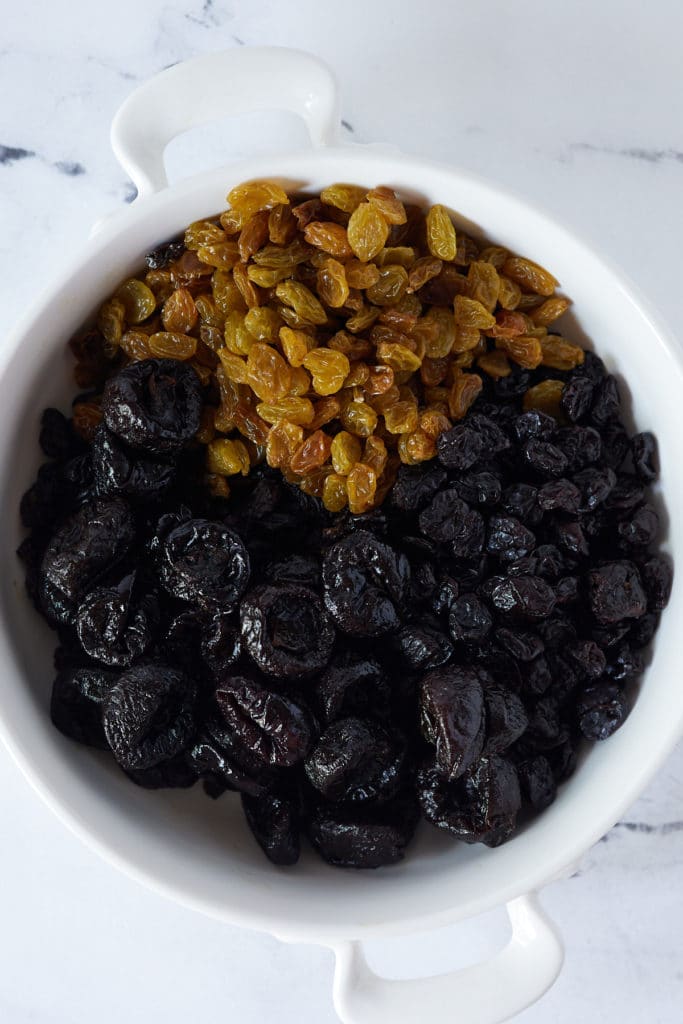
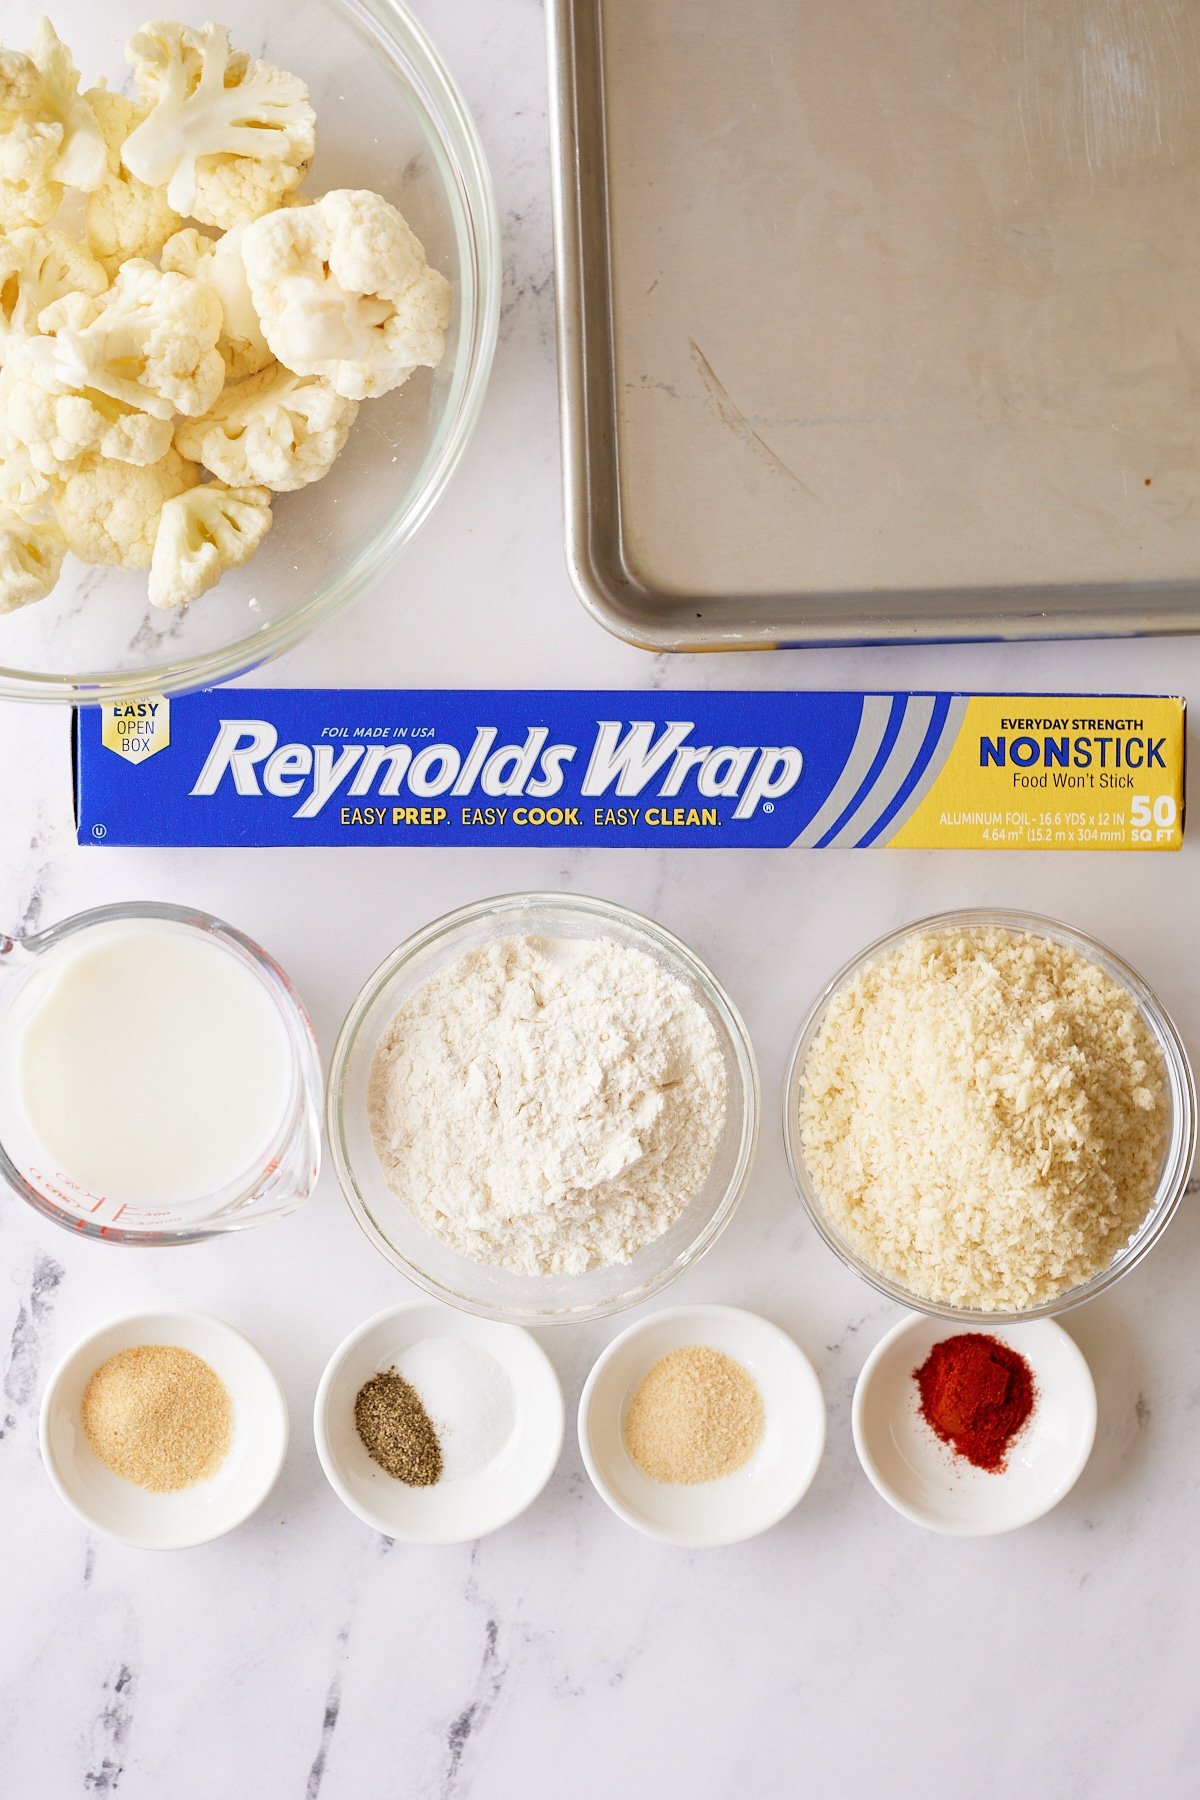
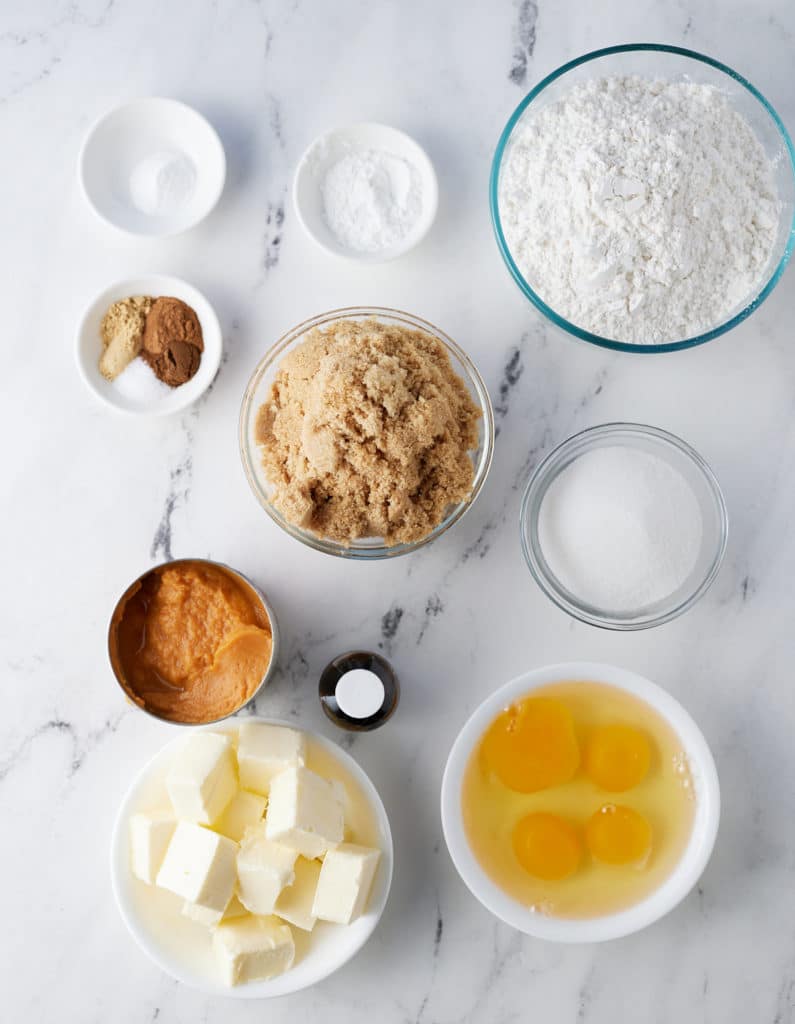
- Gather your ingredients.
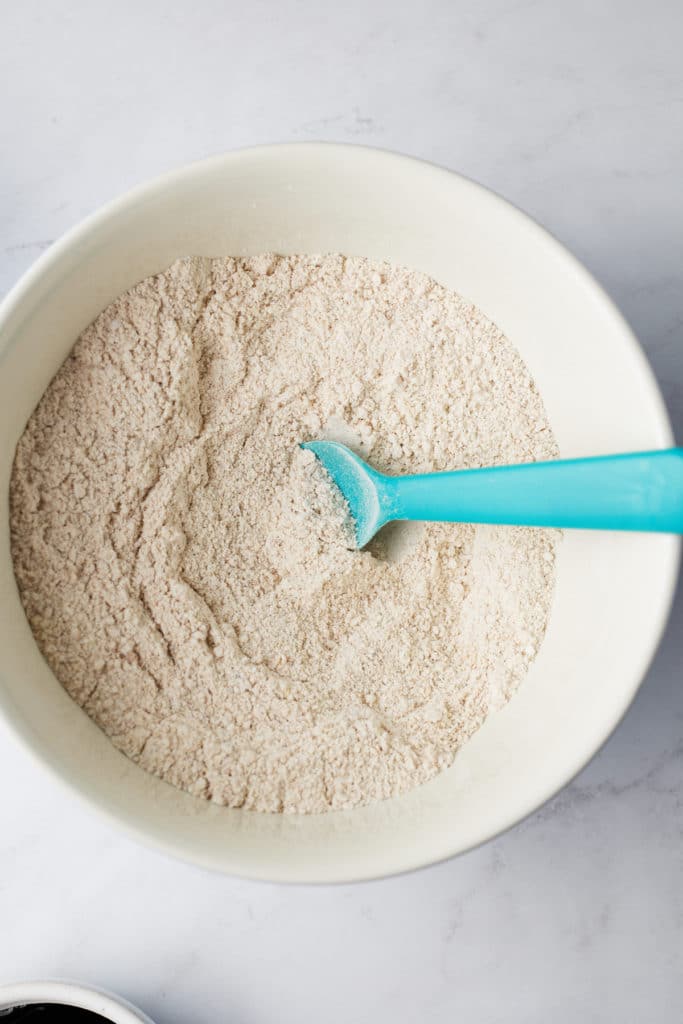
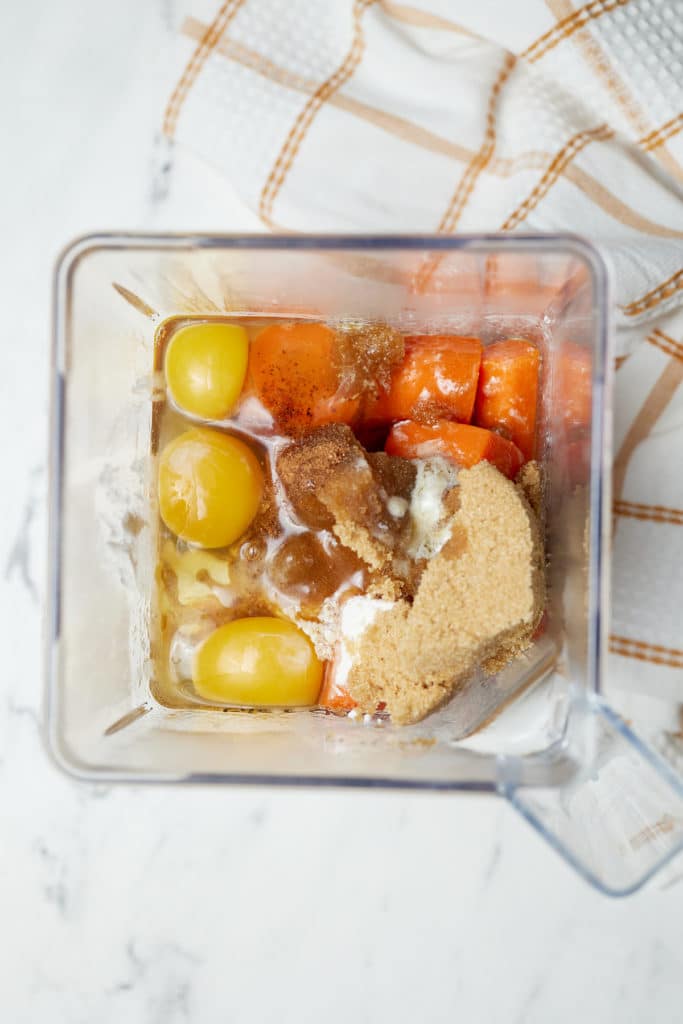
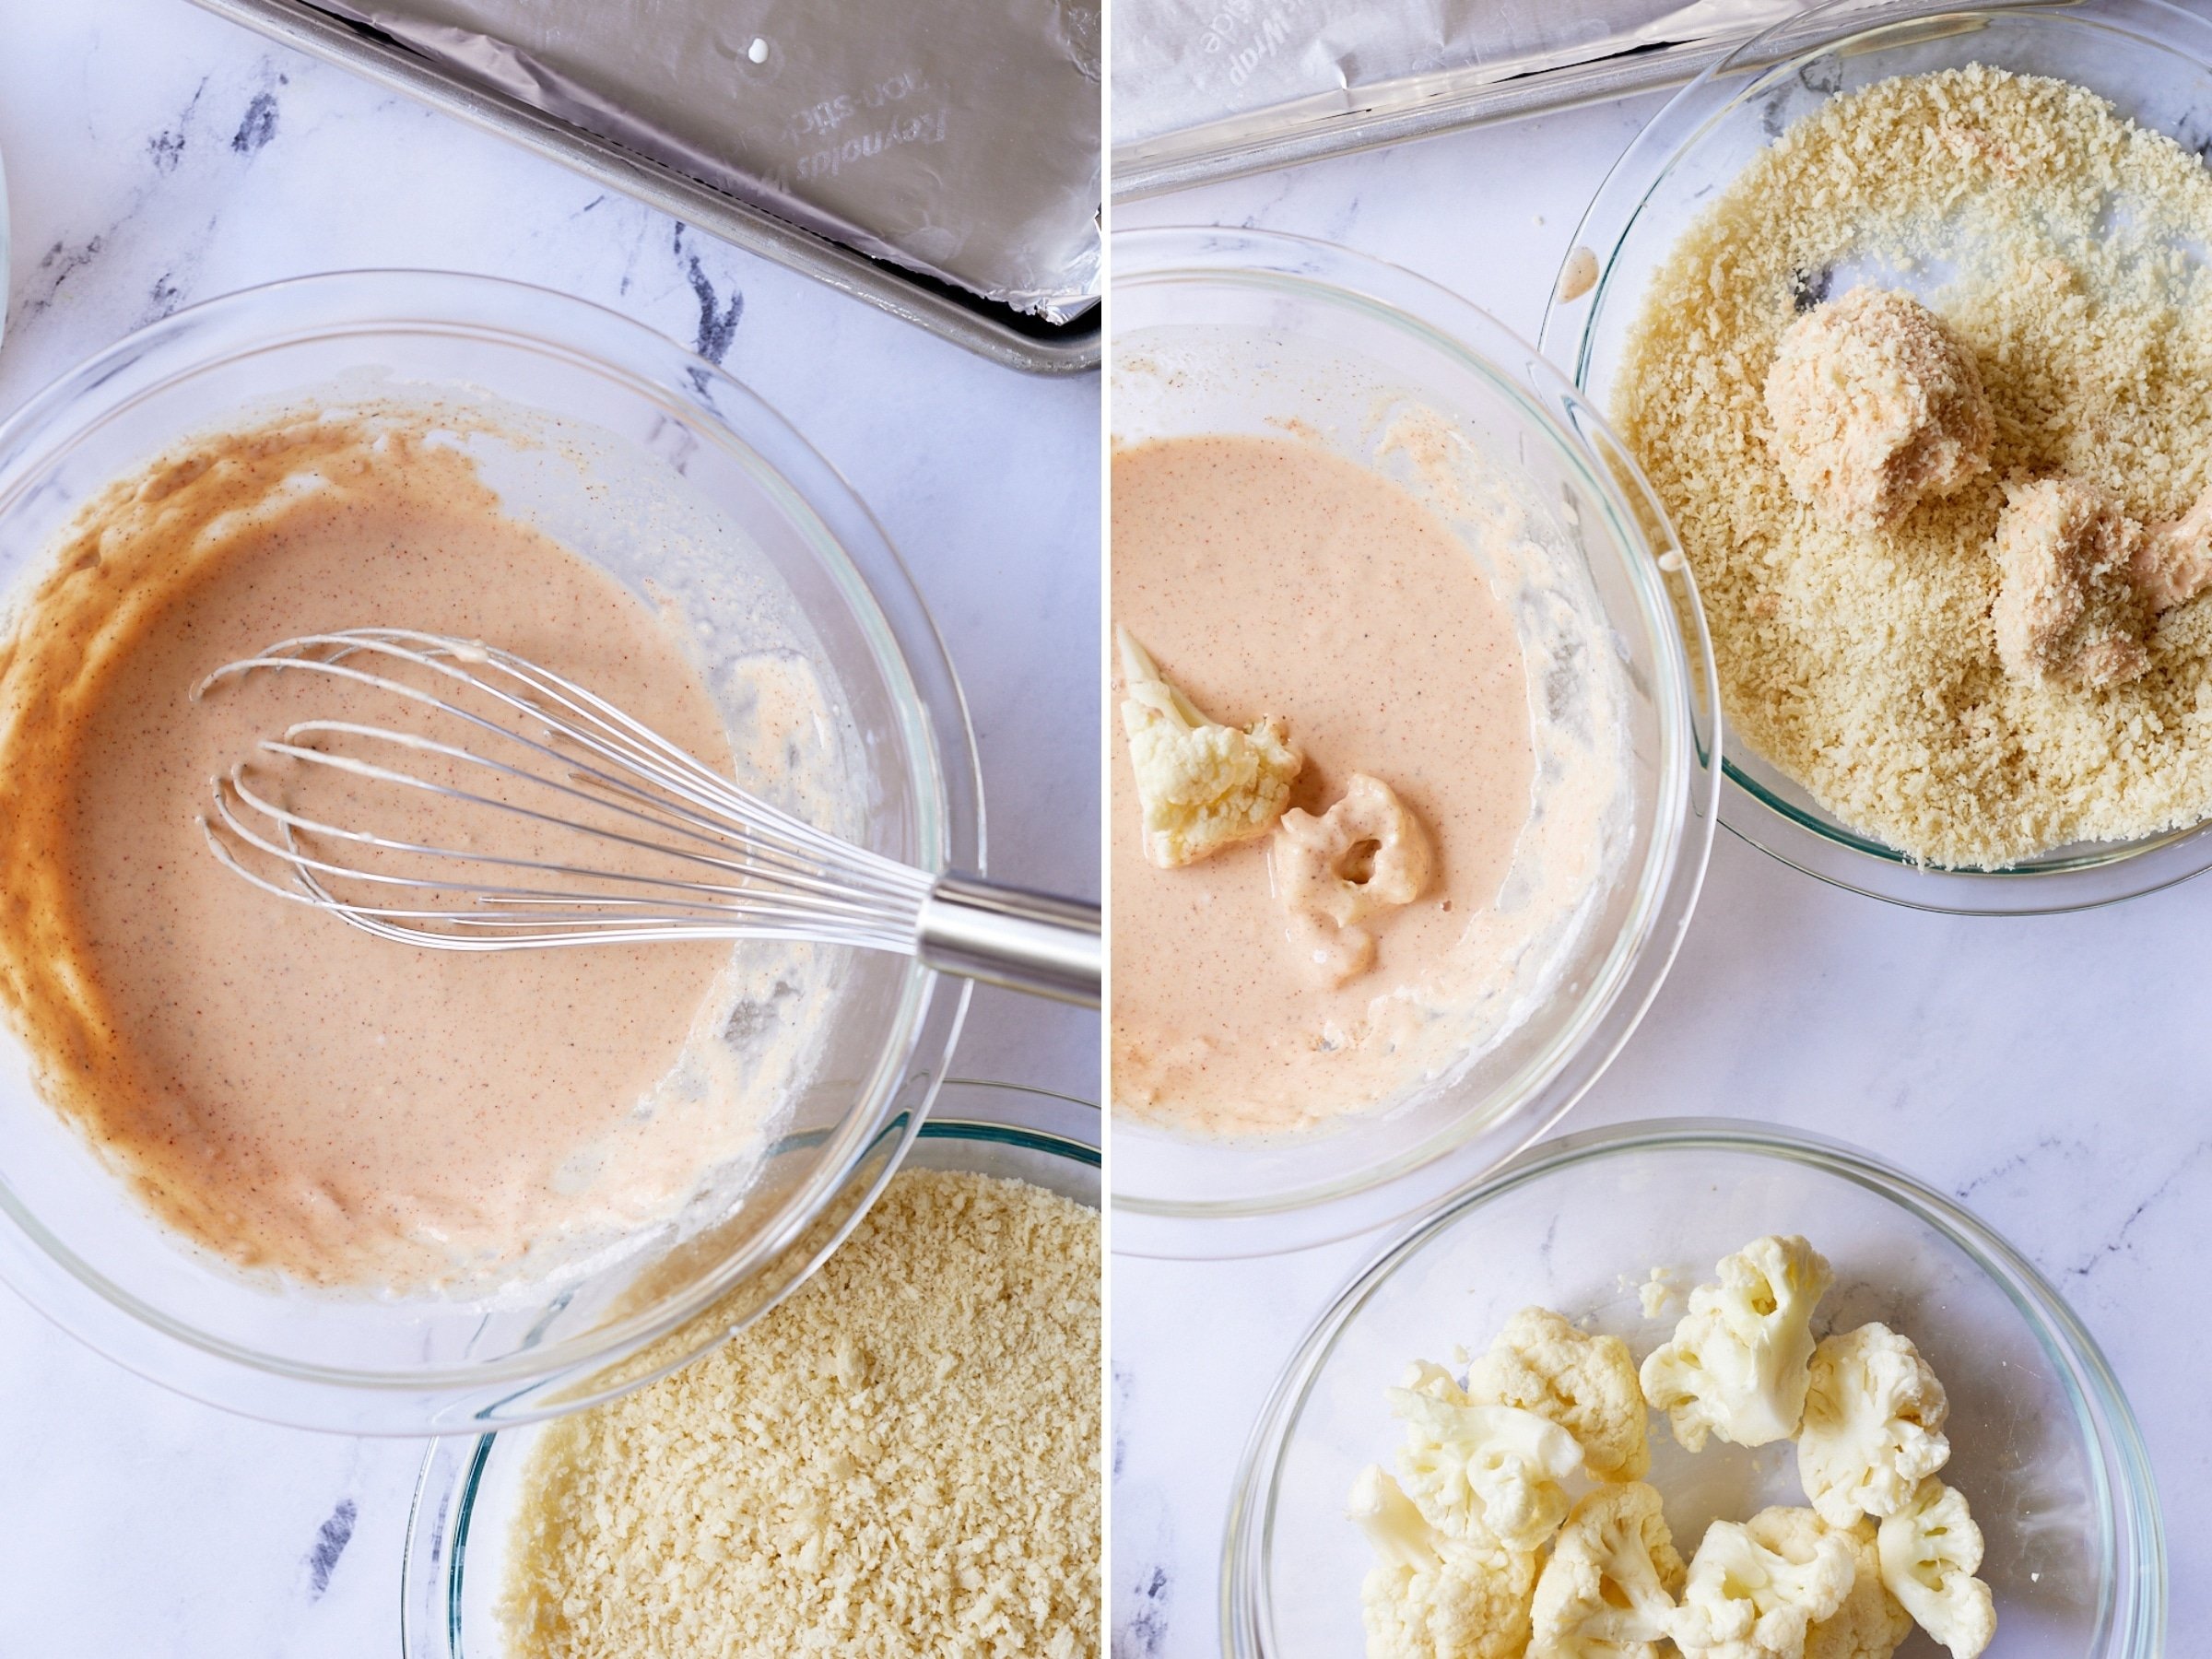
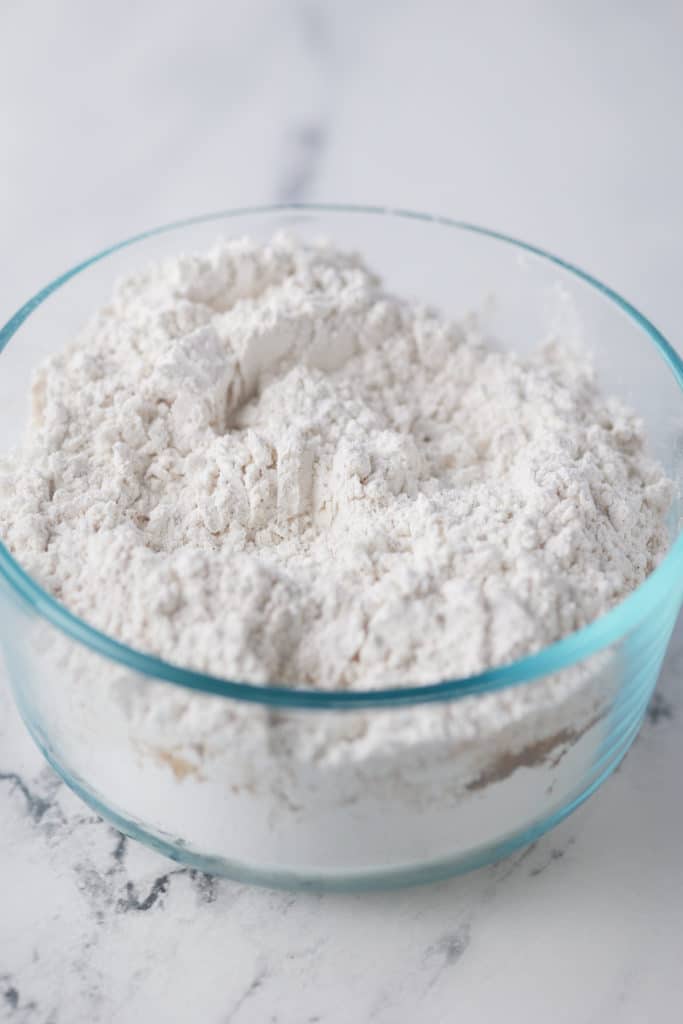
- Add flour, baking powder, ground cinnamon, ginger powder, salt, baking soda, ground cloves in a bowl and mix to combine. Set aside.
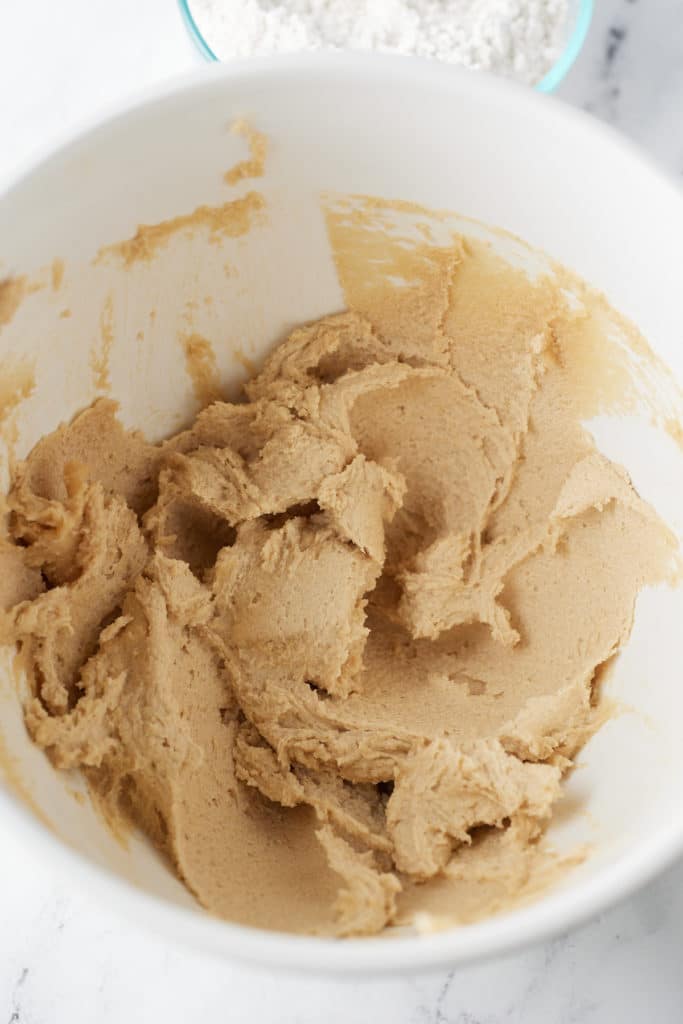
- In the bowl of a stand mixer, beat butter, brown sugar, and white sugar together for about 5 minutes.
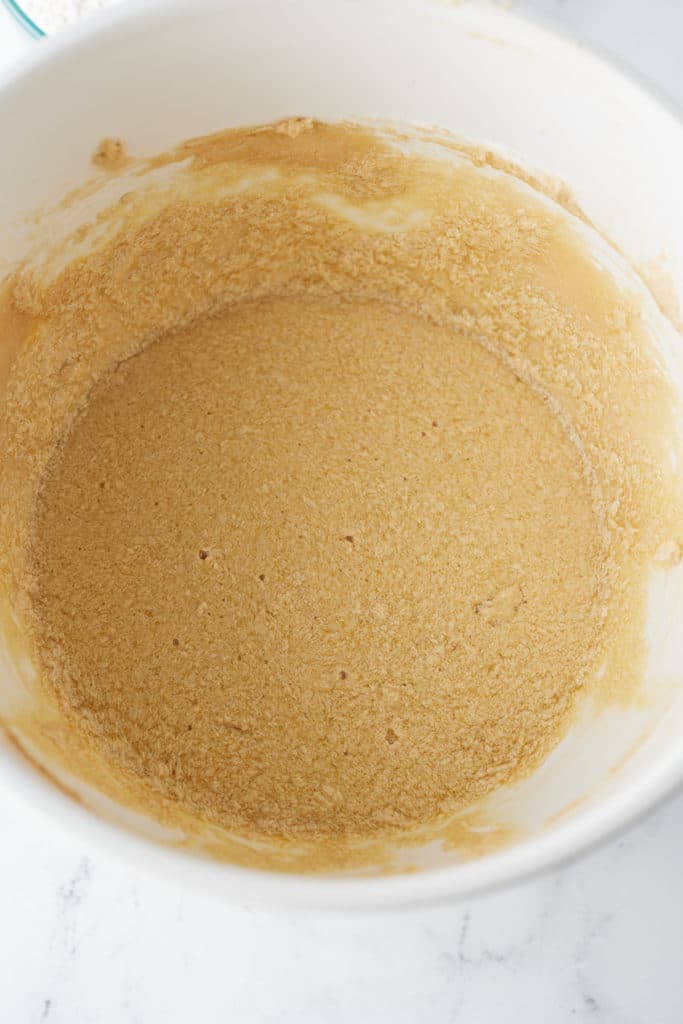
- Mix in eggs, one at a time. Mix in vanilla extract.
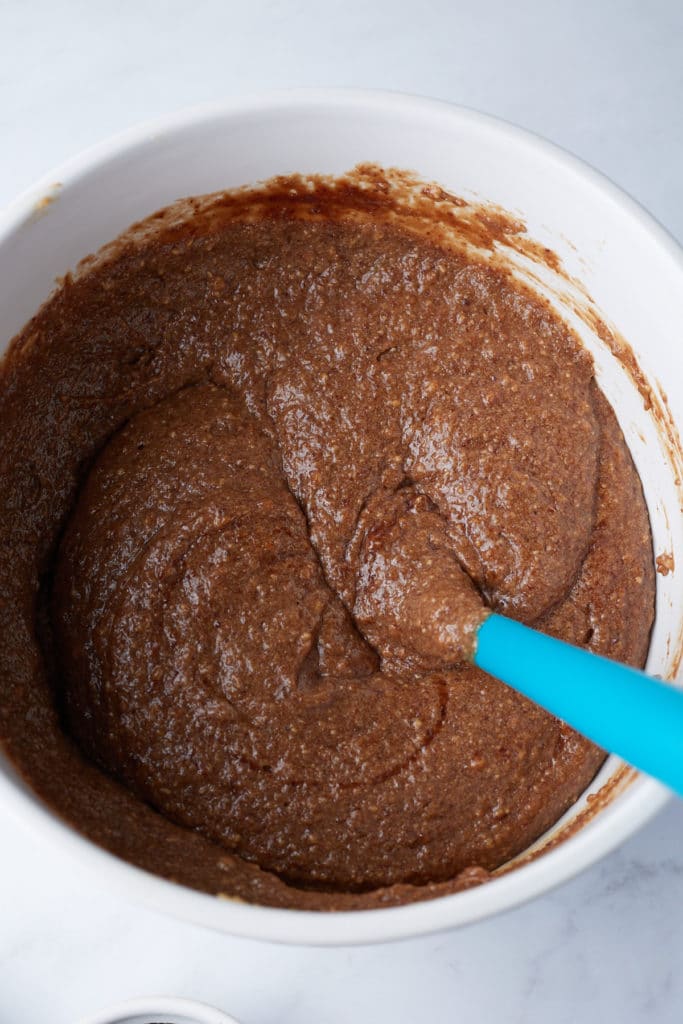
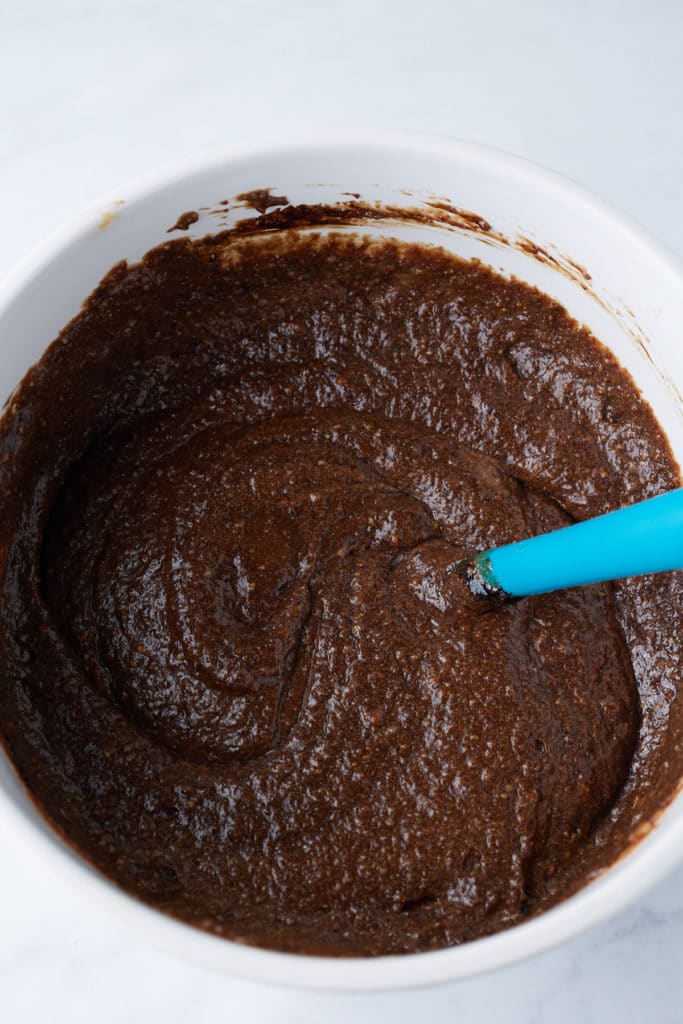
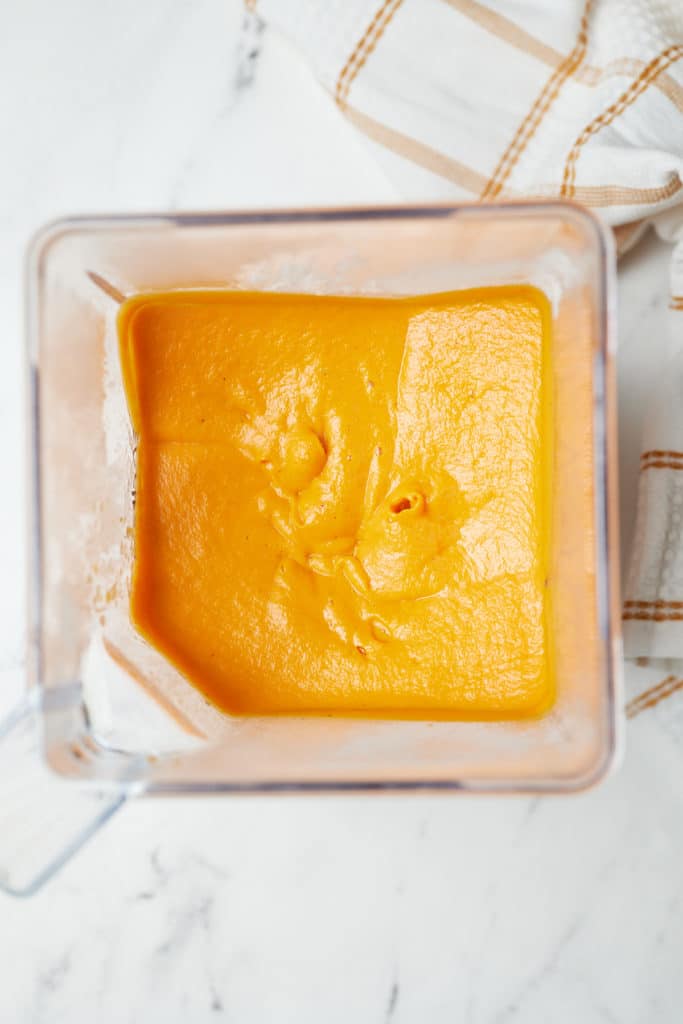
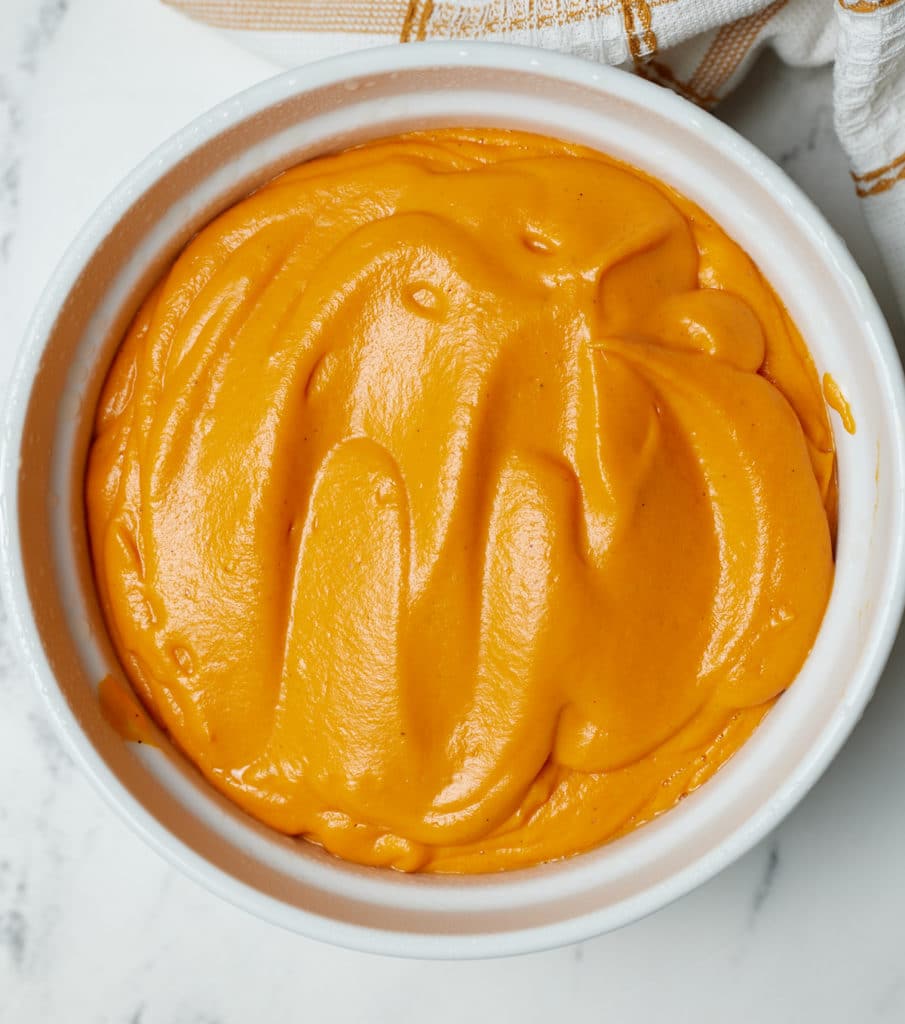
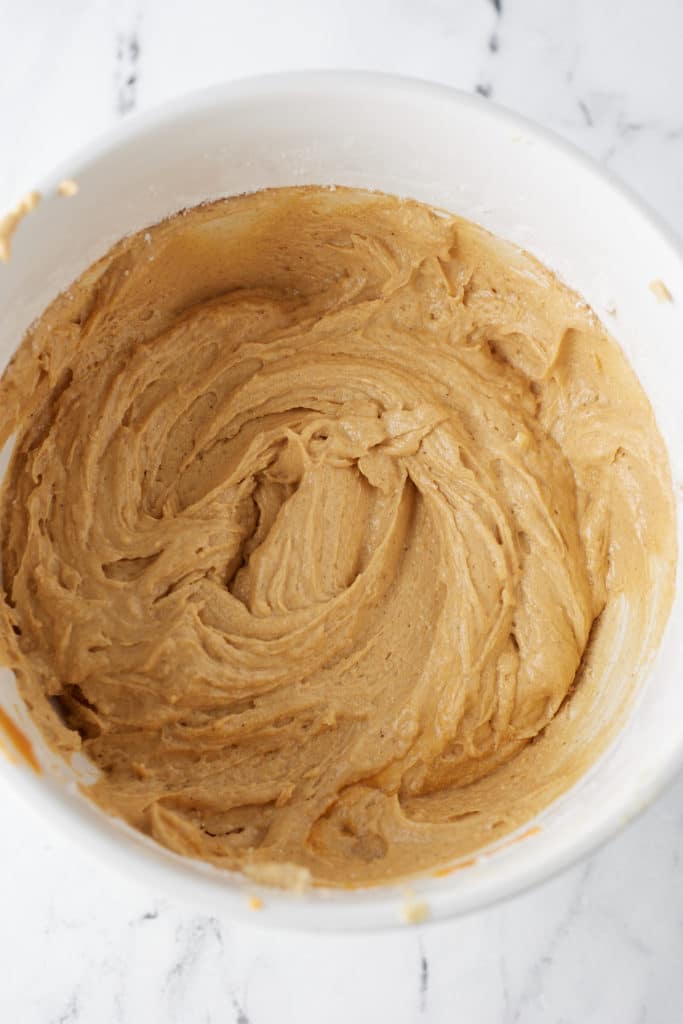
- Mix in half the flour mixture, then mix in sweet potato puree, then mix in remaining flour mixture, until fully combined.
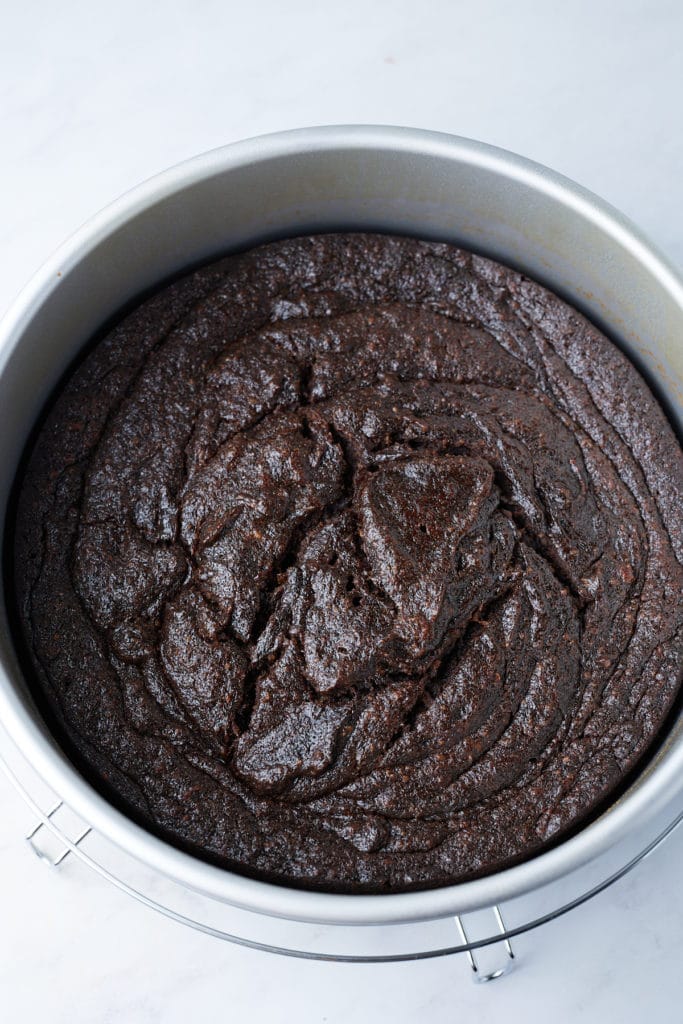
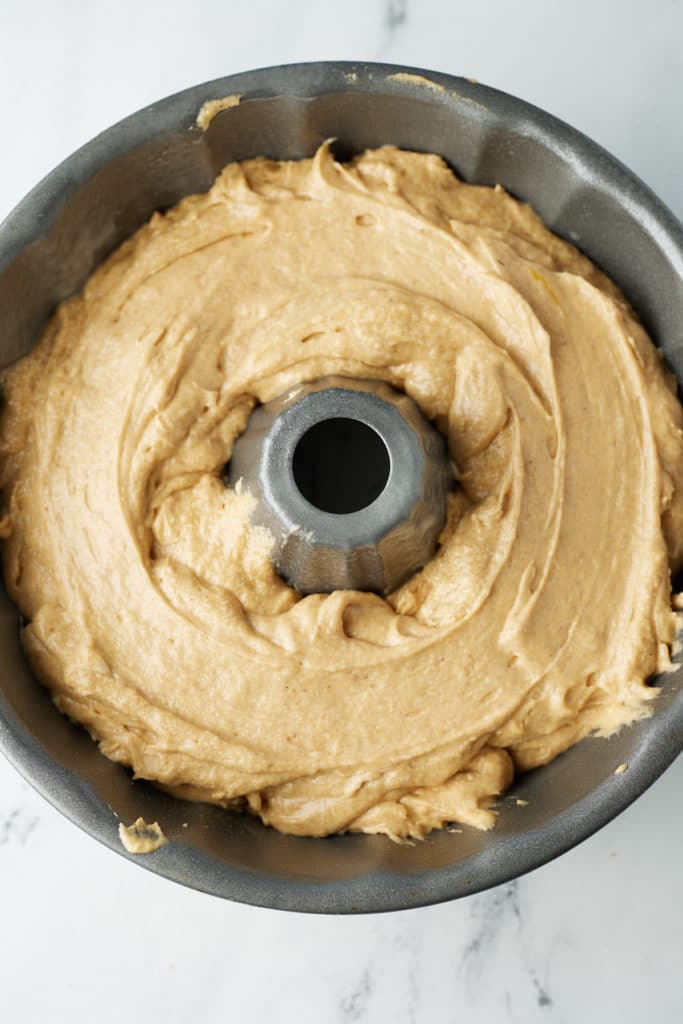
- Pour into the prepared Bundt pan.
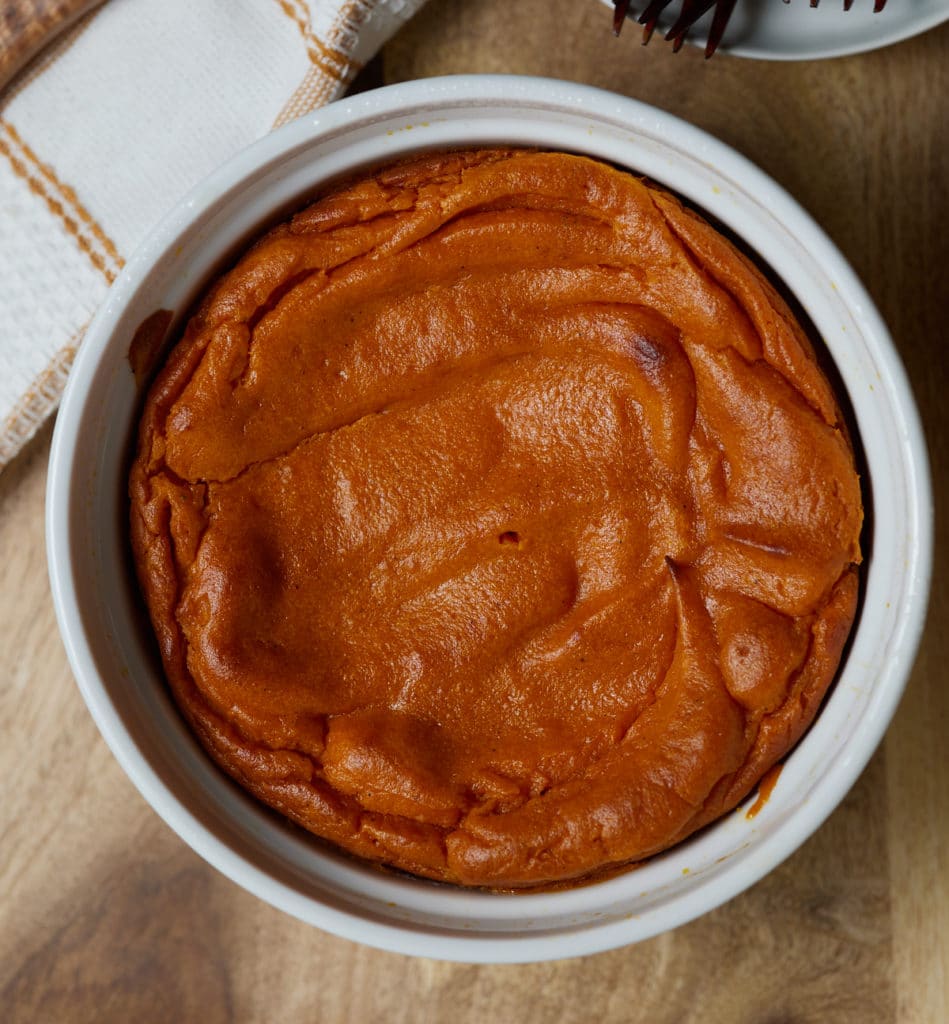
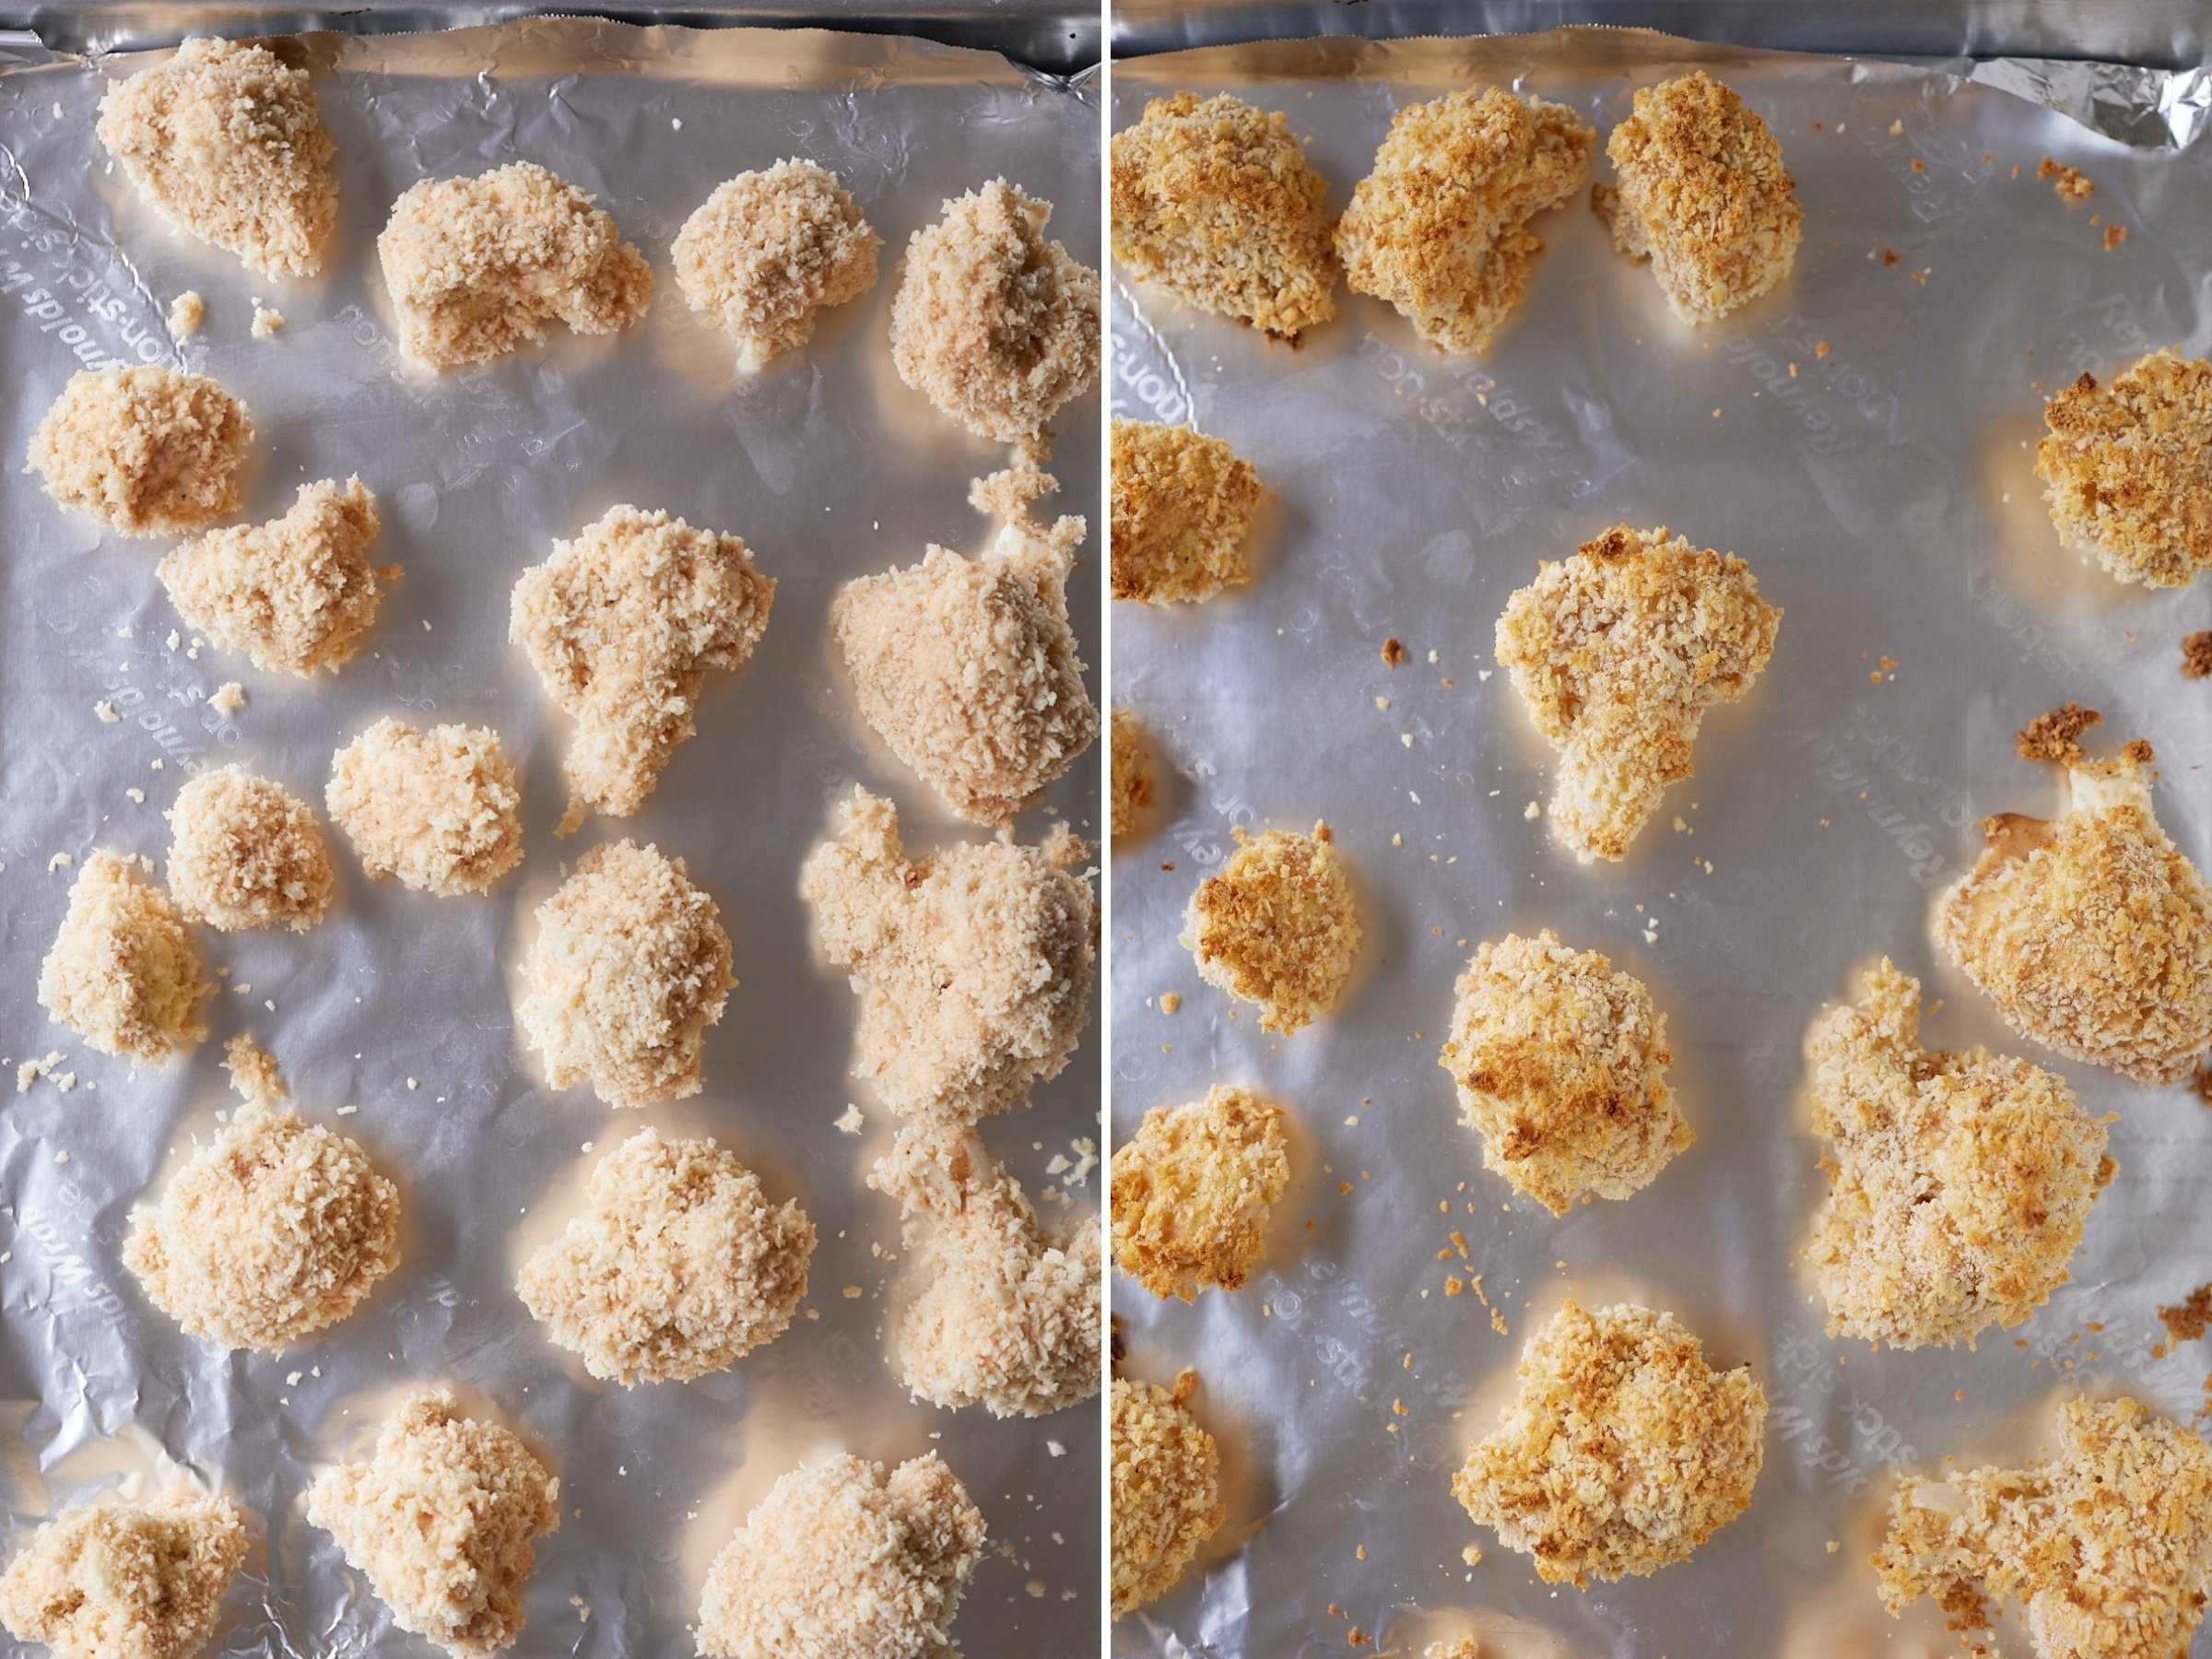
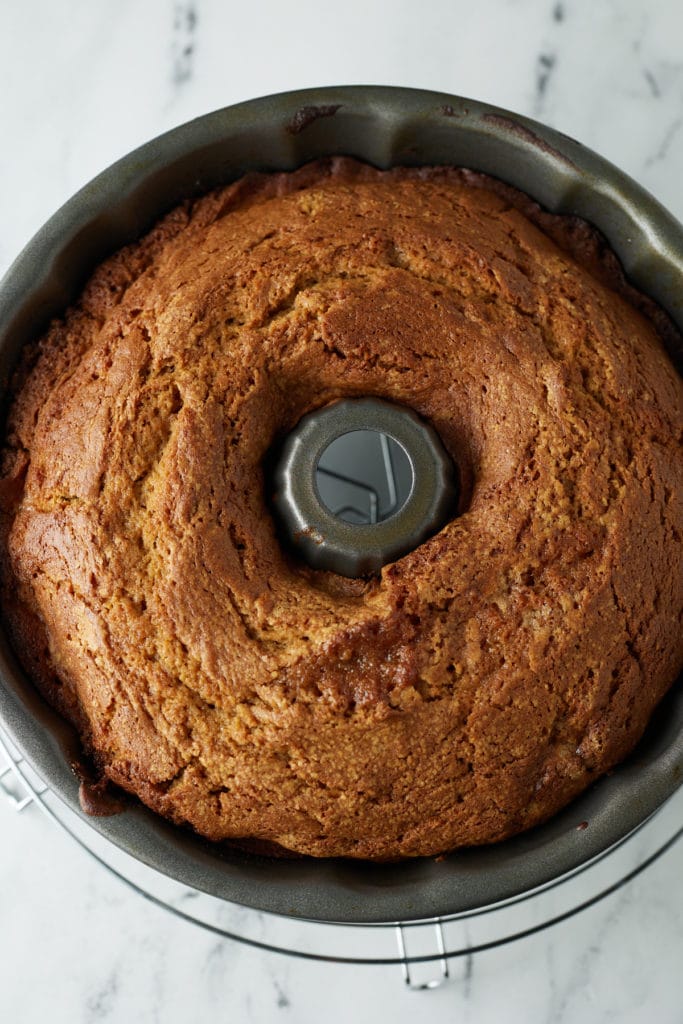
- Bake in the preheated oven for 55min to 1hr, until the top is golden and a toothpick comes out clean.
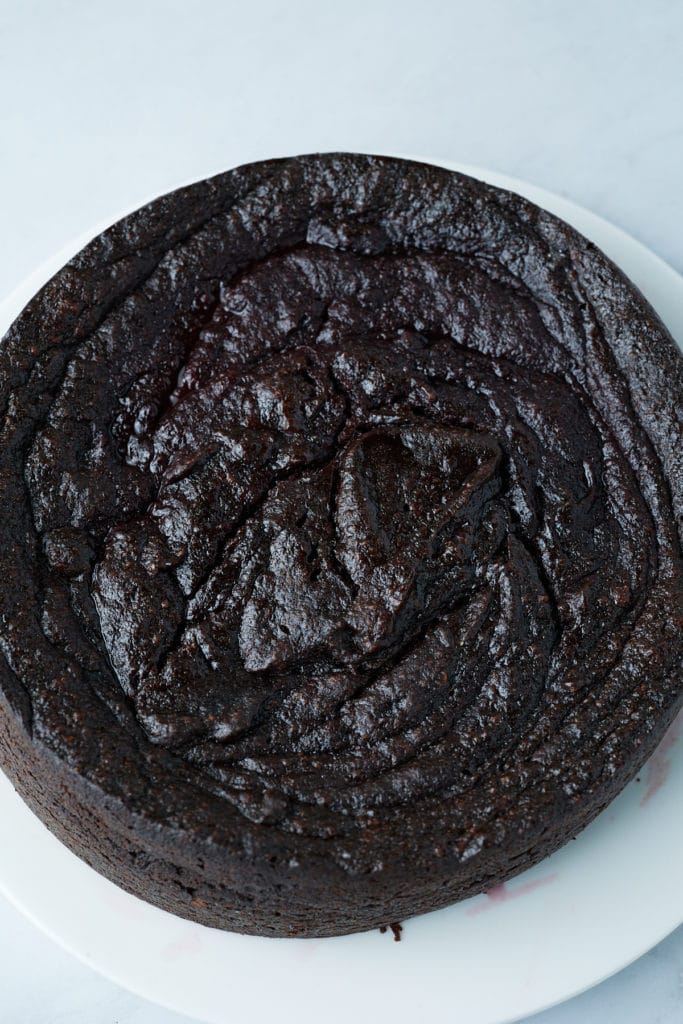
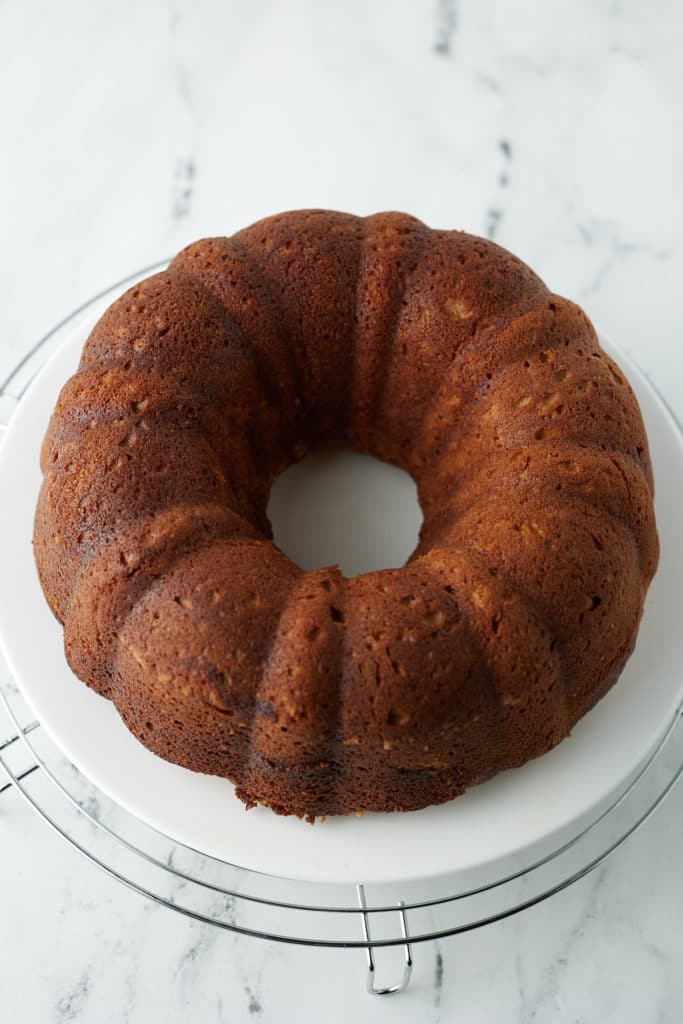
- Remove and allow to cool in the pan for 20 minutes. Then remove and allow to continue cooling.
- Meanwhile, prepare the glaze by beating cream cheese and powdered sugar in the bowl of a stand mixer until combined, about 2 minutes. Mix in vanilla extract and milk until combined. Pour glaze over cooled cake.
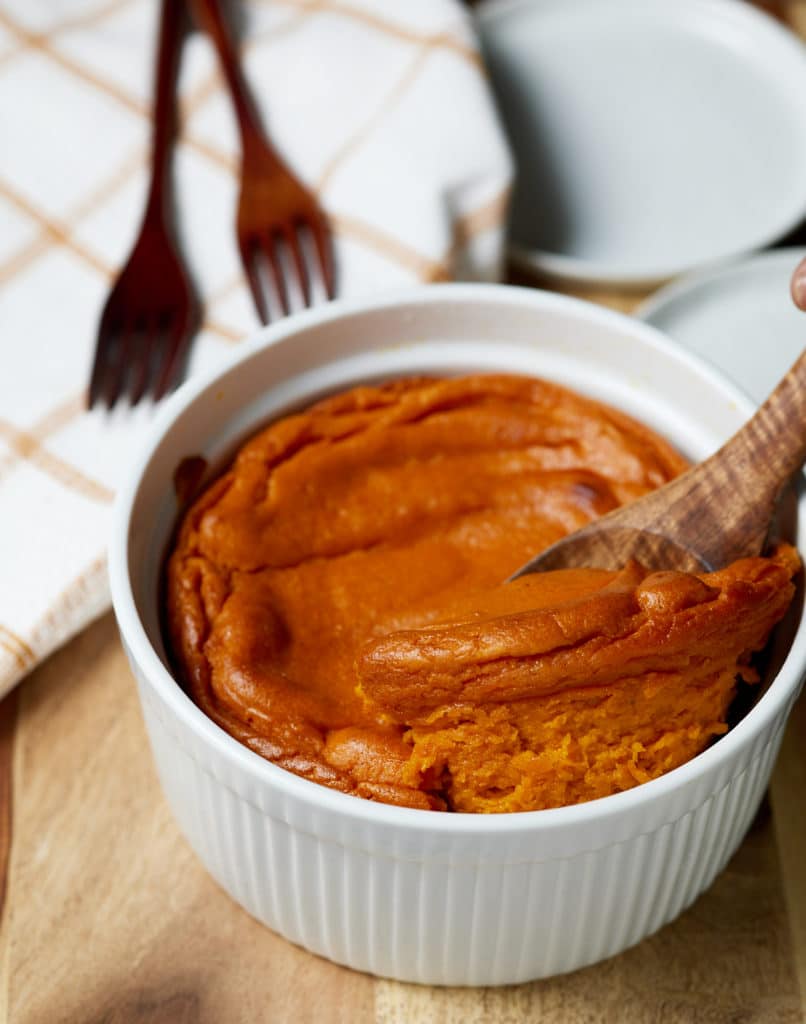
Can you use homemade sweet potato puree?
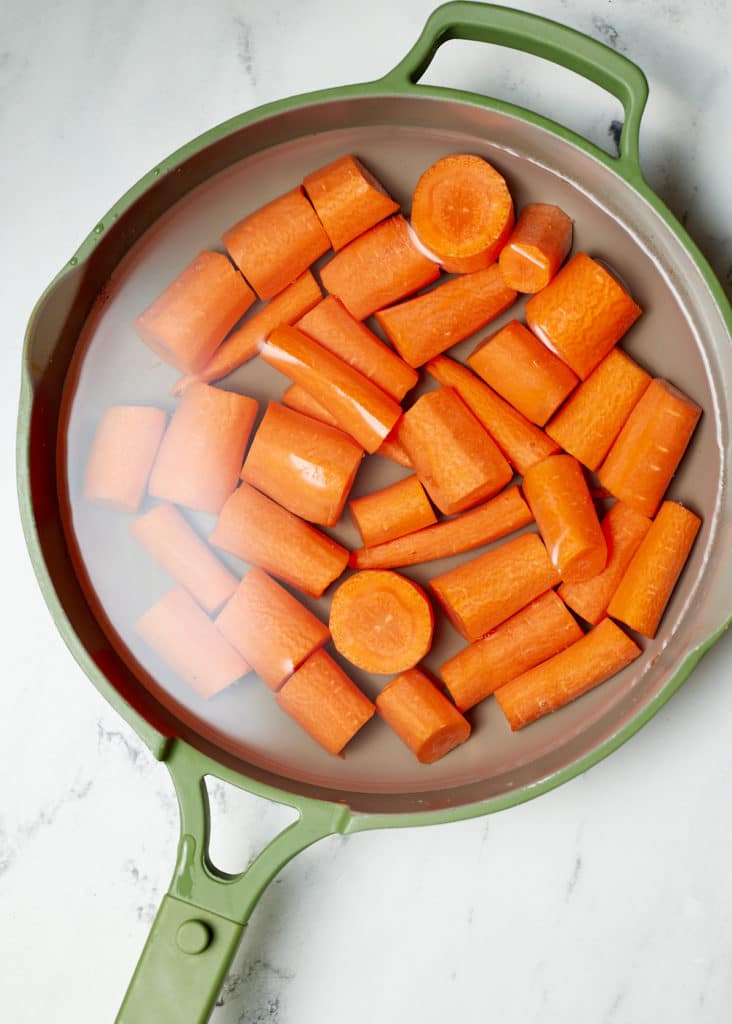
Yes! You can easily make your own puree if you have lots of sweet potatoes to hand! Roast them in the oven and then scoop out the flesh. Process until nice and smooth. If you make your own puree, then be sure to let it cool fully before mixing in with the other ingredients.
How long does it keep?
This sweet potato bundt cake will keep well covered and at room temperature for 3 to 4 days, so it's a great make-ahead option for the holidays. If you plan on making it ahead of time, it's best not to glaze it straight away, as once frosted, it will need to be kept refrigerated and this can dry it out a little quicker.
Can you freeze it?
This cake will freeze well for up to 3 months. You can freeze it with the glaze, but I find the best results are freezing it without, plus it's easier to store this way. Wrap the cooled cake tightly in foil and plastic wrap to protect it from freezer burn. Thaw the cake at room temperature or in the fridge overnight before glazing and serving.

Recipe Notes and Tips
- Use oil or cooking spray to grease the bundt pan. Butter can burn and cause the cake to stick.
- Don't over mix the cake batter when you add the flour. It should be combined, but over mixing can lead to a dense cake as the gluten can over develop.
- Bake the cake in a fully pre-heated oven so that it cooks through evenly.
- Let the cake cool before glazing it. If the cake is still warm, the glaze will thin and run off.
More Cake Recipes
- Grapefruit Cake
- Tropical Tres Leches Cake
- Red Velvet Cheesecake
- Chocolate Cola Cake
- Cherry Pineapple Dump Cake
Sweet Potato Bundt Cake
Ingredients
- 3 cups cake flour 351g
- 2 teaspoons baking powder
- 1 teaspoon ground cinnamon
- ¾ teaspoon ginger powder
- ½ teaspoon salt
- ½ teaspoon baking soda
- ¼ teaspoon ground cloves
- 1 cup unsalted butter softened
- 1 ½ cup brown sugar packed (330g)
- ½ cup granulated white sugar 117g
- 4 large eggs
- 1 ½ teaspoon vanilla extract
- 15 oz can sweet potato puree
Cream Cheese Glaze
- 4 oz cream cheese
- ¾ cup powdered sugar 88g
- ½ teaspoon vanilla extract
- 5 teaspoons milk
Instructions
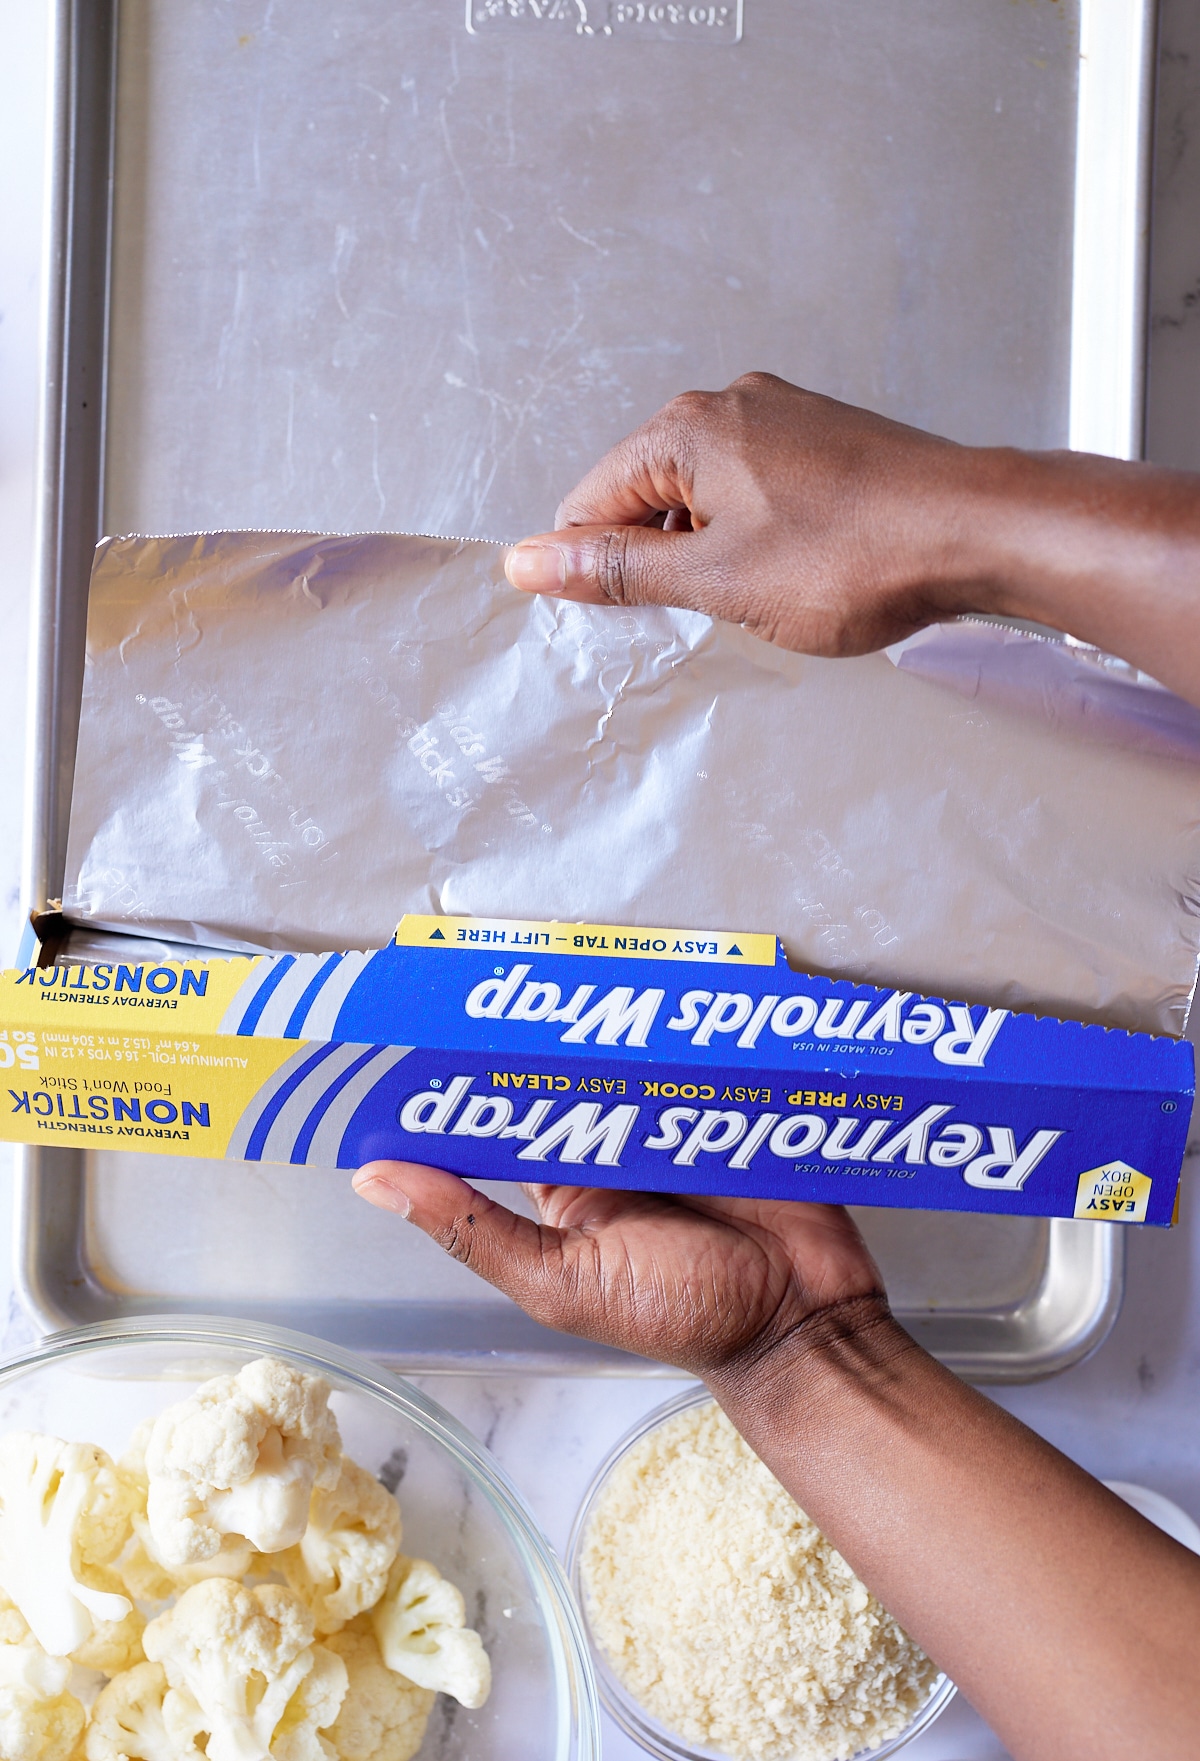
- Preheat the oven to 350F and grease a 10 cup Bundt pan. Set aside.
- Add flour, baking powder, ground cinnamon, ginger powder, salt, baking soda, ground cloves in a bowl and mix to combine. Set aside.
- In the bowl of a stand mixer, beat butter, brown sugar, and white sugar together for about 5 minutes on medium speed.
- Mix in eggs, one at a time. Mix in vanilla extract.
- Mix in half the flour mixture, then mix in sweet potato puree, then mix in remaining flour mixture, until fully combined. Pour into the prepared Bundt pan.
- Bake in the preheated oven for 55min to 1hr, until the top is golden and a toothpick comes out clean.
- Remove and allow to cool in the pan for 20 minutes. Then remove and allow to continue cooling.
- Meanwhile, prepare the glaze by beating cream cheese and powdered sugar in the bowl of a stand mixer until combined, about 2 minutes. Mix in vanilla extract and milk until combined. Pour glaze over cooled cake.
Notes
- Use oil or cooking spray to grease the bundt pan. Butter can burn and cause the cake to stick.
- Don't over mix the cake batter when you add the flour. It should be combined, but over mixing can lead to a dense cake as the gluten can over develop.
- Bake the cake in a fully pre-heated oven so that it cooks through evenly.
- Let the cake cool before glazing it. If the cake is still warm, the glaze will thin and run off.