These air fryer bacon-wrapped shrimp are the perfect appetizer or main dish. These shrimp are easy to make, and they taste amazing!
This post contains affiliate links, please read my full disclaimer here.
You’ll find the full recipe with ingredient amounts and instructions in the recipe card at the bottom of this post. Be sure to check out the blog post itself for extra tips and tricks!
If you're looking for an easy and delicious air fryer appetizer or main course, you must try air fryer bacon-wrapped shrimp. And if you love bacon, this recipe is right up your alley.
The shrimp are wrapped in bacon, and then they are air fried to perfection. The result is a crispy, flavorful shrimp that will surely be a hit with your family and friends.
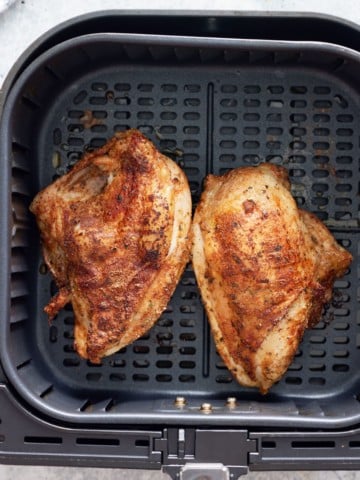
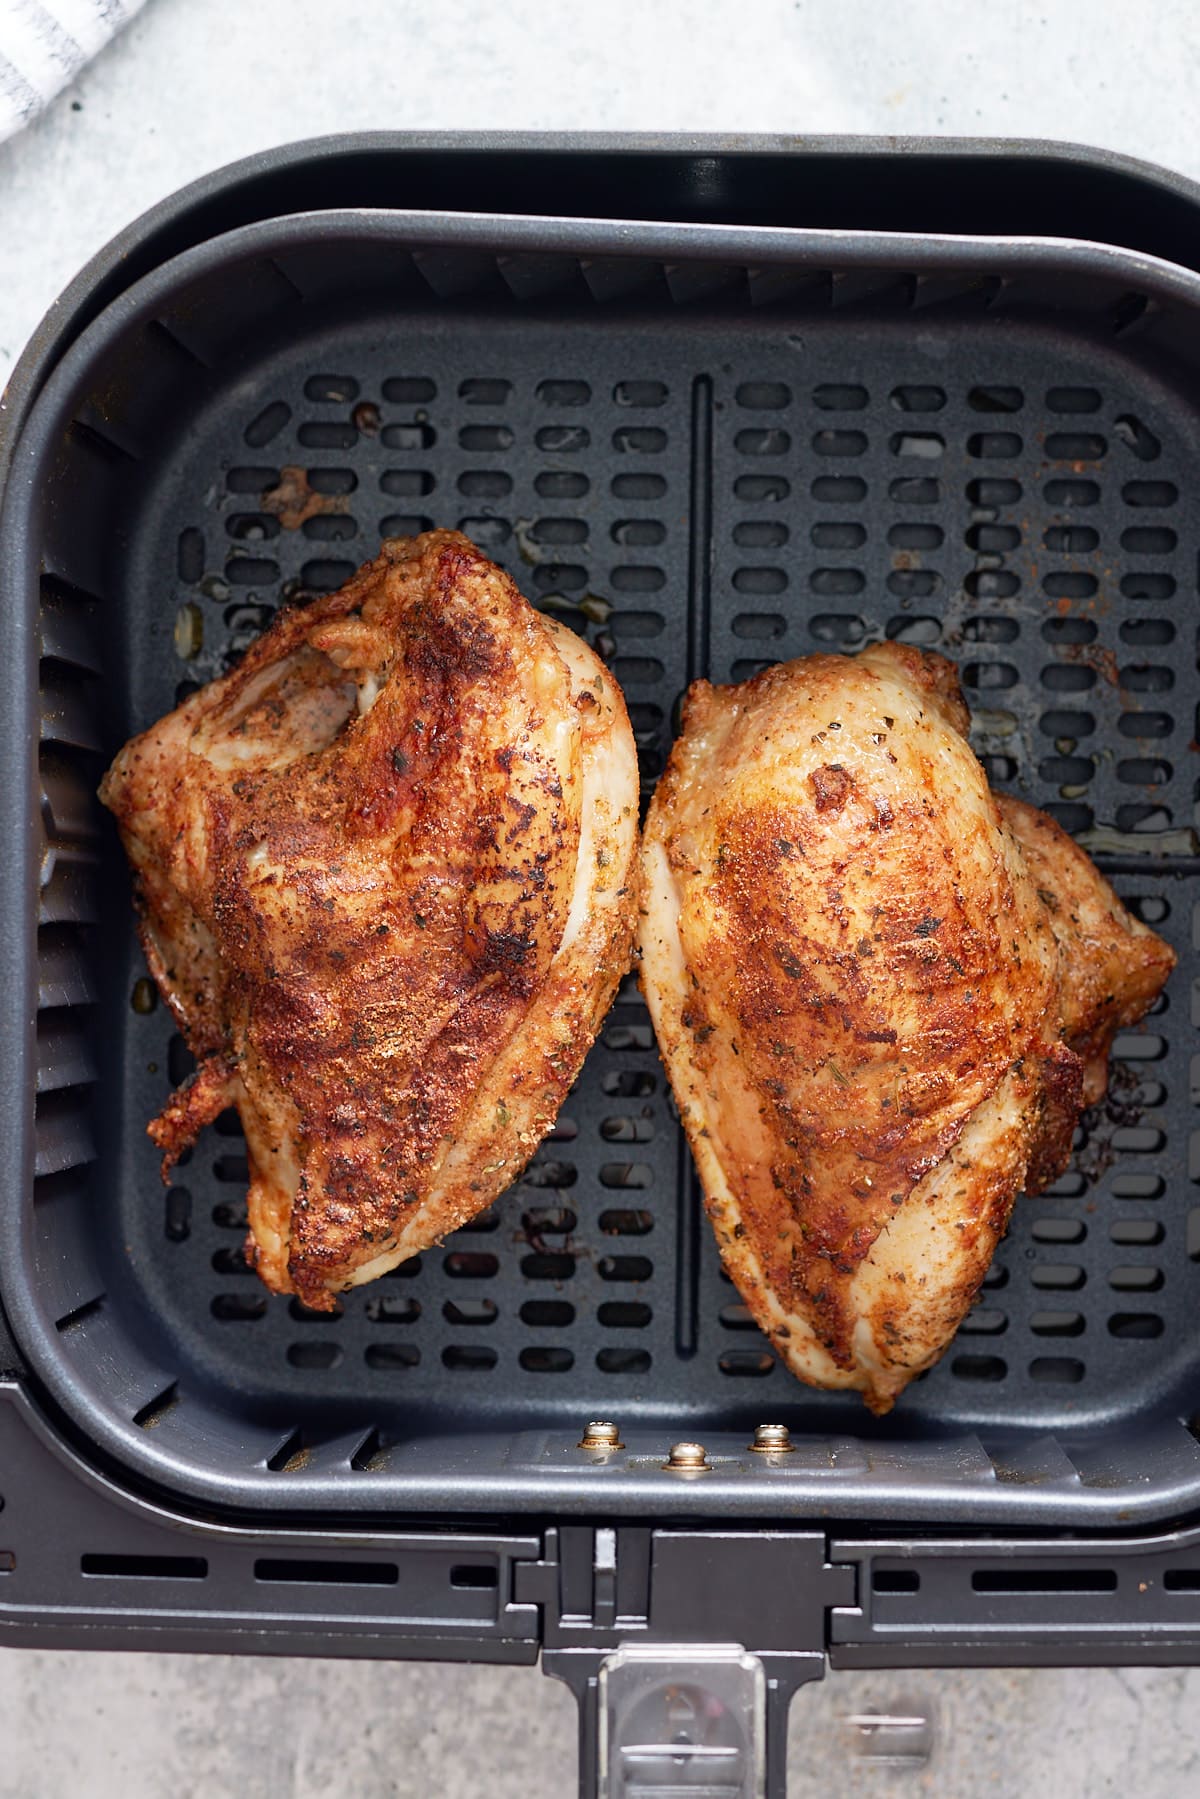
Like my air fryer bacon-wrapped chicken recipe, this shrimp has a sweet, spicy, and smokey flavor combined in one. With minimal prep, this is an air fryer recipe you'll want to make again and again.
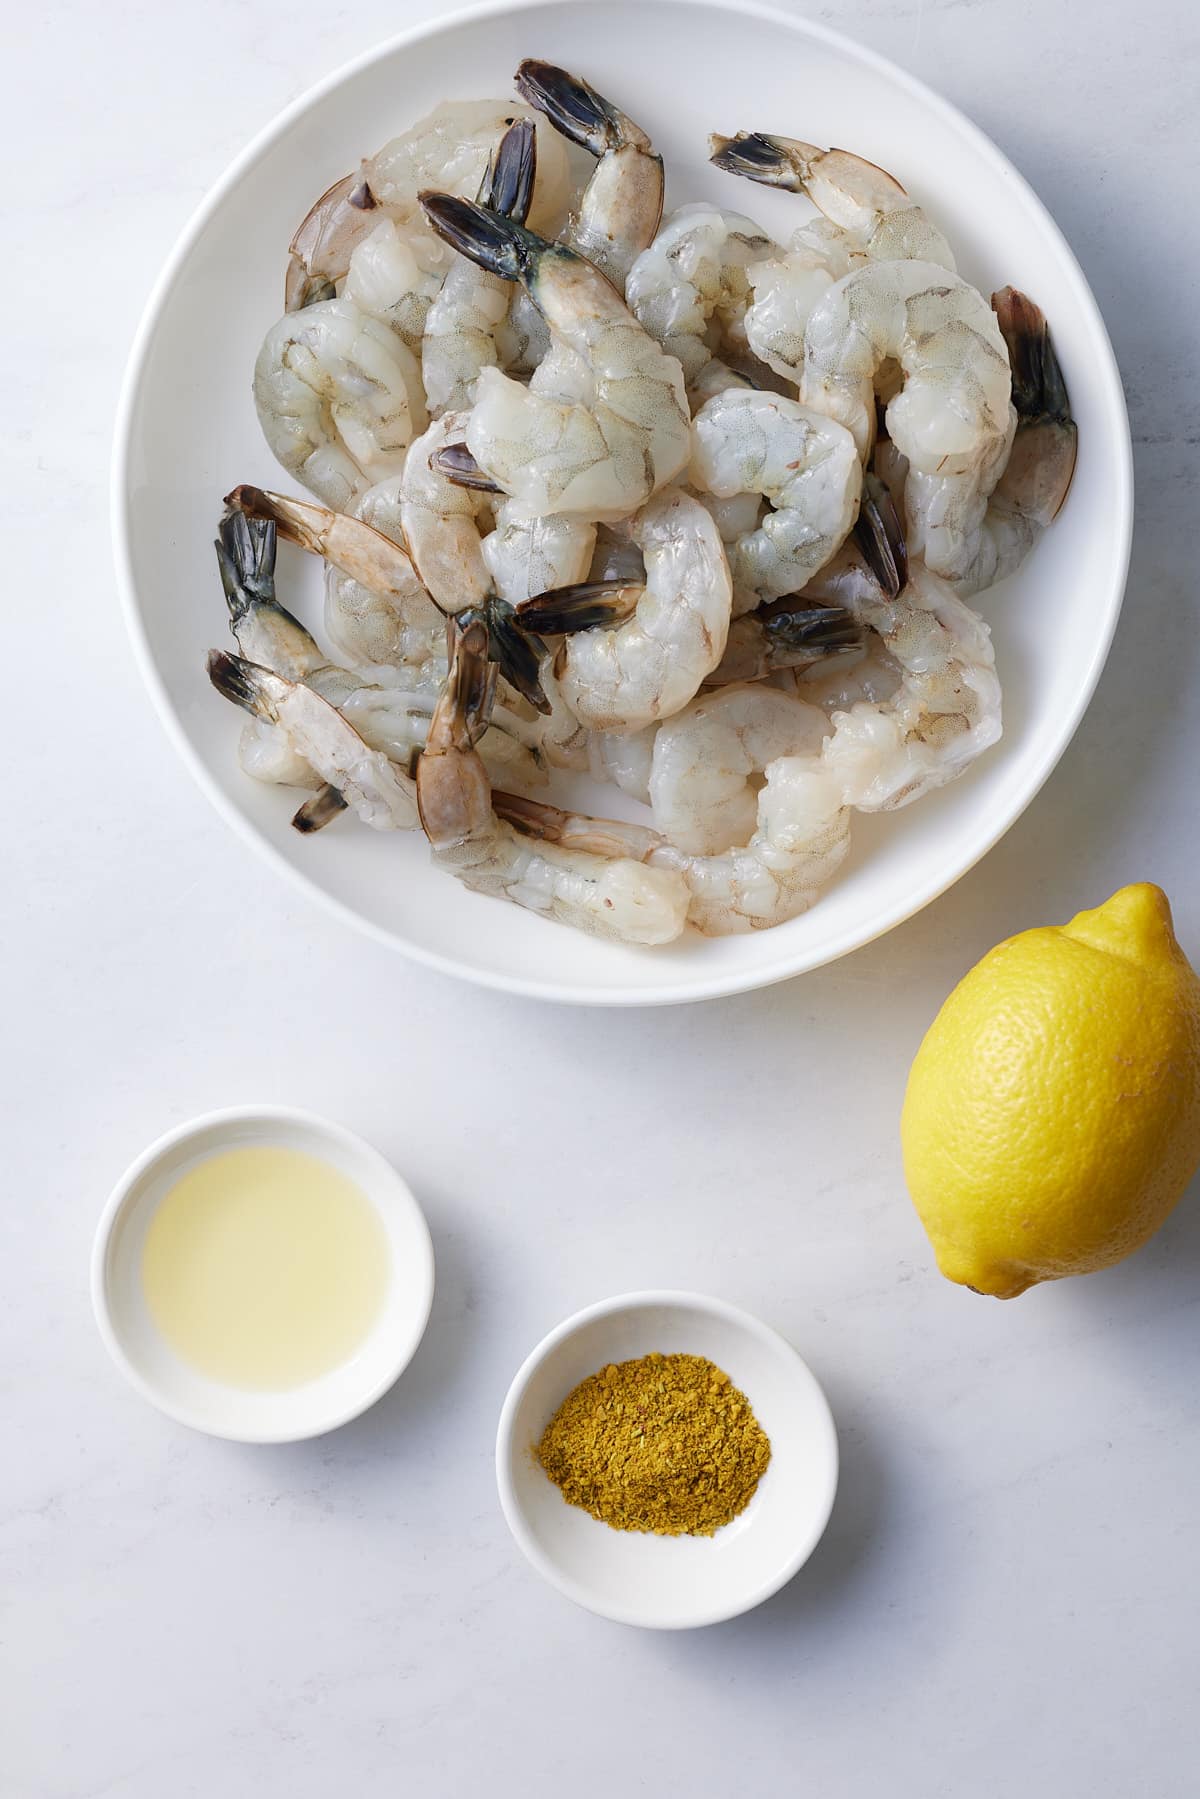
Ingredients and Tools Needed
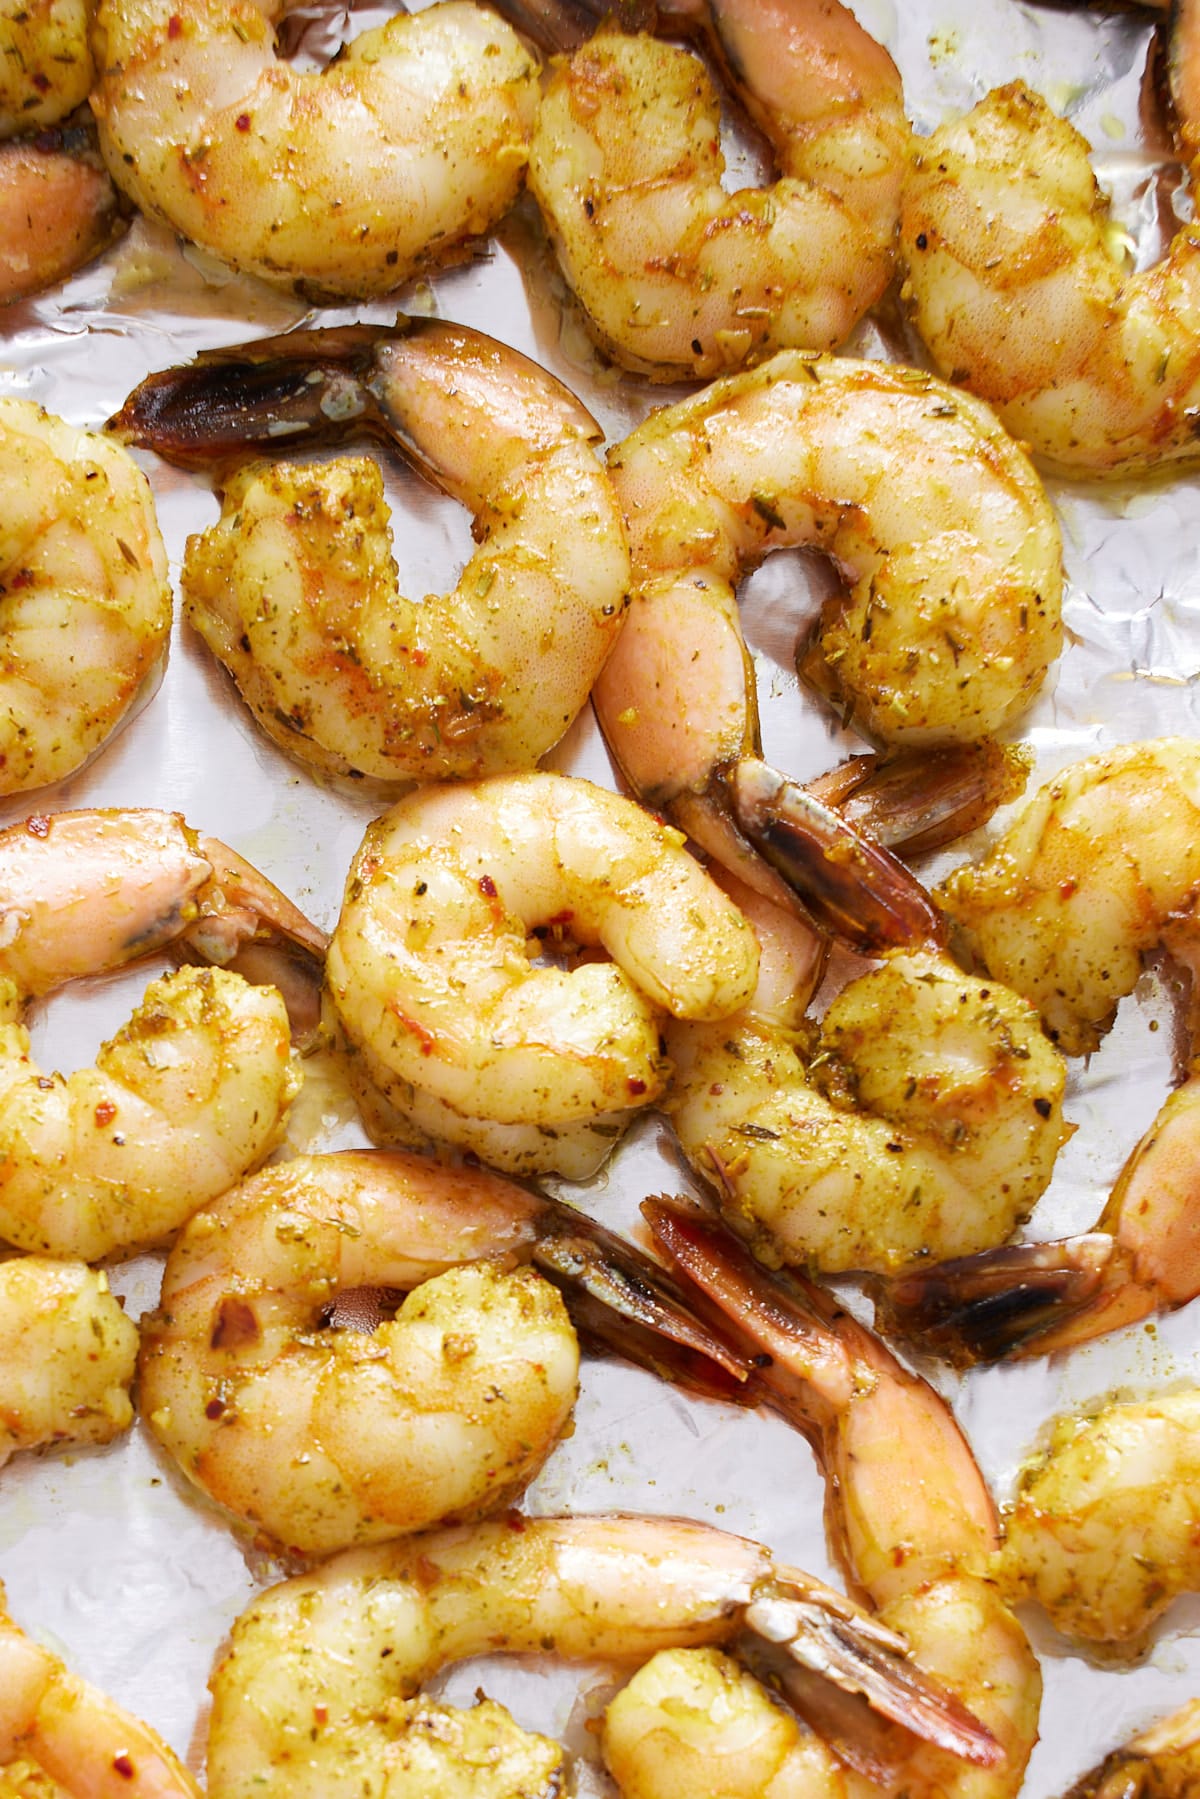
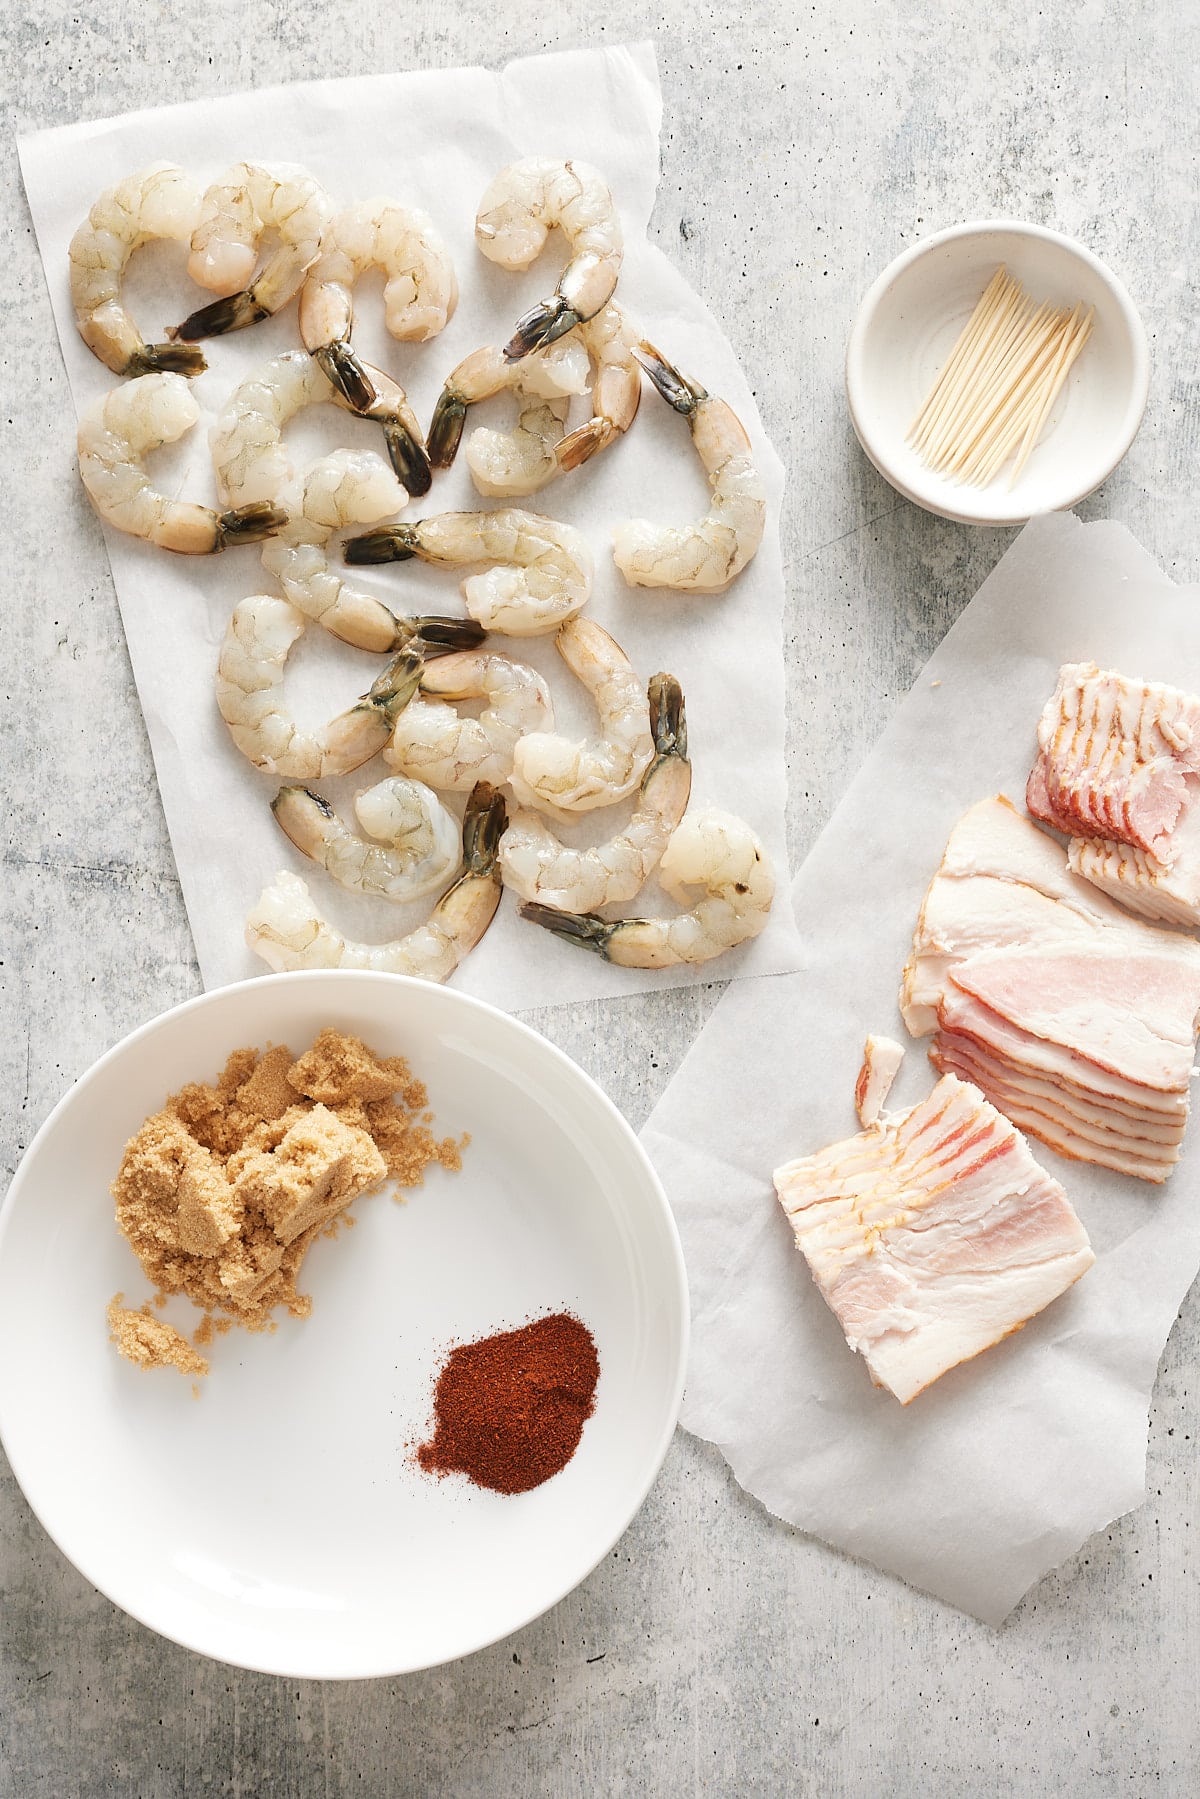
- Shrimp: I use defrosted, large or jumbo shrimp, raw shrimp that has been deveined, peeled, and with the tail on. You can also use shrimp with the tail off. I keep the tail on so it can easily be picked up.
- Bacon: Use center-cut bacon. I'd avoid thick-cut bacon as it'll take longer to cook.
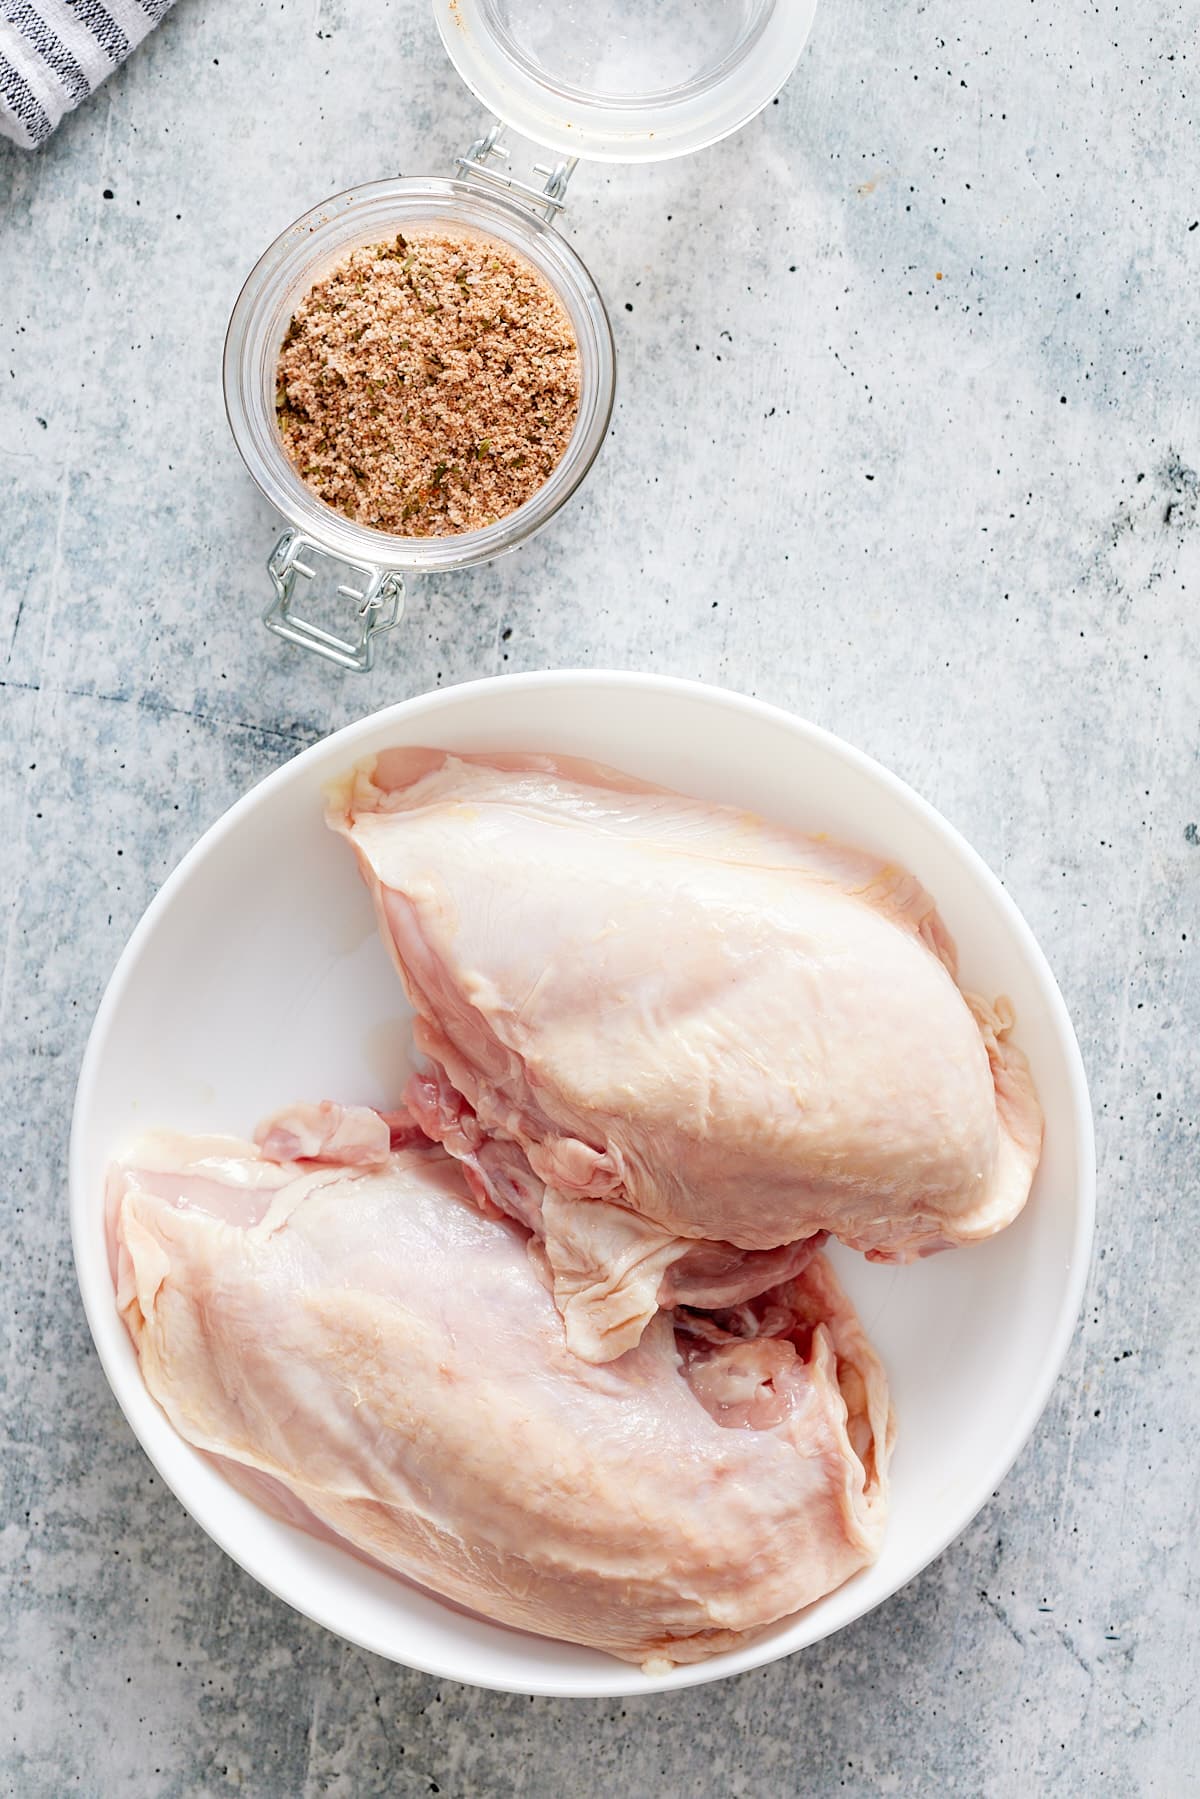
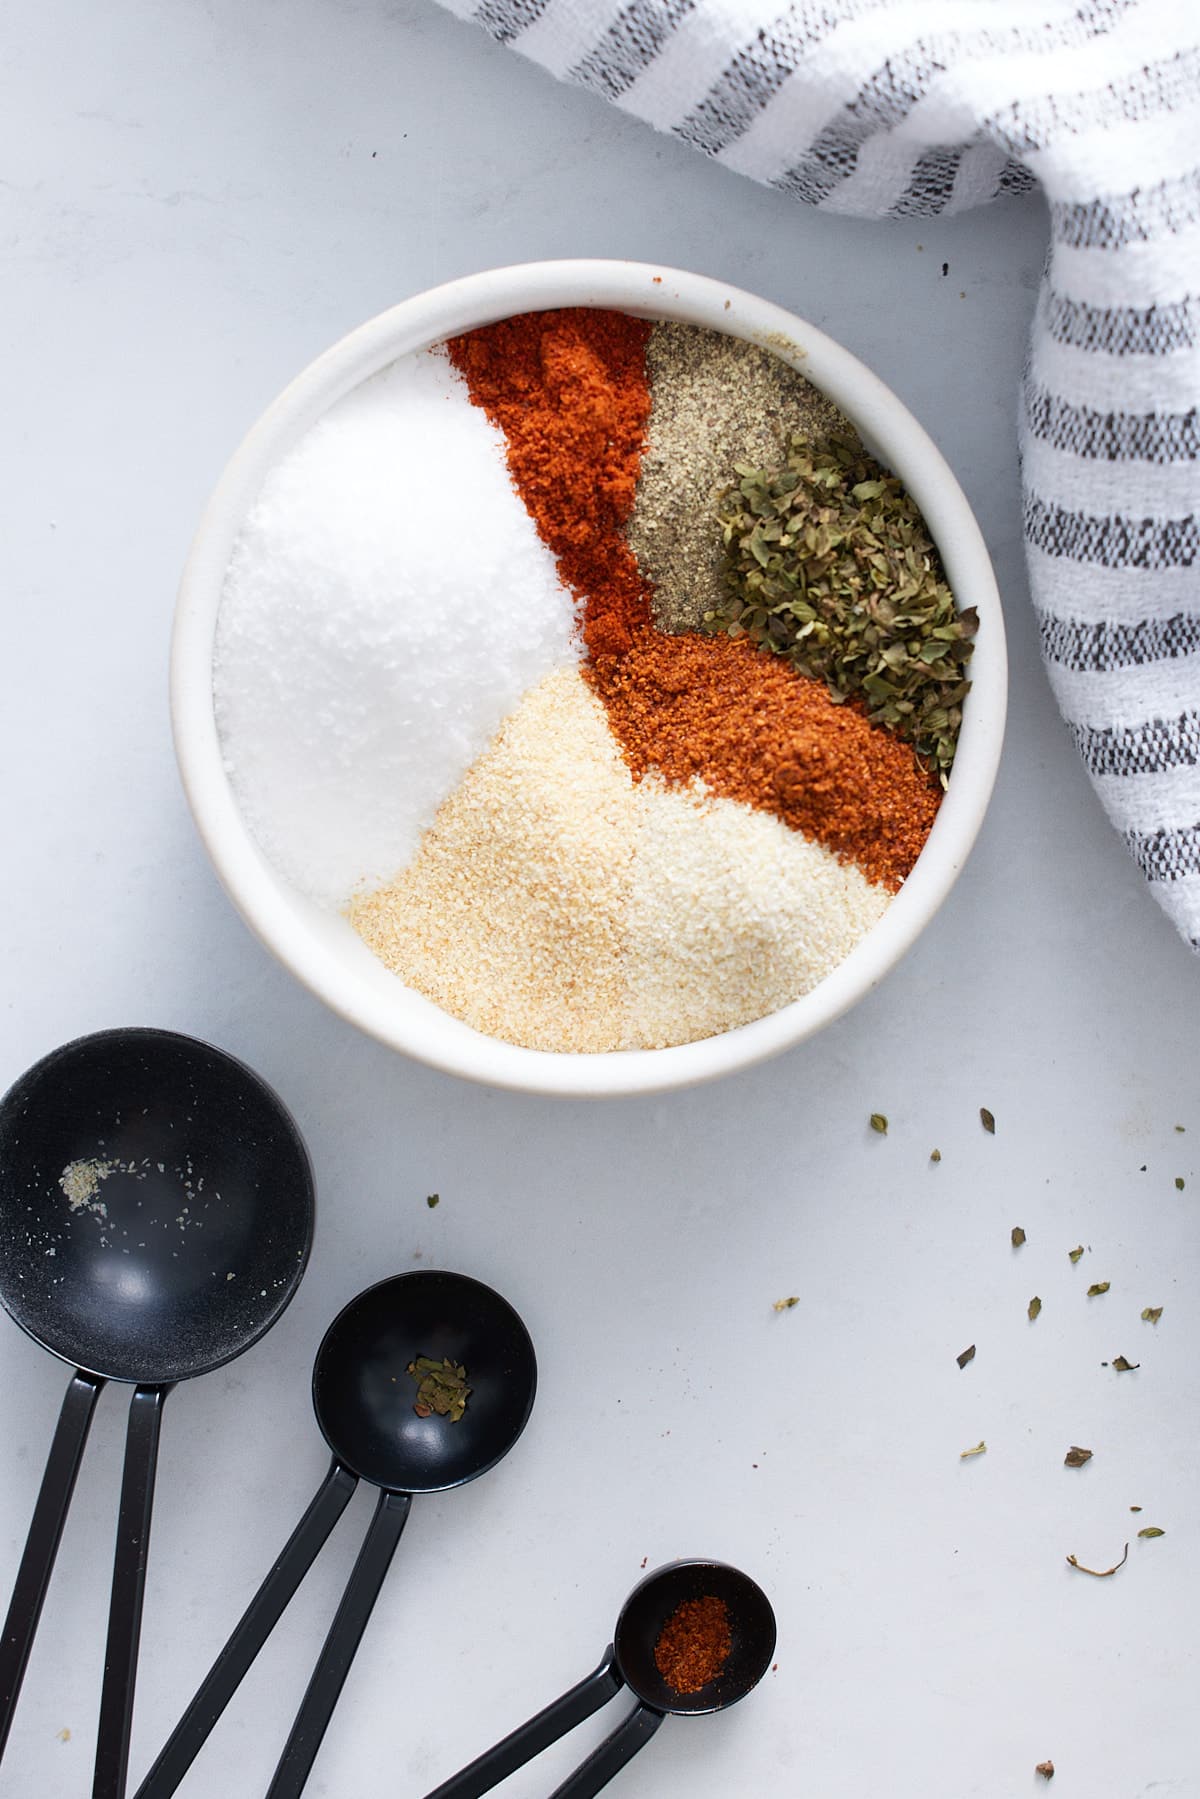
- Seasonings: Brown sugar and chili powder give these shrimp that delicious sweet and spicy flavor profile.
- Air fryer: These shrimp work best in the air fryer.
- Toothpicks: Toothpicks are used to secure the bacon to the shrimp.
How to make air fryer bacon-wrapped shrimp
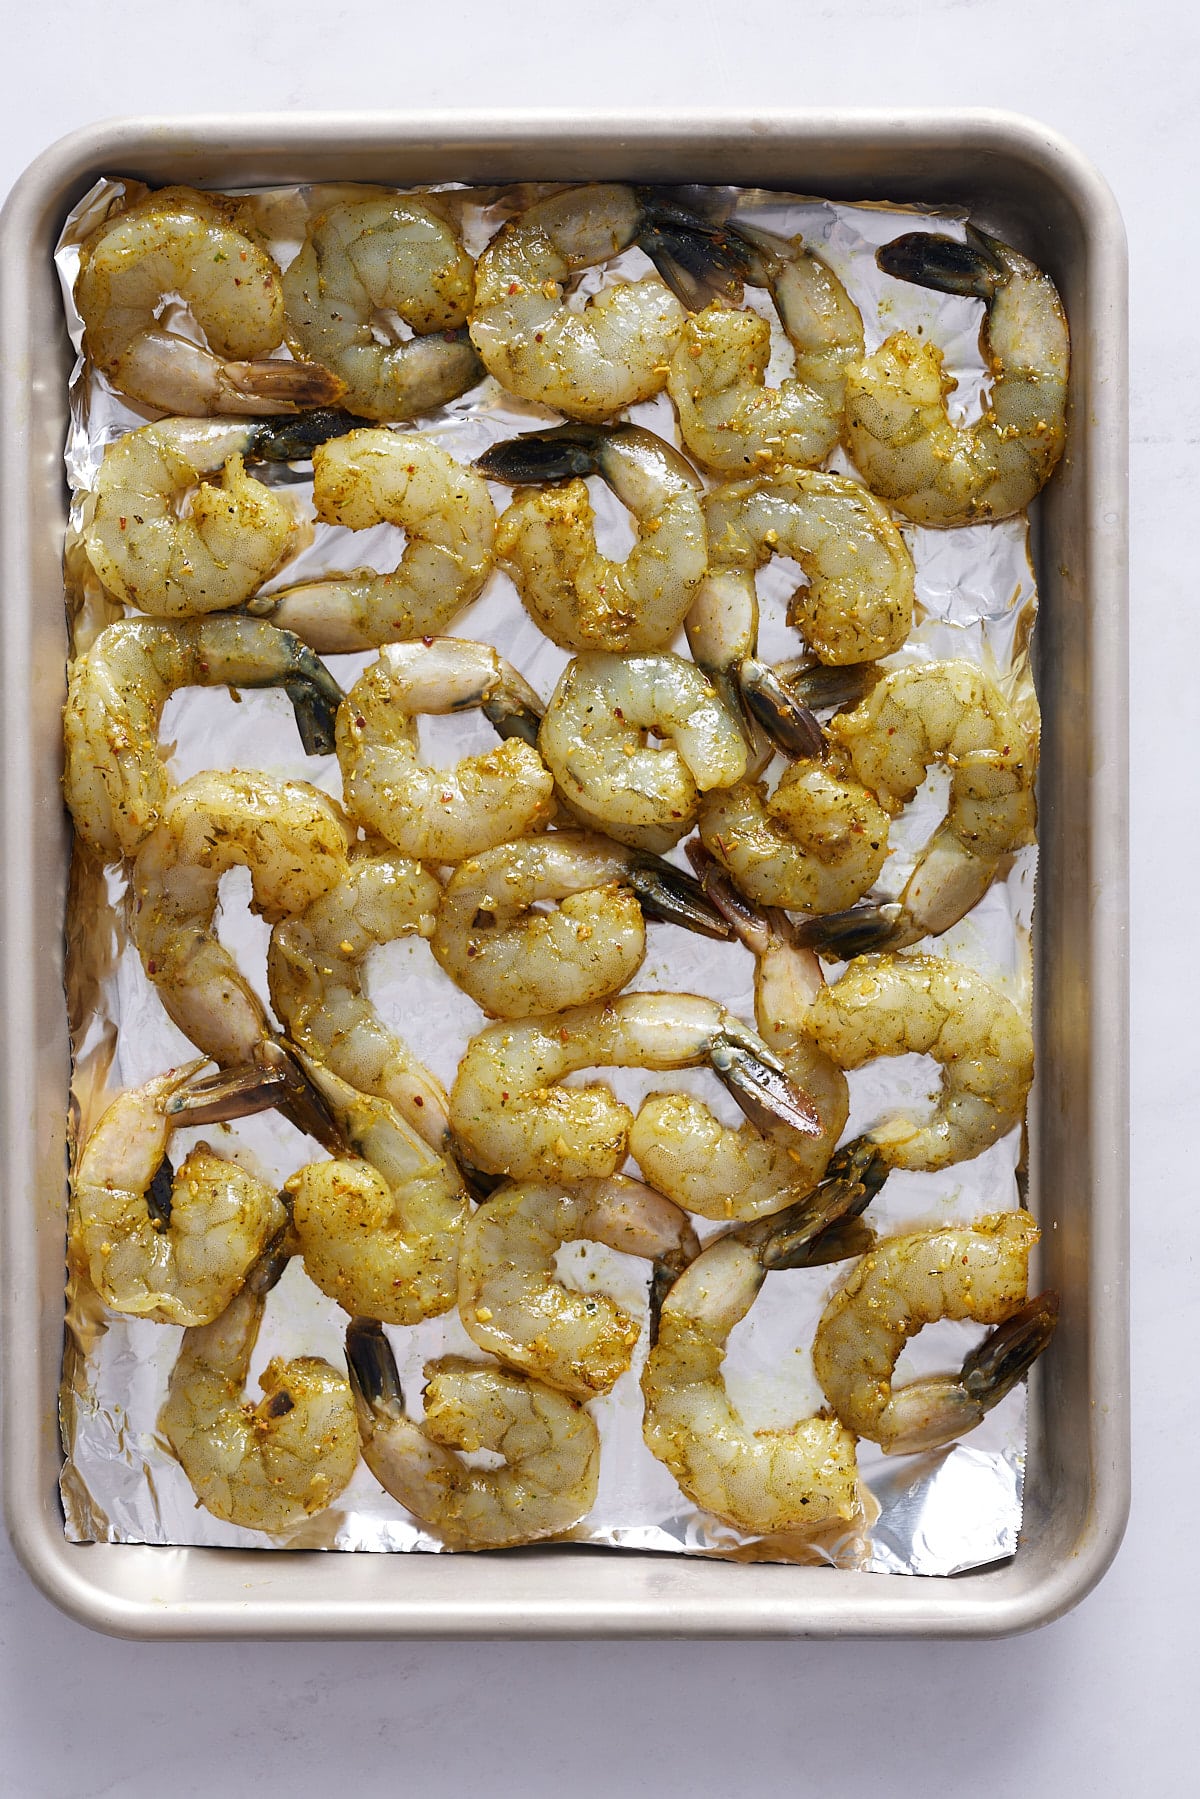
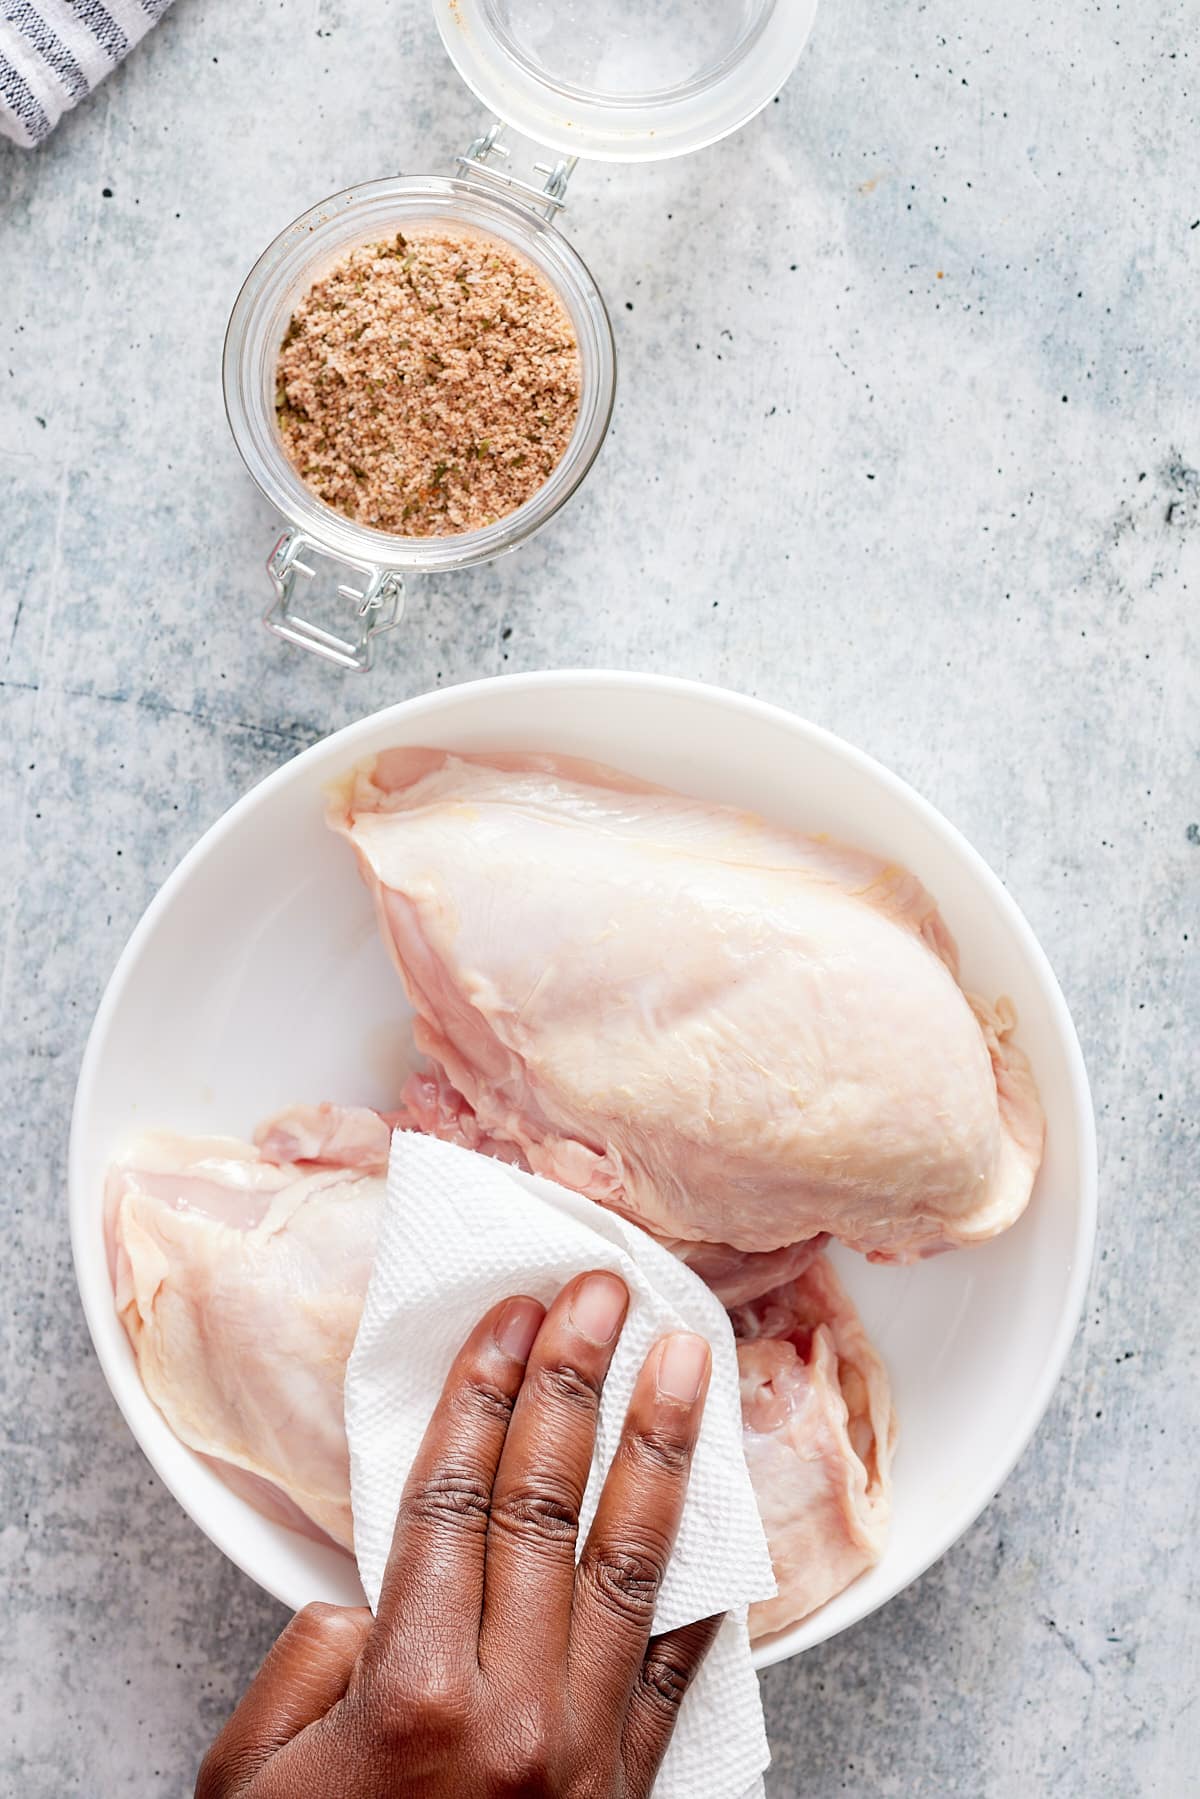
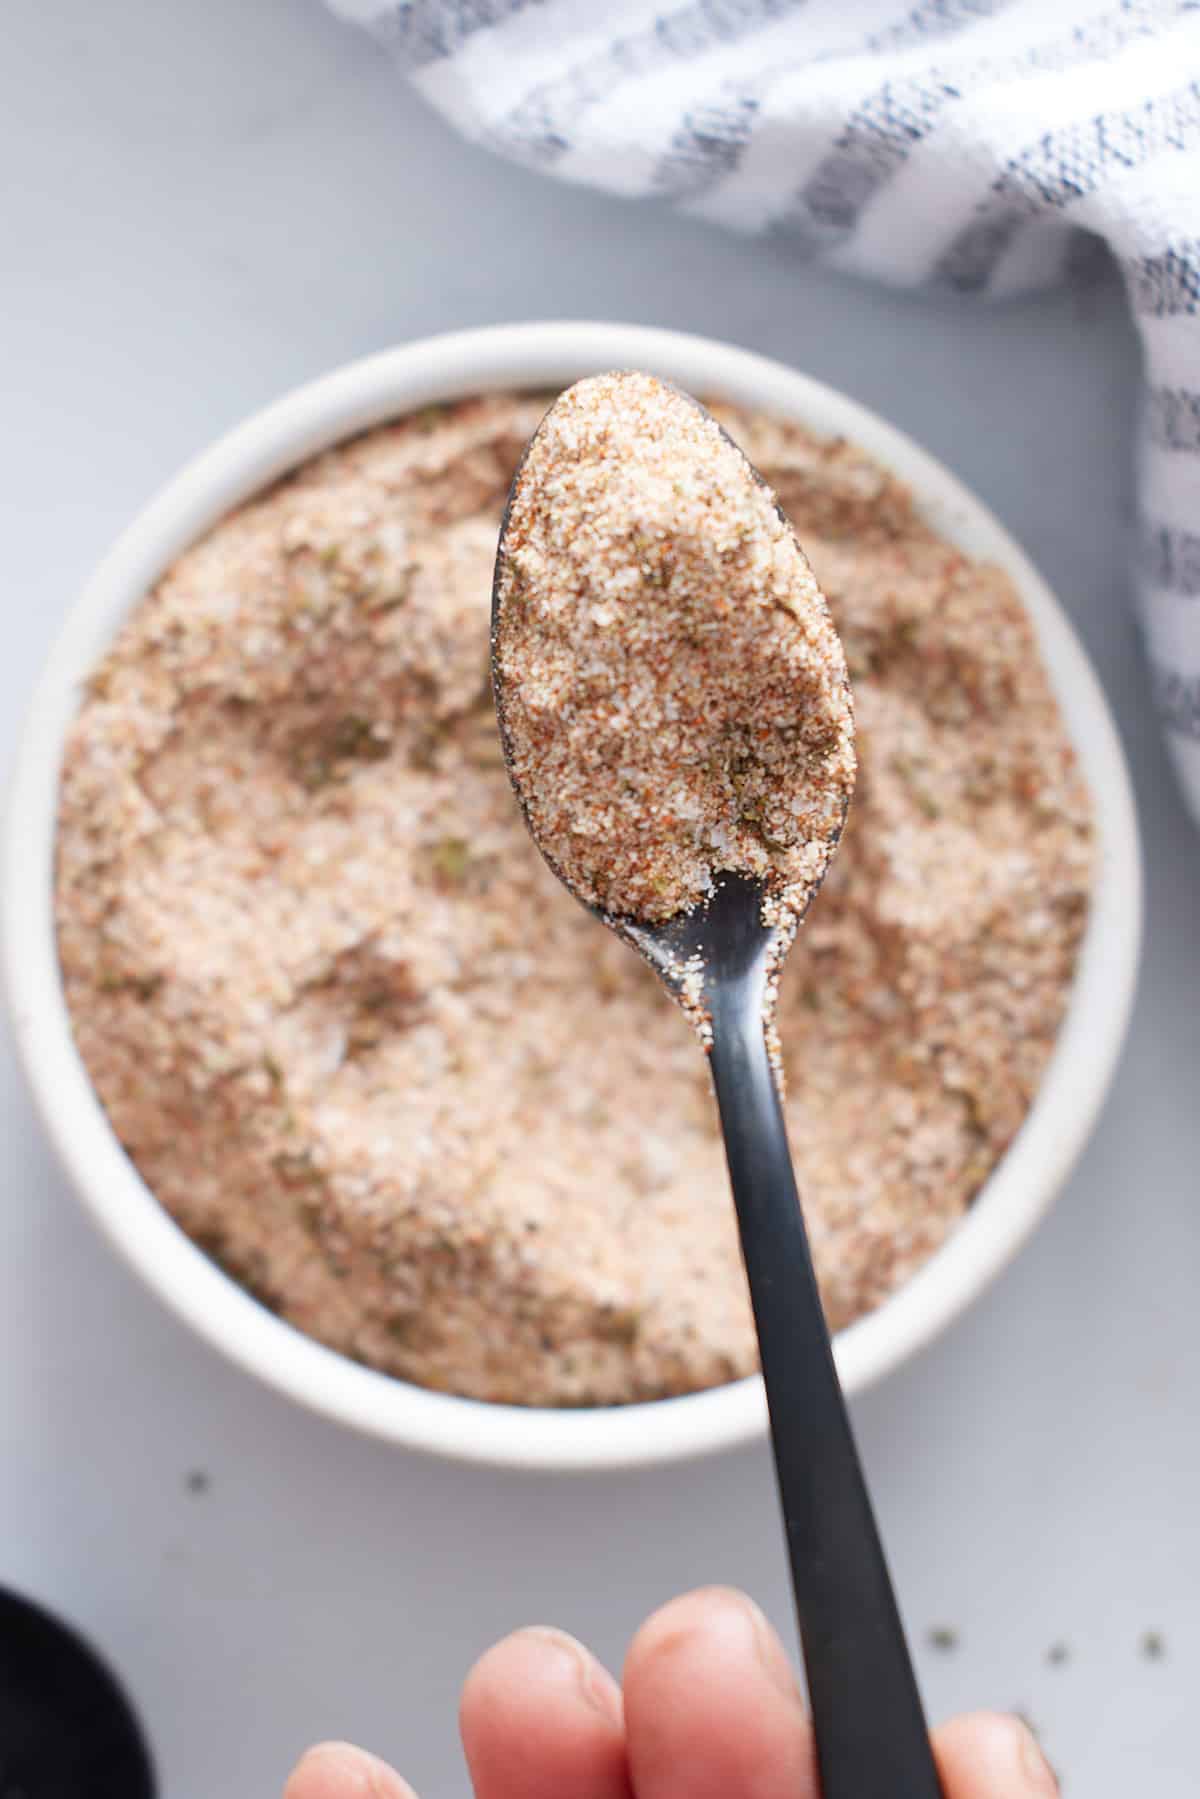
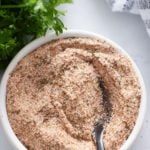
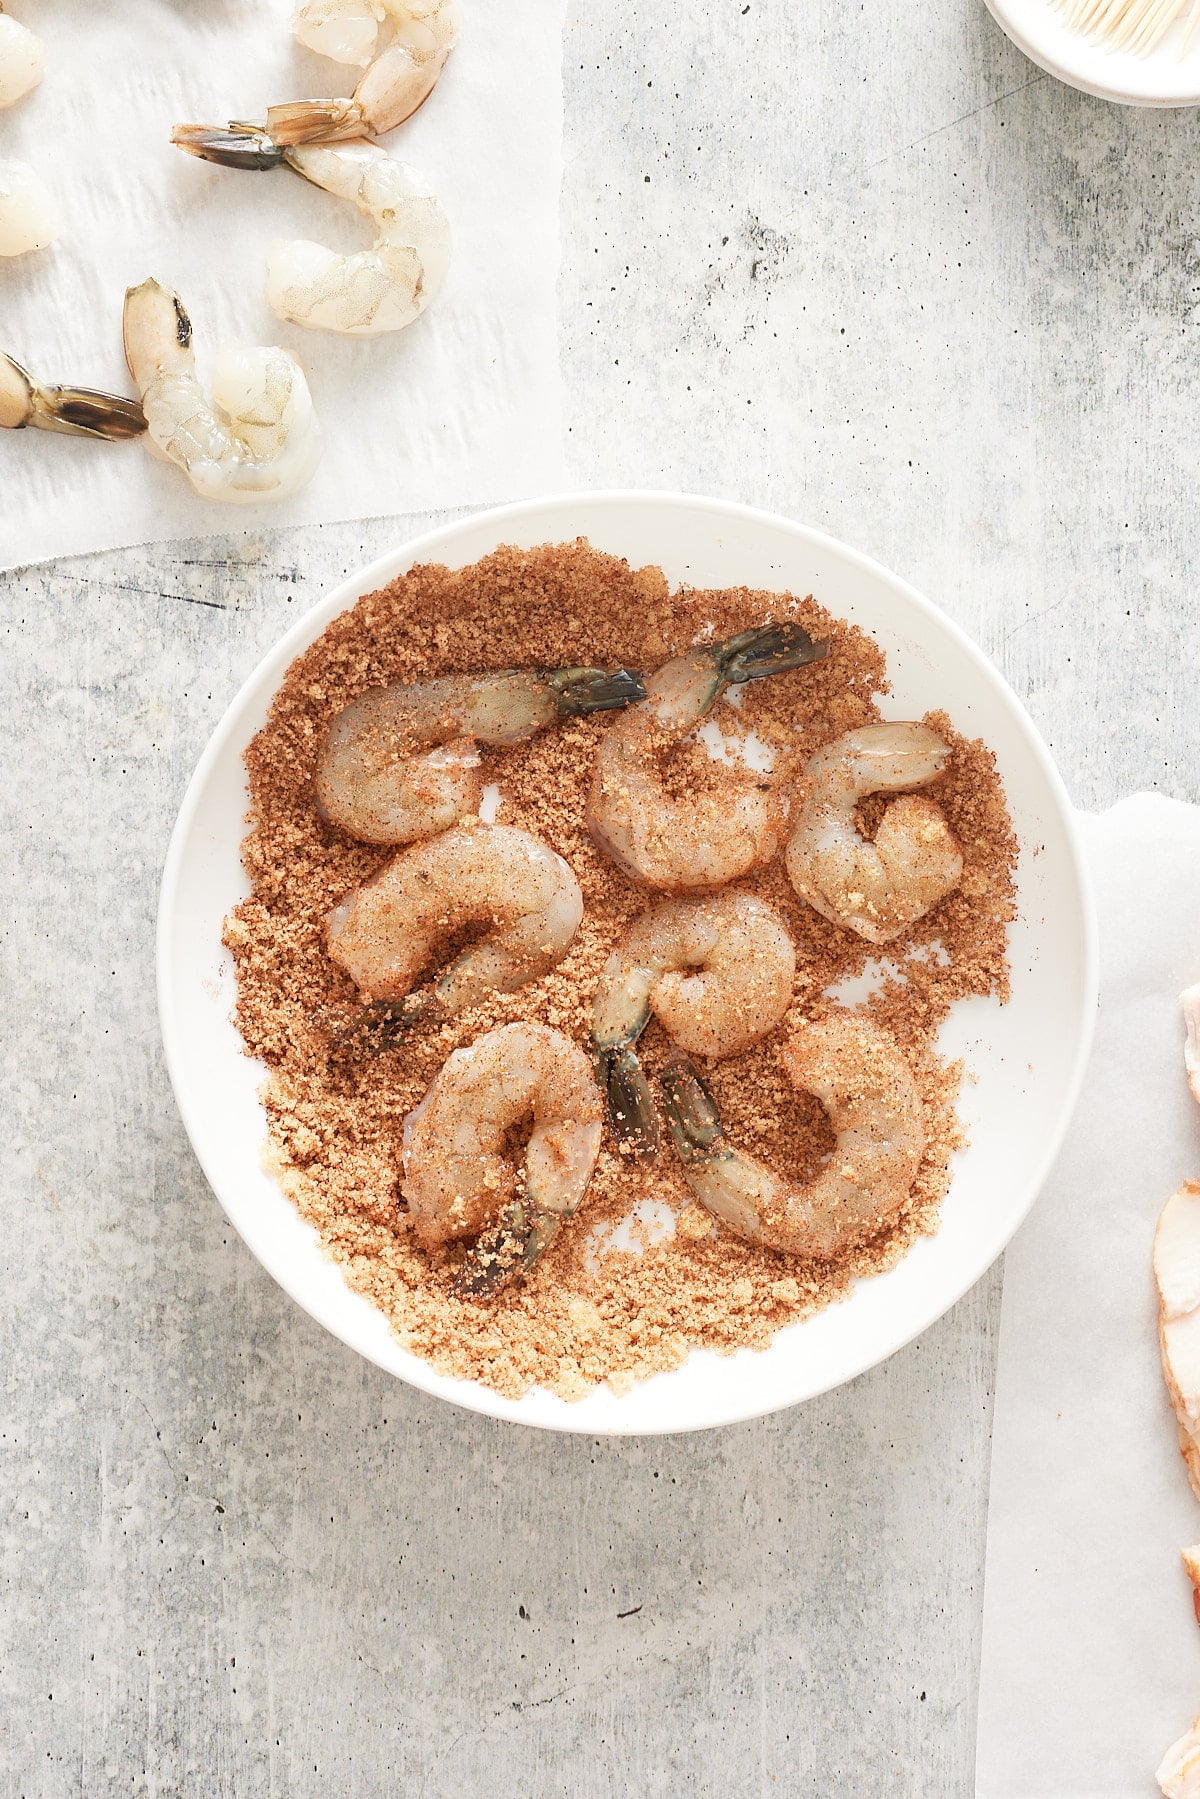
First, cut your slices of bacon into thirds. Add brown sugar and chili powder to a small bowl and mix until combined. Pat the shrimp dry. Place the shrimp into the brown sugar and mix, coating both sides of the shrimp.
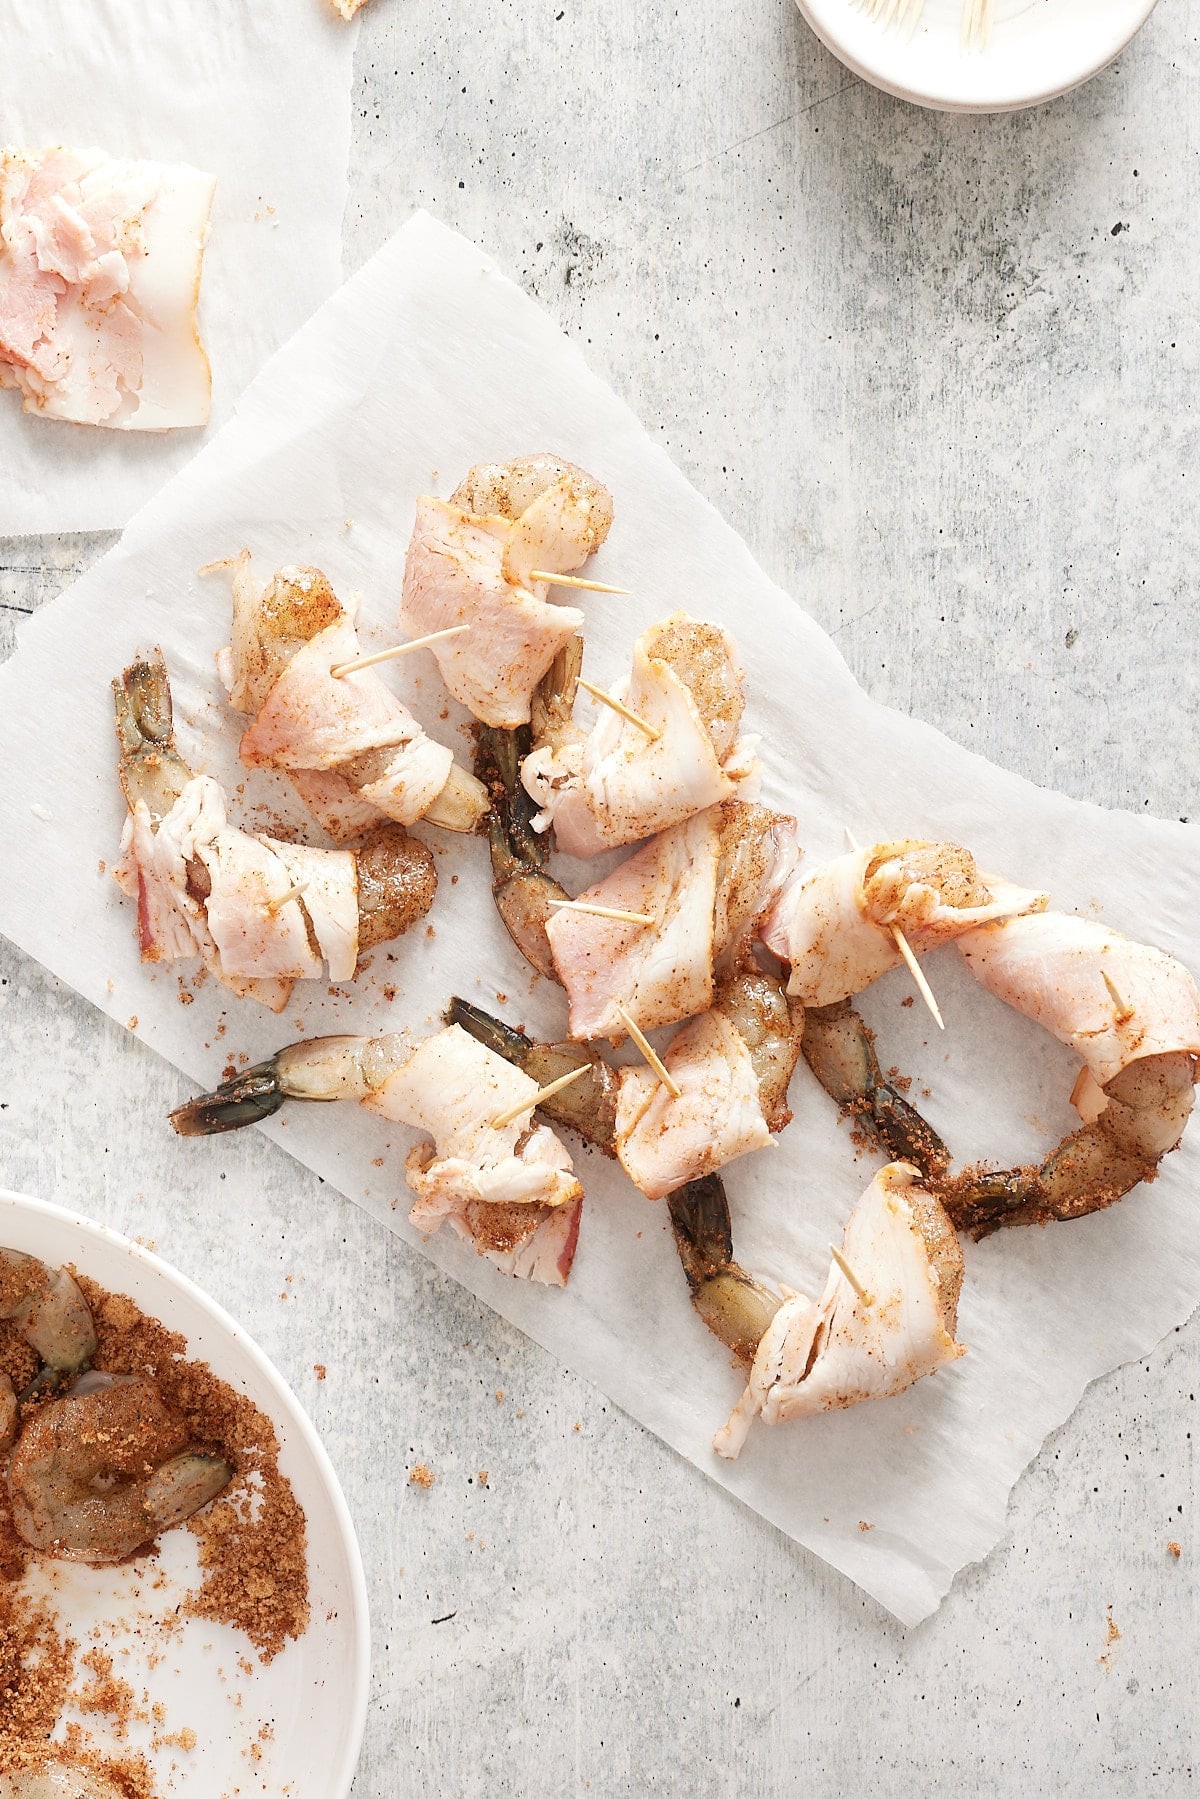
Wrap each shrimp with a piece of bacon and secure the bacon to the shrimp with a toothpick.
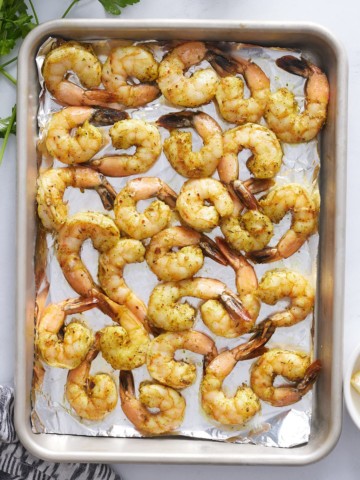
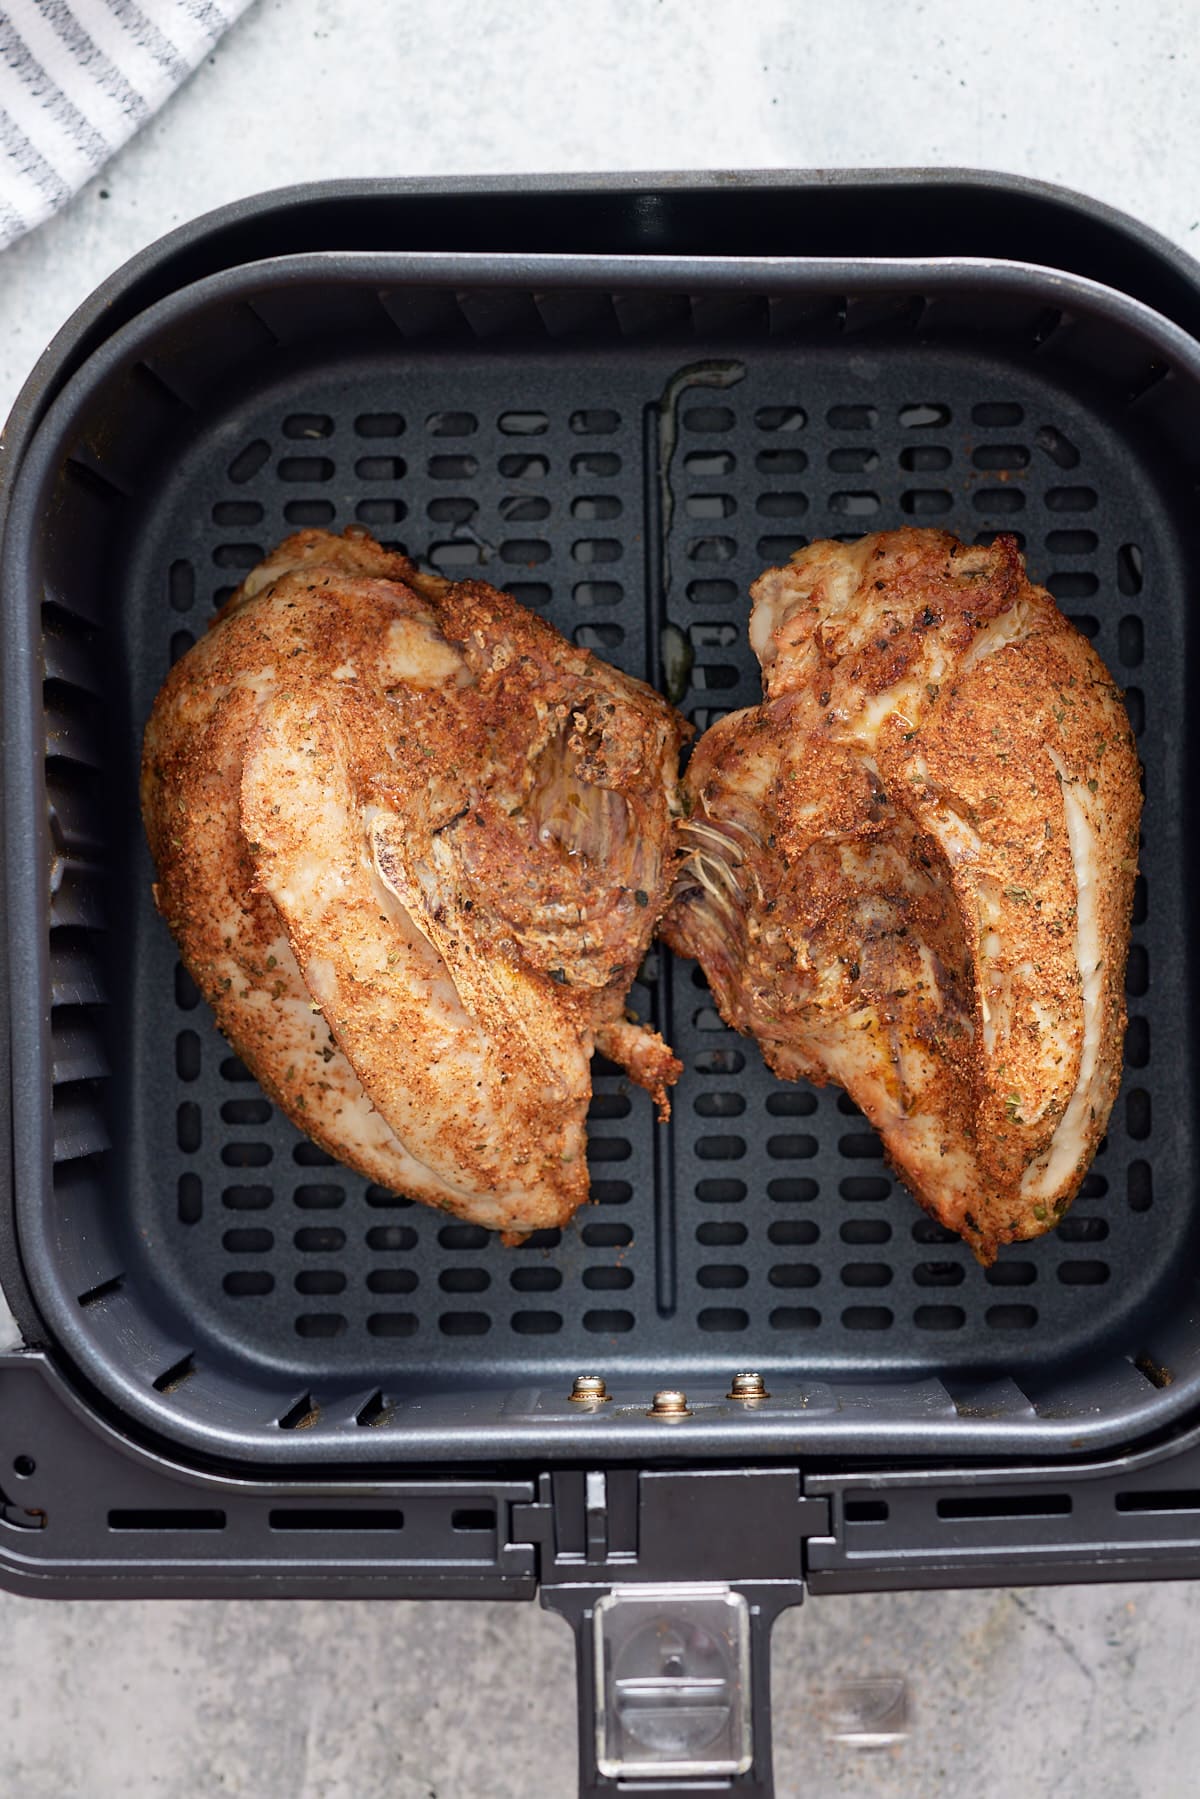
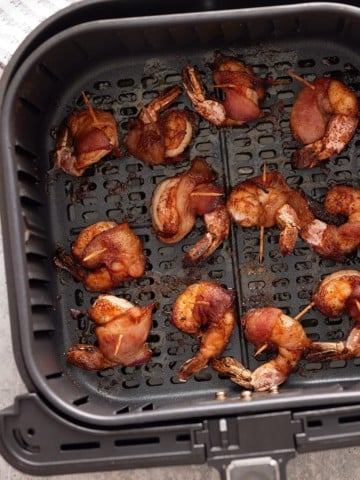
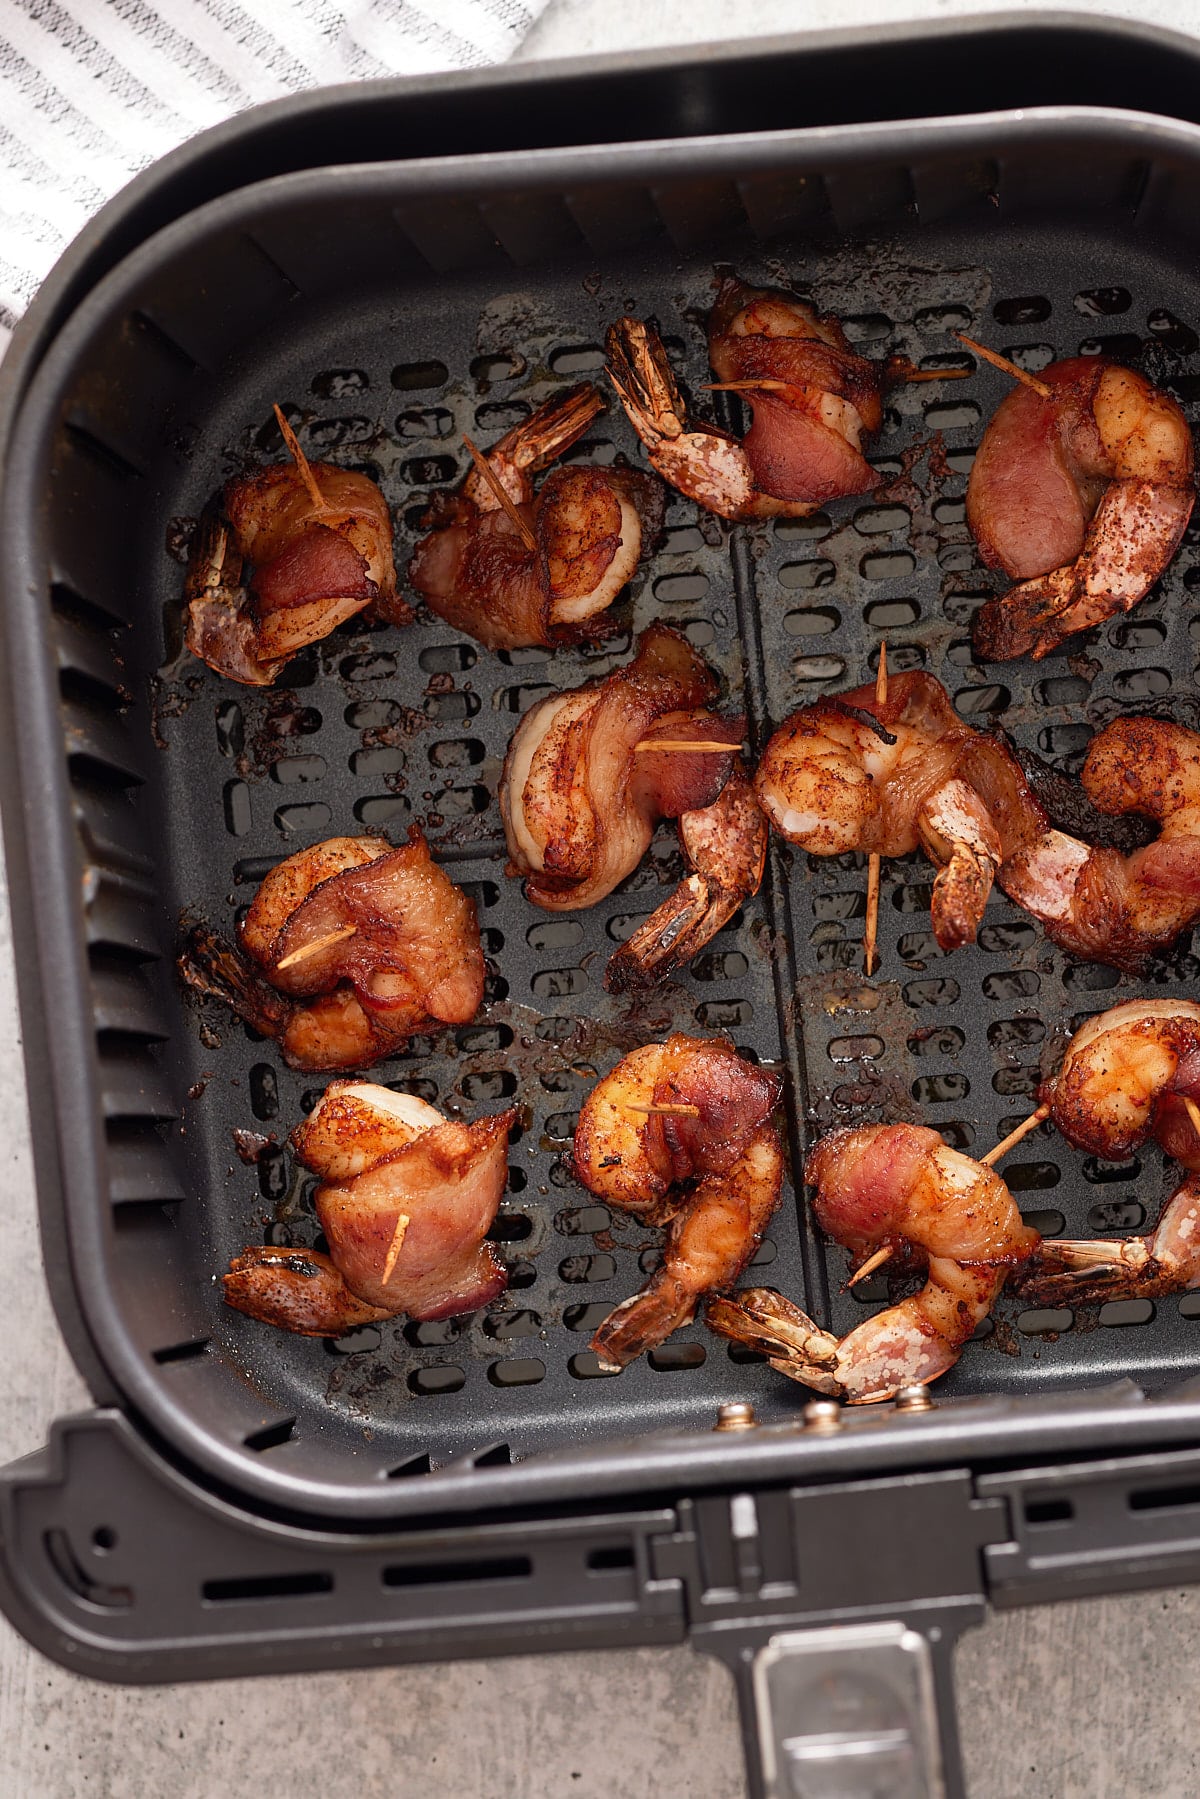
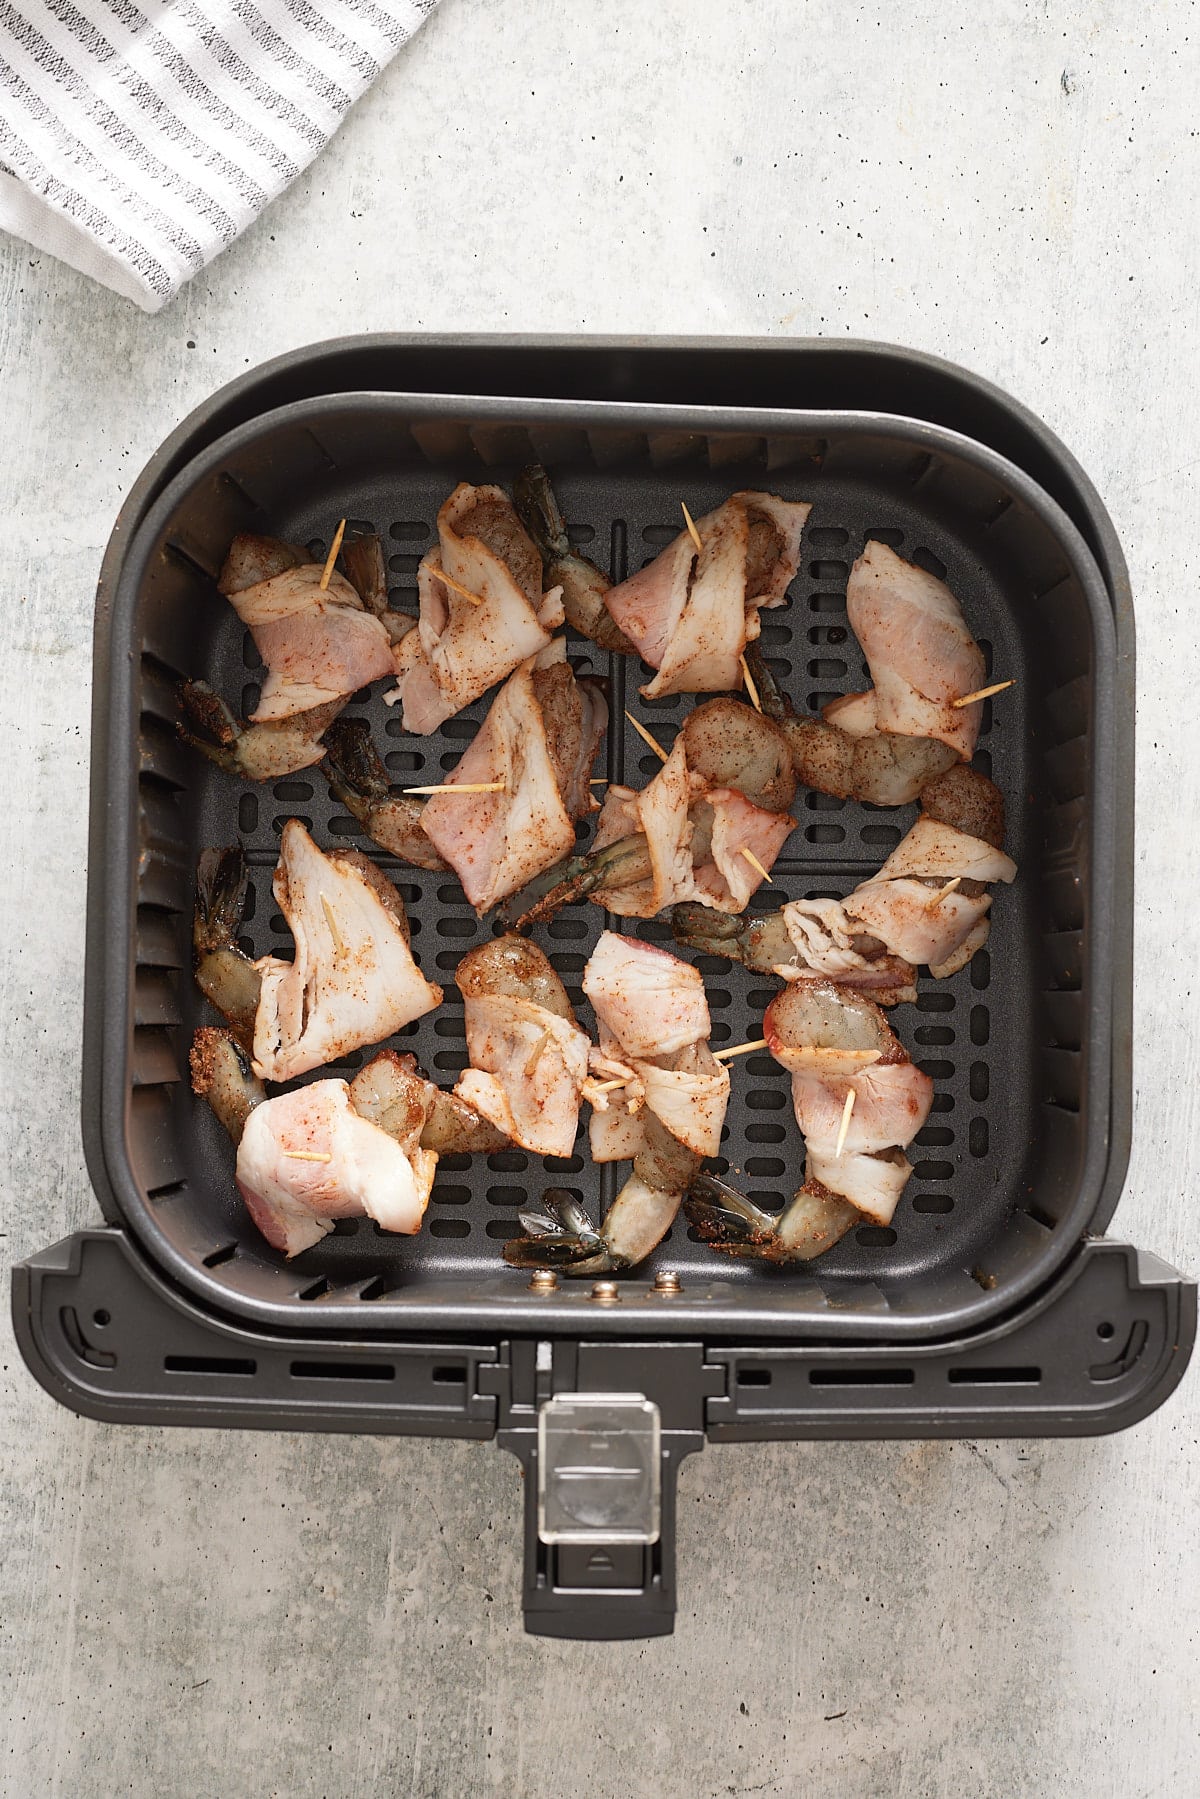
Place the shrimp wrapped in bacon into the bottom of an air fryer basket in a single layer. Do not overlap them. Cook in batches if necessary.
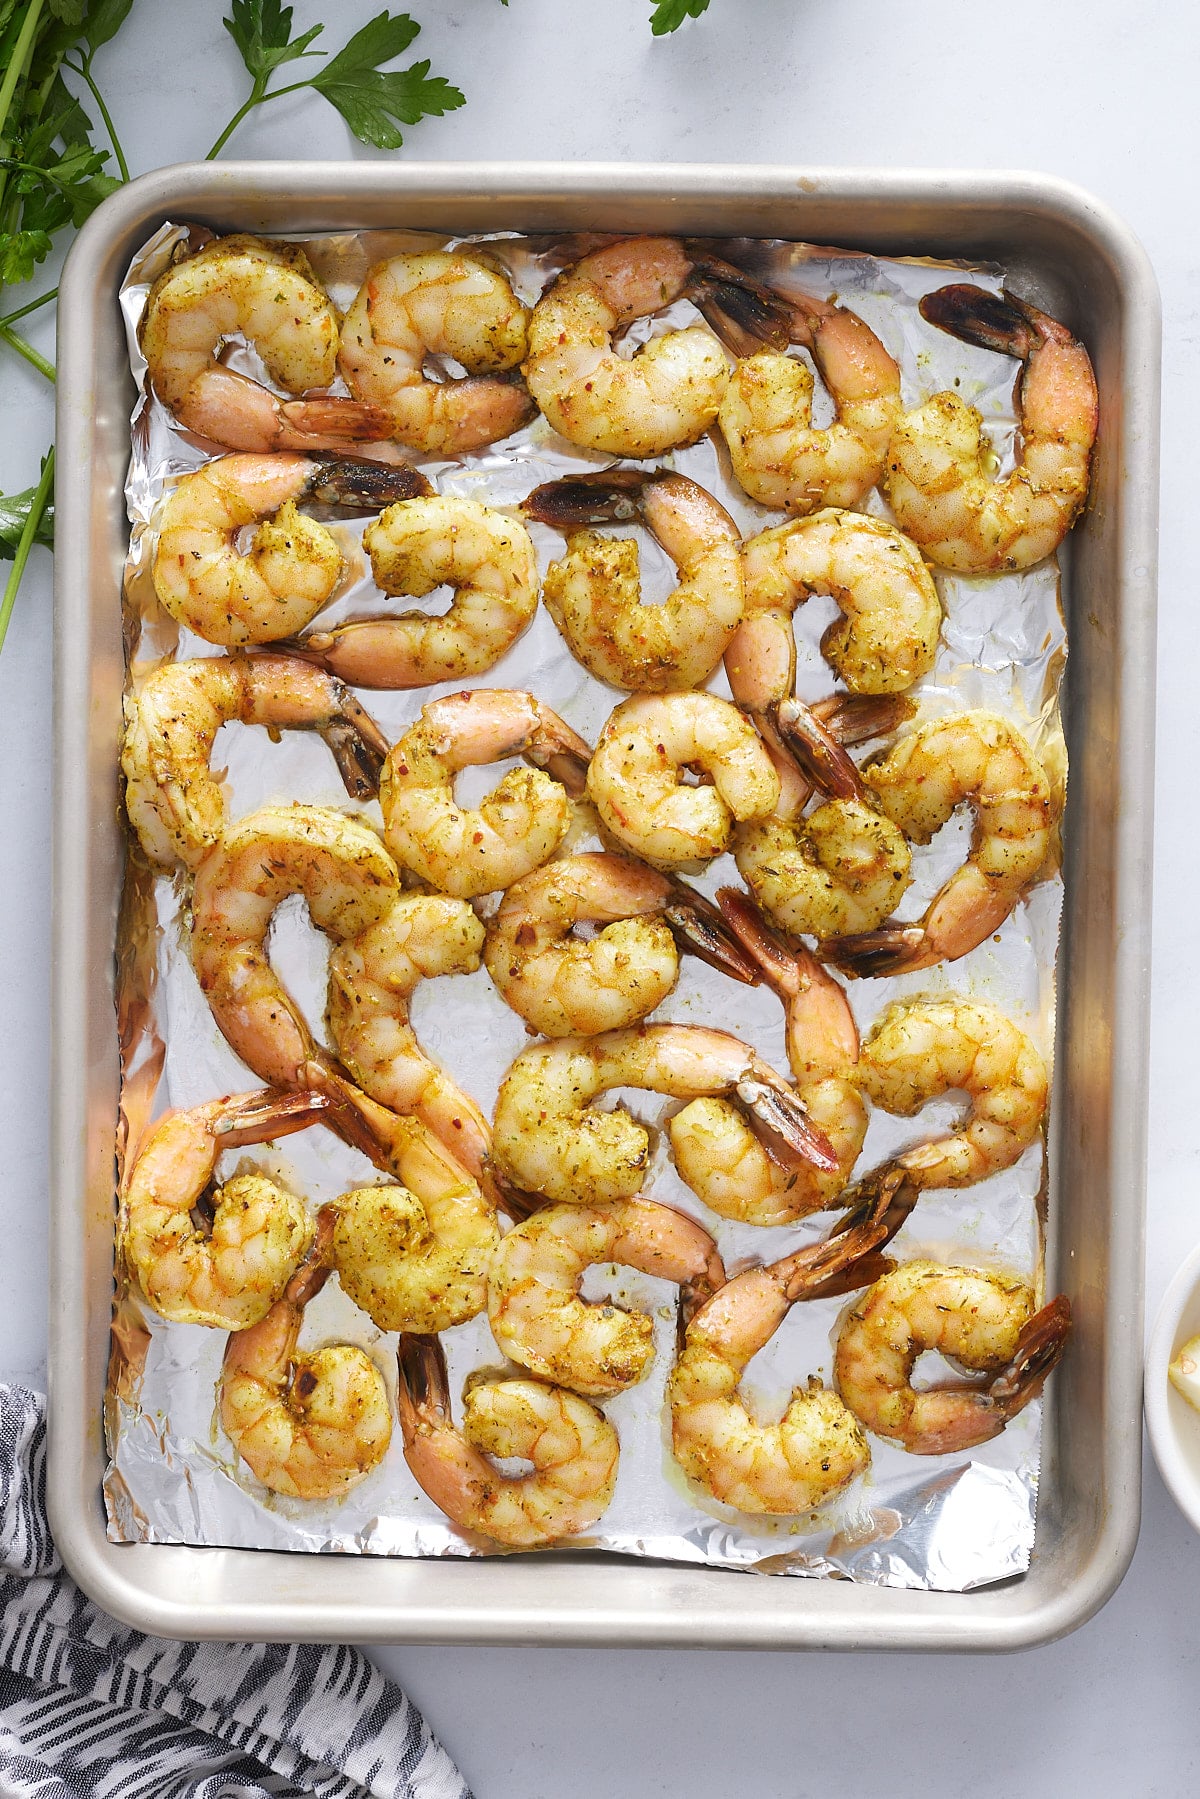
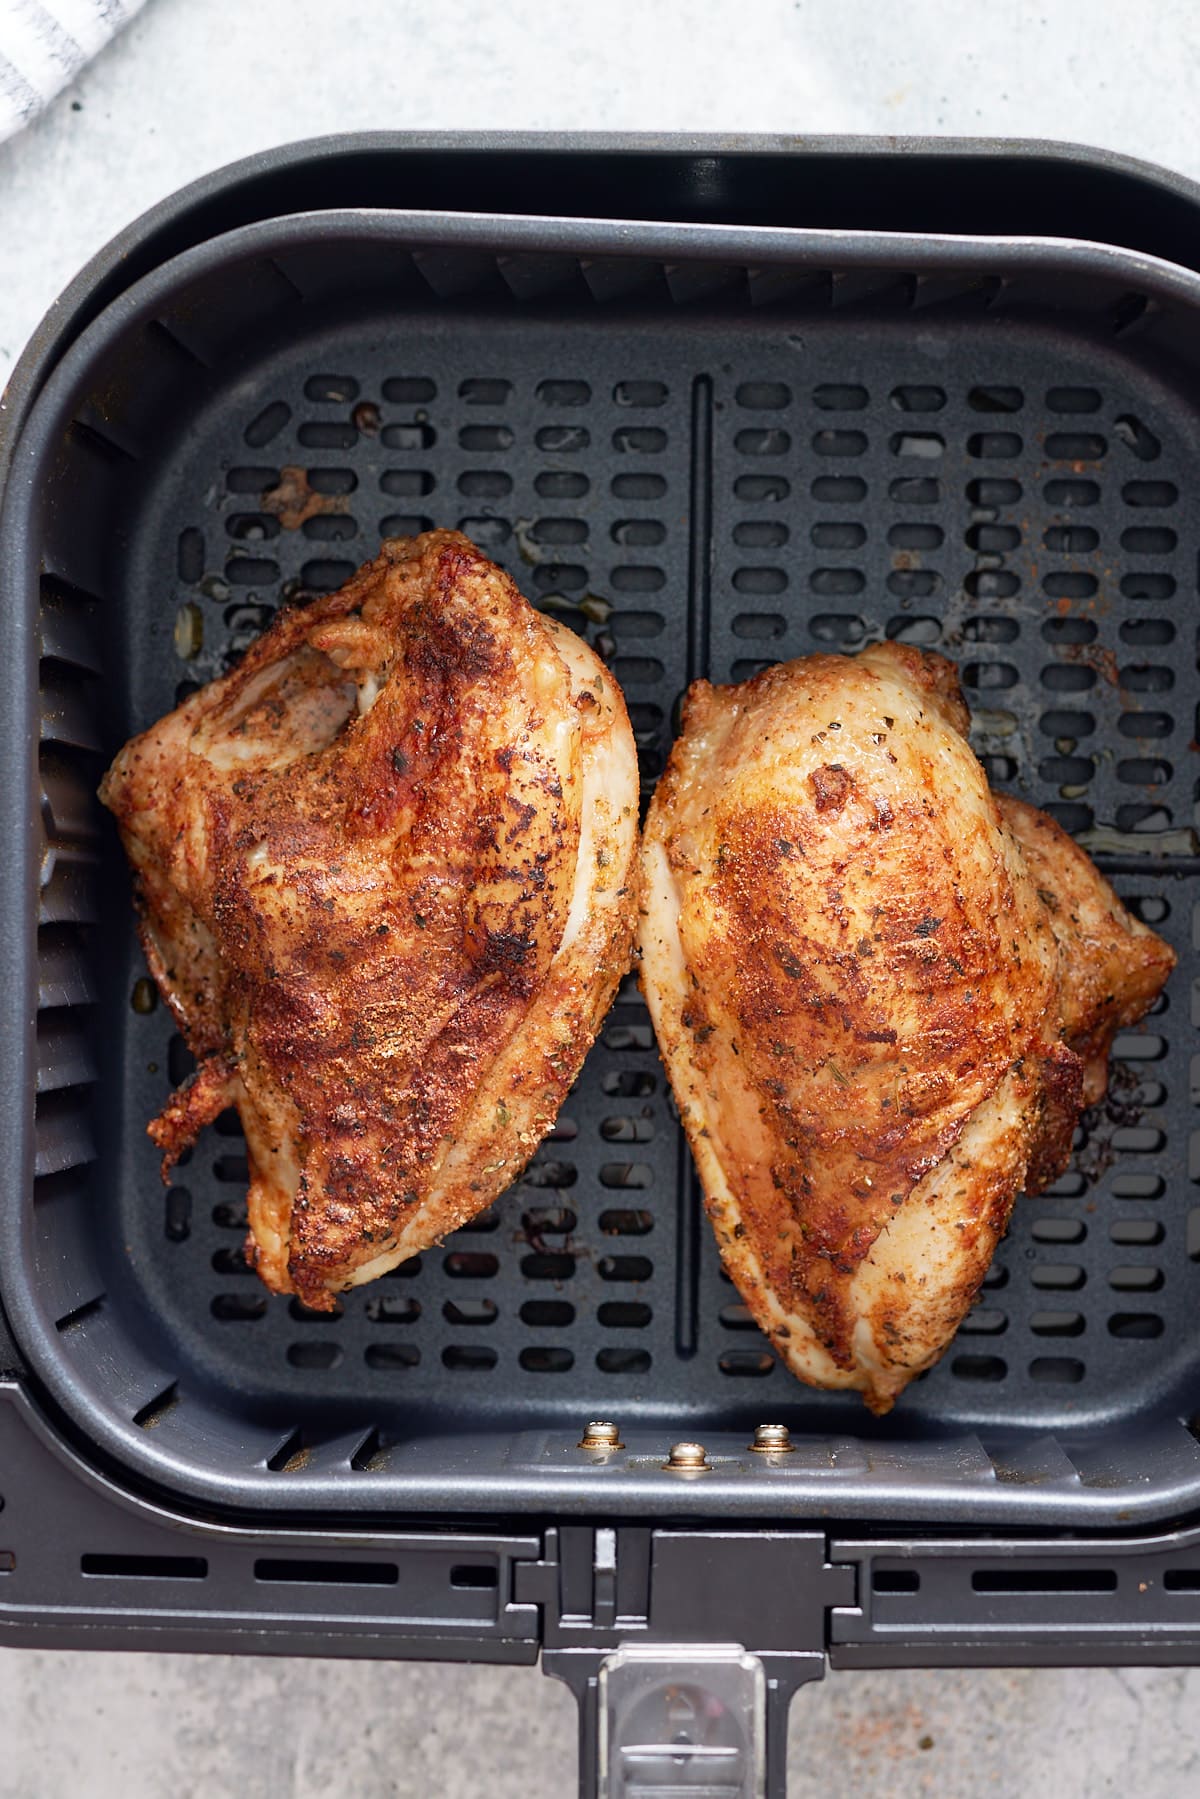
Air fry at 360 degrees Fahrenheit for 12-15 minutes.
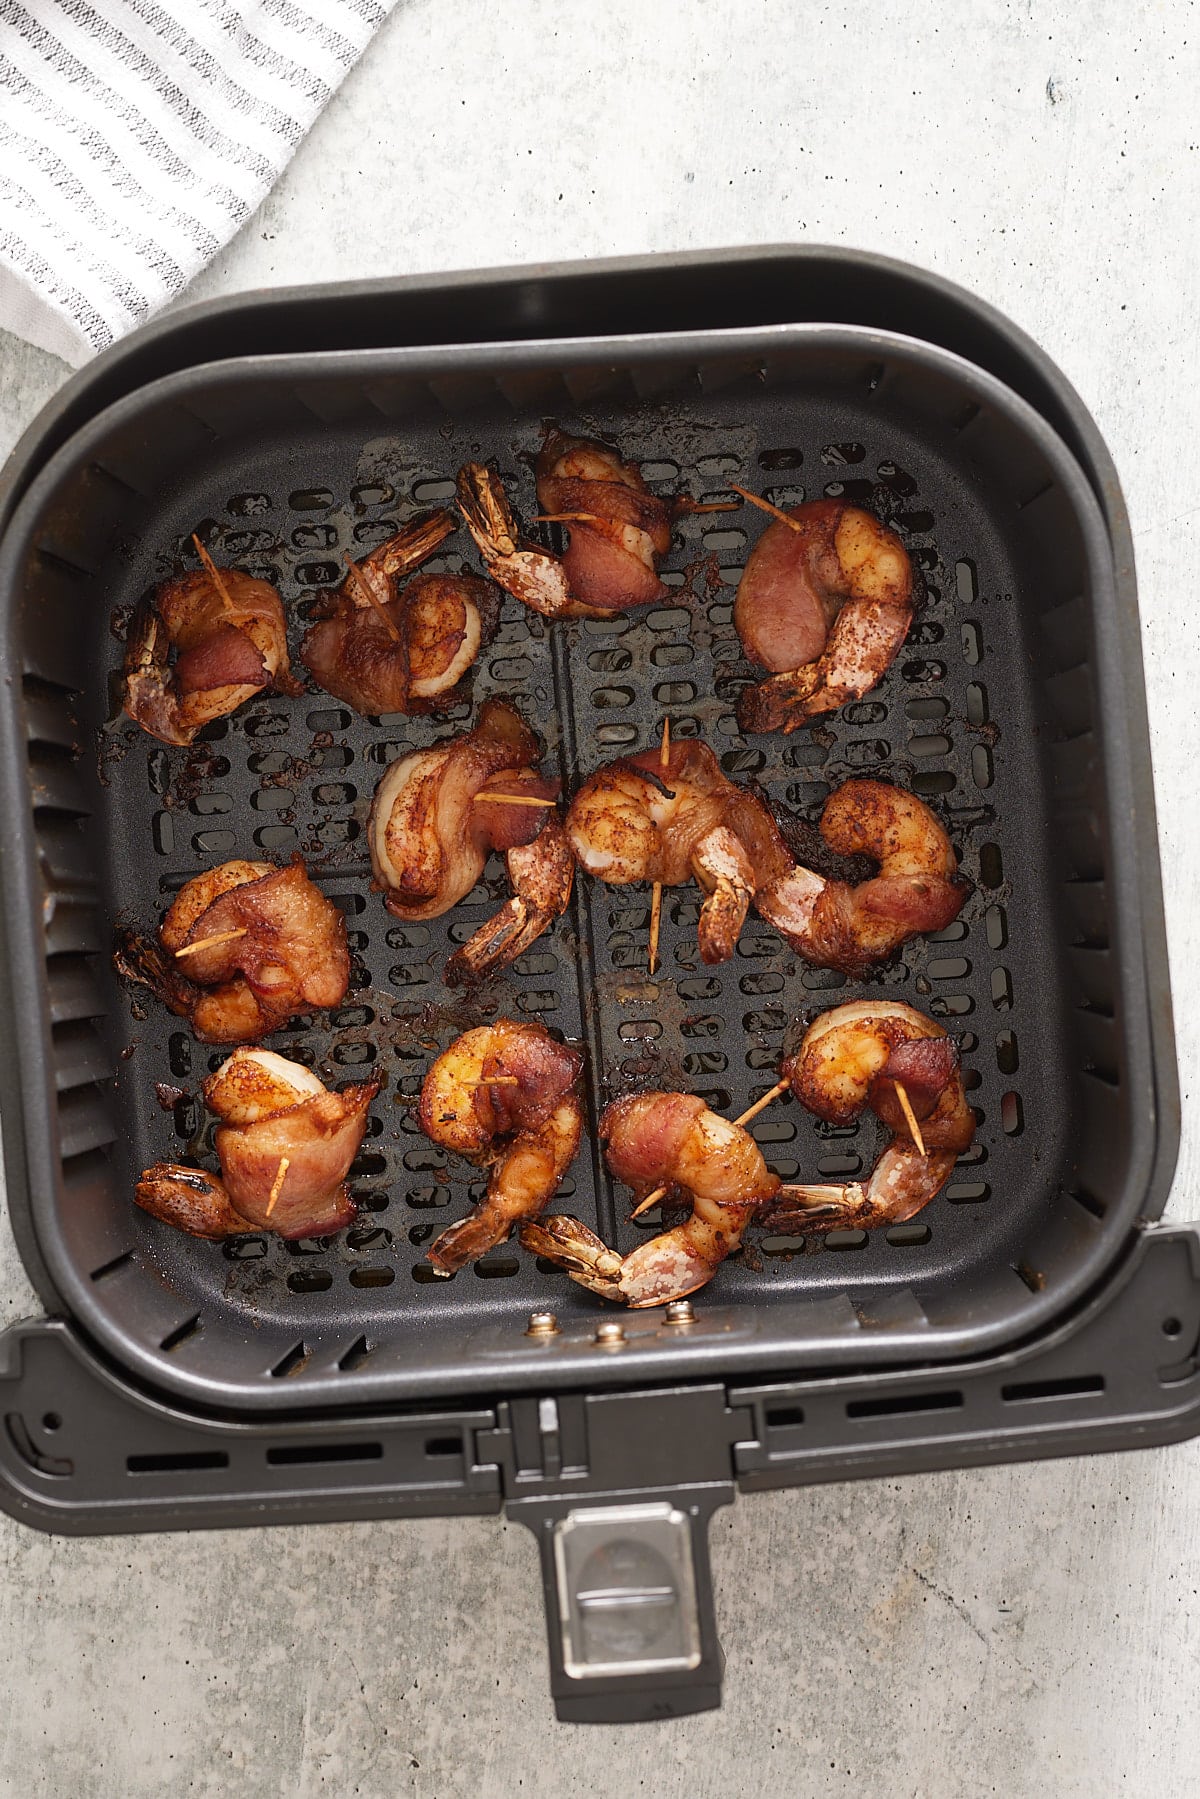
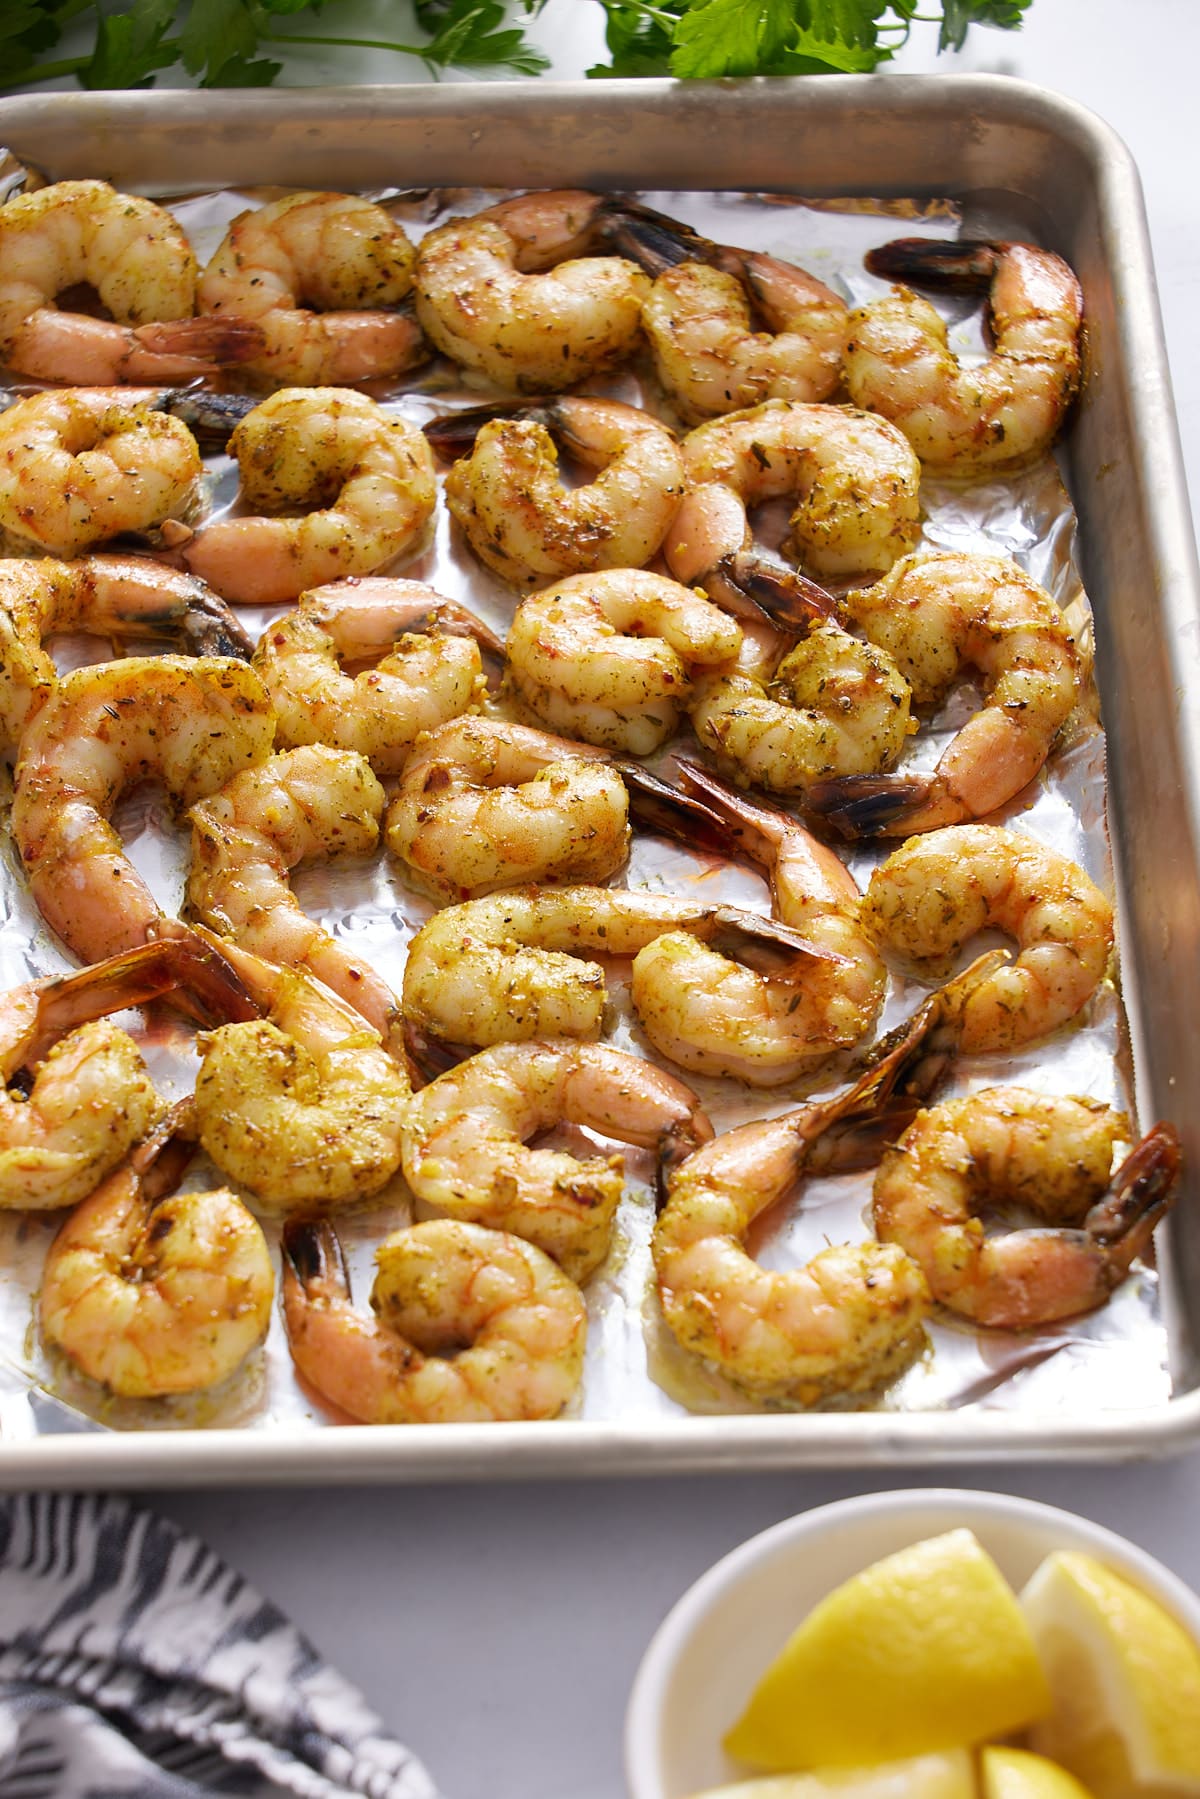
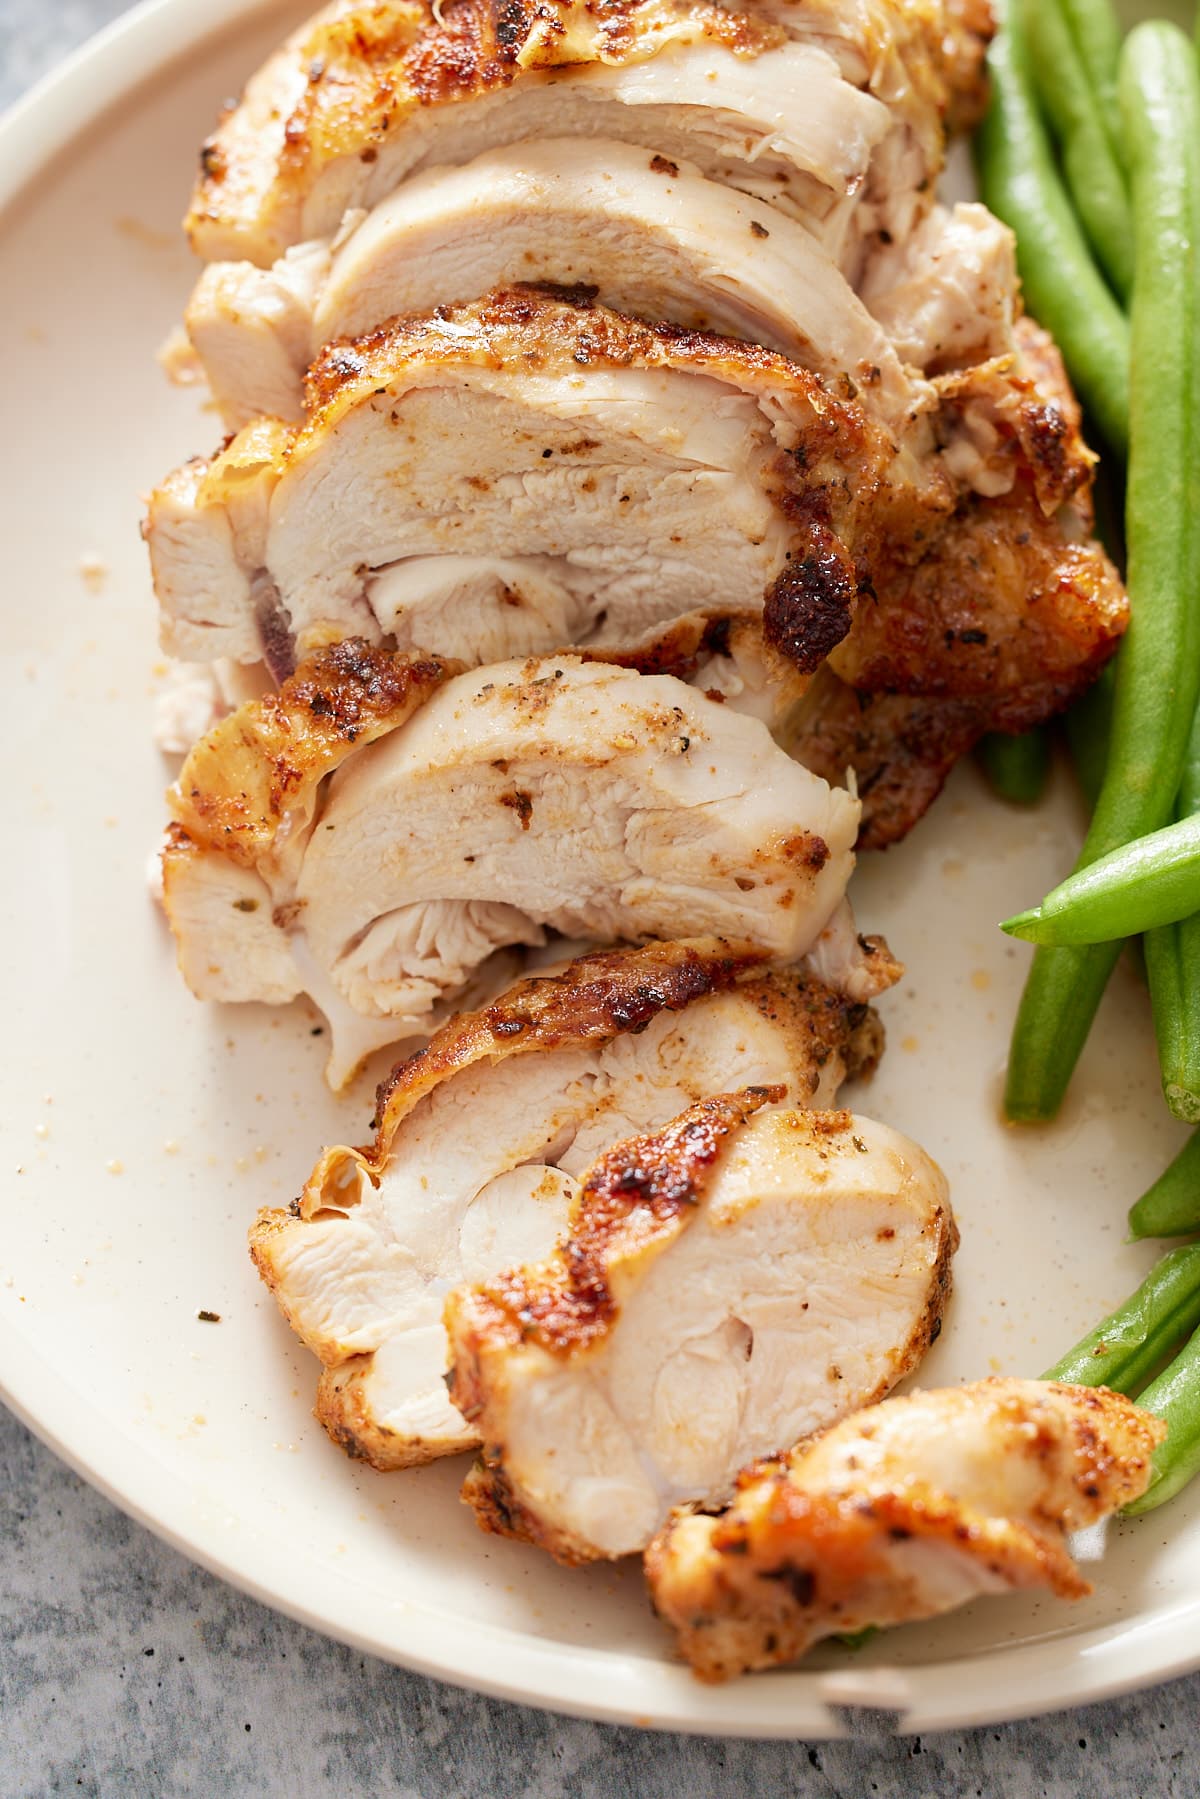
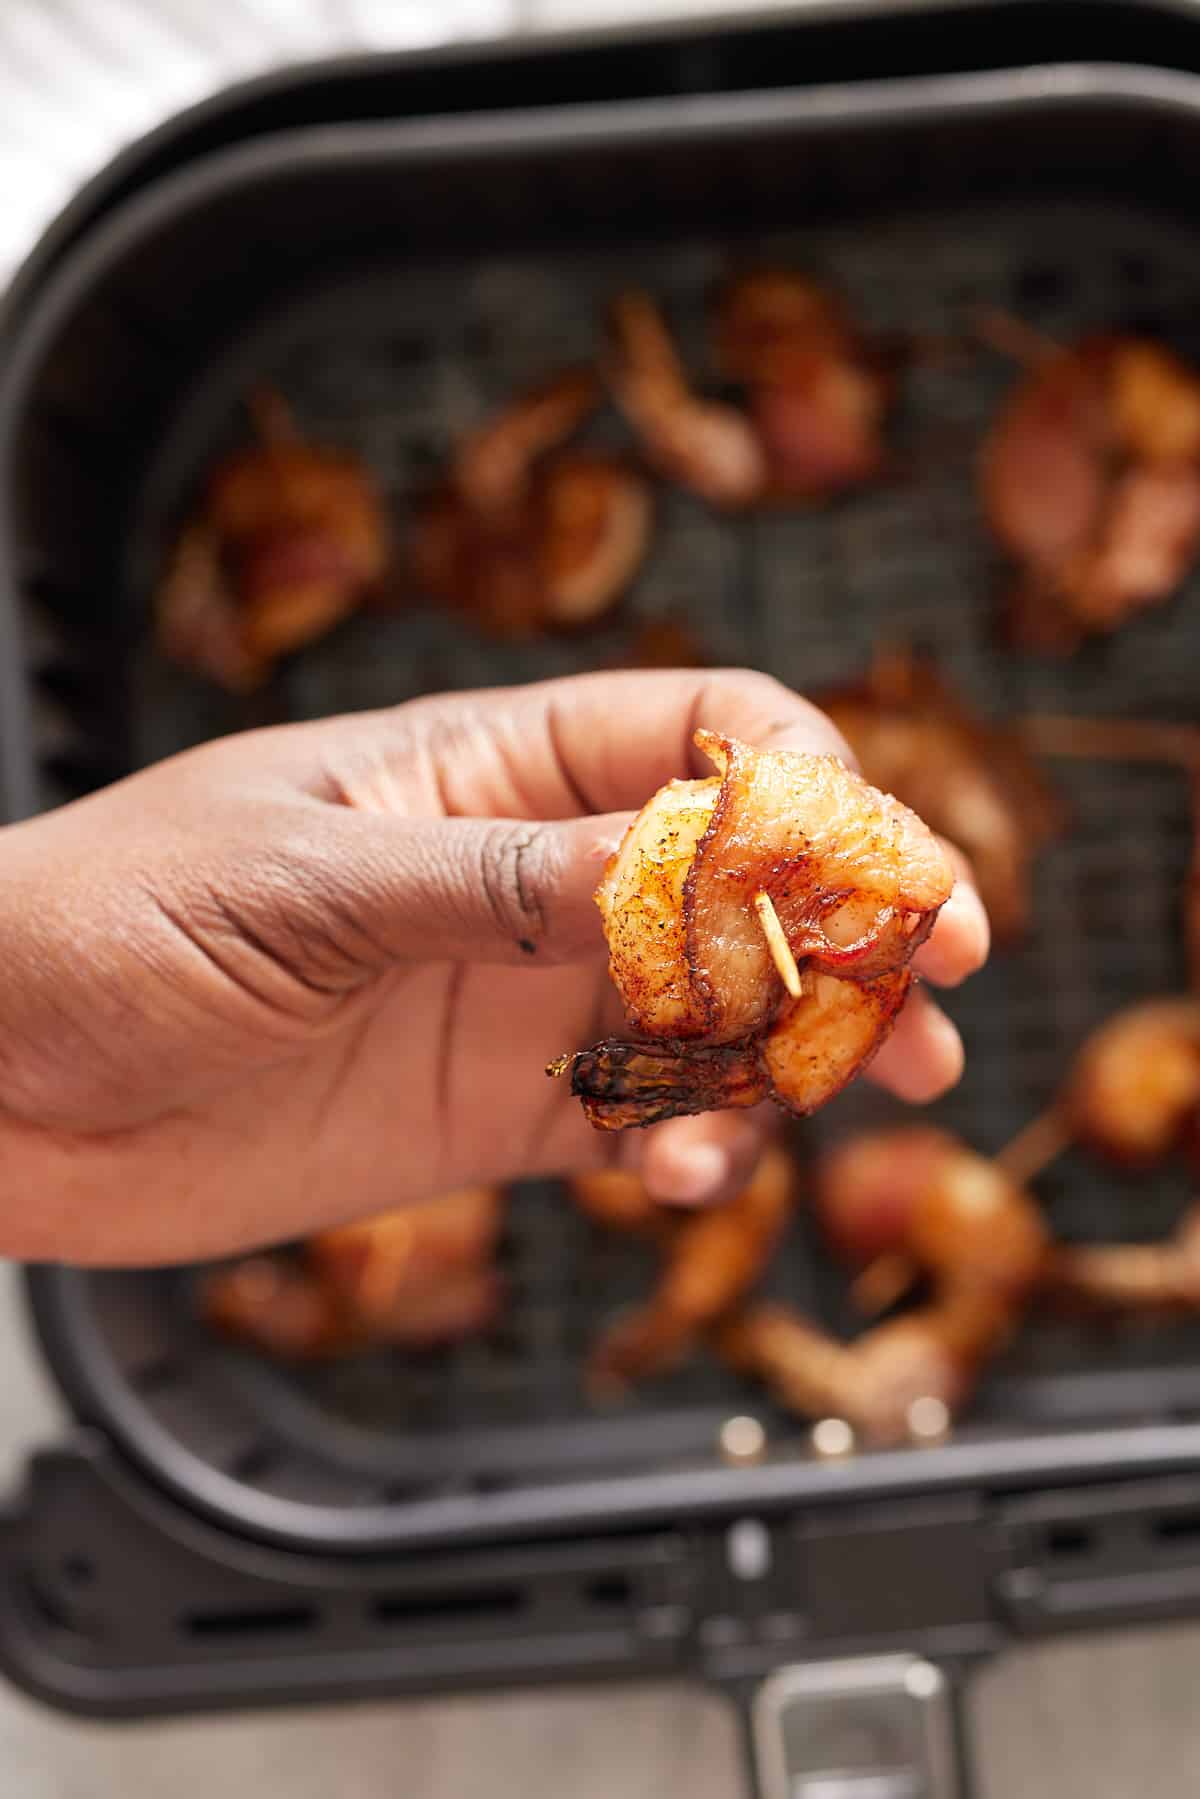
Remove and serve alone or with a dipping sauce.
The best shrimp to use in bacon wrapped shrimp
Defrosted, large, or jumbo shrimp will work best in this recipe. Large shrimp gives the bacon and shrimp enough time to cook simultaneously. Make sure to devein the shrimp and remove the shell before cooking. I do not recommend pre-cooked shrimp in this recipe.
How to change up the seasonings
If you're not a fan of spice, feel free to modify the shrimp seasonings to your liking. You could add salt and pepper to the shrimp. You could also marinate the shrimp in barbecue sauce.
Can I make this bacon-wrapped shrimp in the oven?
Absolutely! But it'll take a few more steps if you want similar results to this air fryer. Here's an oven-baked bacon-wrapped shrimp recipe.
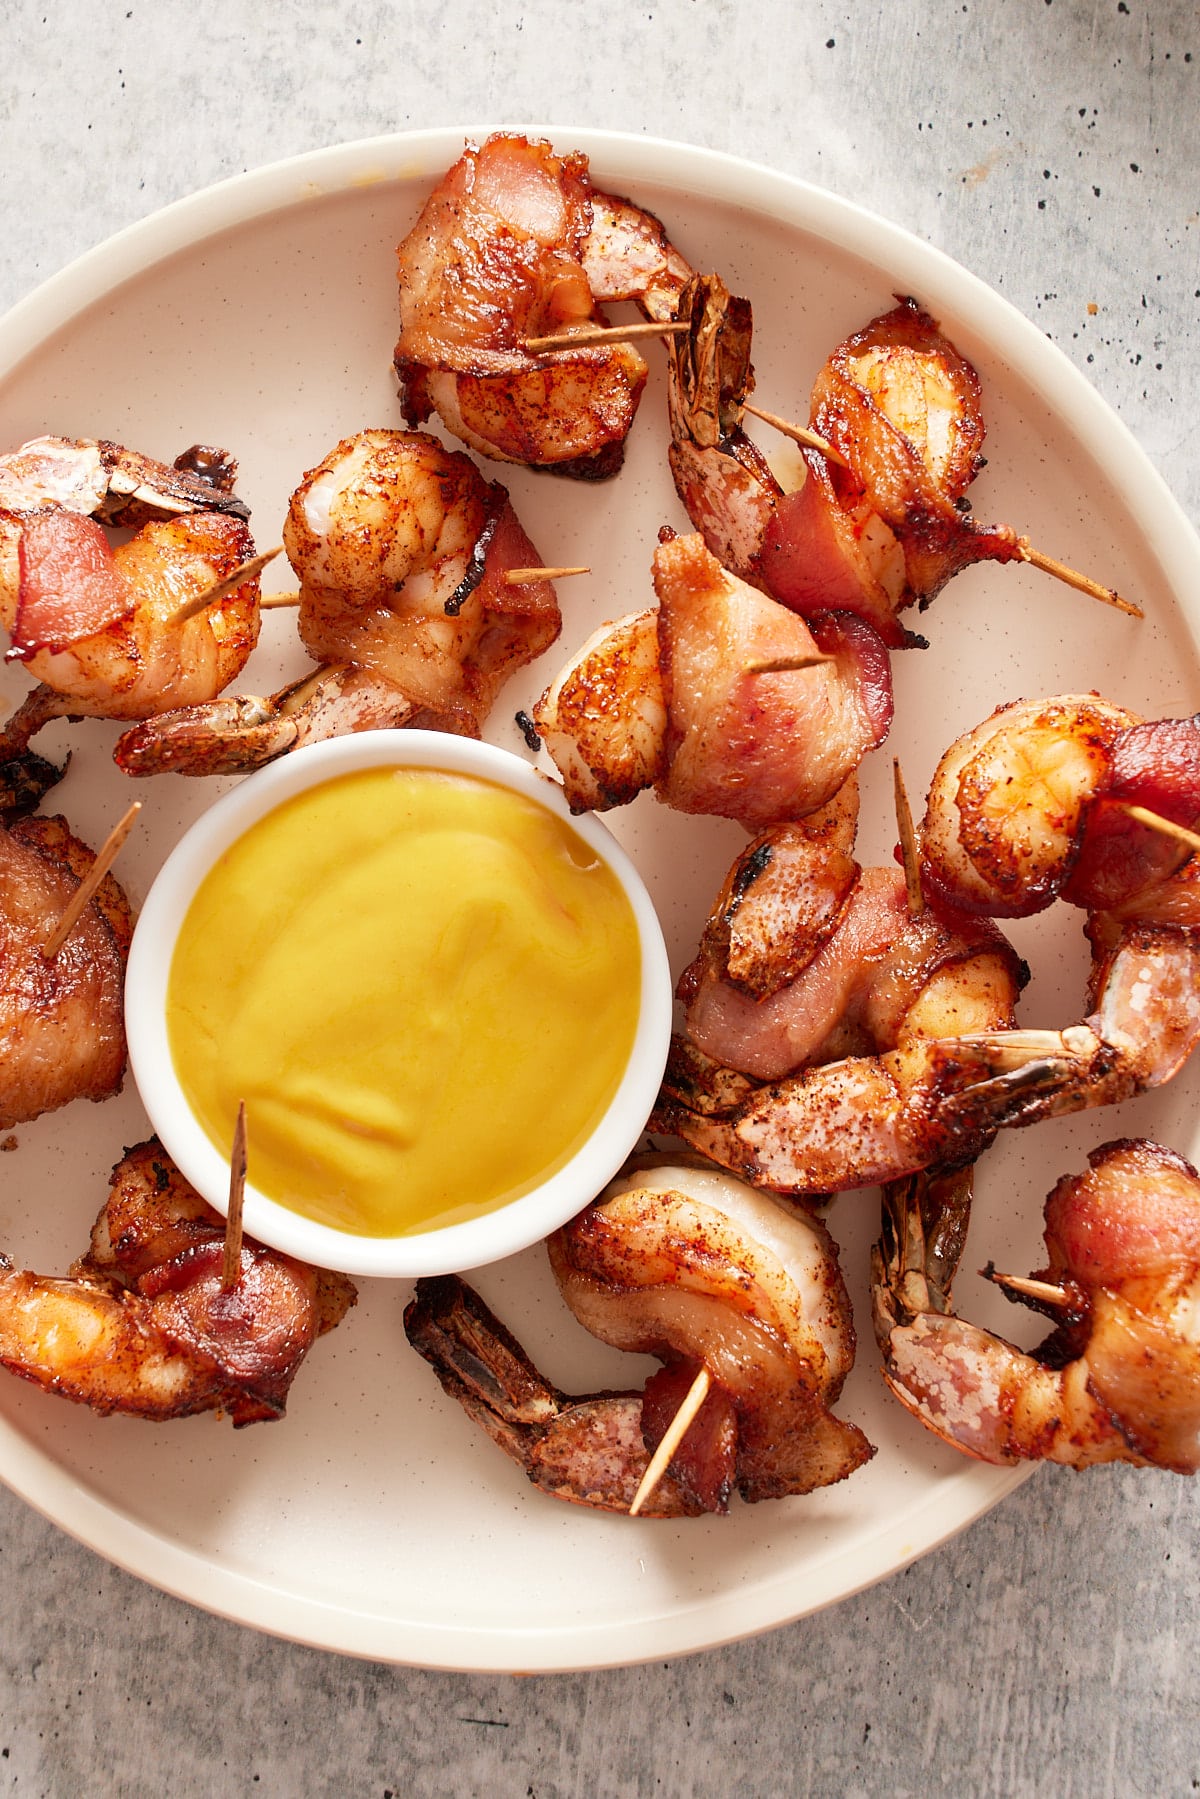
What to serve with bacon wrapped shrimp?
These bacon-wrapped shrimp are great on their own but pair well with a dipping sauce. I like to dip mine in honey mustard. You could dip them in ranch, remoulade sauce, or ketchup.
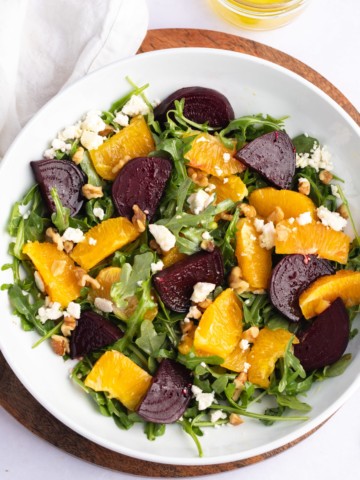
I usually serve these as an appetizer but feel free to pair them with a side to make them the main meal. They would go great with yellow rice, plantains, or your favorite salad.
Notes
- I do not preheat the air fryer for this recipe. If you preheat, decrease the cooking time by a couple of minutes.
- If using frozen shrimp, defrost the shrimp before proceeding with the recipe.
- Feel free to change up the shrimp seasoning and use sauces like bbq sauce instead.
Looking for more air fryer appetizer recipes? Try these out:
If you have tried this Air fryer shrimp wrapped in bacon recipe or any other recipe on my blog, please rate it and let me know how it turned out in the comments below!

Air Fryer Bacon Wrapped Shrimp Recipe
Equipment
Ingredients
- ½ cup brown sugar
- ½ Tablespoon chili powder
- 12 oz raw large or jumbo shrimp shell remove, deveined, with tails on
- 6 slices bacon cut into thirds
Instructions
- Add brown sugar and chili powder in a small bowl and mix until combined. Pat the shrimp dry.
- Place the shrimp into the brown sugar and mix, coating both sides of the shrimp.
- Wrap each shrimp with a piece of bacon and secure the bacon to the shrimp with a toothpick.
- Place the shrimp wrapped in bacon into the bottom of an air fryer basket in a single layer. Do not overlap them. Cook in batches if necessary.
- Air fry at 360 degrees Fahrenheit for 12-15 minutes.
- Remove and serve alone or with a dipping sauce.
Notes
- I do not preheat the air fryer for this recipe. If you preheat, decrease the cooking time by a couple of minutes.
- If using frozen shrimp, defrost the shrimp before proceeding with the recipe.
- Feel free to change up the shrimp seasoning and use sauces like bbq sauce instead.