These Ground Turkey Tacos are great for your taco weeknight dinners. These tacos are juicy and full of amazing flavor with only a few ingredients.

You’ll find the full recipe with ingredient amounts and instructions in the recipe card at the bottom of this post. Be sure to check out the blog post itself for extra tips and tricks!
My oldest daughter requests tacos about three times a week. I can’t blame her, tacos are pretty amazing and versatile. Whether they are made with this yummy carnitas meat, beef, or fish, my household knows how to have an epic Taco night.
I started making these ground turkey tacos to give us a nice spin on the traditional beef taco, and they do not disappoint. They’re full of flavor and juicy and the perfect taco addition.
I don’t use a pre-packaged taco mix for this recipe as I prefer to make my own. With just a few spices, you can have an amazing dinner in no time.
Ingredients Needed
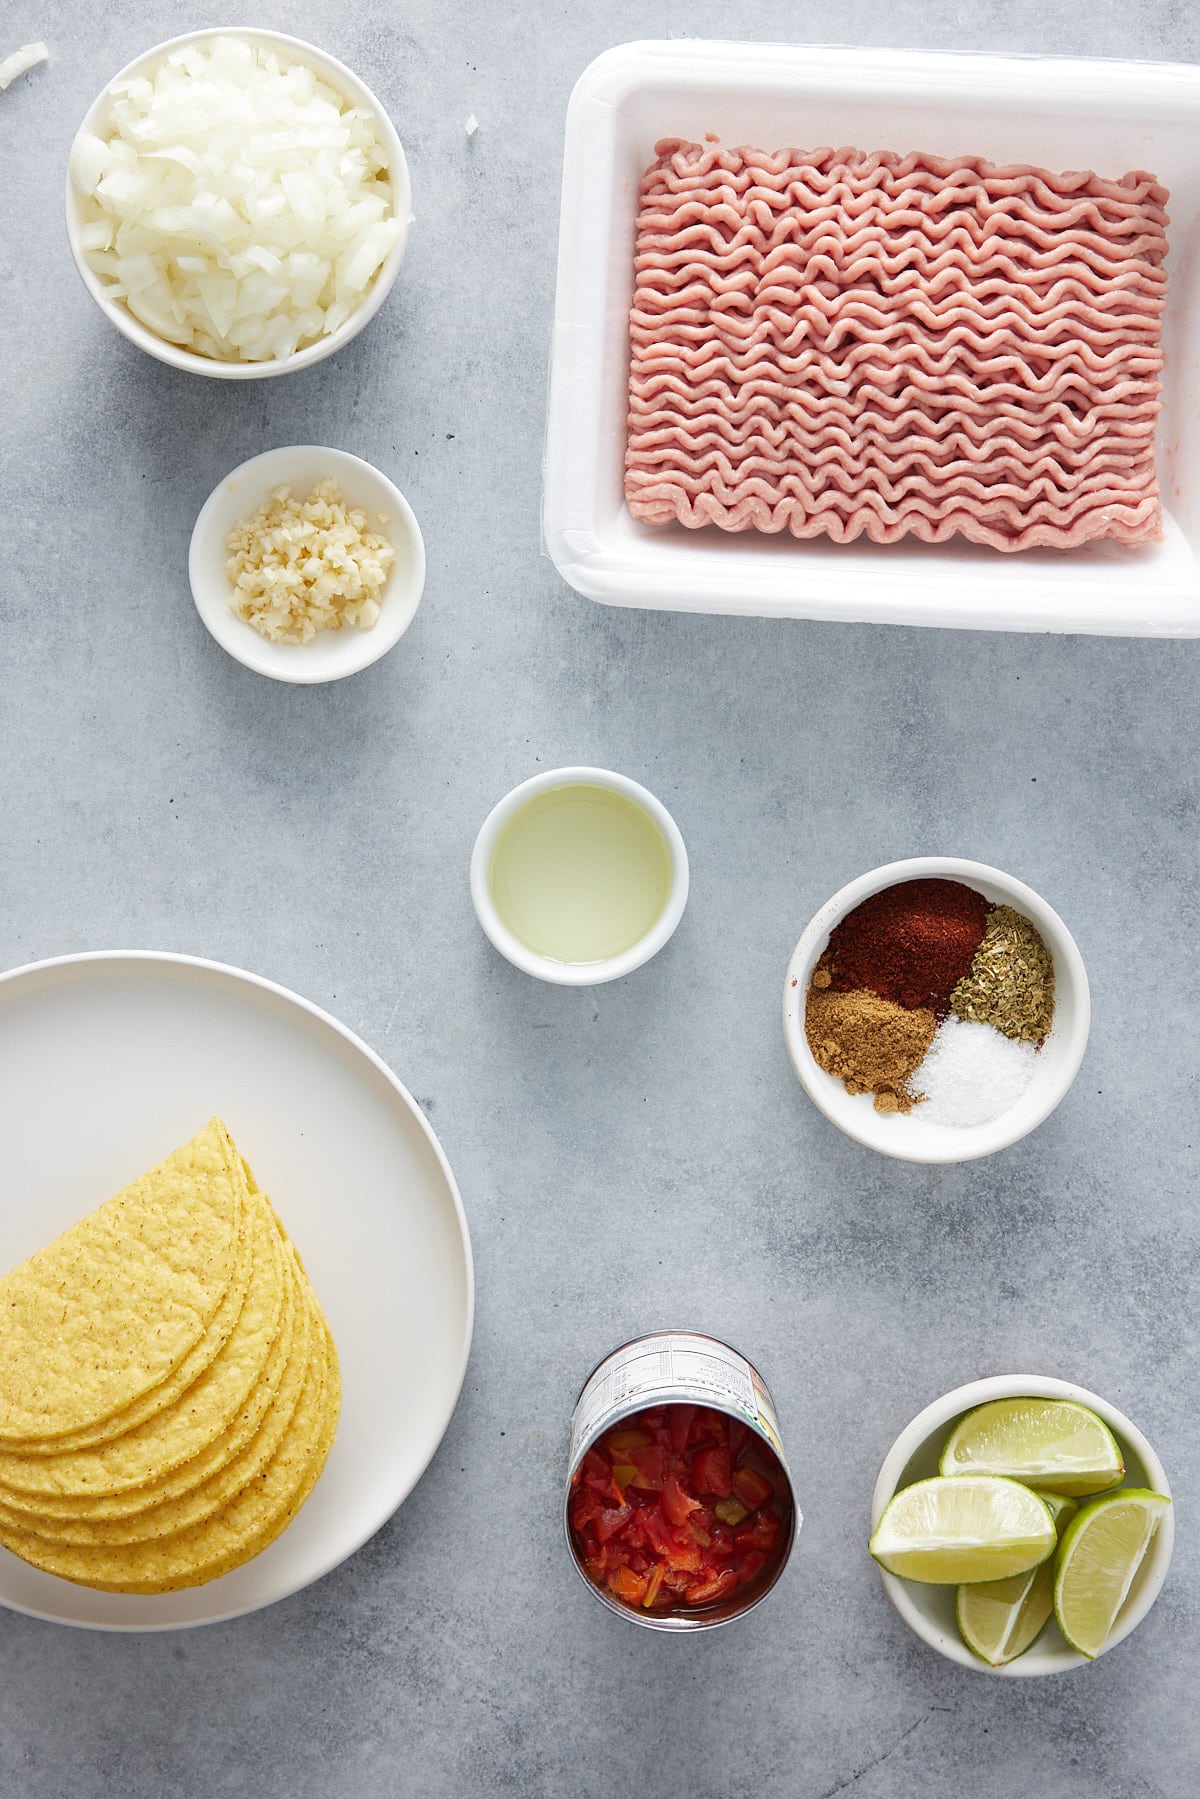
- Aromatics - yellow onions and minced garlic add amazing flavor.
- Canola oil - to help sauté the ingredients.
- Ground turkey - I prefer to use the 85% lean, 15% fat ground turkey meat. It doesn't dry out as easily.
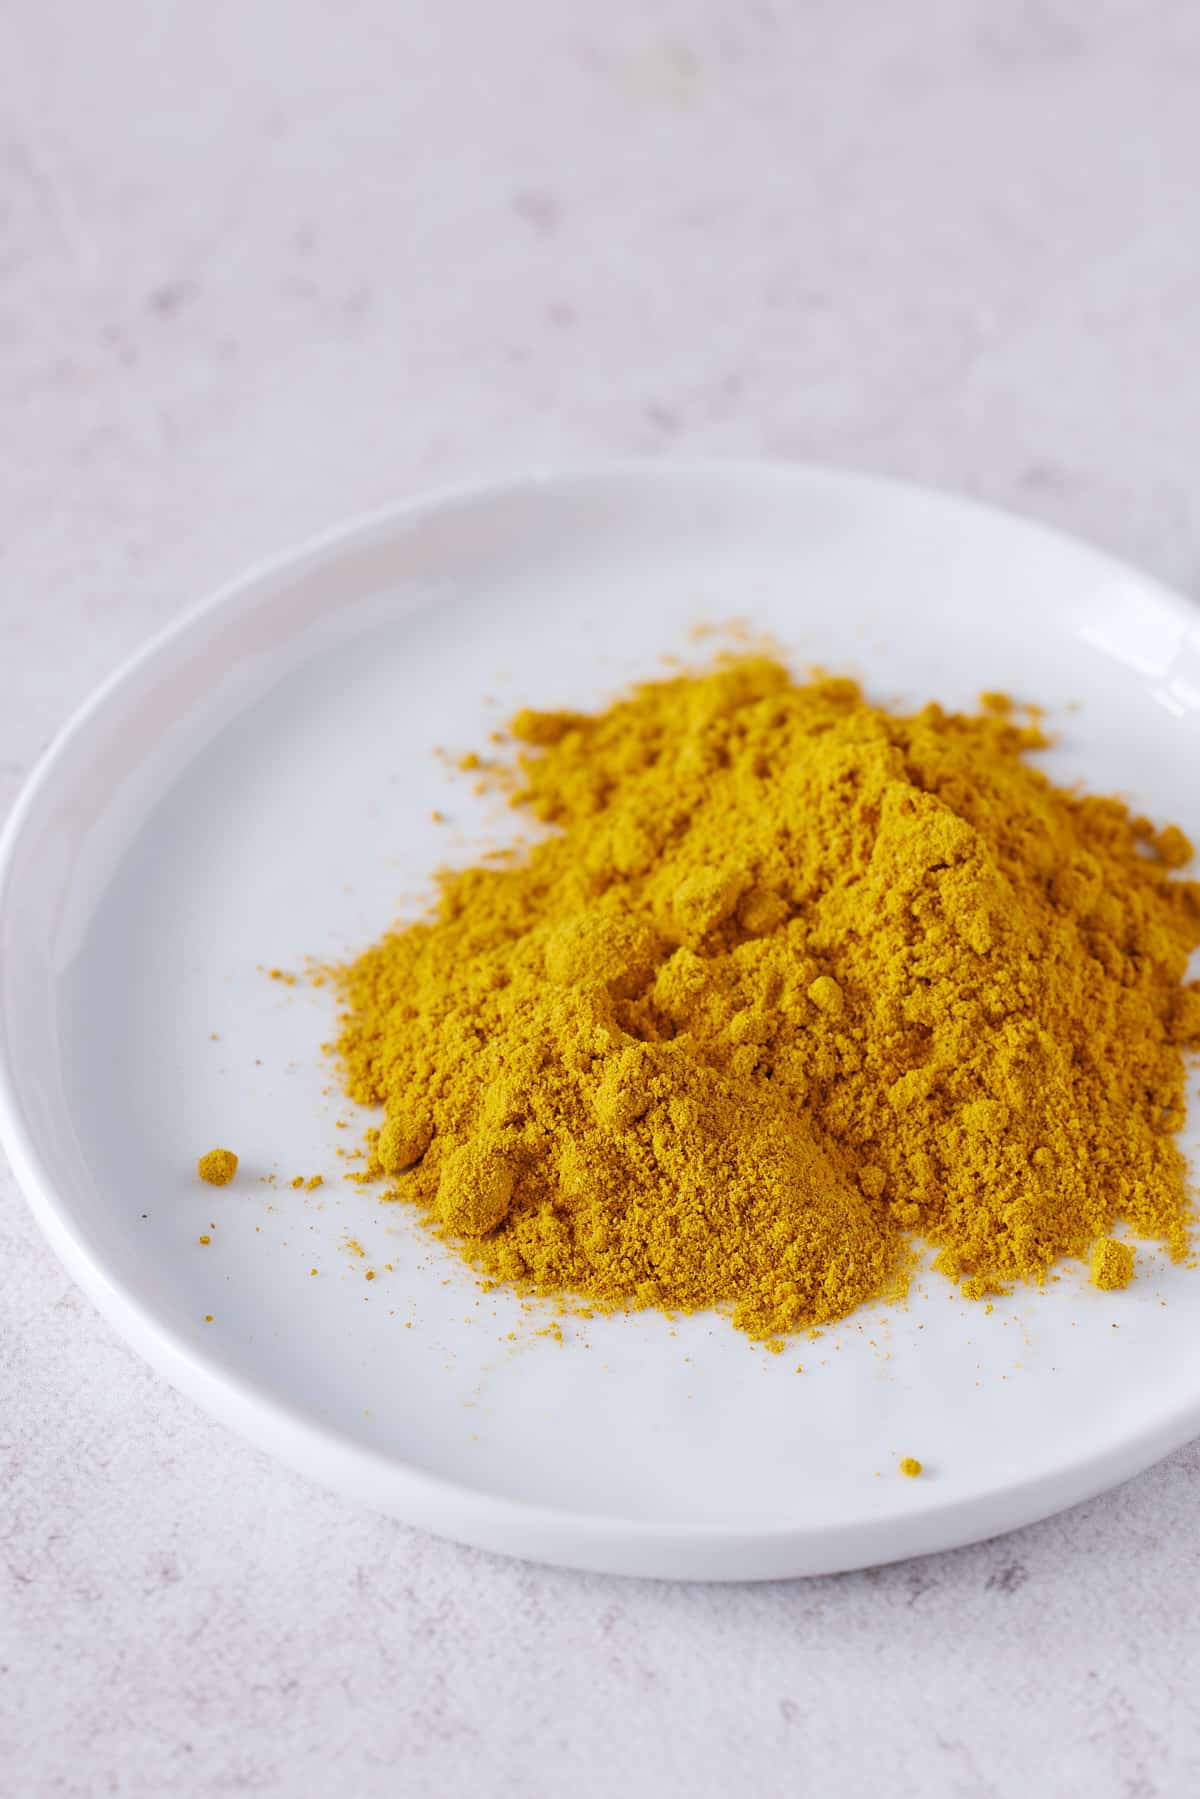
- Seasoning - chili powder, cumin, oregano, kosher salt. This is our seasoning for the tacos so you don't have to use premade packets.
- 10 oz can tomatoes with chilies, undrained - adds flavor and keeps the tacos juicy.
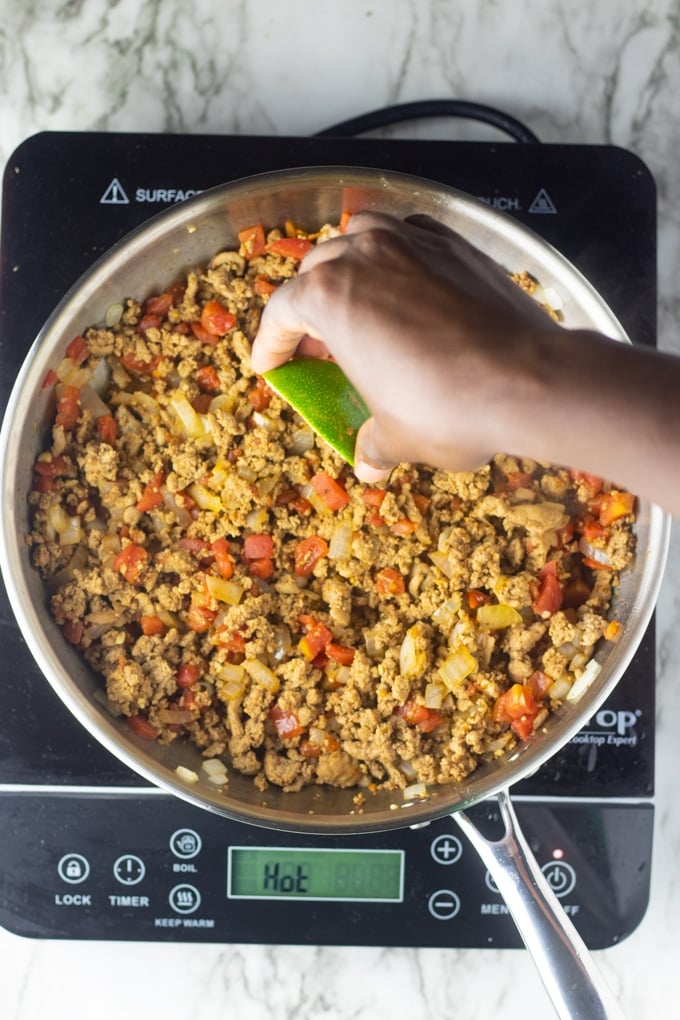
- Fresh lime juice - This is the game changer of the recipe. The addition of acid is what gives the taco meat the ultimate flavor.
How to make Ground Turkey Tacos
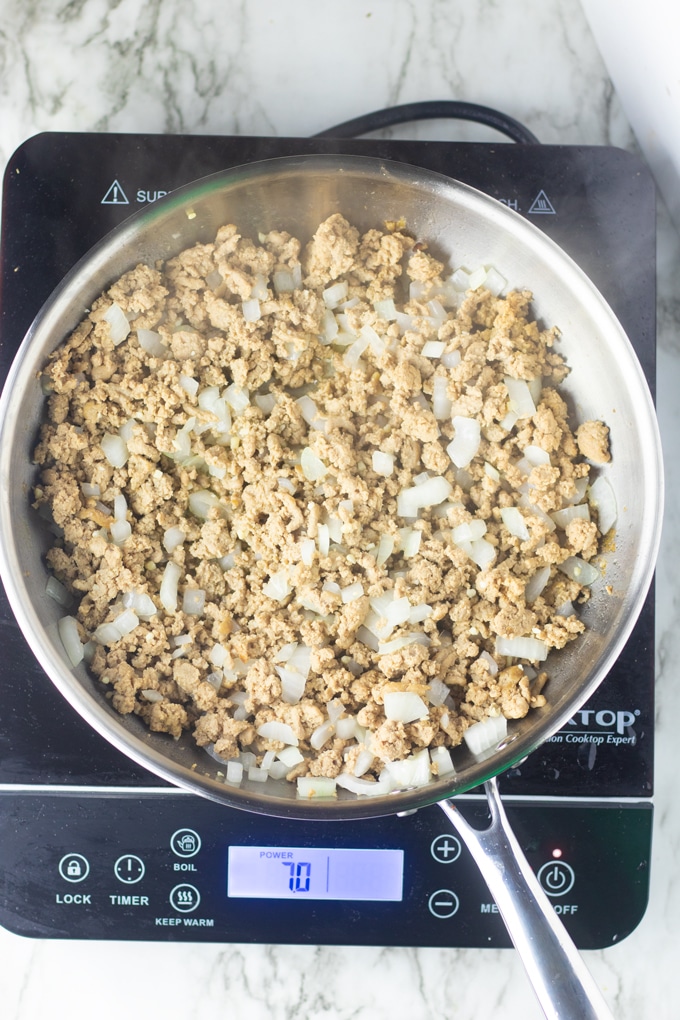
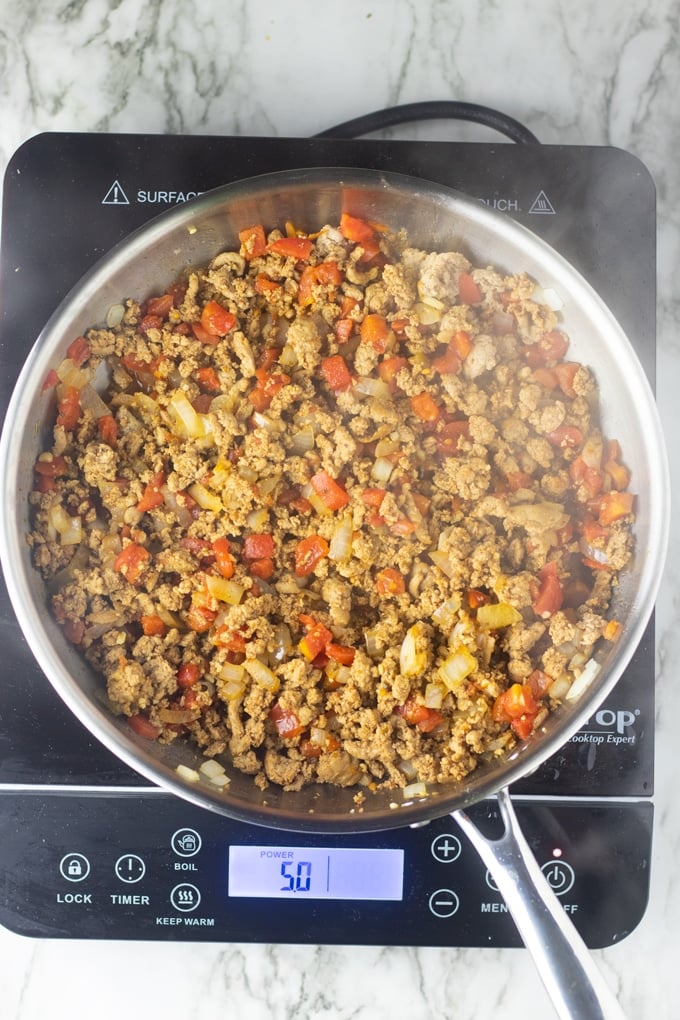
First, heat a skillet over medium-high heat. Add oil, turkey meat, onion, and garlic to the skillet. Stir and cook until the meat has broken up and fully browned.
Then add the seasonings (use the ones in the recipe card or use 2 Tablespoons of my homemade taco seasoning)and the undrained can of tomato and chilies. The extra liquid in the tomatoes helps keep the turkey meat juicy rather than dry. Reduce the heat and continue to cook for 1-2 minutes.
Squeeze a hint of lime juice over the top. This is the acid that will take your taco meat to a whole other level. Serve with your favorite taco toppings and enjoy.
Is Ground Turkey better than Ground Beef?
I did a ton of reading and research and ultimately found that...it depends a lot on the fat content of the ground turkey or beef you buy. I just choose to buy ground turkey to give my family a variety of the foods we consume.
Are ground turkey tacos dry?
Nope. Ground turkey has a reputation for being dry and boring. And it usually is. But with these tacos, adding the seasoning gives it a ton of flavor, and adding an undrained can of tomatoes with chilies adds the moisture that it needs.
Can you freeze leftover ground turkey meat?
To Freeze
Yes! To freeze the meat, allow it to cool and place it in a freezer-safe container. Label the container with the name and date. Taco meat can be frozen for up to 6 months.
To thaw
When ready to thaw, it should be thawed in the refrigerator, not at room temperature.
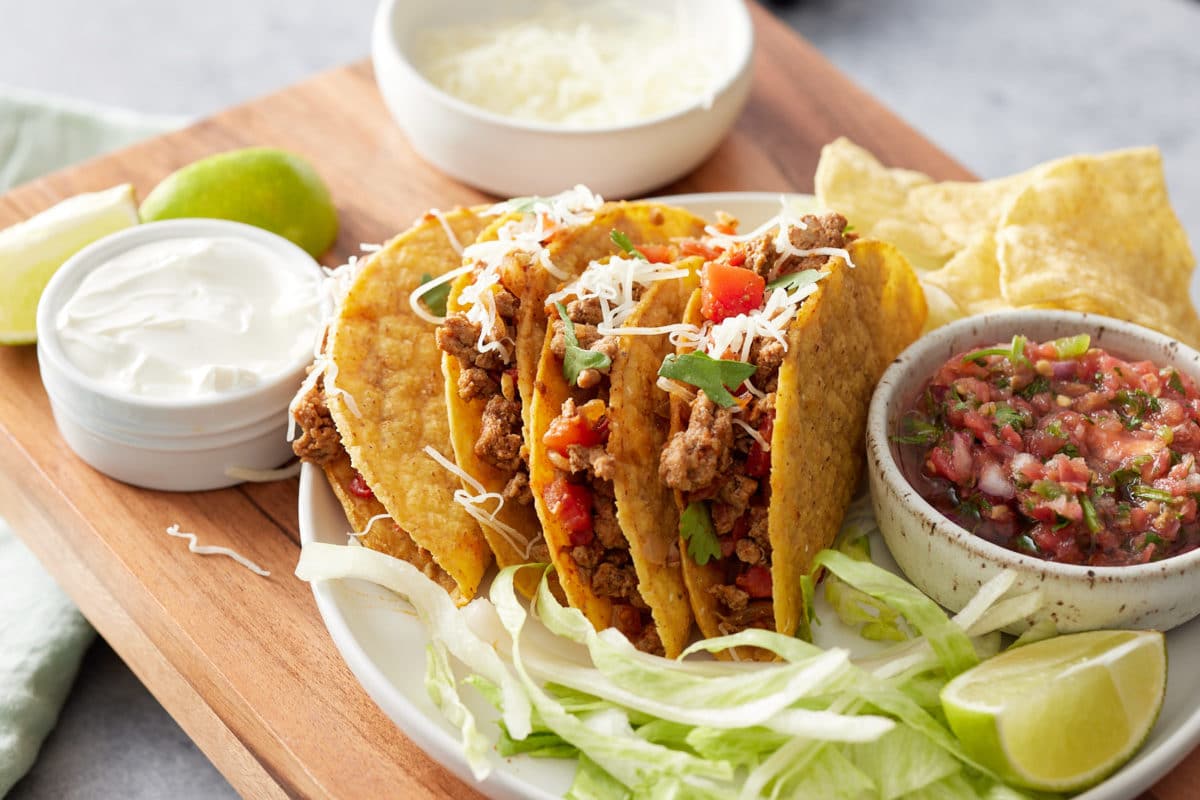
Recommended Taco Toppings:
- Cheddar cheese
- Sour cream
- Shredded Lettuce
- Did I mention Sour Cream?
- Guacamole
- Or you can try any of these taco toppings.
This taco meat is great for bowls, burritos, enchiladas, and lettuce wraps. The possibilities are endless.
You may also like these fried chicken tacos.
Looking for recipes to serve with these tacos? Try these out:
- Yellow Rice
- Homemade Salsa
- Pressure Cooker Pork Carnitas
- Instant Pot Pinto Beans
- Sweet Potato and Black Bean Nachos
- Air Fryer Corn on the Cob (Mexican Street Style)
Looking for more ground turkey recipes? Try this Pressure Cooker Turkey Chili.

Juicy Ground Turkey Tacos
Equipment
Ingredients
- 1-2 Tablespoon canola oil
- 1 lb ground turkey
- 1 yellow onion chopped
- 4 garlic cloves minced
- 1 Tablespoon chili powder
- 2 teaspoon cumin
- 1 teaspoon oregano
- 1 teaspoon salt
- 10 oz can tomatoes with chilies undrained
- 1 squeeze fresh lime juice
- tortilla shells
Instructions
- Heat a skillet over medium-high heat. Add oil, ground turkey meat, onion, and garlic to skillet. Stir and cook until the meat has broken up and fully browned.
- Then add chili powder, cumin, oregano, salt, and the can of tomato and chilies. Stir to combine.
- Reduce the heat to medium-low and continue to cook for 1-2 minutes until the meat mixture is heated through. Squeeze fresh lime, about 1 tsp, over the meat mixture. Serve and enjoy 🙂
Video
Notes
- Top with your favorite toppings such as cheddar cheese, shredded lettuce, sour cream, or avocado.
- This ground turkey taco meat is great for meal prep and freezes well.
- I used the 10-inch Mealthy stainless steel skillet for this recipe.
Nutrition
This post was originally published on 8/29/2019. It has been updated with some new photos and helpful tips.