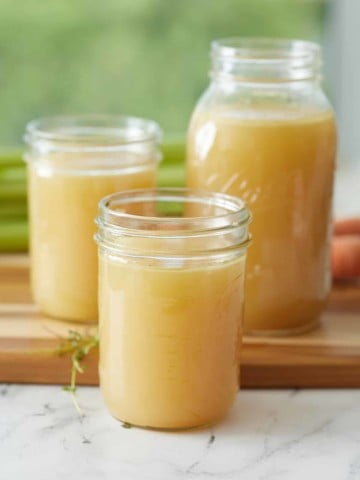
Homemade Turkey Broth is a great make ahead ingredient, using roasted turkey wings and neck along with onion, carrot, celery and fresh herbs. Once cooked, this versatile ingredient can be used in a whole range of different dishes.
This post contains affiliate links, please read my full disclaimer here.
You’ll find the full recipe with ingredient amounts and instructions in the recipe card at the bottom of this post. Be sure to check out the blog post itself for extra tips and tricks!
We always have so much to do over Thanksgiving and the festive holidays, so I like to get ahead whenever I can. I make up my homemade turkey broth ahead of time, ready to add to soups, stews and my turkey gravy nearer the time.
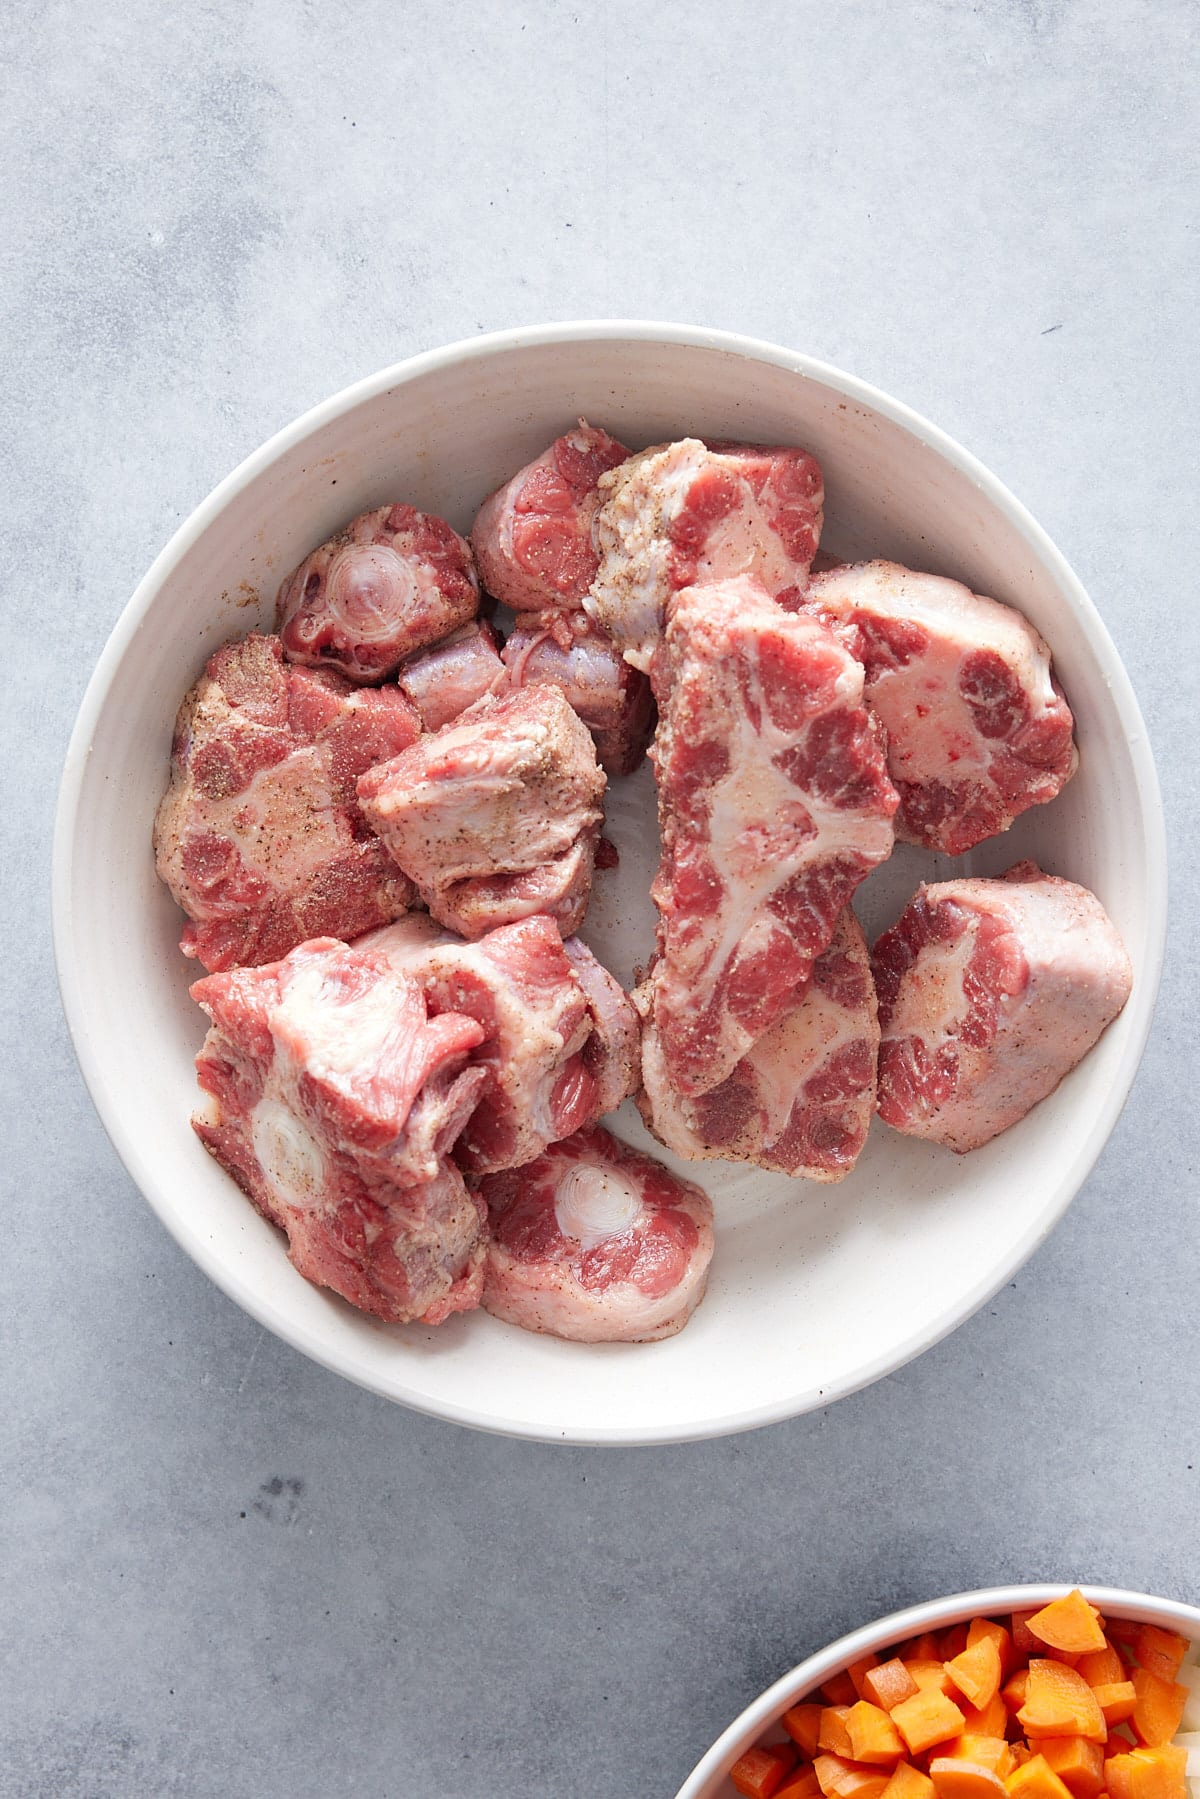
For real depth of flavor I recommend using turkey wings and neck when making broth as those cuts are full of fat, bone, skin and connective tissue which, once roasted, adds real depth of flavor to the finished broth.
I make my best turkey stock recipe in the pressure cooker, as it cooks in no time and I have great results using this method of cooking.
I like making my own homemade broth that way I know what's going into them. Homemade broth is always healthy as it contains no preservatives and also happens to be naturally gluten free.
How to make turkey broth
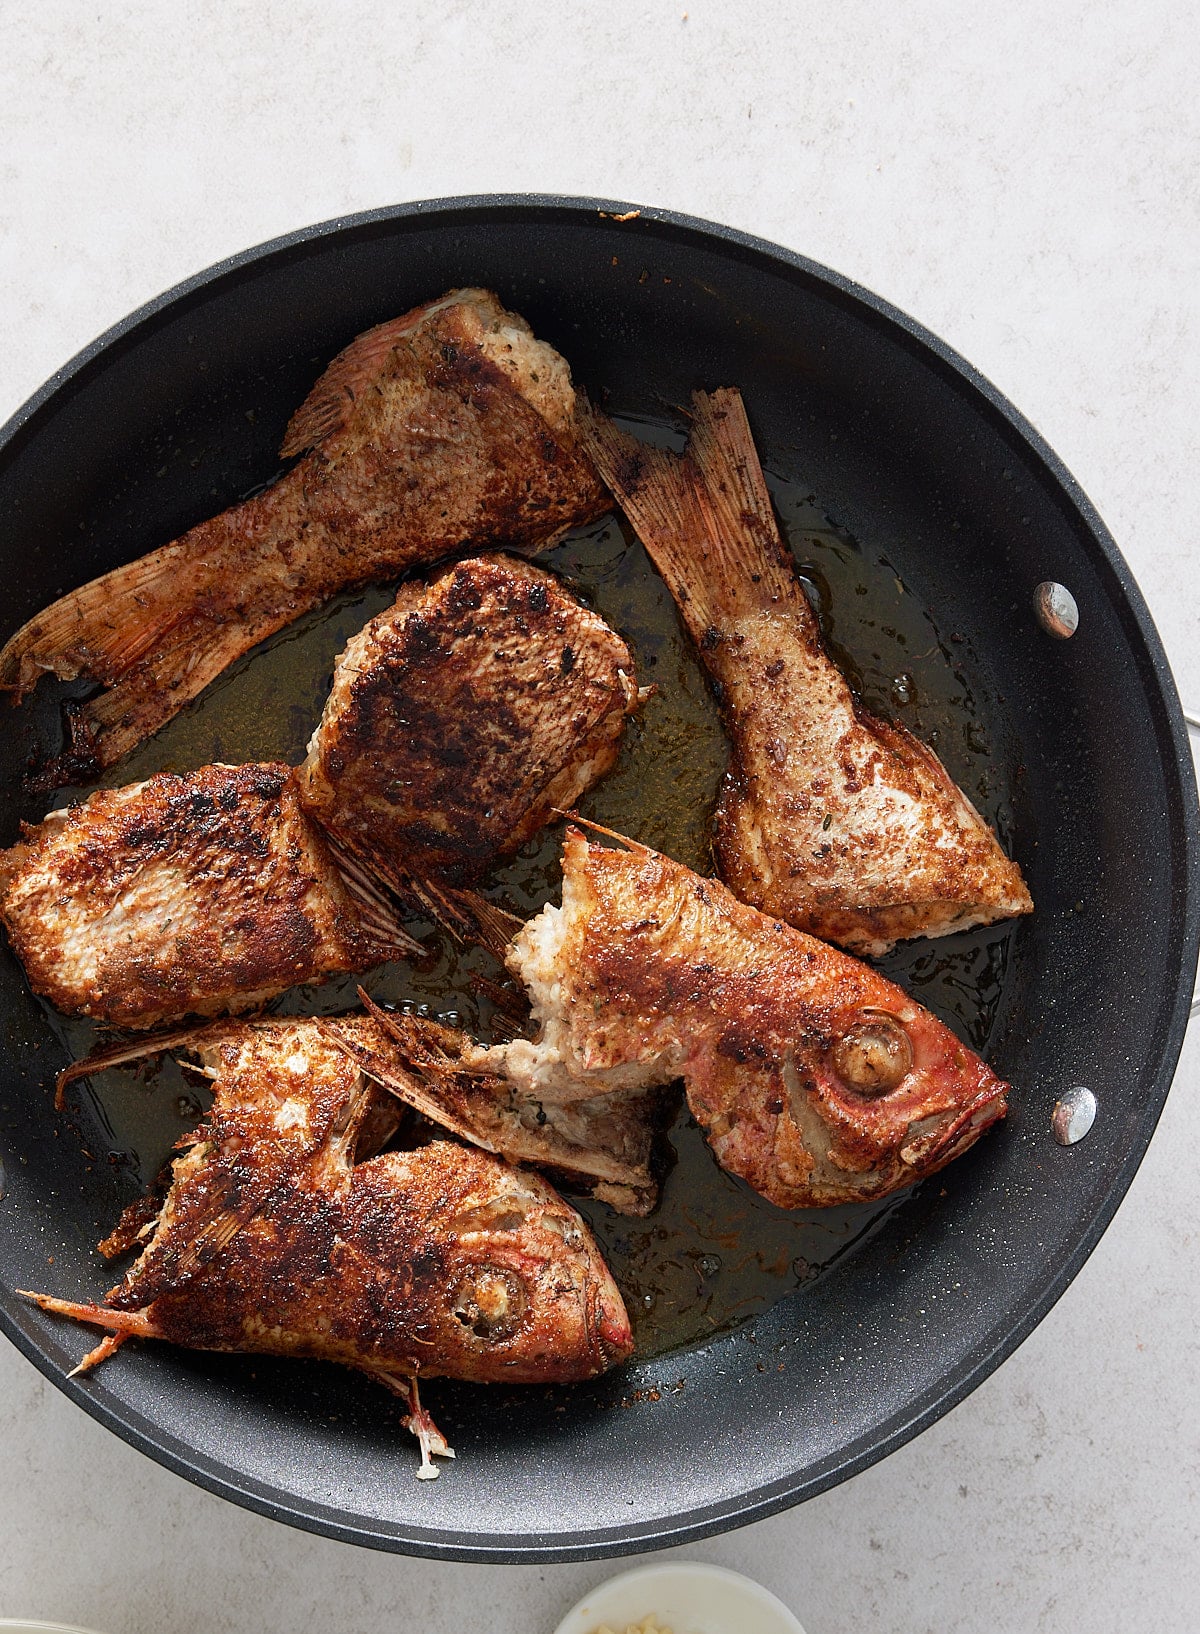
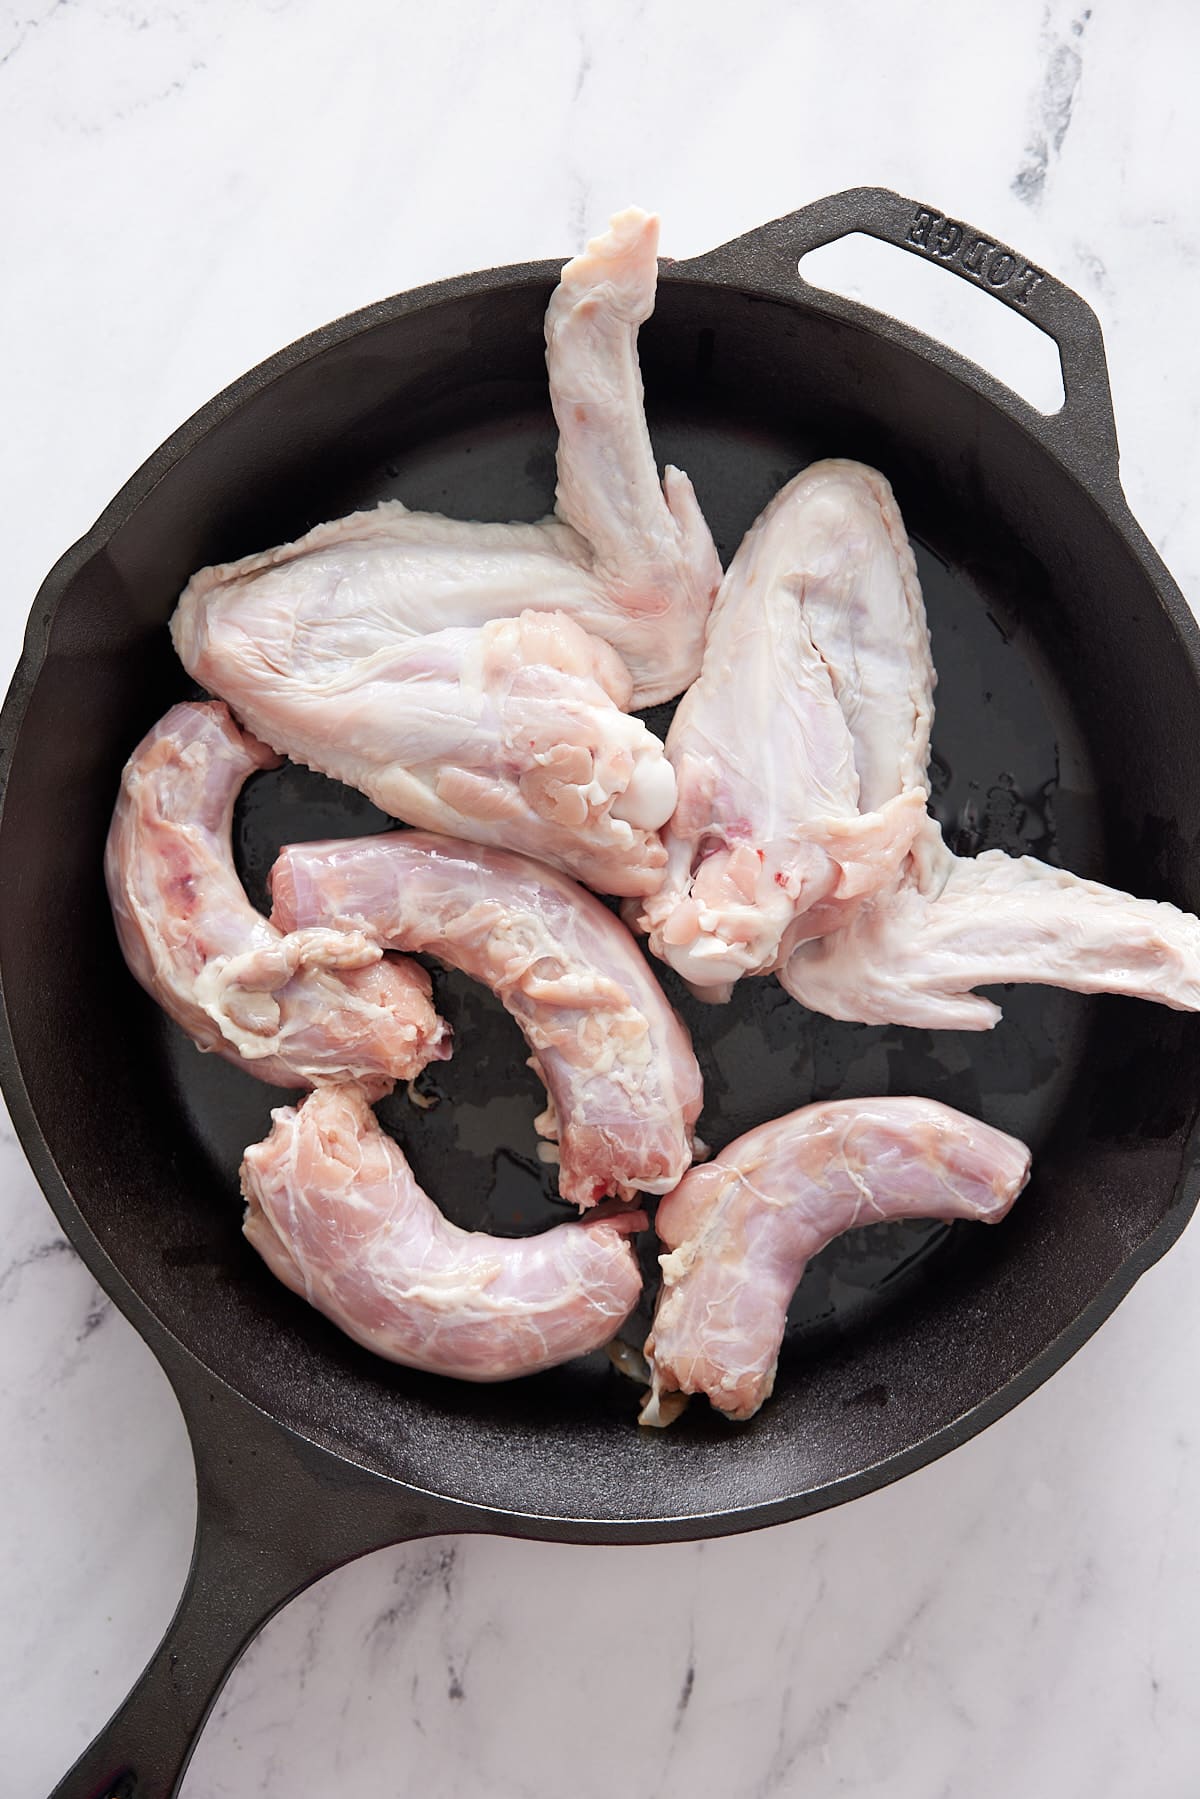
Preheat the oven to 425 degrees Fahrenheit. Arrange turkey parts on a baking sheet or roasting rack.
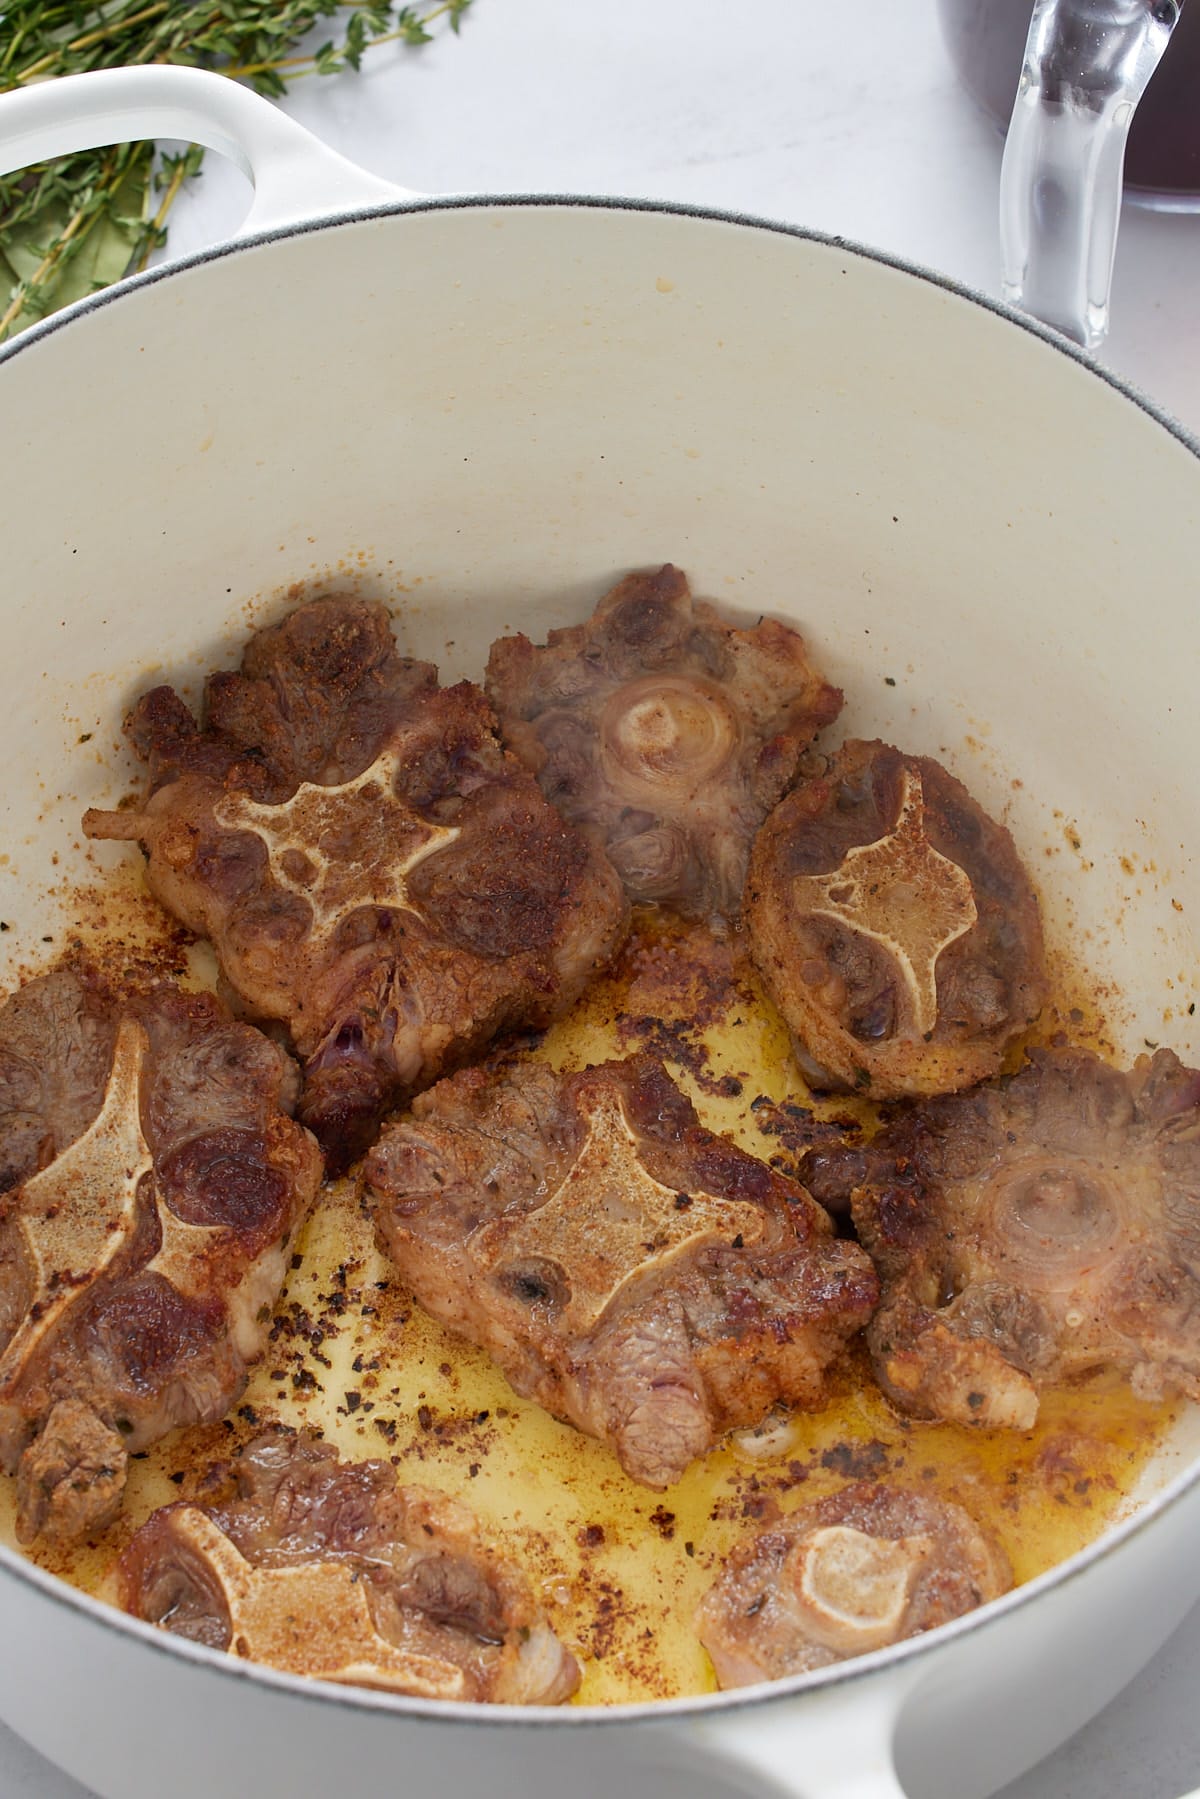
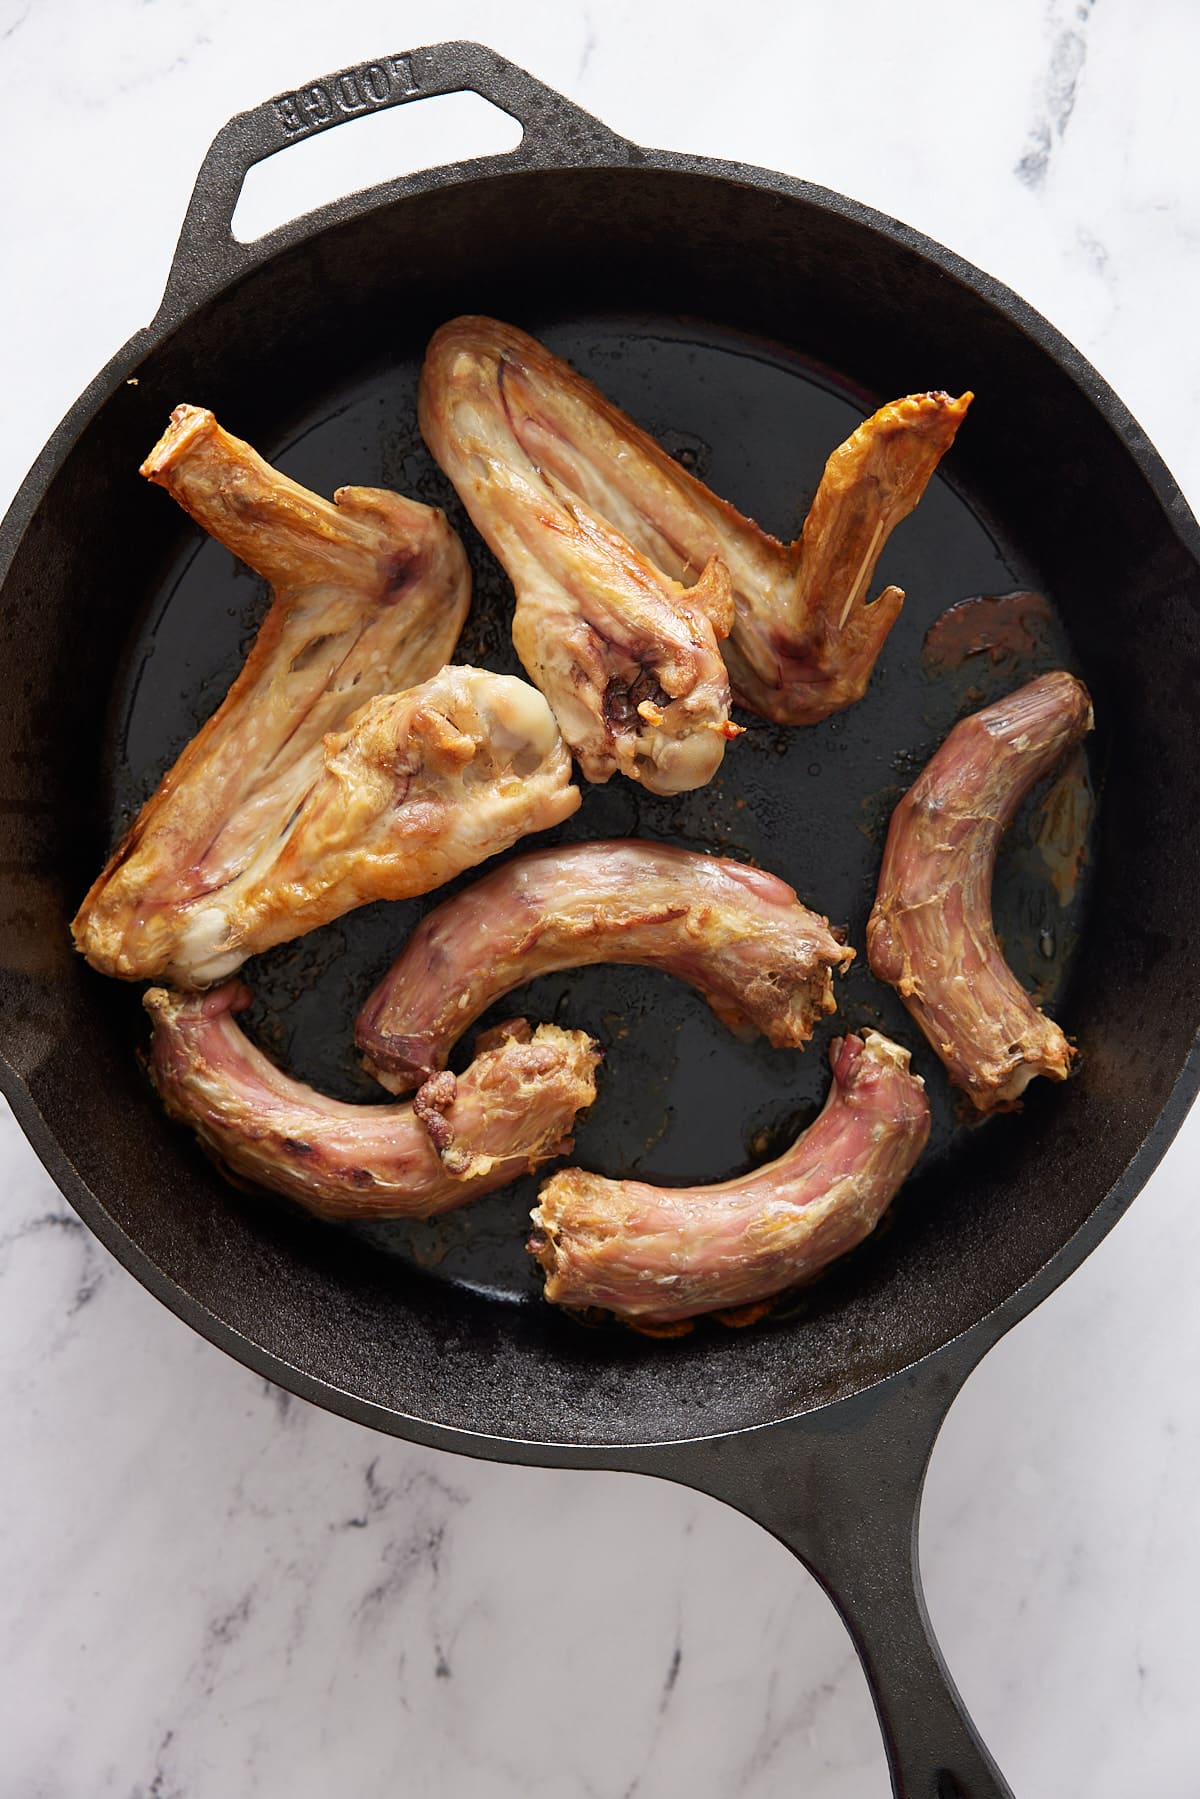
Roast the turkey in the hot oven for 80-90 minutes until deep golden brown.
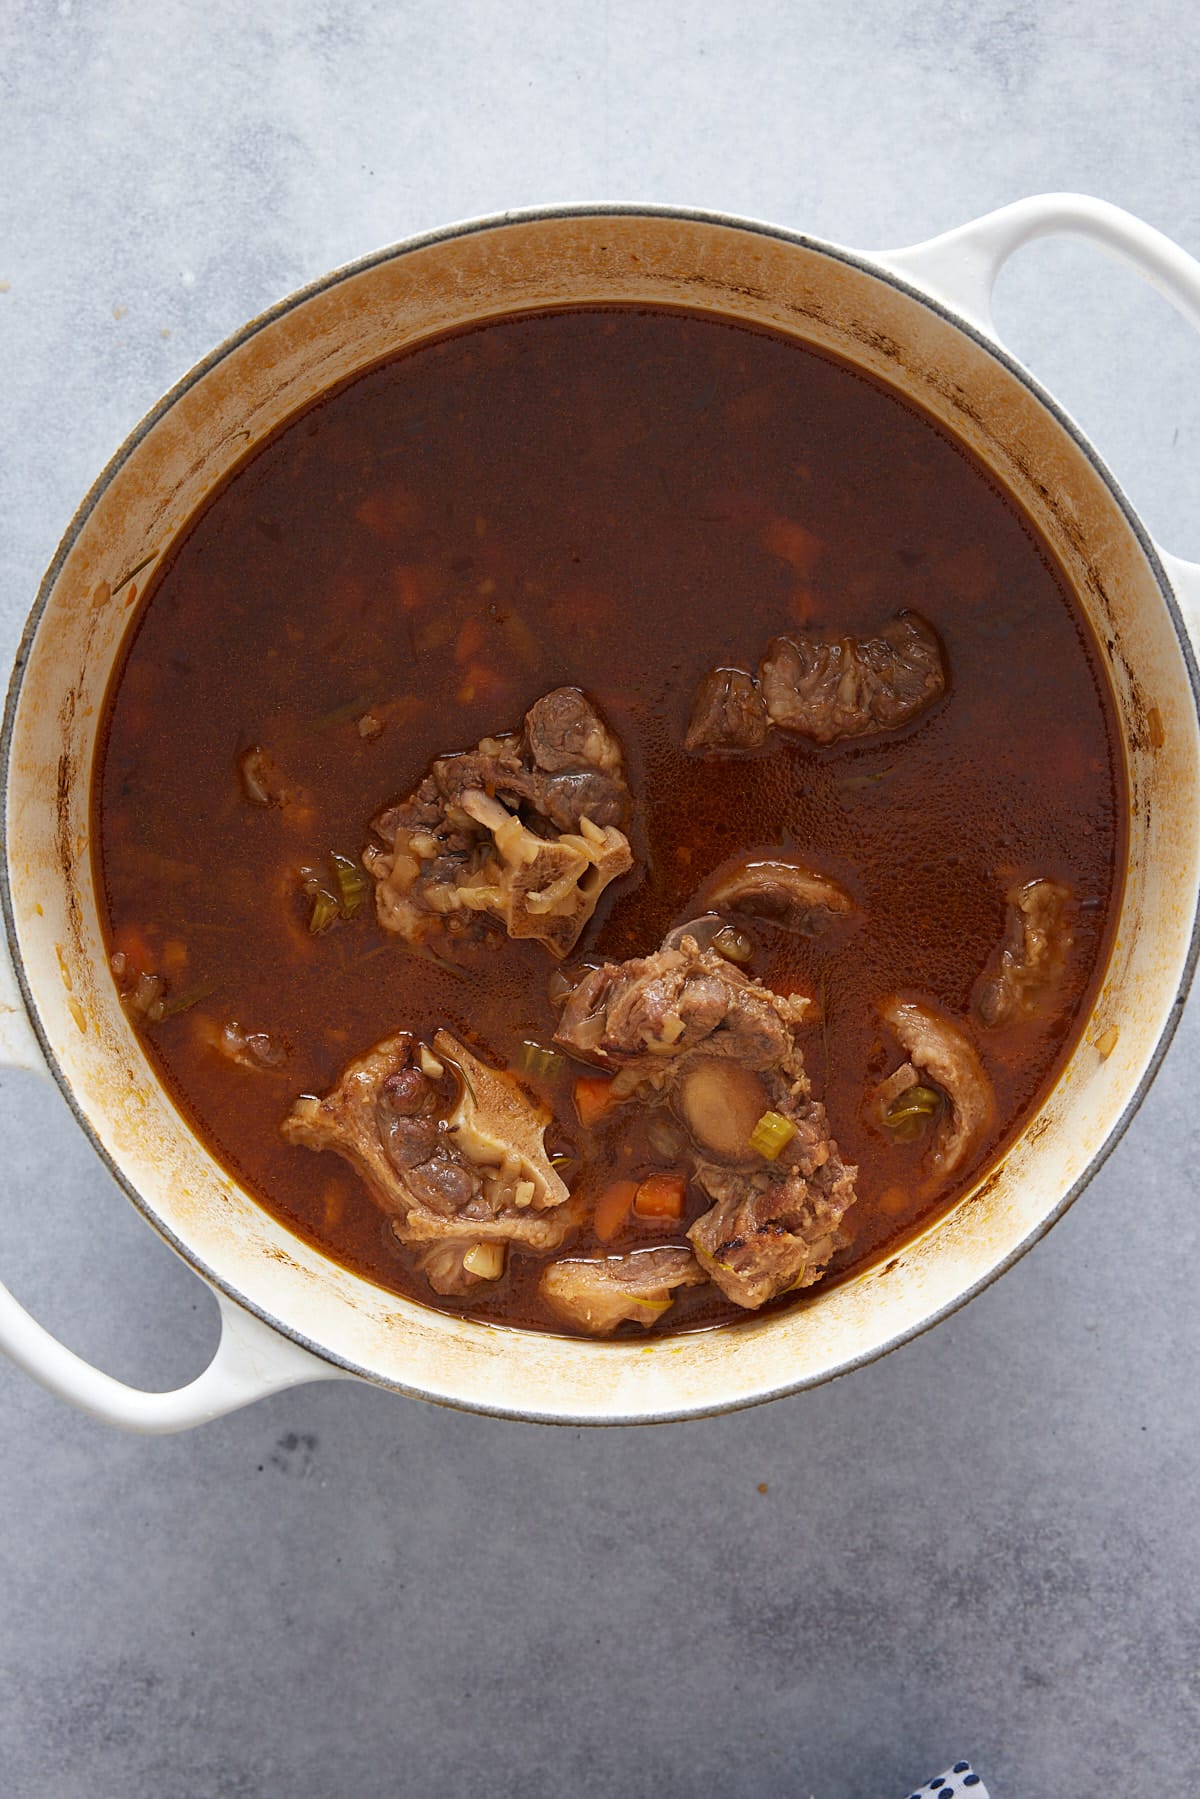
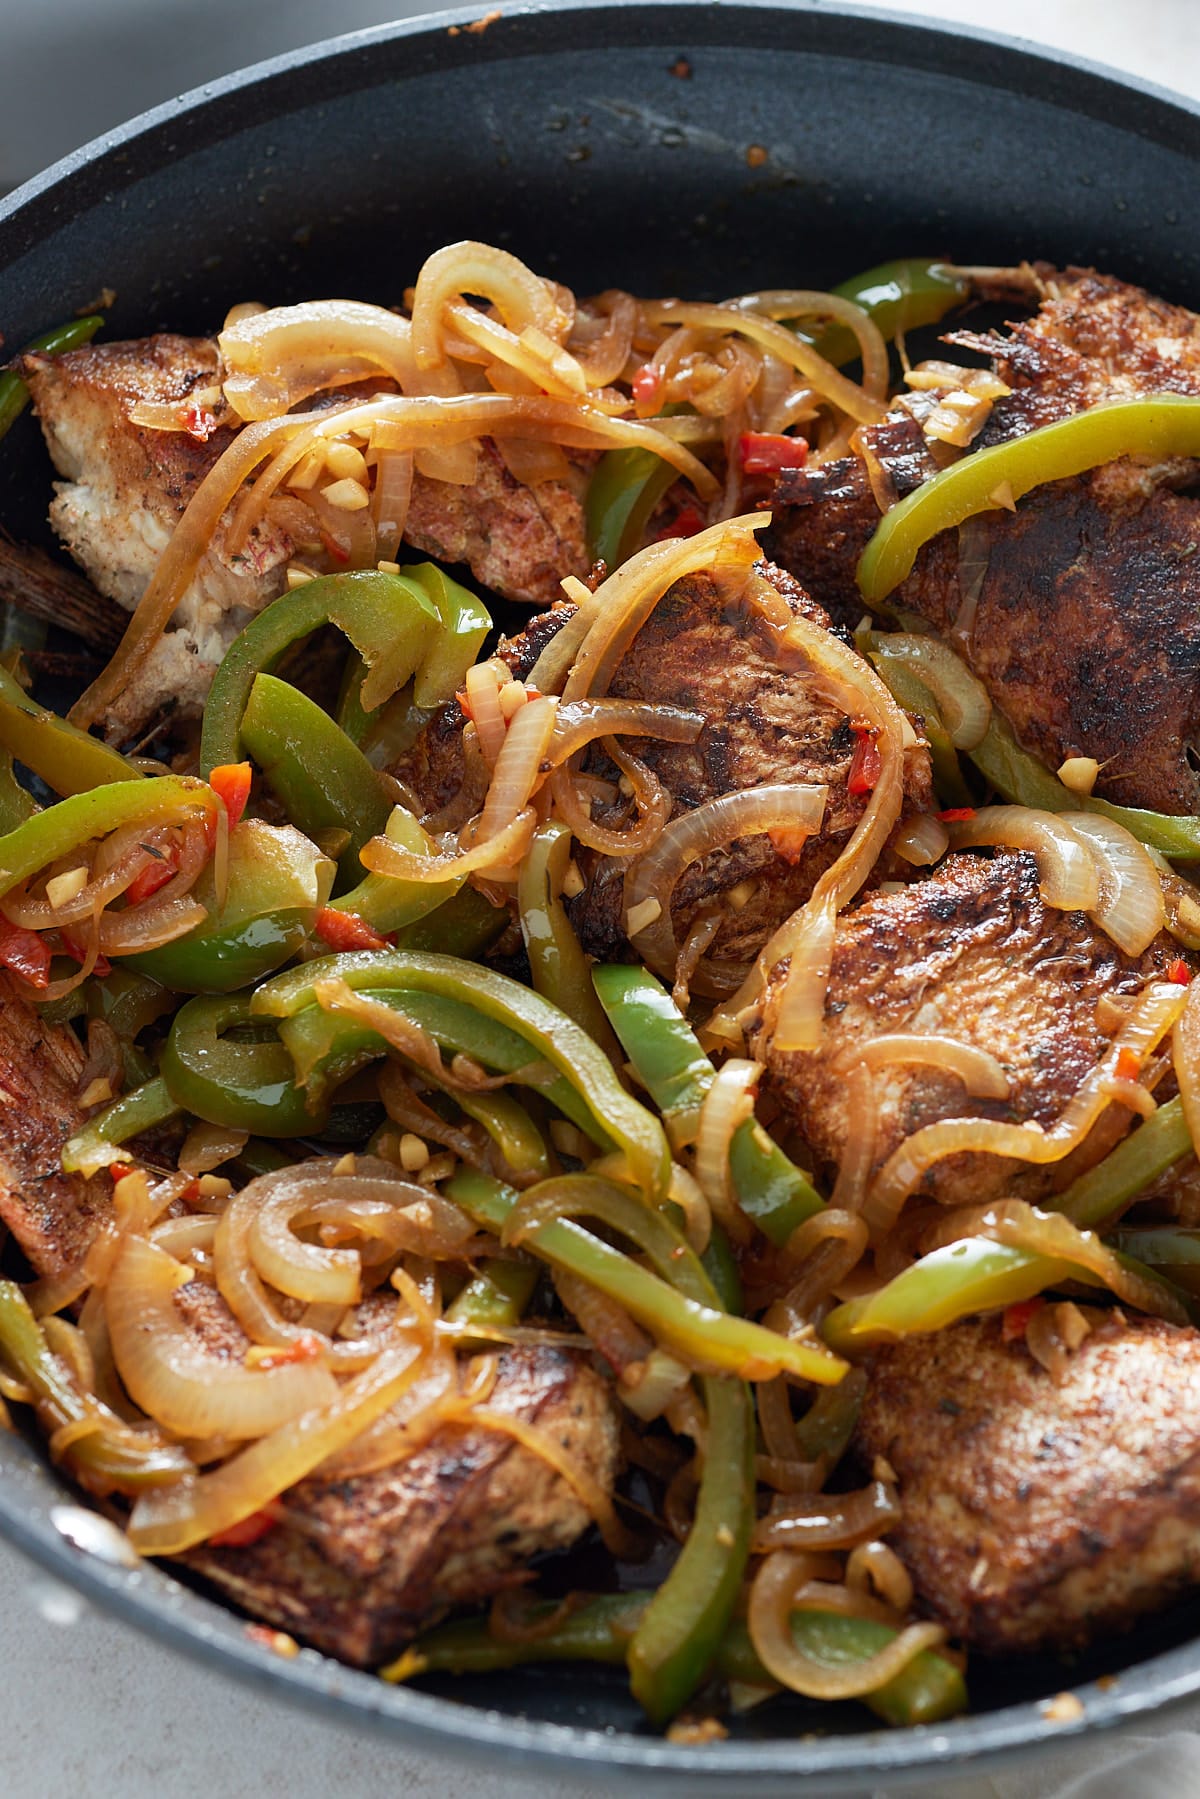
Remove from oven and remove the cooked turkey pieces and place them in the pressure cooker insert, along with any pan drippings.
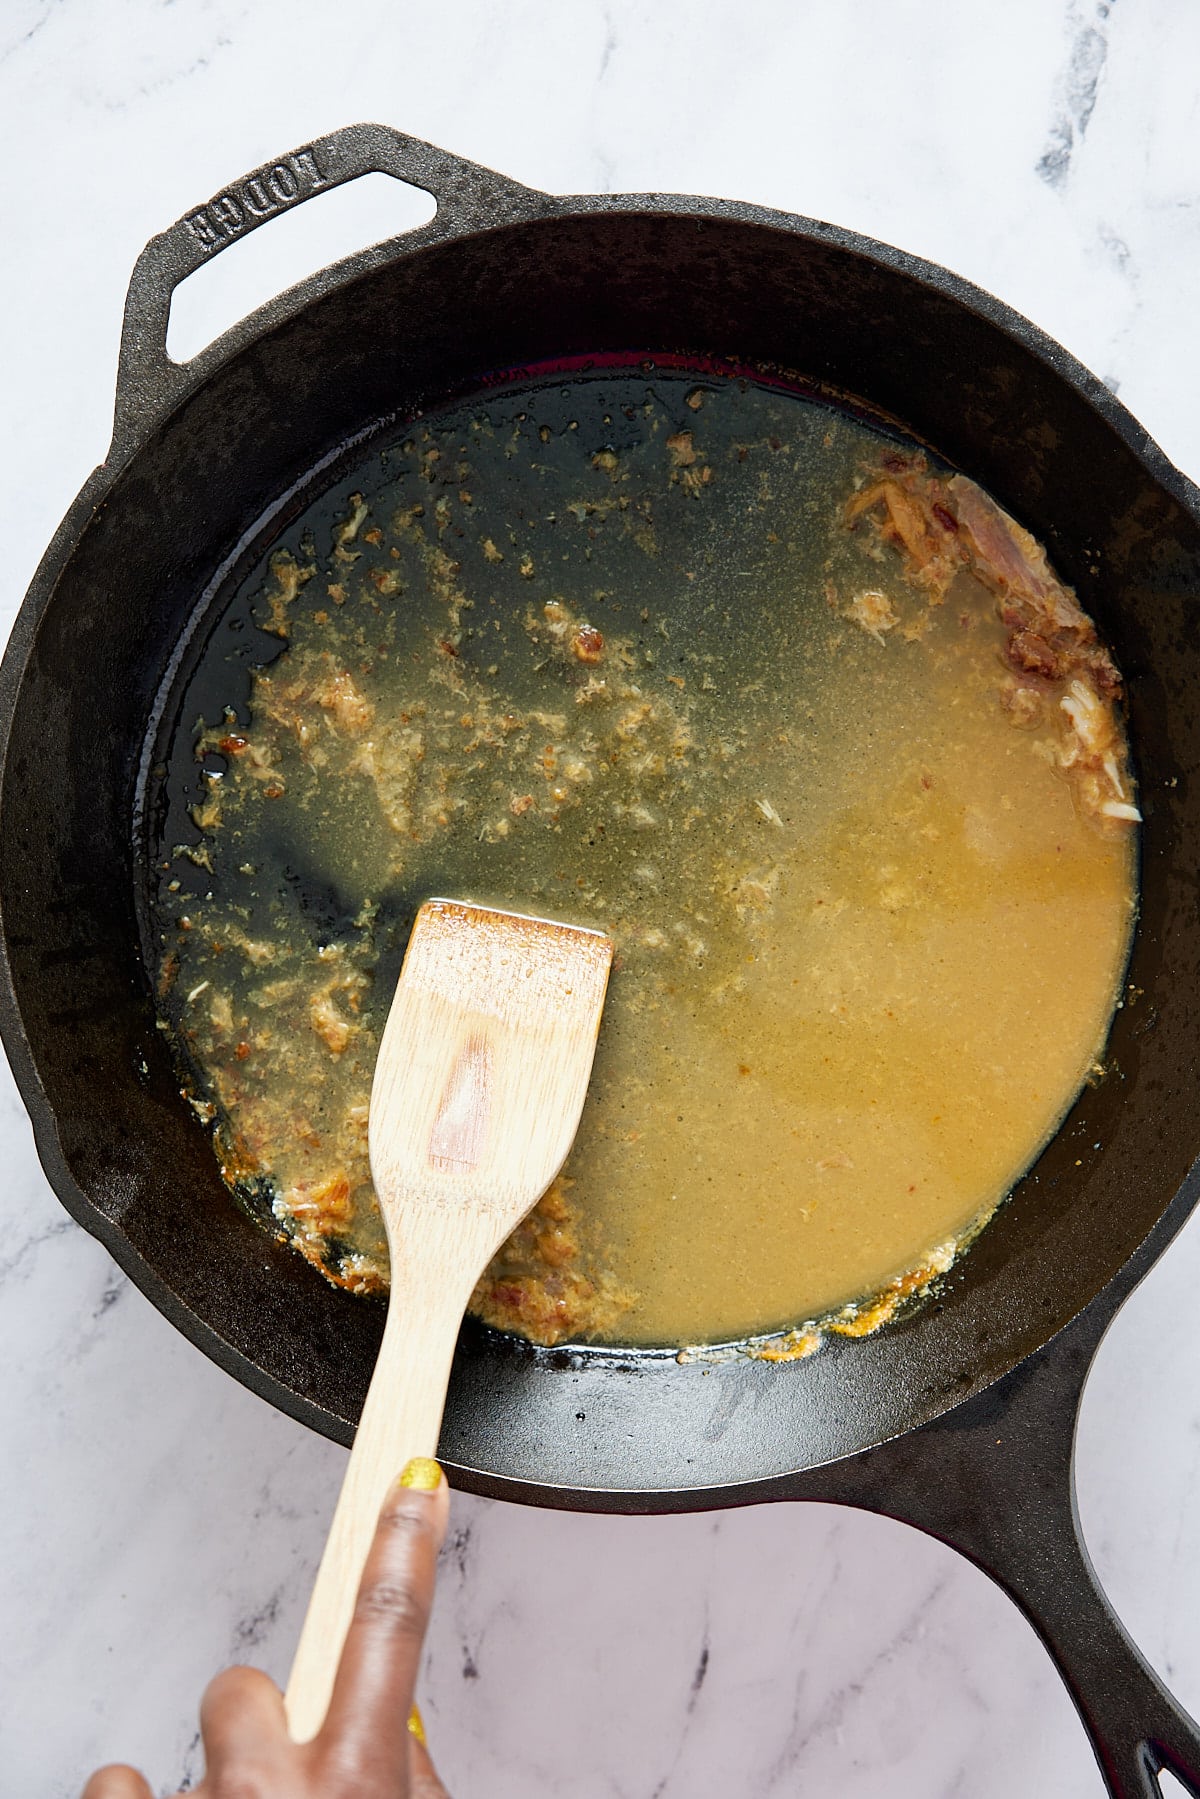

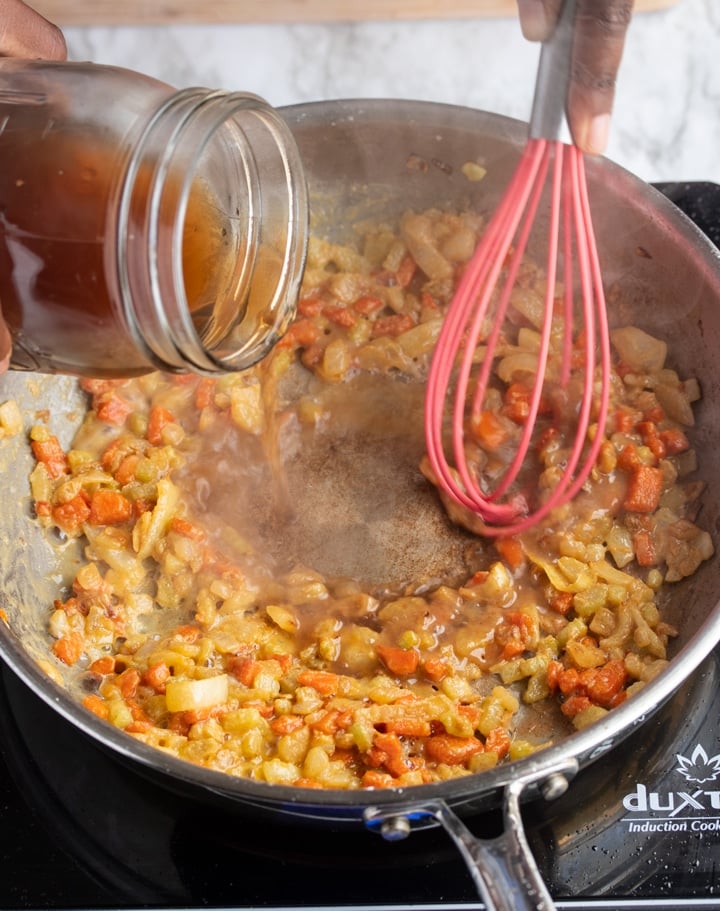
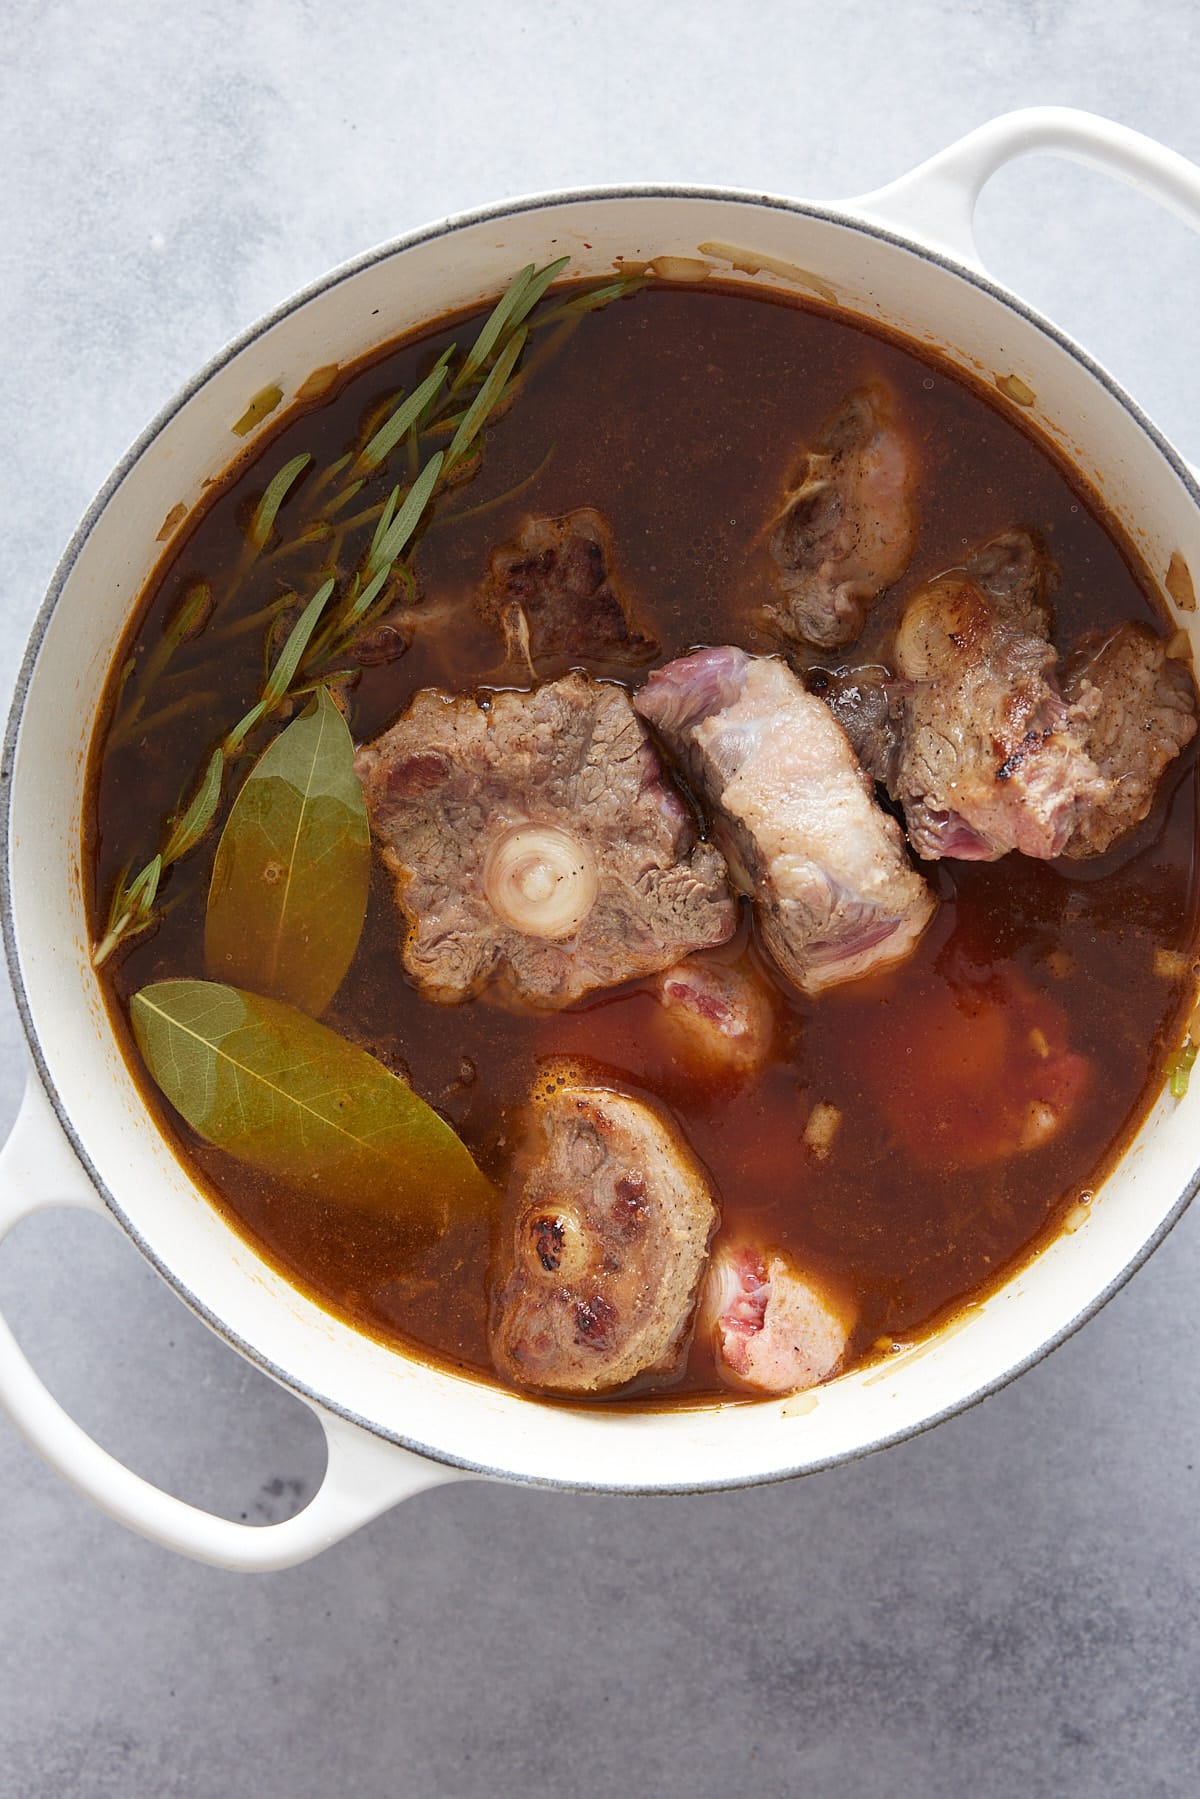
Add hot water to the roasting pan and use a wooden spoon to scrape off any brown bits. Add the water and bits to the pot.
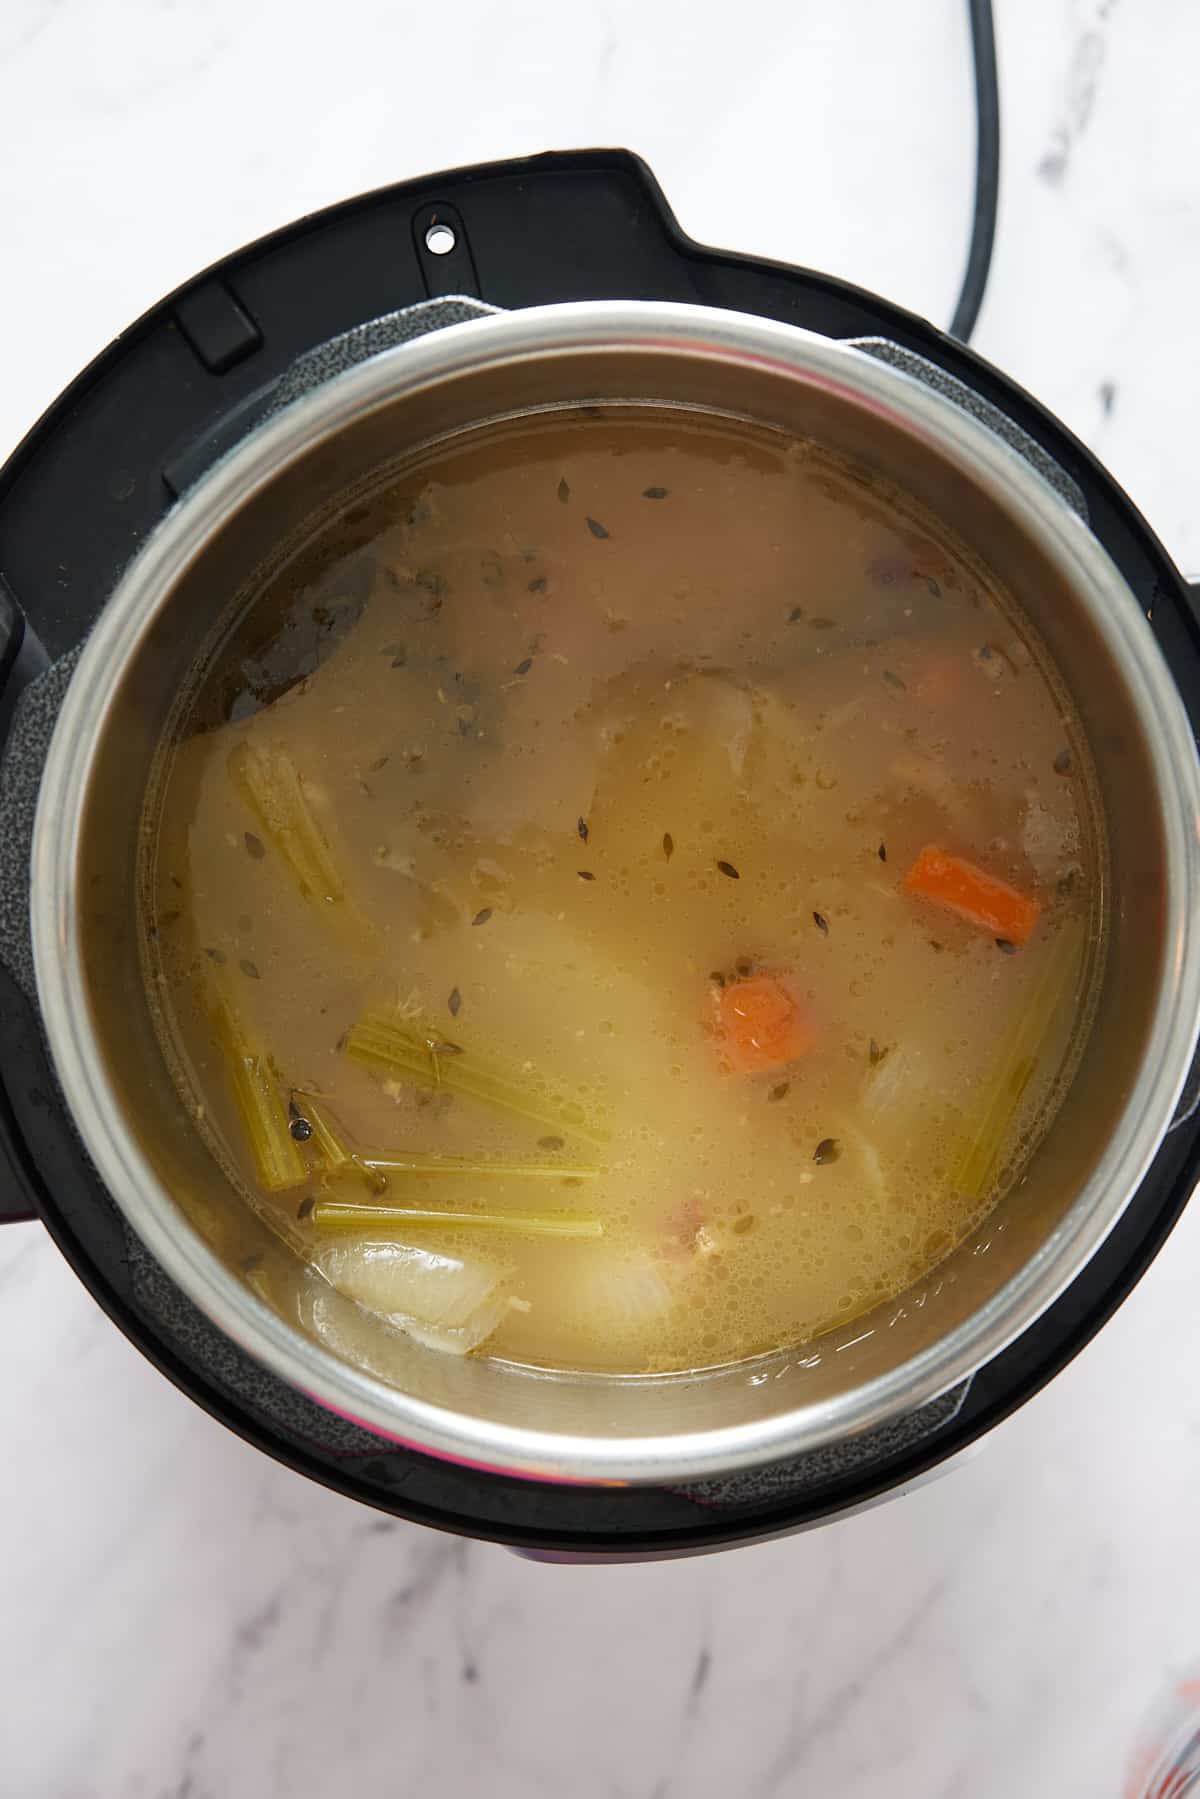
Pour water over the turkey pieces in the pot, until the turkey is pieces are covered.
This should be about 8 cups of water in a 6 quart electric pressure cooker.
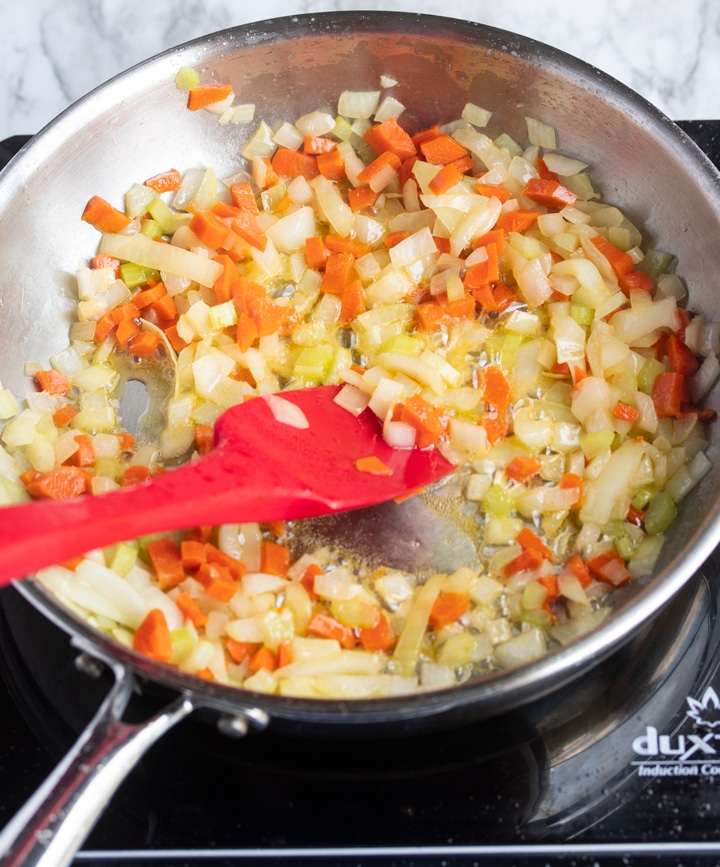
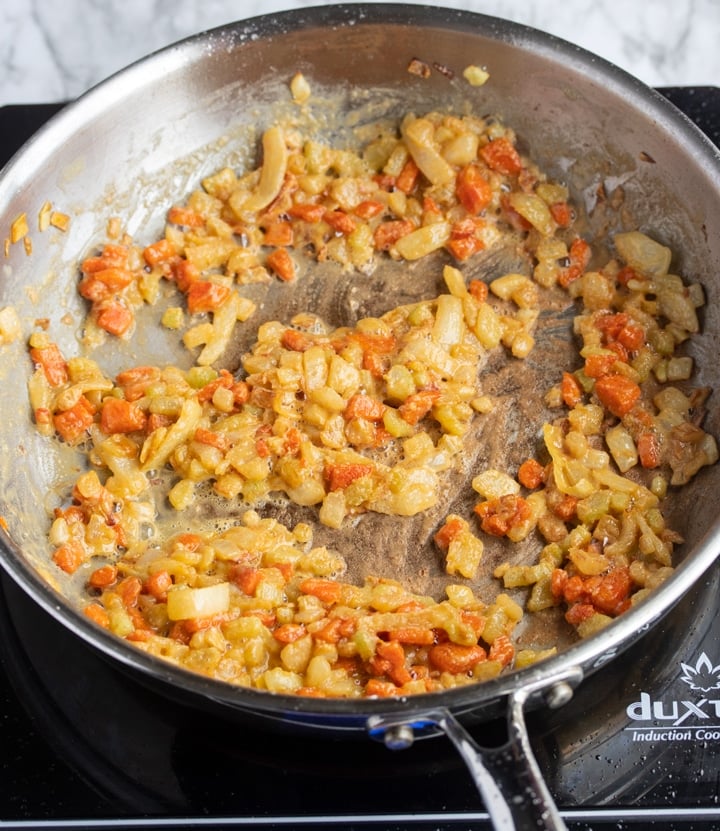
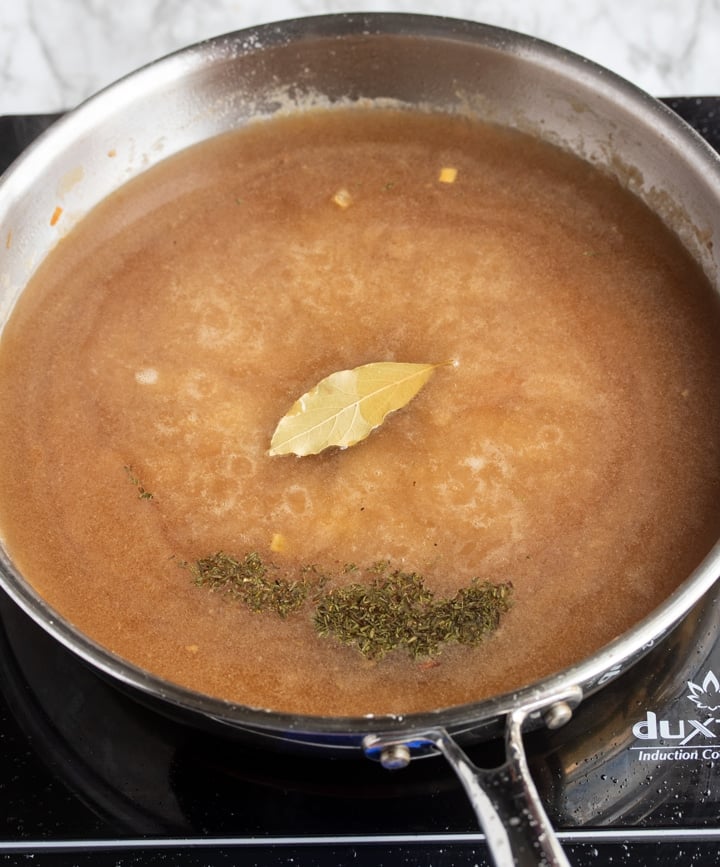
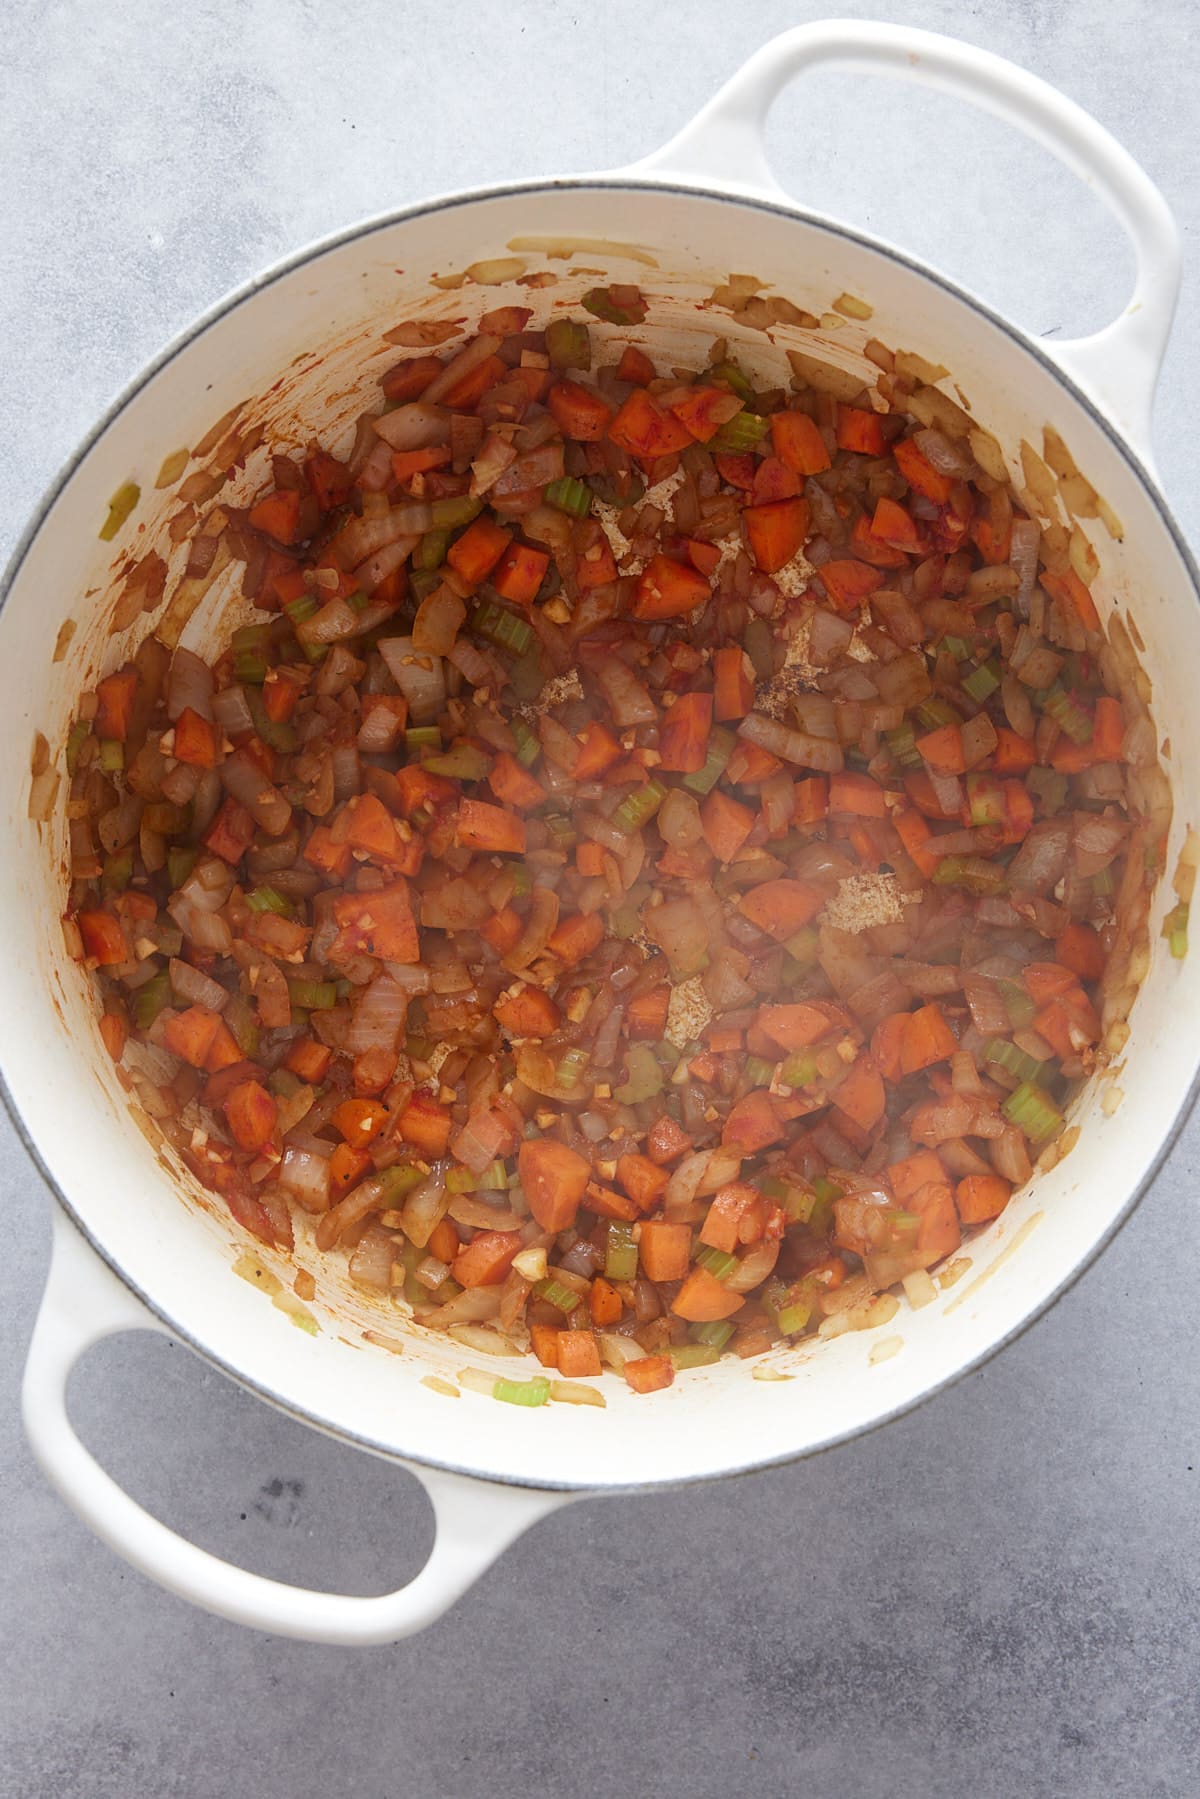
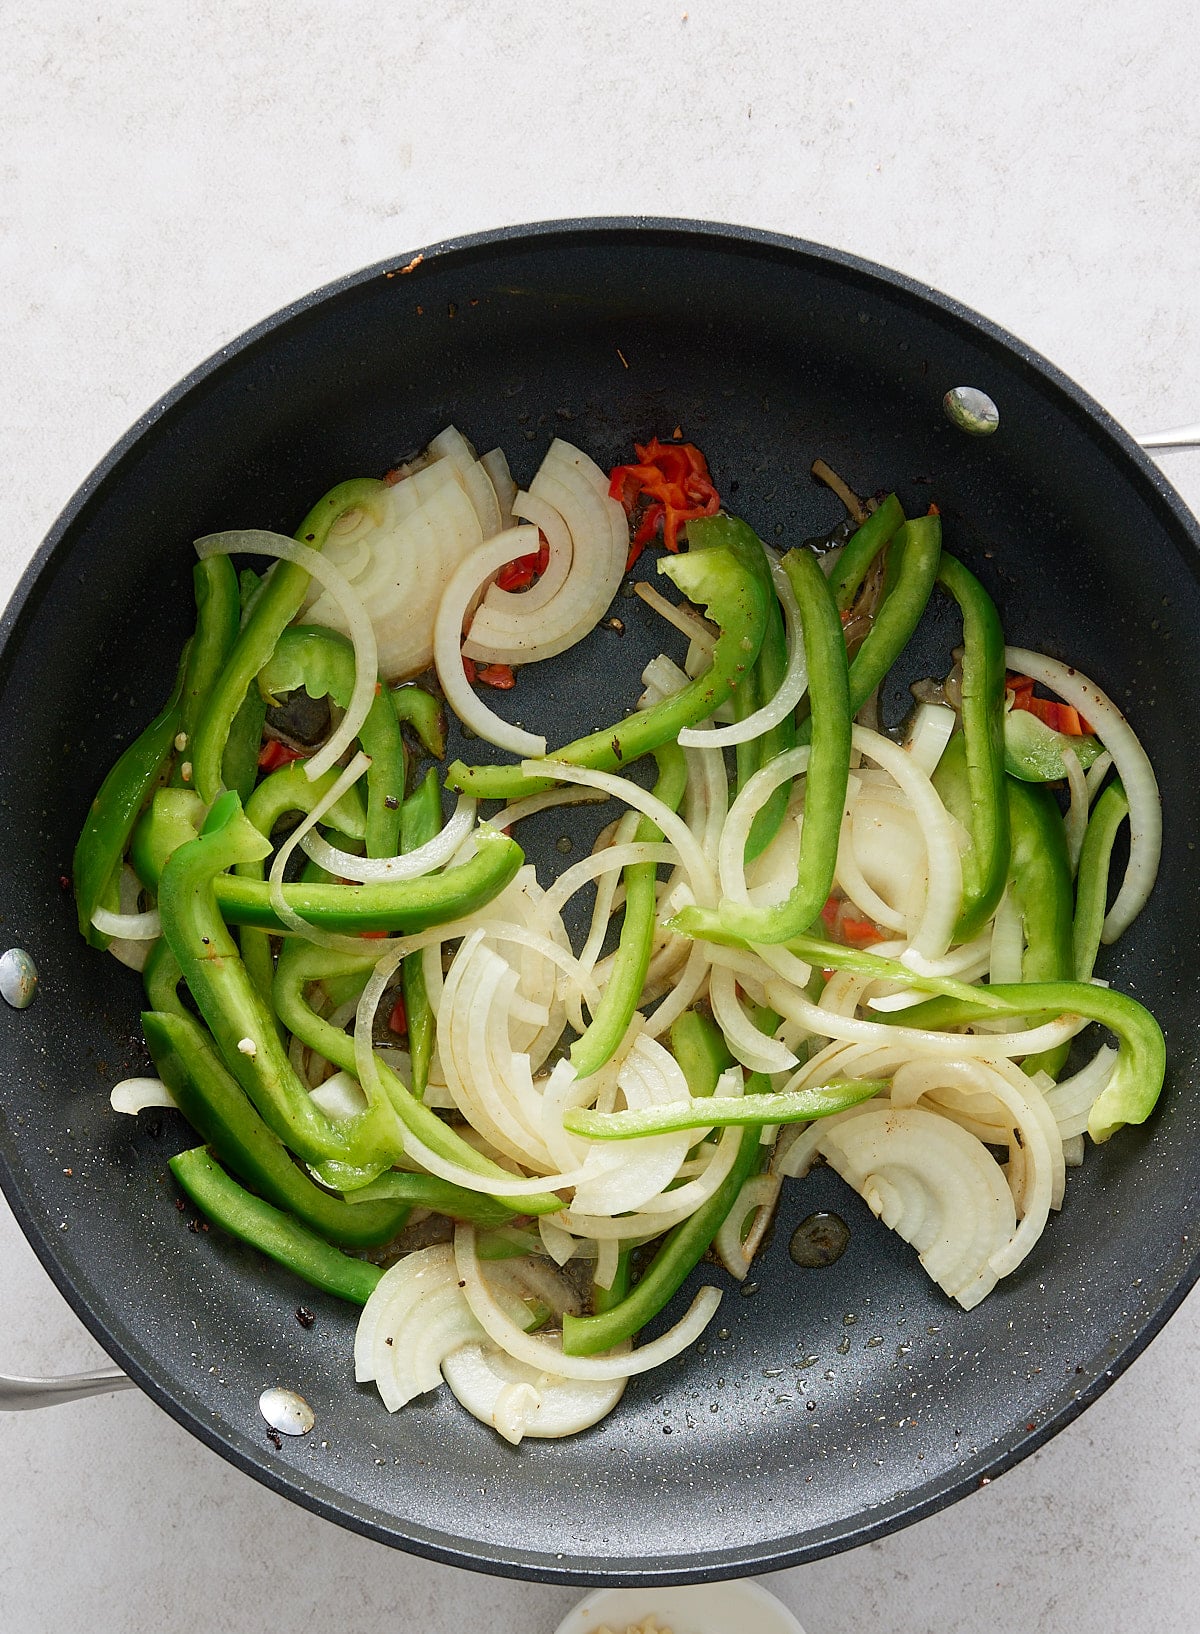
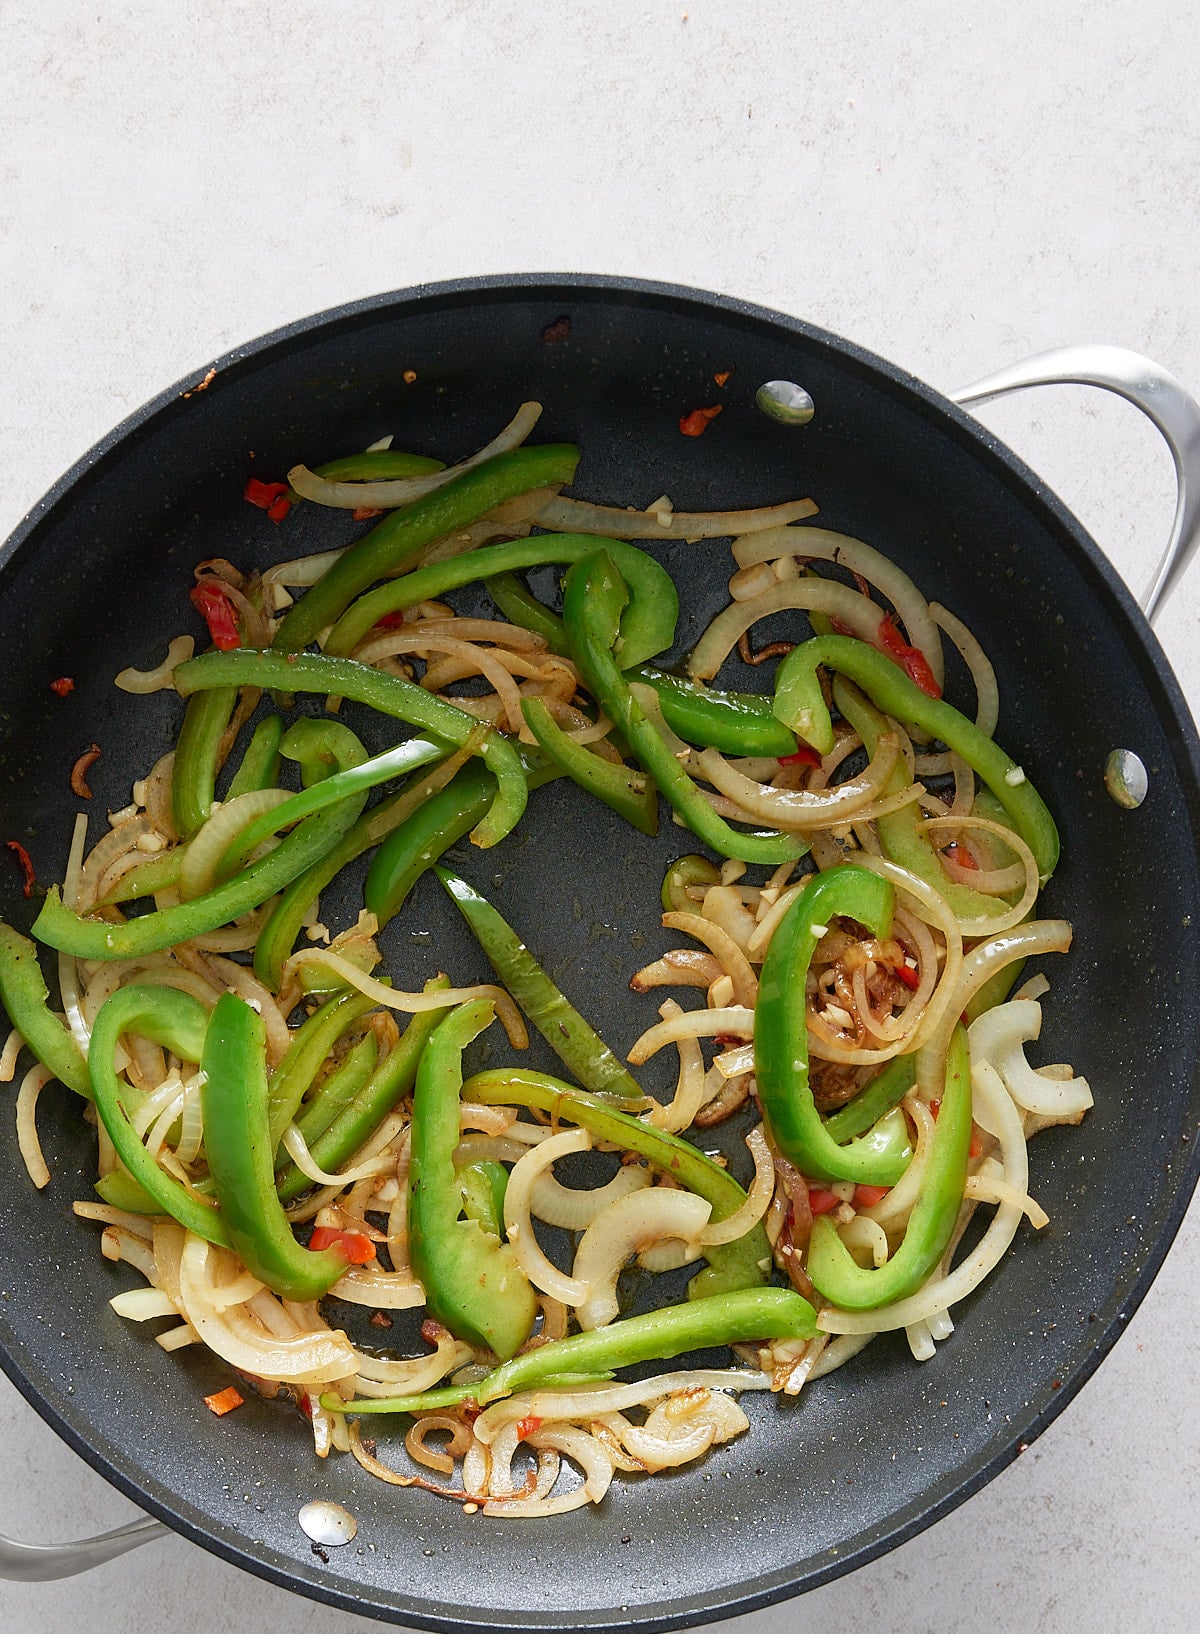
Add the onion, celery, carrot, bay leaves, thyme, garlic cloves, and whole peppercorns to the pot.
Cover the pressure cooker and cook on high pressure for 80 minutes. You can cook the stock in as little as an 60 minutes but the flavor won't be as intense. I found that 80 minutes creates a very flavorful stock.
After 80 minutes of cook time, allow the pressure cooker to naturally release for 10 minutes, then quick release any remaining pressure.
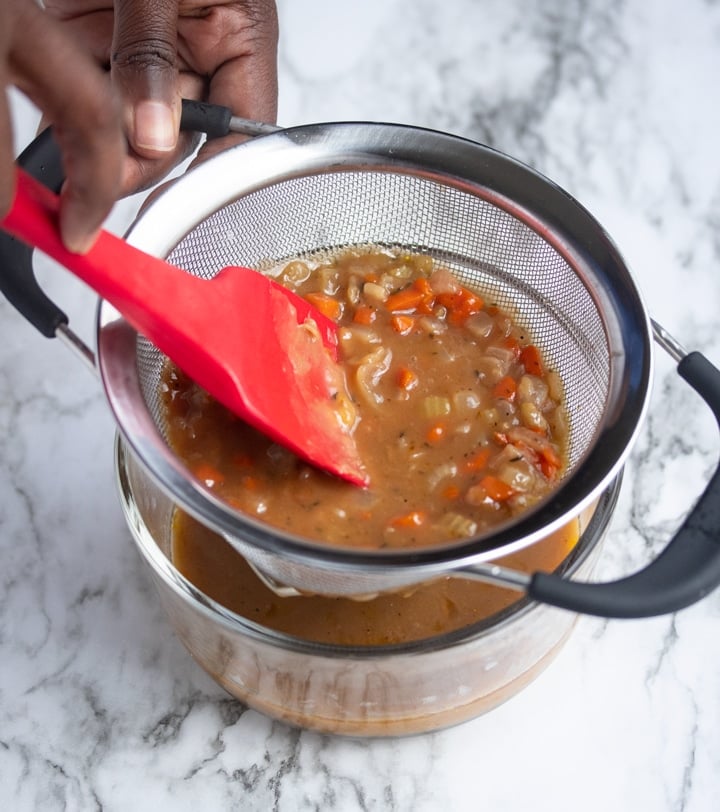
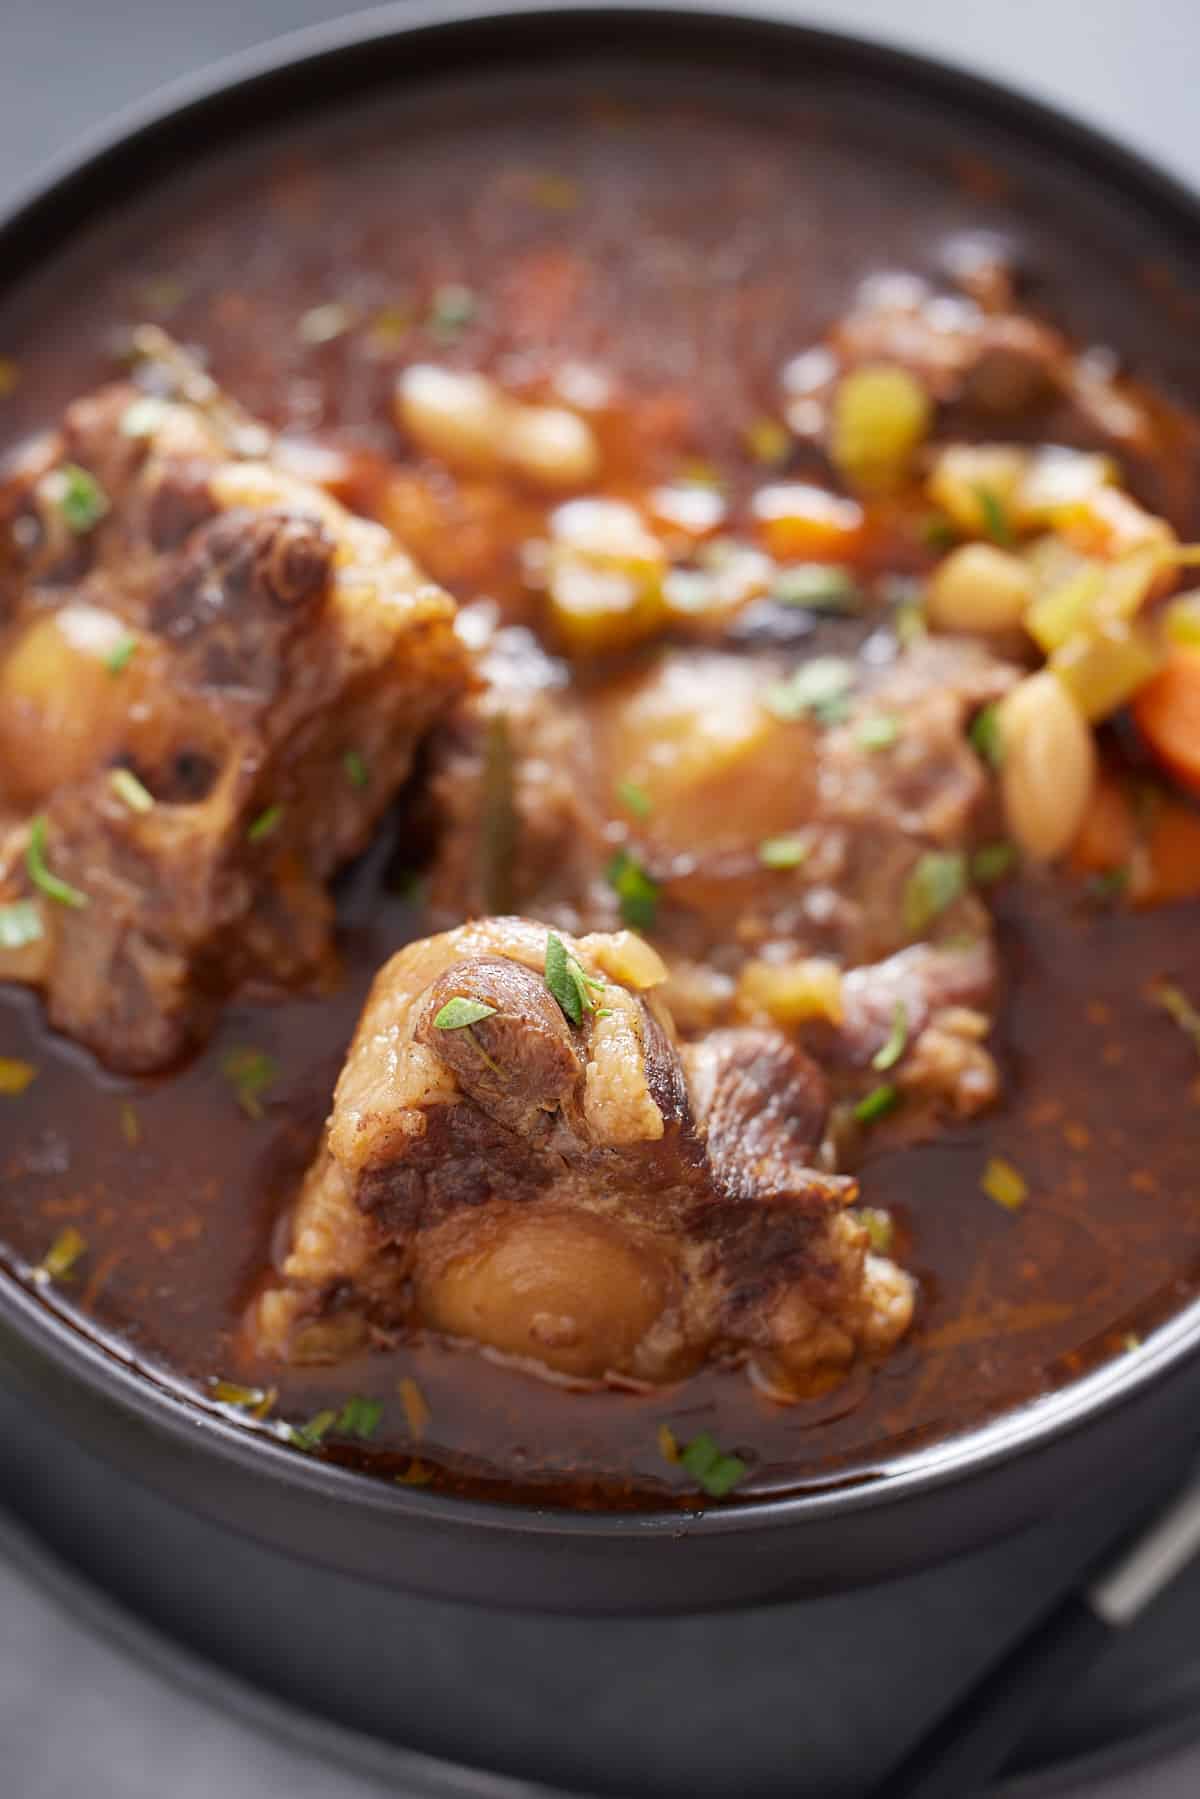
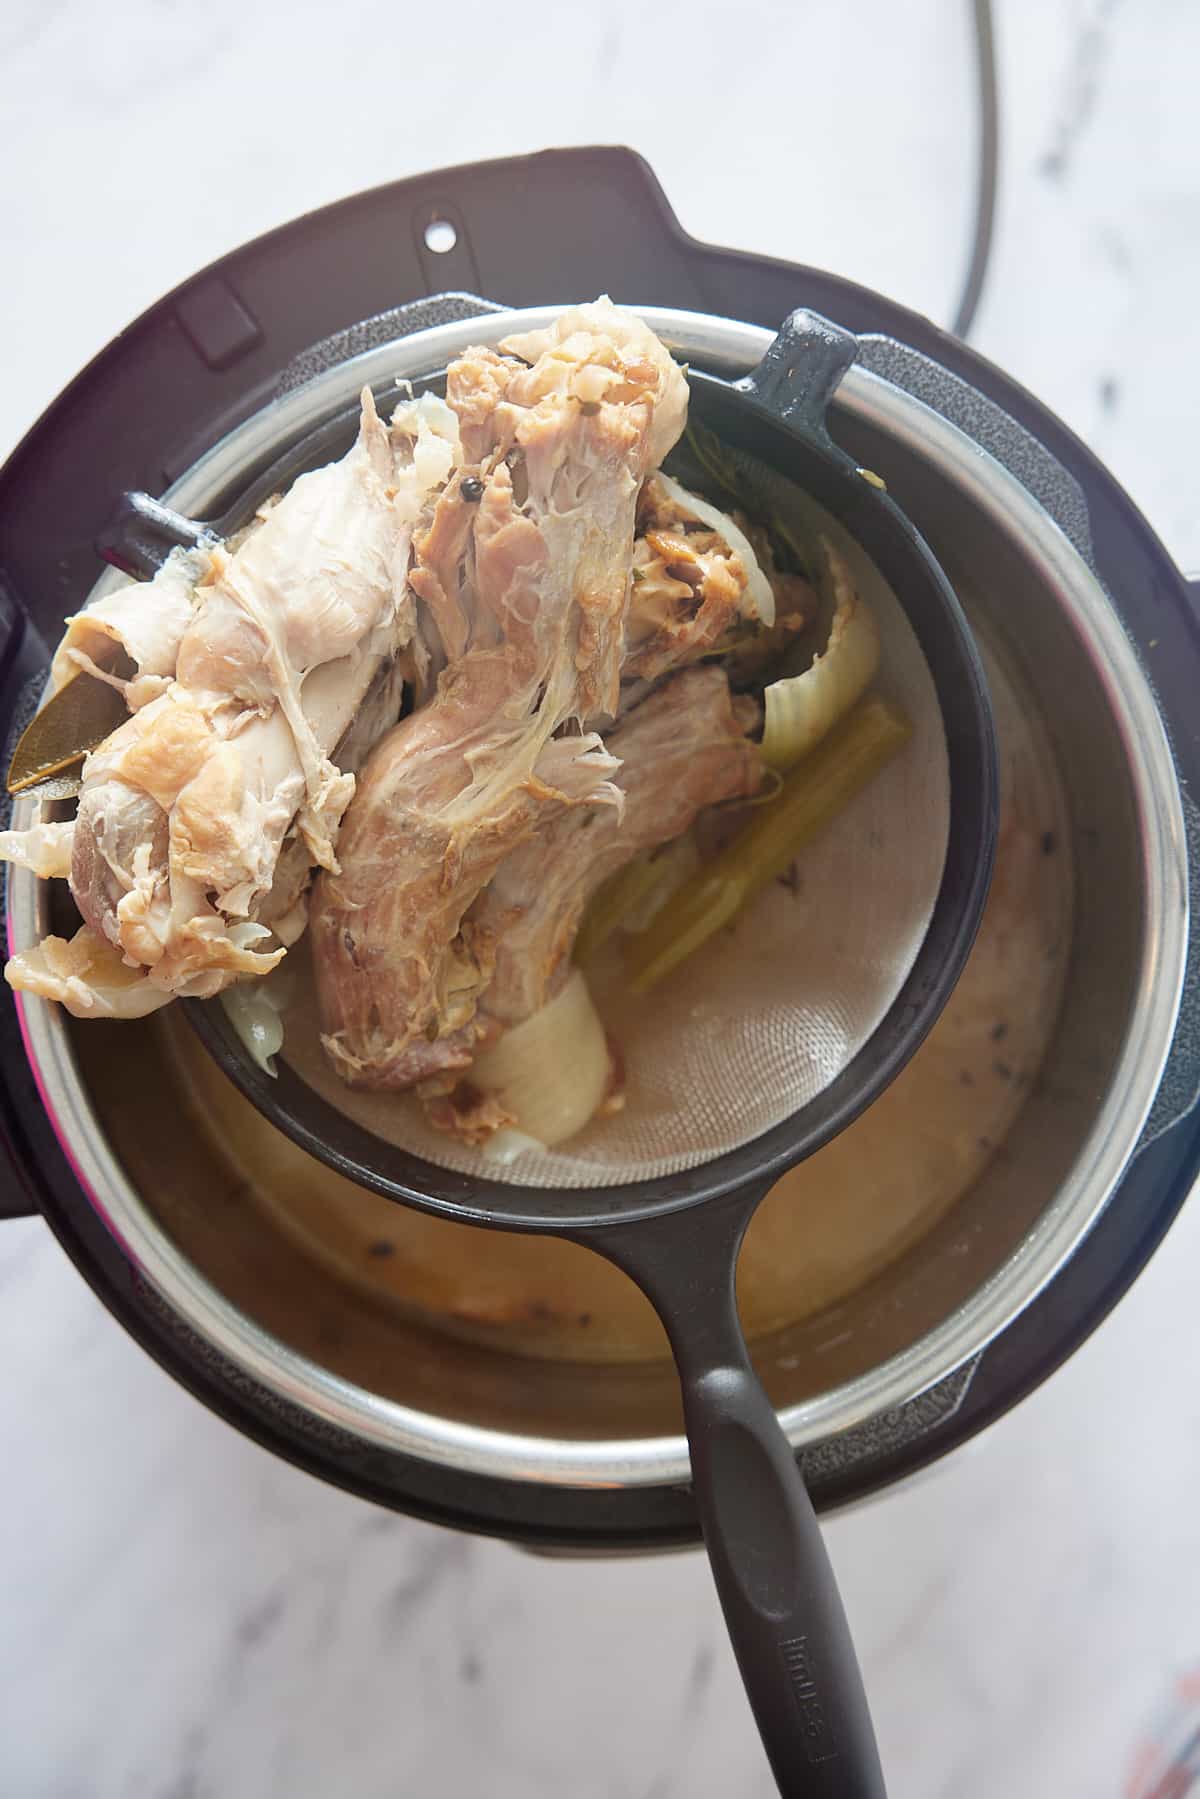
Once all the pressure is released, strain the liquid through a fine-mesh strainer.
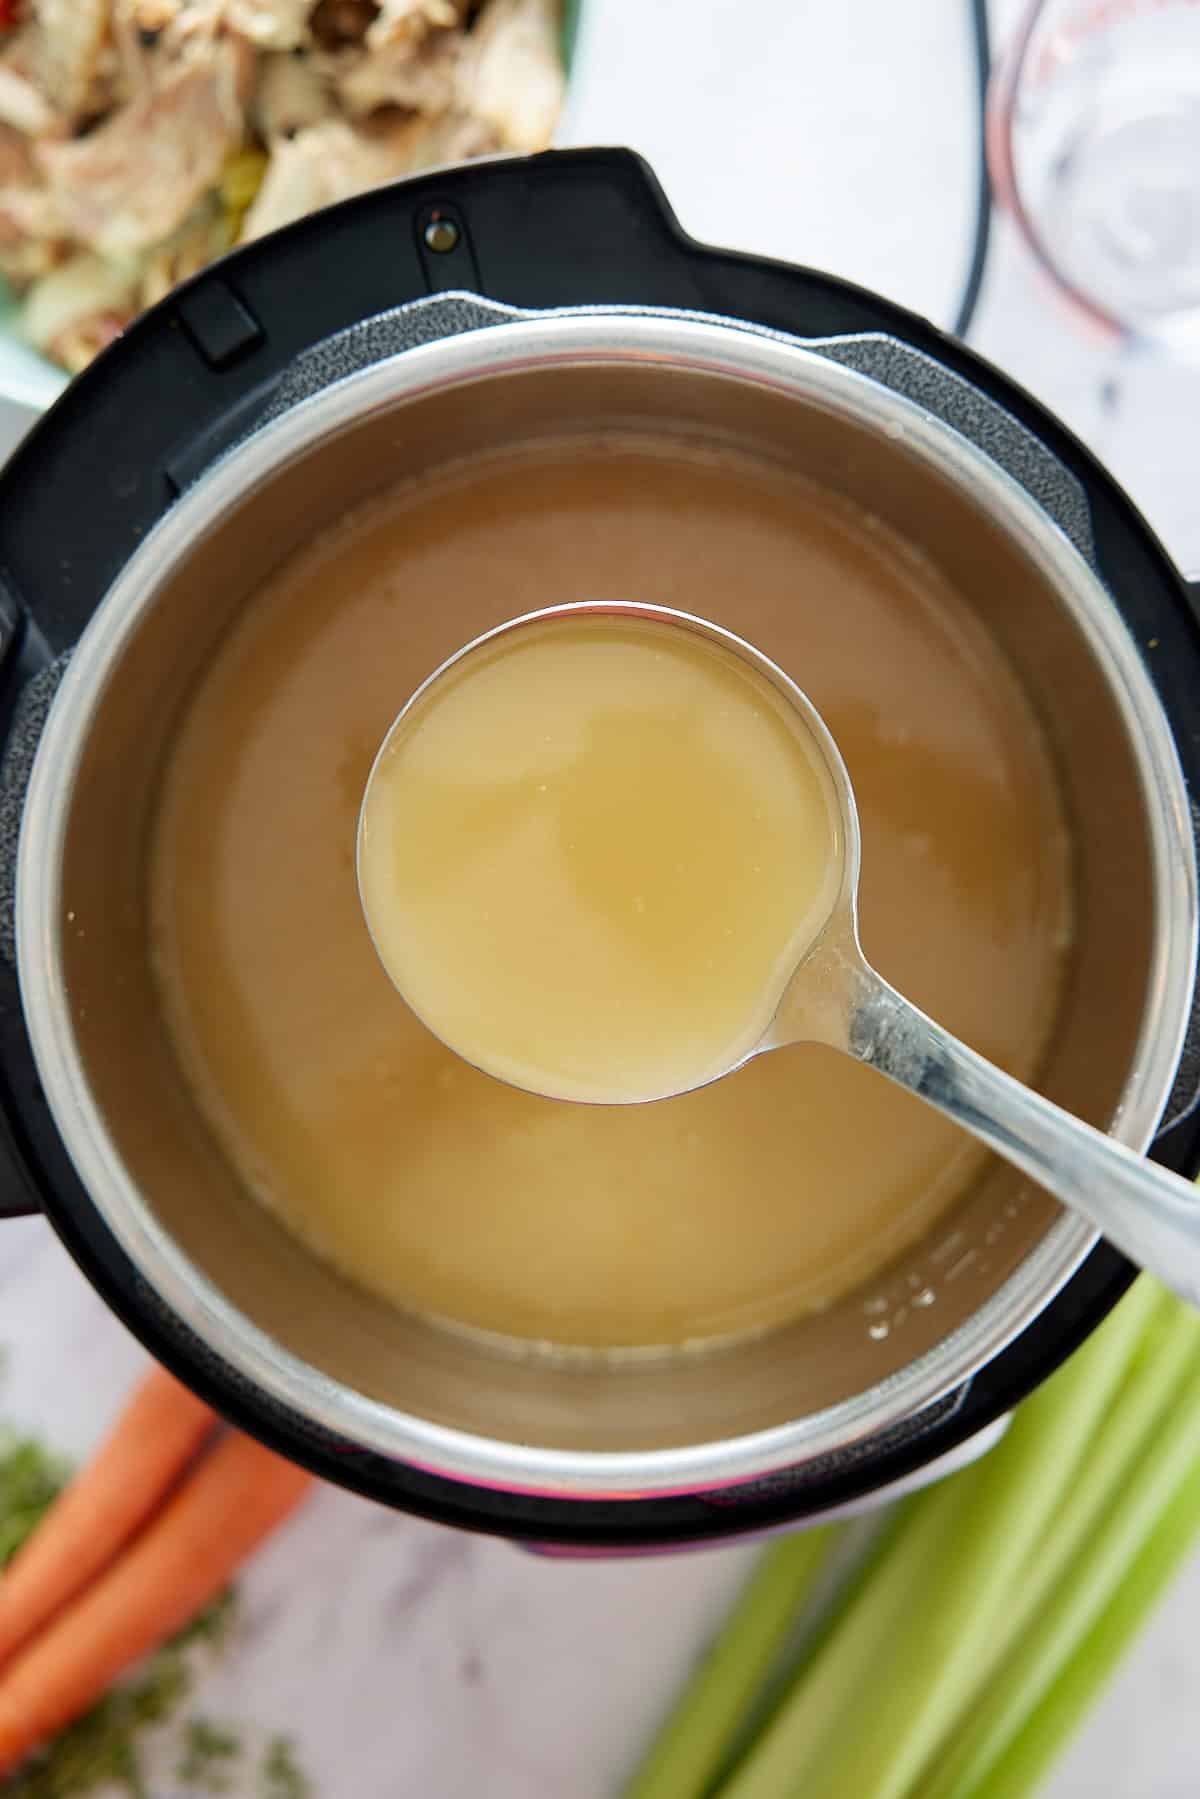
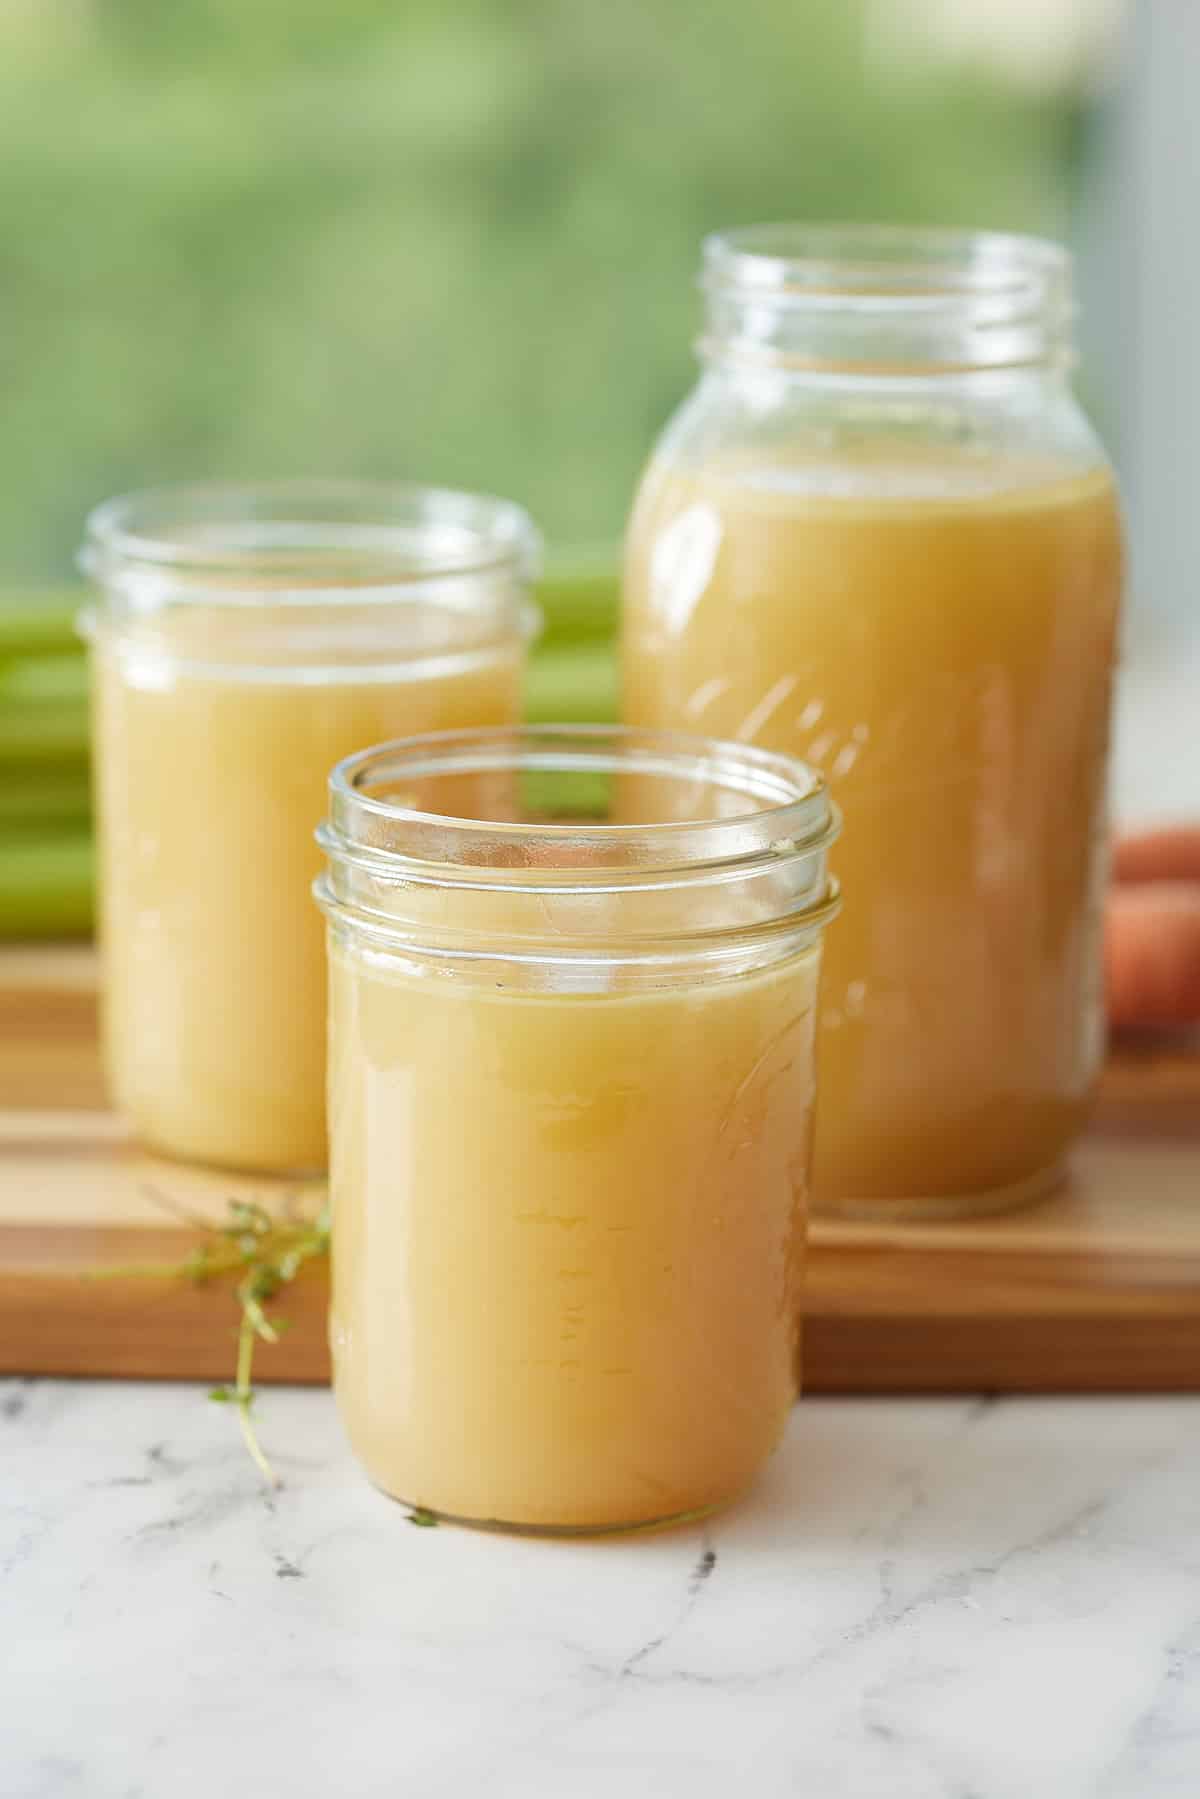
Cool and use immediately or store in the refrigerator or freezer for future use.
Other cooking methods
This recipe is easily adapted to suit other methods of cooking and I've detailed those below.
How to make turkey broth on the stovetop
Follow directions above but add ingredients to a large pot. Allow the broth to simmer over medium-low heat for 4-5 hours. Skim the stock while it simmers.
How to make turkey broth in slow cooker
Follow the directions above but add ingredients to a slow cooker after roasting turkey pieces in the oven. Slow cook on low for 8-12 hours.
What's in homemade turkey broth?

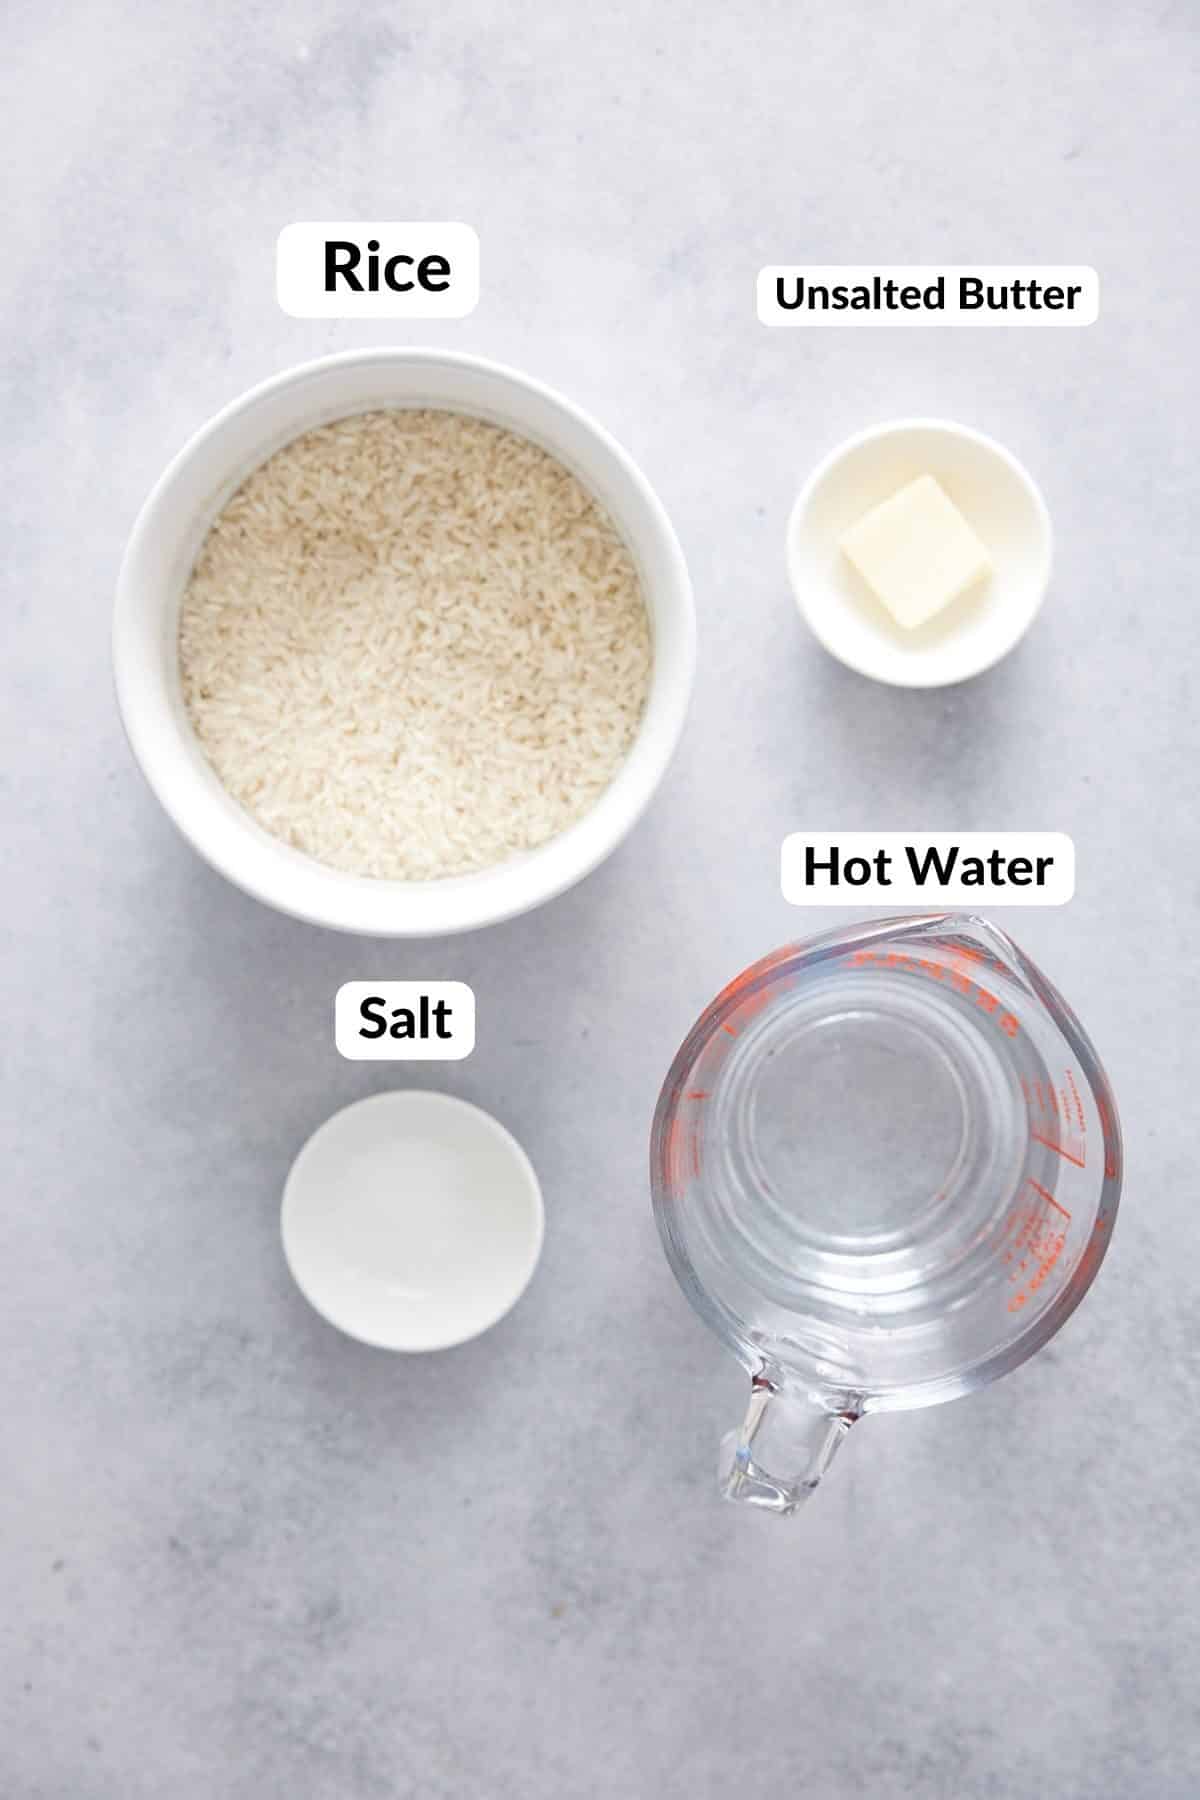
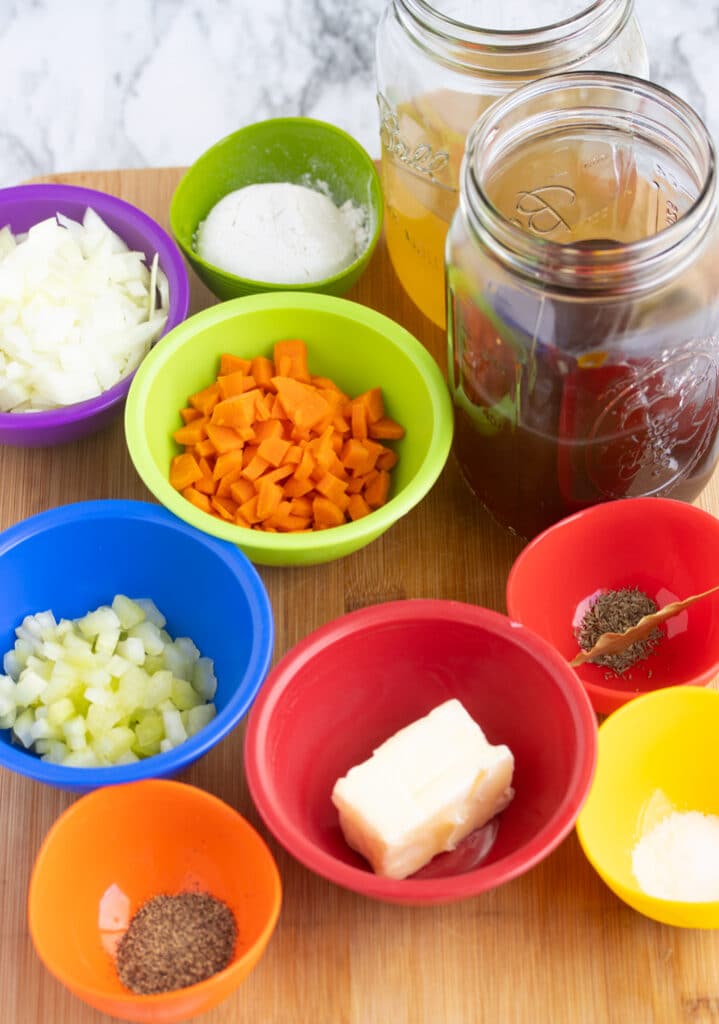
- Turkey parts - I use wings and necks for this recipe but you can use other parts as well. Leftover carcass can also be used but the flavor won't be as strong.
- Aromatics - yellow onion, carrot, celery are the mirepoix that are used in this recipe. They are my go to addition in almost any broth recipe.
- Herbs - Bay leaves, thyme, garlic, whole peppercorns are used to add additional flavor to the stock.
- Water
Why roast the turkey pieces when making broth?
Roasting the turkey wings and necks adds a real depth of meaty flavor to the finished broth. The meat and bones caramelize while being roasted and you end up with a richer, fuller, intensely flavored broth.
What's the difference between stock and broth?
The main difference between stock and broth is that stock is made with bones and broth is made with meat or meat attached to the bone. Stock is simmered for a longer period of time, allowing the collagen in the bones to break down and turn into gelatin. This gives stock a richer flavor and thicker texture. Broth is made by simmering meat and vegetables in water. It has a lighter flavor and thinner texture than stock.
Seasonings for turkey broth
Vegetables: I start with a mix of vegetables, or mirepoix, comprising of onion, carrot, celery and garlic, which adds the base flavors to the broth.
Fresh Herbs: A bouquet garni (bundle of herbs) is also added for flavor. I like to use bay leaves and sprigs of fresh thyme, but you could also add parsley stalks, rosemary or tarragon depending on the flavor profile you are looking for.
Spice: Finally I add whole peppercorns to add just a touch of spice to balance the broth.
What is turkey broth good for?
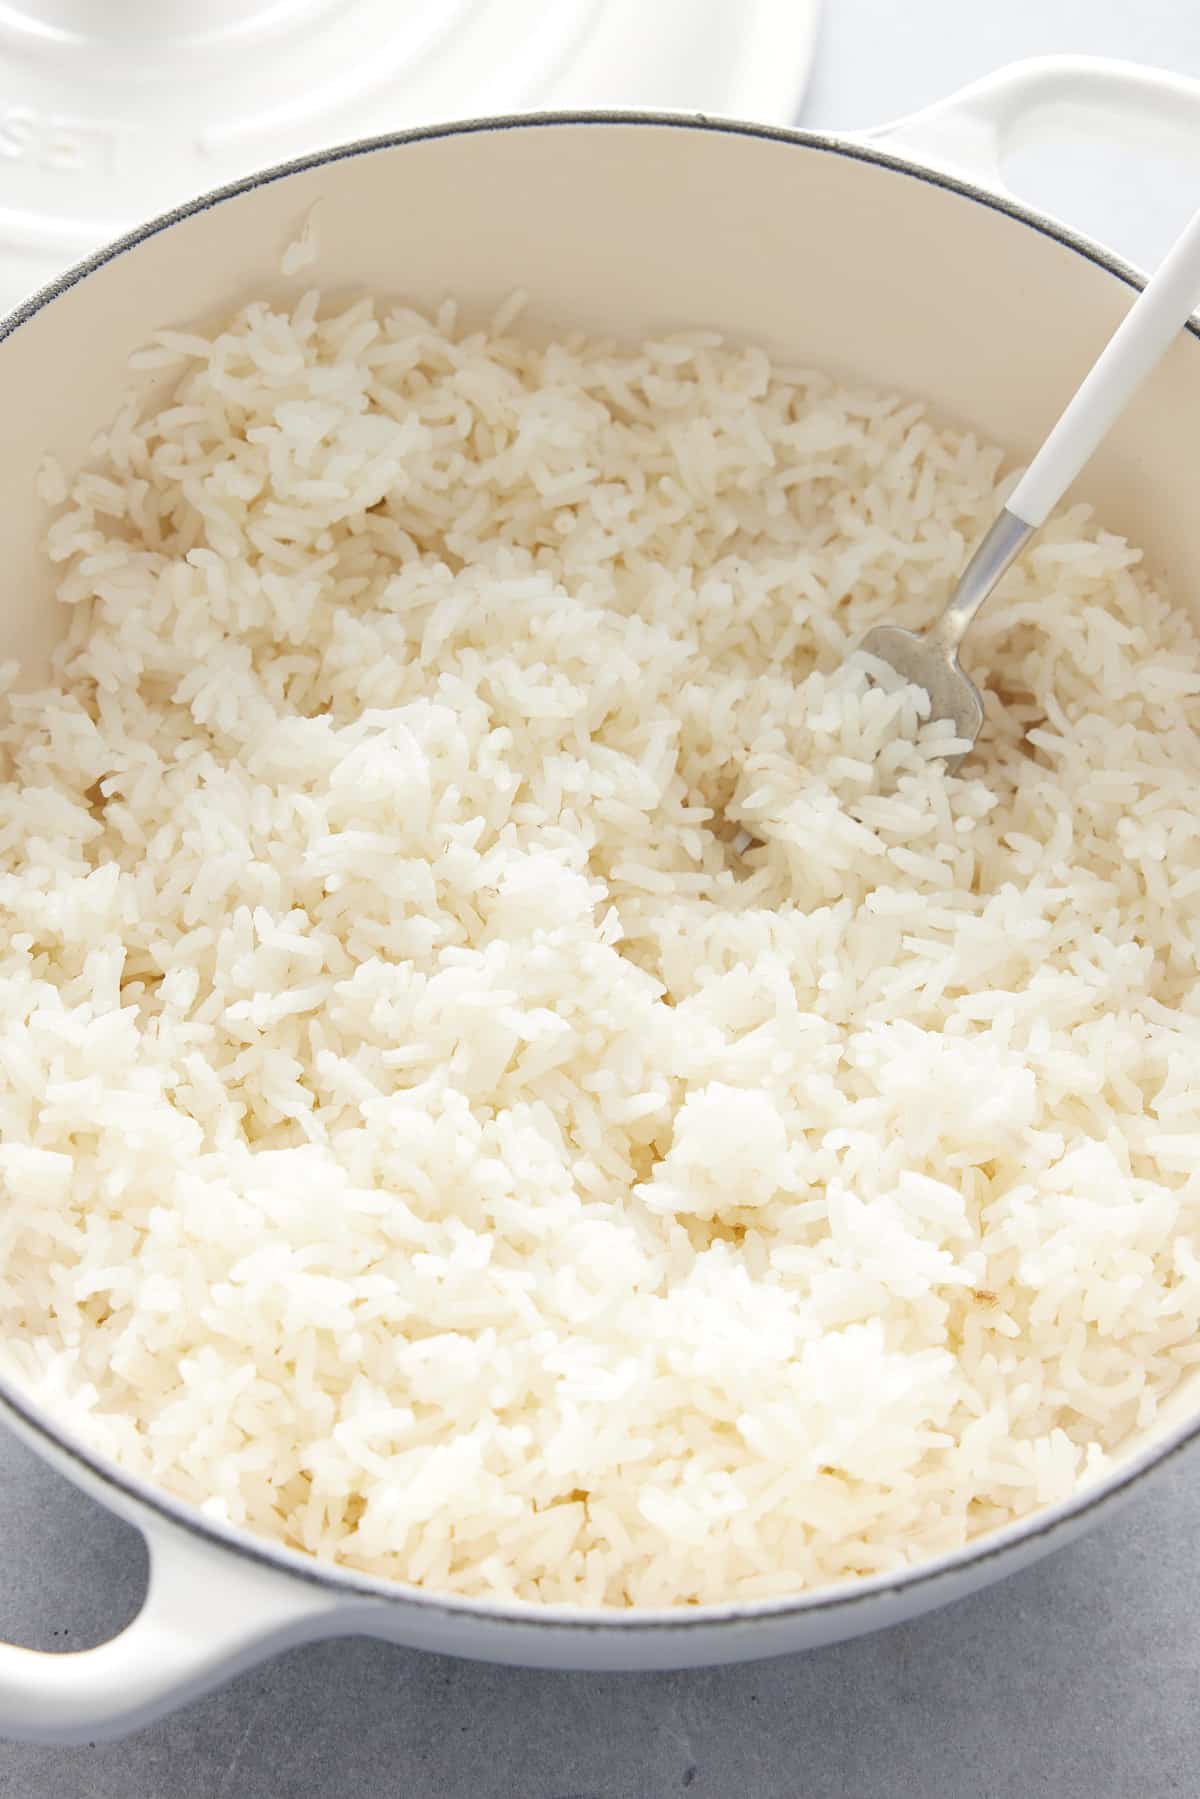
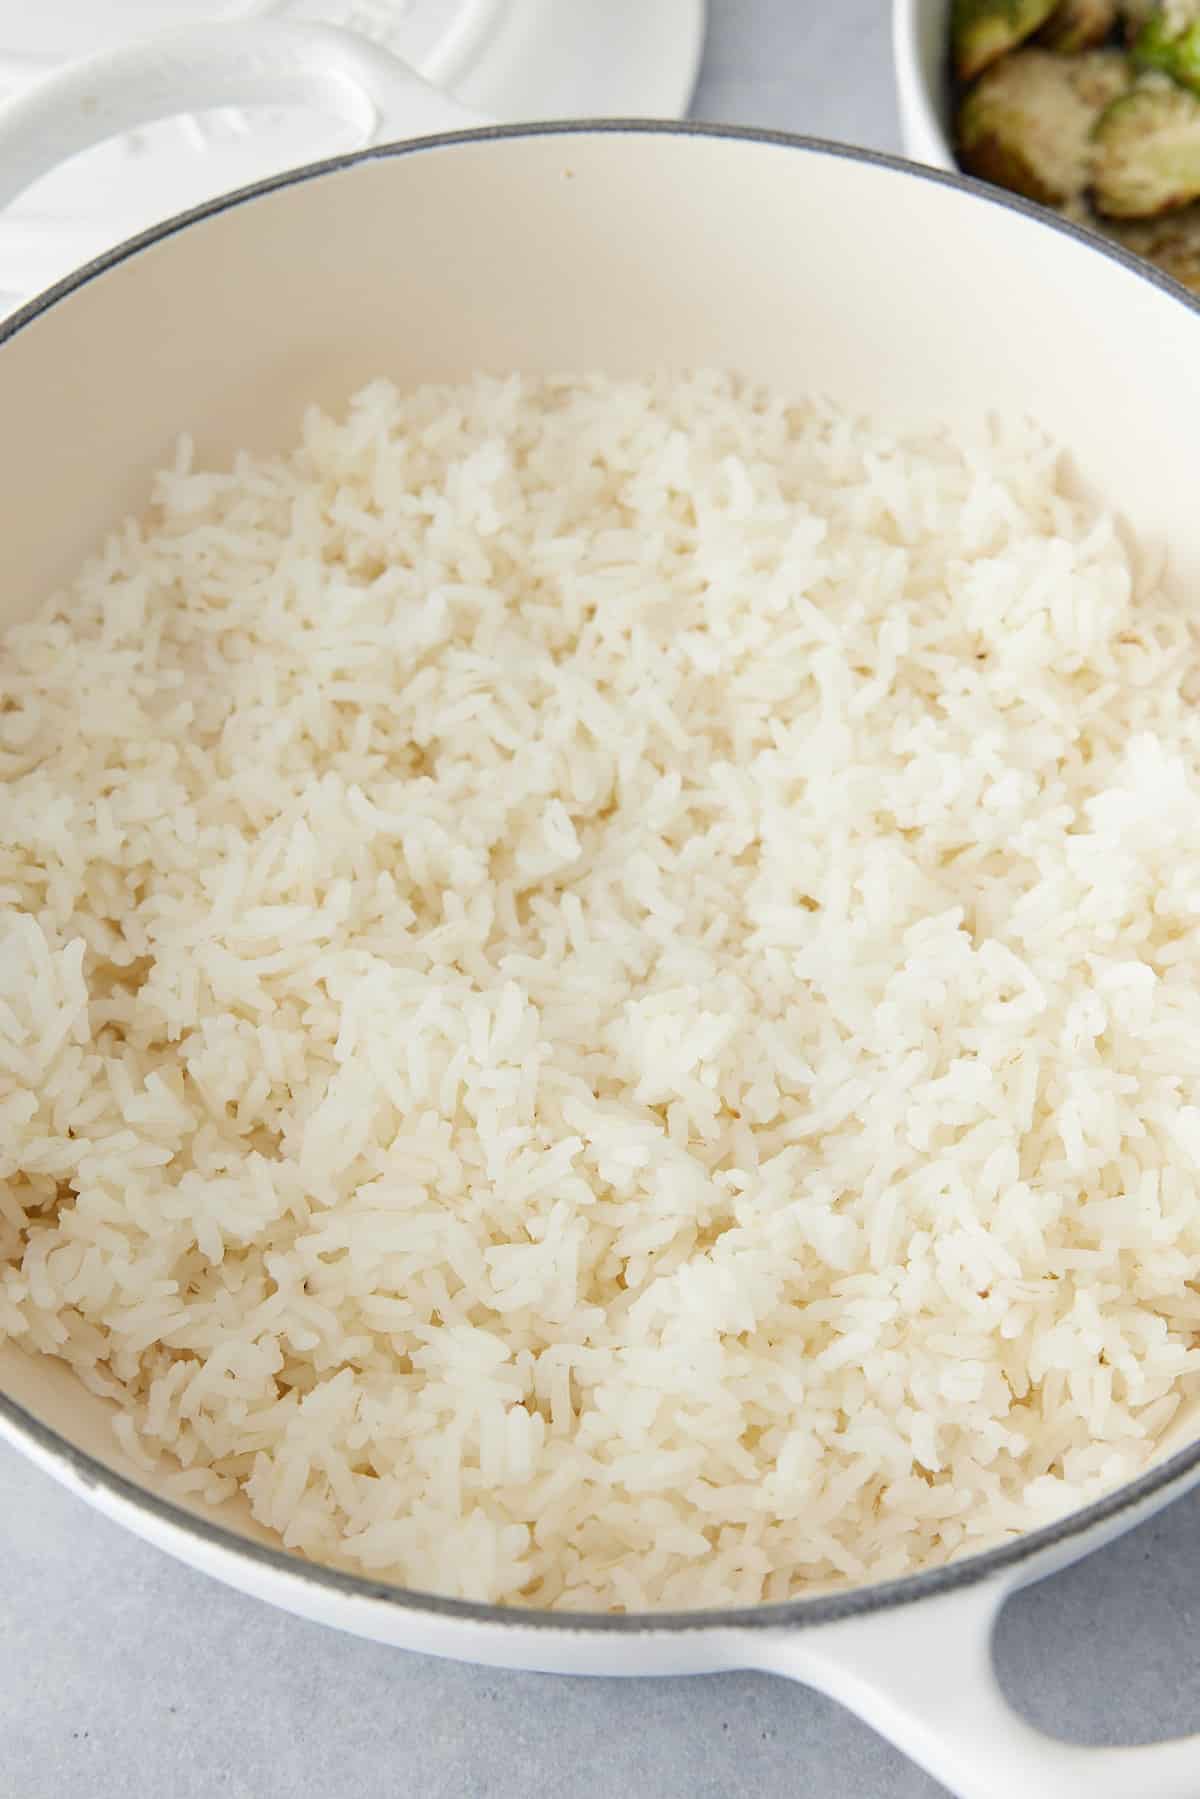
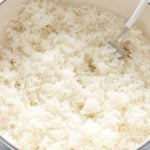
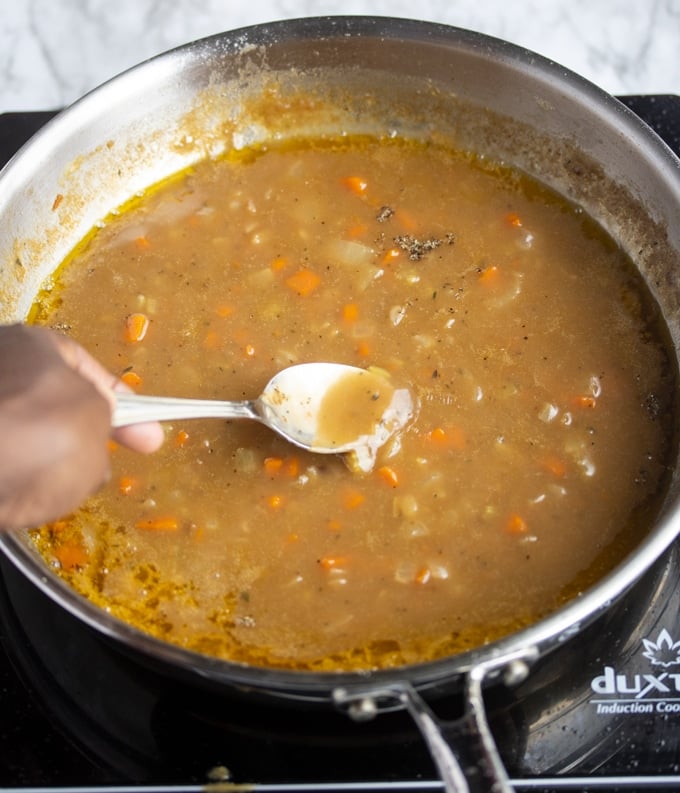
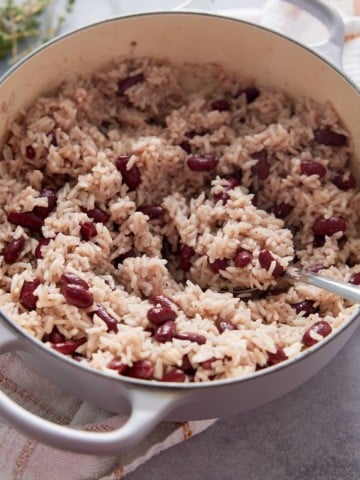
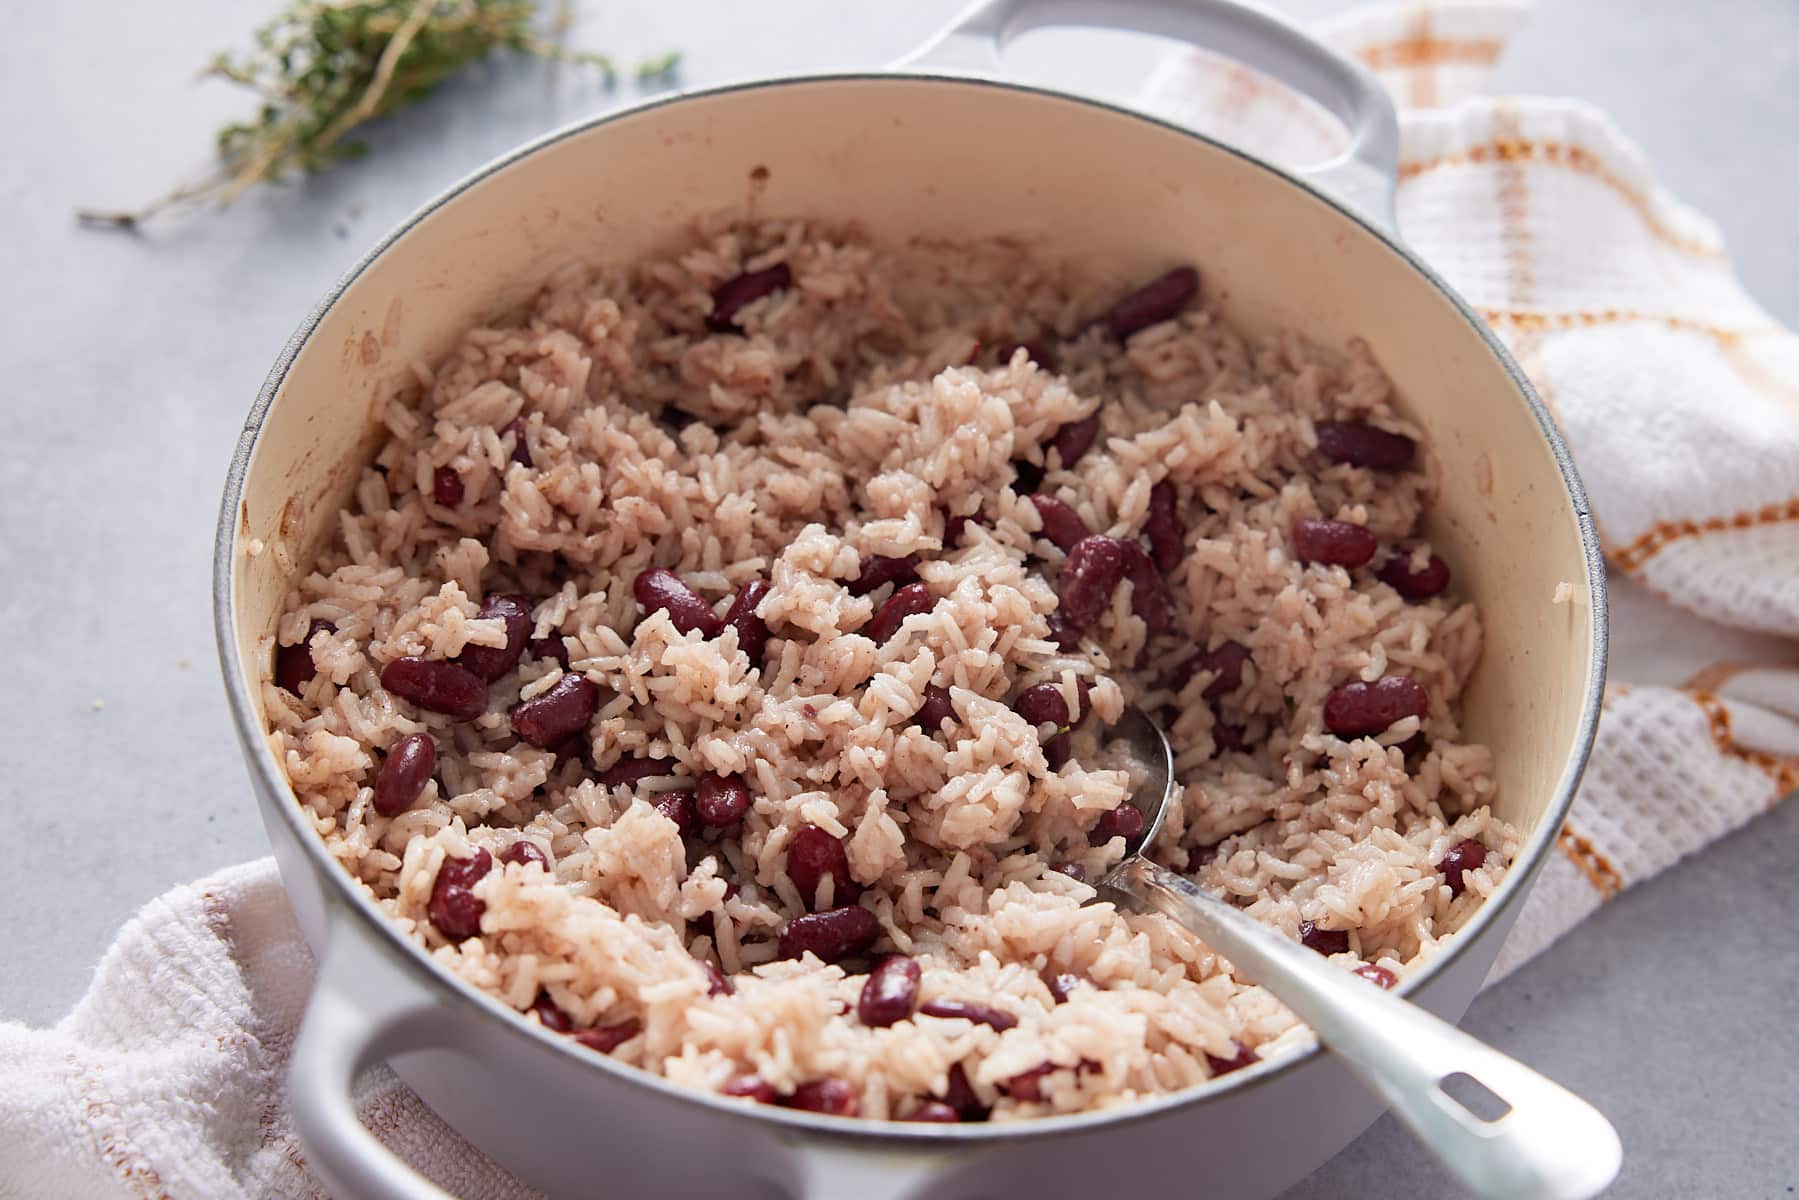
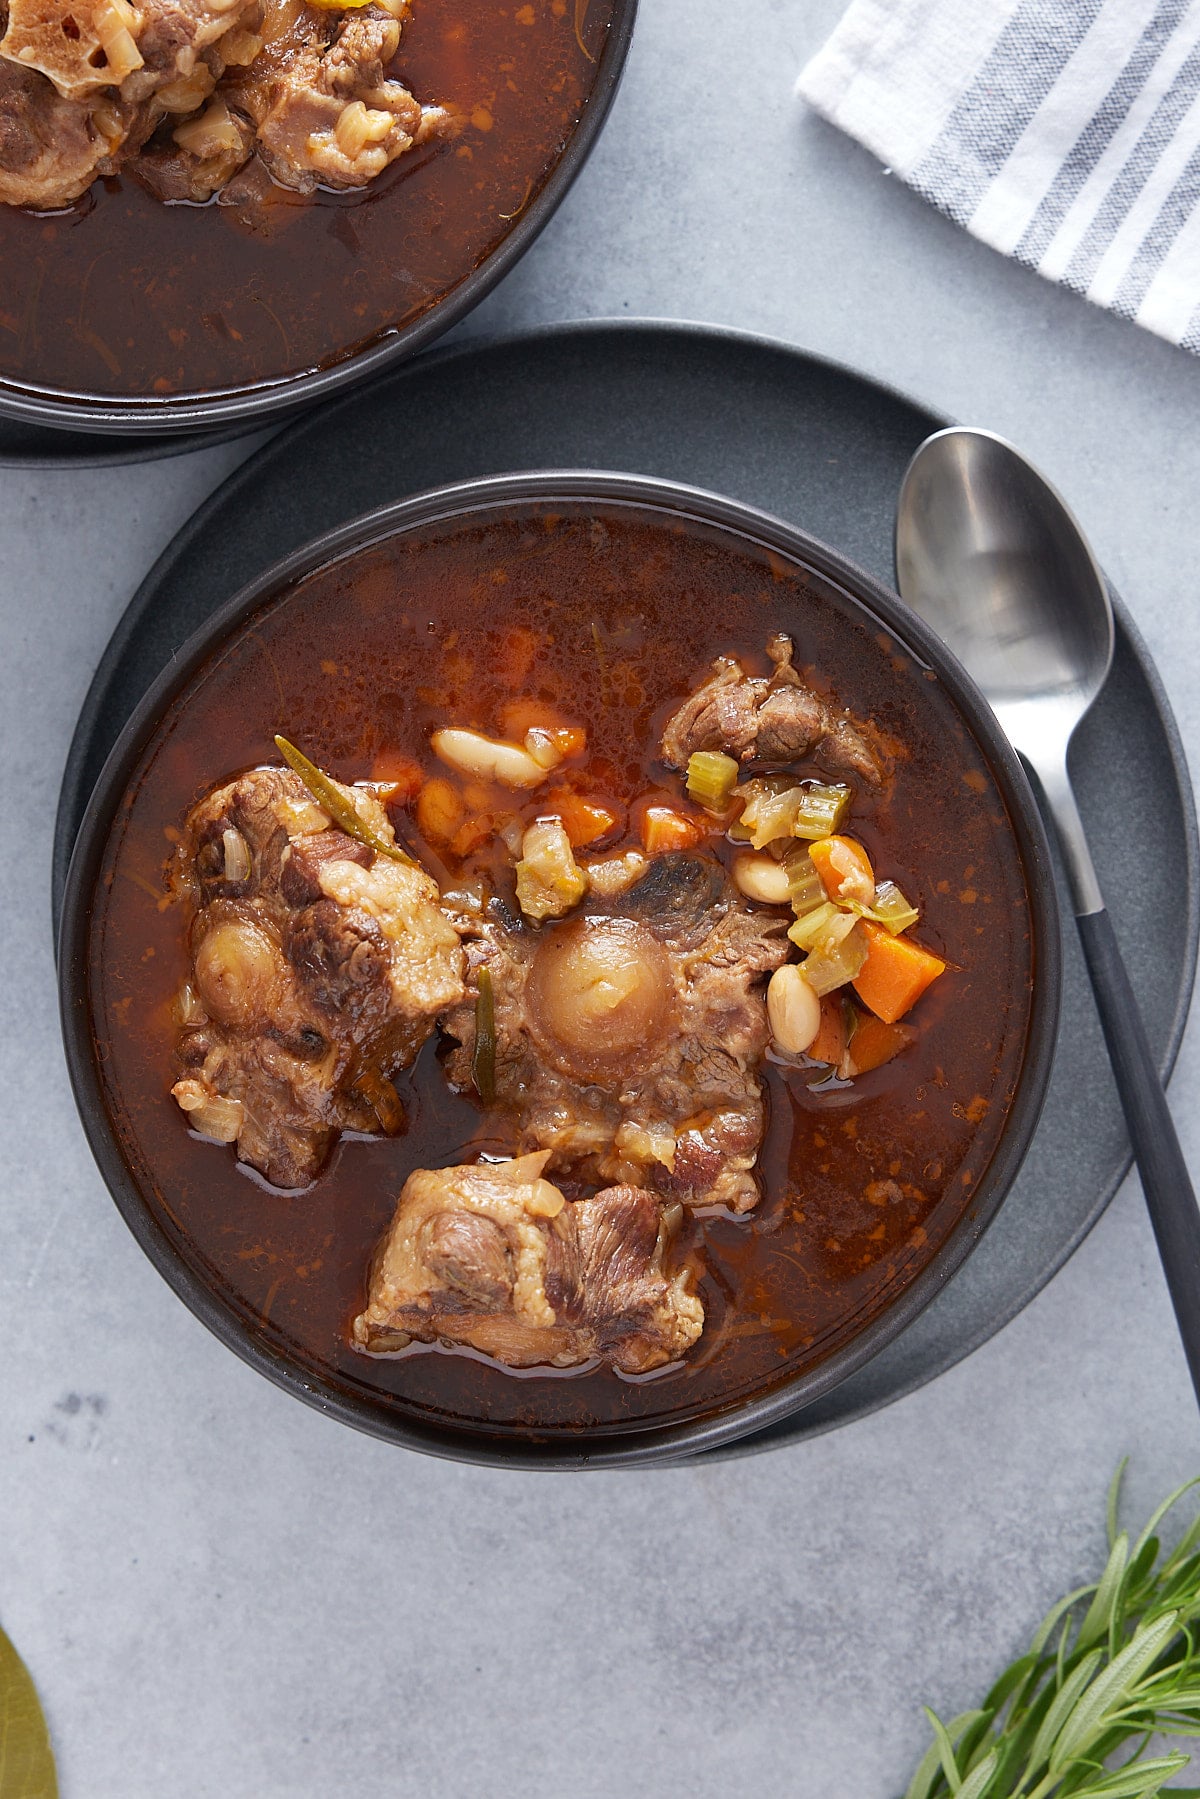
As is the case with any great quality homemade broth, it can be used in a variety of dishes. Try adding it to soups, stews, rice dishes, basically any dish where you would be adding a poultry based broth, like my Smothered Turkey Wings recipe.
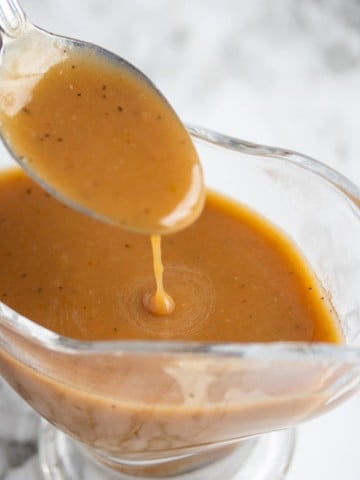
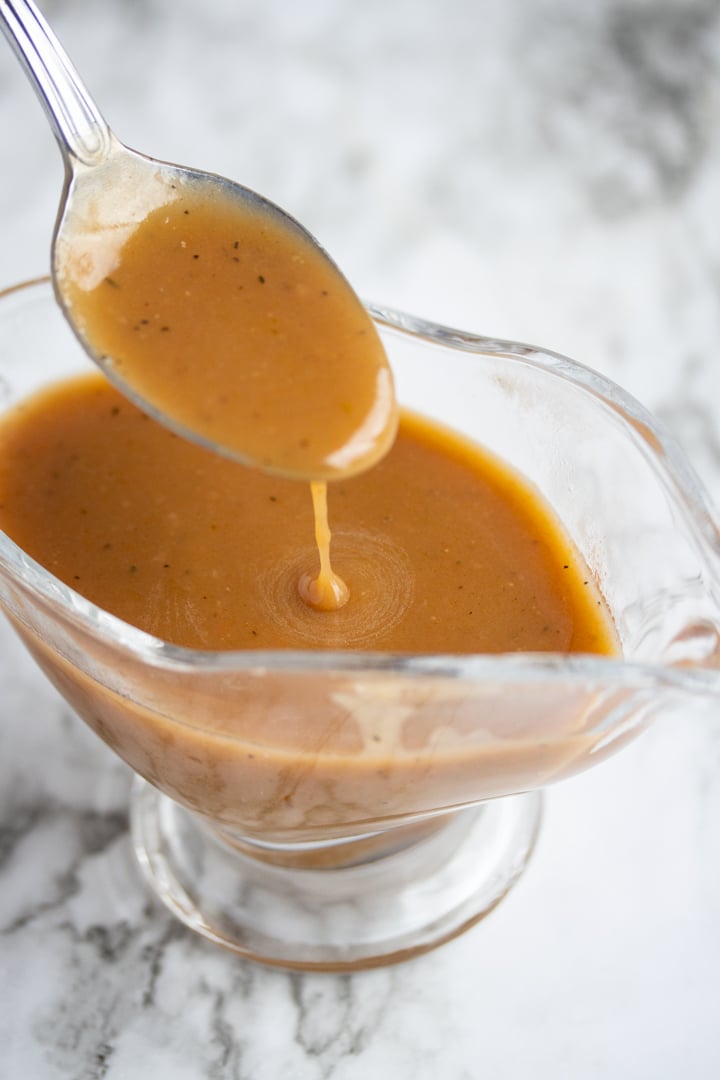
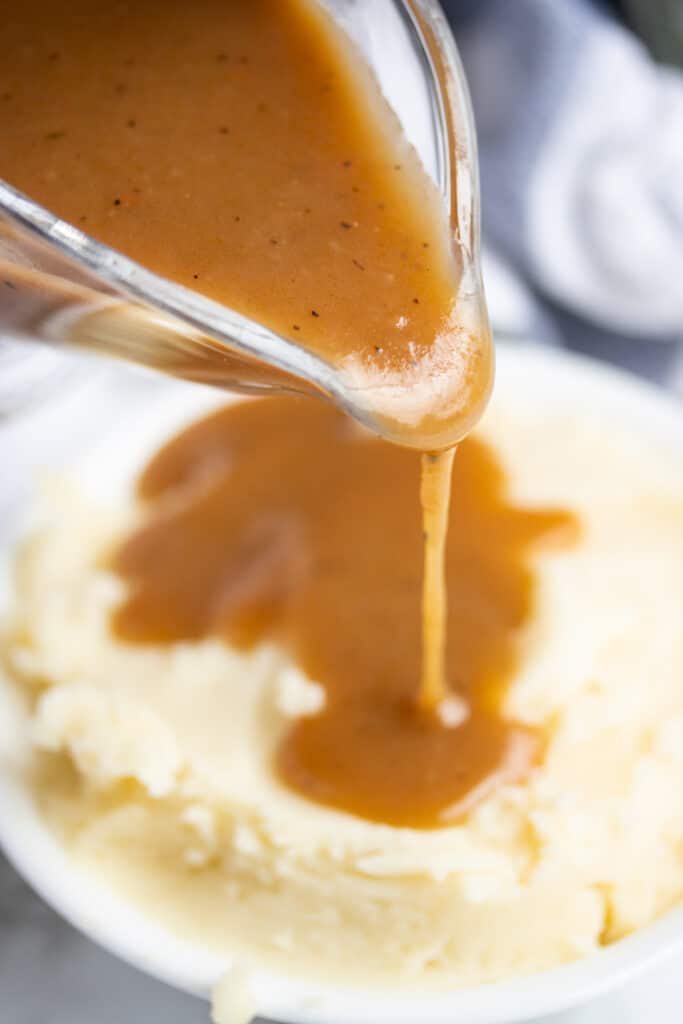
It makes a sensational turkey gravy, perfect for serving alongside the Thanksgiving or Christmas turkey. Try it with my Sous Vide Turkey Breast, Air Fryer Turkey Breast or Instant Pot Turkey Breast, adding any cooking juices for extra flavor.
Recipe Tips
- My preferred method of making broth is either in the pressure cooker or slow cooker, meaning that I cannot remove the scum. If you prefer a clear broth, remove the scum or froth during the early stages of simmering.
- You can also remove the fat from the broth once it has cooled in the refrigerator overnight. The fat will have risen to the top and can be removed with a spoon (see image below).
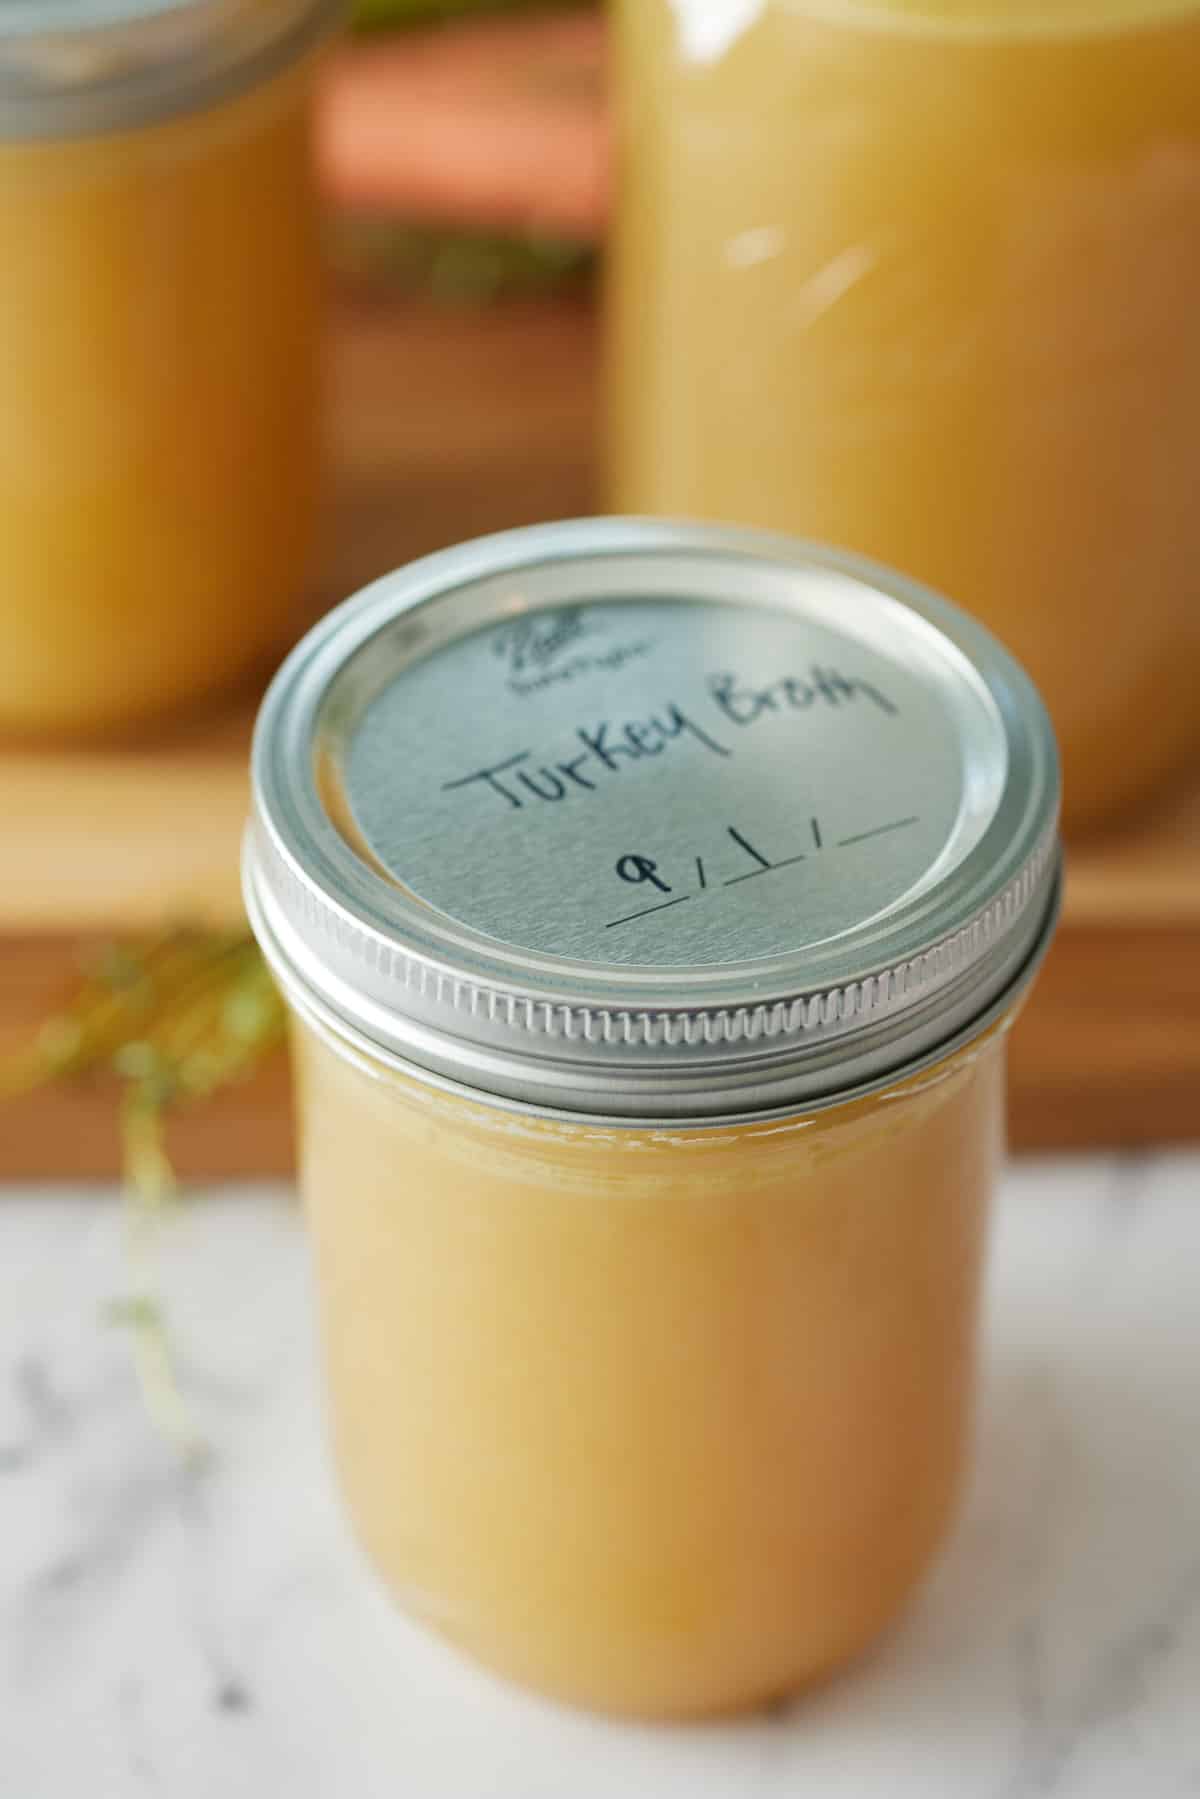
- Divide the stock between several small jars or storage containers. Cool completely, then cover and refrigerate for 3-4 days, or freeze for up to 3 months.
- Don't season the broth with salt during the cook as you will ruin the flavor. As the broth bubbles away it reduces and you can end up with really salty broth. Instead I season the food that I'm adding the broth too.

How to store homemade turkey broth
Turkey broth is a great make ahead ingredient, that can be stored until you are ready to use it. I like to make a large batch, using some now and freezing some for later.
To refrigerate: Once cooked allow the broth to cool in the jar or container, then when cold fit with a lid and place in the refrigerator for up to 1 week. When ready to use ensure you heat the broth up to piping hot.
To freeze: Once cooked allow the broth to cool completely and place into an airtight container with a tight fitting lid. Store in the freezer for up to 6 months. Defrost thoroughly and reheat it to piping hot before serving.
FAQs
I find that turkey broth has a richer depth of flavor than chicken broth, but one can be substituted for the other.
Homemade turkey stock or broth are the technically the same thing, they are both made by roasting turkey bones, before adding vegetables and herbs and simmering for hours to release the flavor.
Yes, absolutely. You can substitute turkey broth in any recipe that uses chicken broth.
More recipes featuring turkey
My family love turkey and enjoy it all year round. Here are some other recipes for you to try.
- Sous Vide Turkey Breast
- Air Fryer Turkey Breast
- Instant Pot Turkey Breast
- Juicy Ground Turkey Tacos
- Juicy Air Fryer Turkey Thighs
- Smothered Turkey Wings
If you have tried this homemade turkey broth recipe or any other recipe on my blog, then please rate it and let me know how it turned out in the comments below.

Homemade Turkey Broth (Make Ahead)
Equipment
- 1 Pressure Cooker can also use slow cooker or large stockpot on stovetop
Ingredients
- 3 lbs turkey parts wings and necks
- 2 yellow onion peeled and cut into 2" pieces
- 1 medium carrot peeled and cut into 2" pieces
- 1 stalk celery cut into 2" pieces
- 2 bay leaves
- 4 sprigs thyme
- 6 cloves garlic smashed
- ½ teaspoon whole peppercorns
- 8 cups cold water
Instructions
Pressure Cooker
- Preheat the oven to 425 degrees Fahrenheit. Arrange turkey parts on a baking sheet or roasting rack.
- Roast for 80-90 minutes until deep golden brown. Remove from oven and remove the cooked turkey pieces and place them in the pressure cooker insert, along with any pan drippings. Add hot water to the roasting pan and use a wooden spoon to scrape off any brown bits. Add the water and bits to the pot.
- Pour water over the turkey pieces in the pot, until the turkey is pieces are covered. This should be about 8 cups of water in a 6 quart electric pressure cooker.
- Add the onion, celery, carrot, bay leaves, thyme, garlic cloves, and whole peppercorns to the pot.
- Cover the pressure cooker and cook on high pressure for 80 minutes. After 80 minutes of cook time, allow the pressure cooker to naturally release for 10 minutes, them quick release any remaining pressure.
- Once all the pressure is released, strain the liquid through a fine-mesh strainer. Cool and use immediately or store in the refrigerator or freezer for future use.
Stovetop
- Follow directions above but add ingredients to a large pot. Allow the broth to simmer over medium-low heat for 4-5 hours. Skim the stock while it simmers.
Slow Cooker
- Follow the directions above but add ingredients to a slow cooker after roasting turkey pieces in the oven. Slow cook on low for 8-12 hours.
Notes
- My preferred method of making broth is either in the pressure cooker or slow cooker, meaning that I cannot remove the scum. If you prefer a clear broth, remove the scum or froth during the early stages of simmering.
- You can also remove the fat from the broth once it has cooled in the refrigerator overnight. The fat will have risen to the top and can be removed with a spoon.
- Divide the stock between several small jars or storage containers. Cool completely, then cover and refrigerate for 3-4 days, or freeze for up to 3 months.