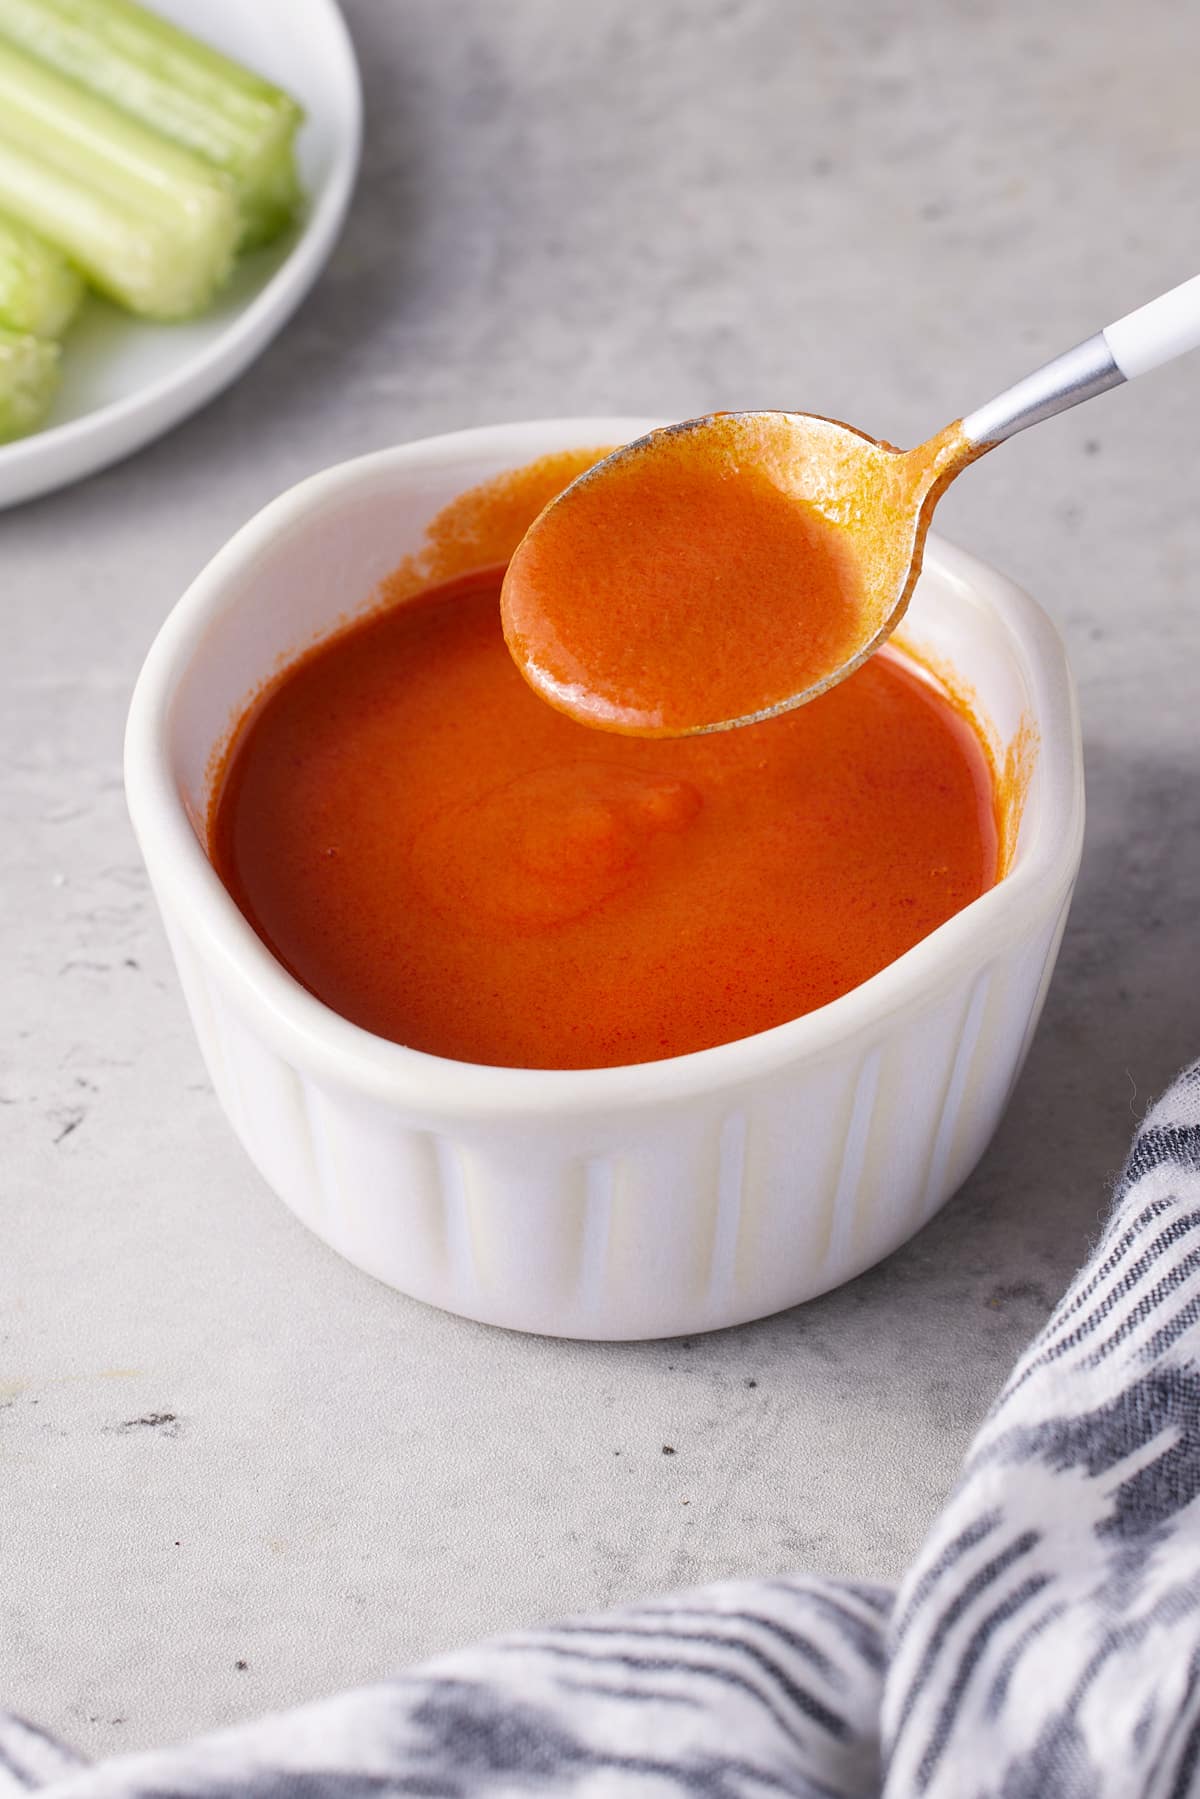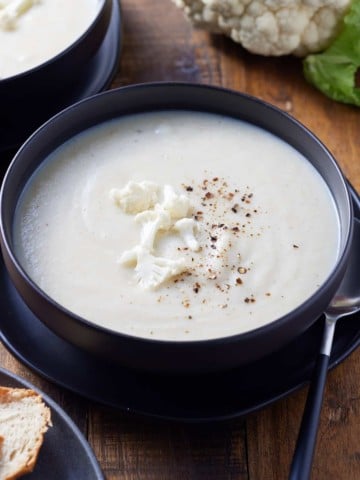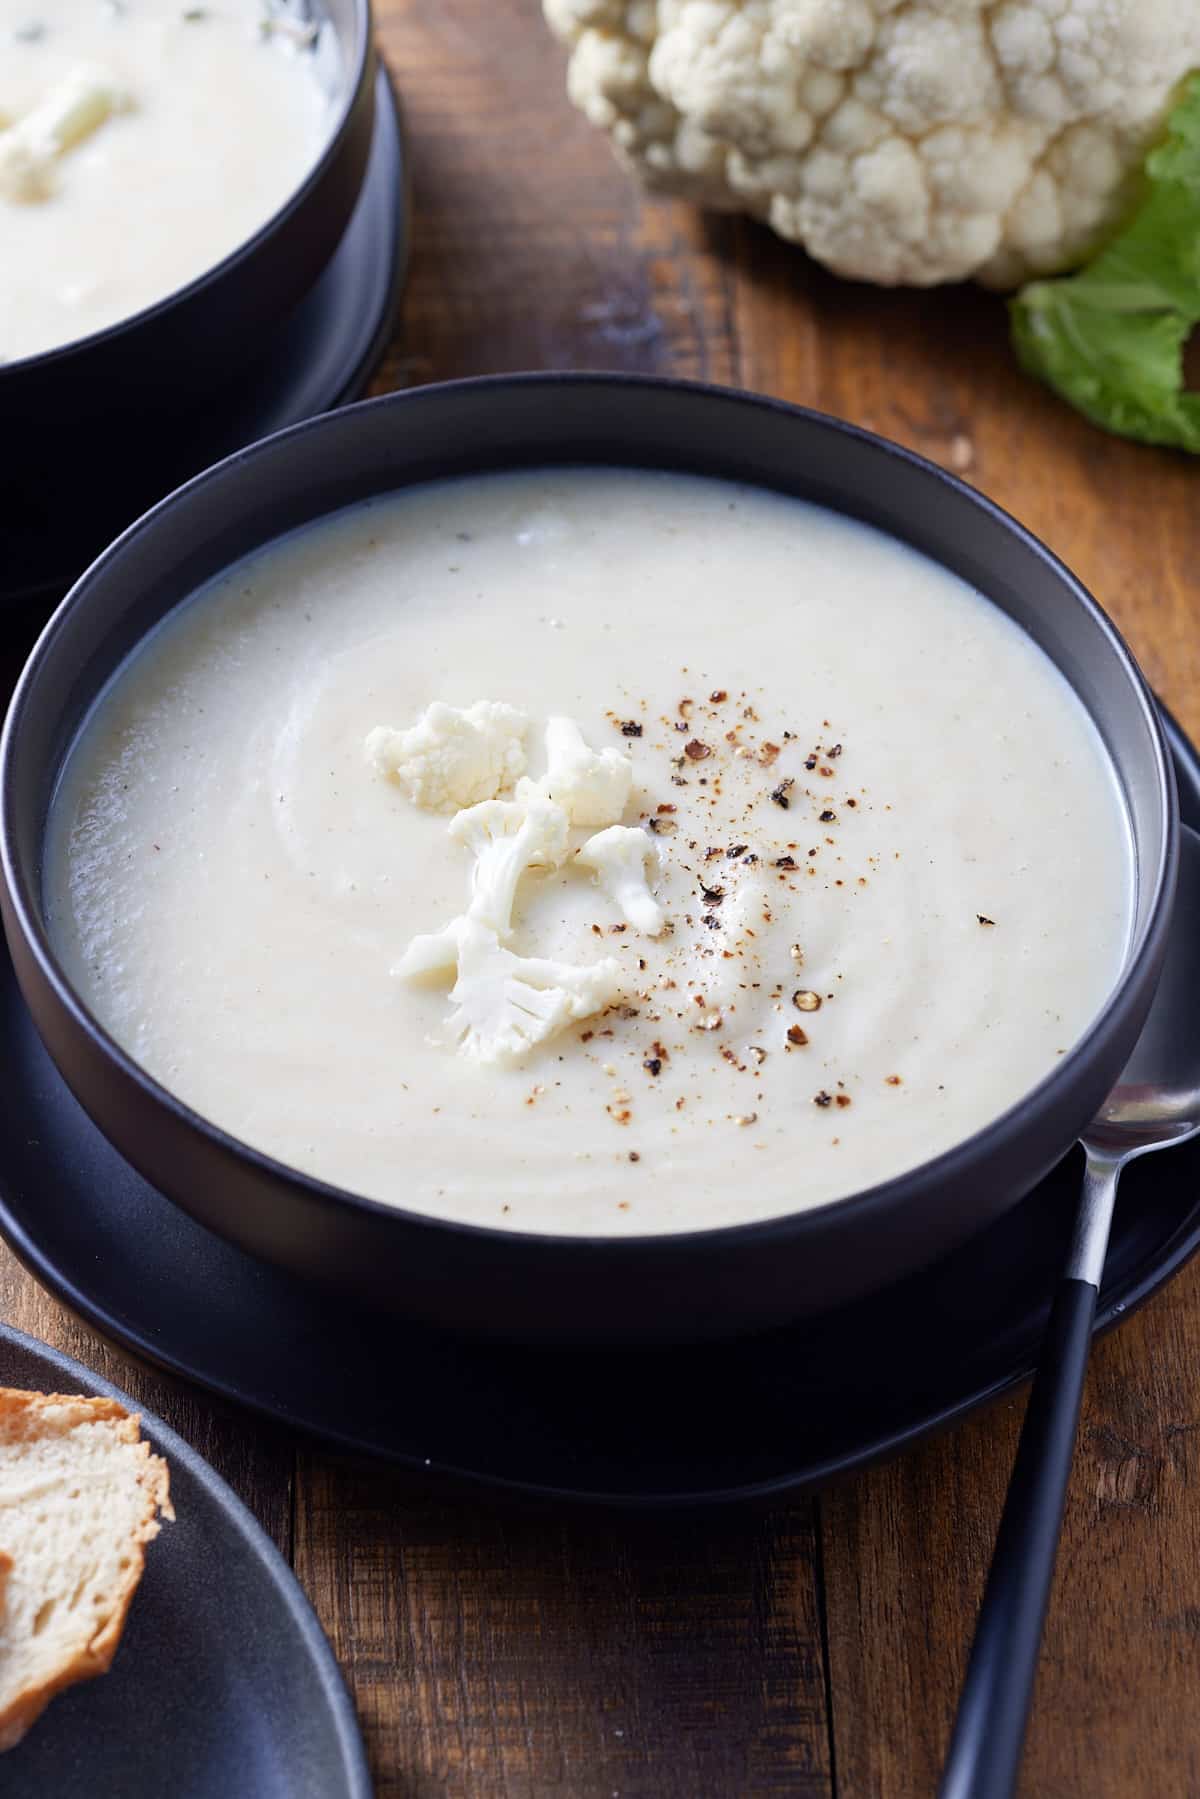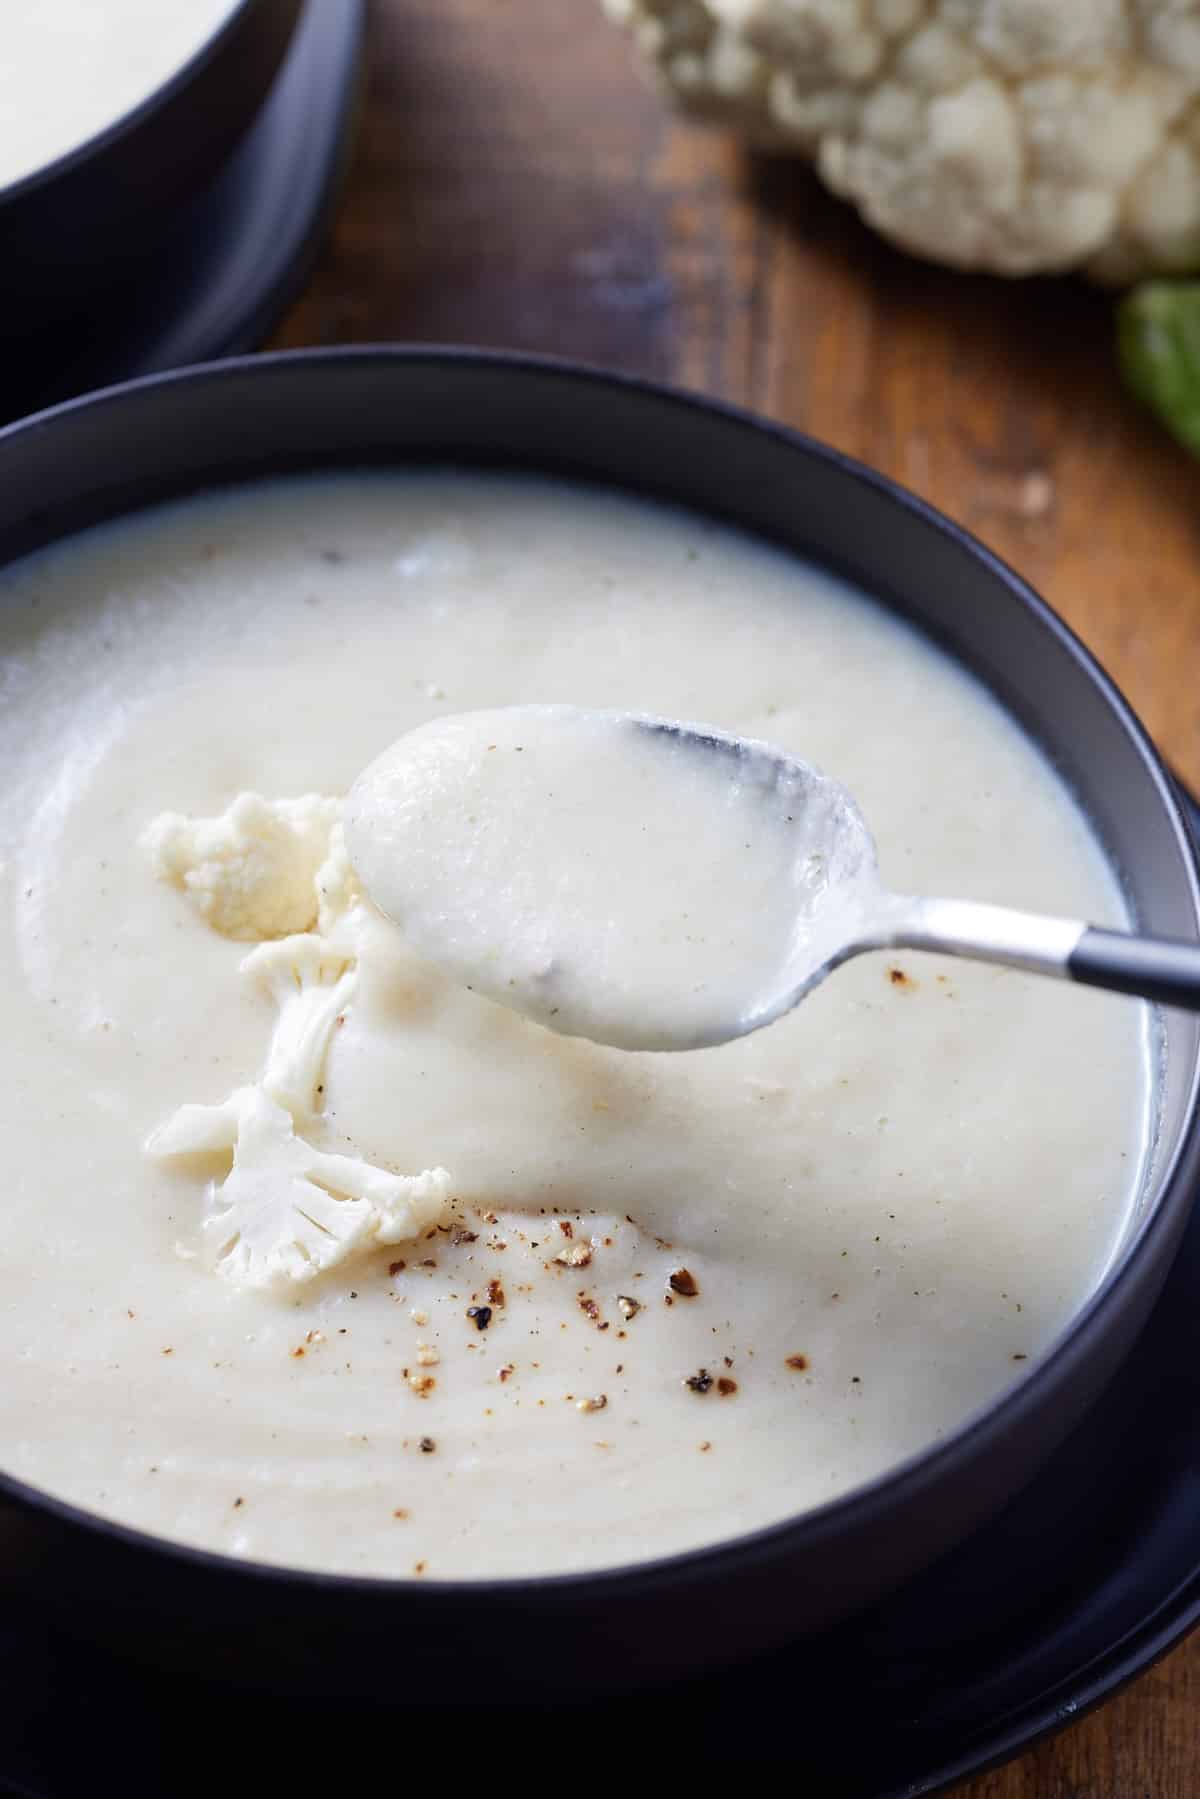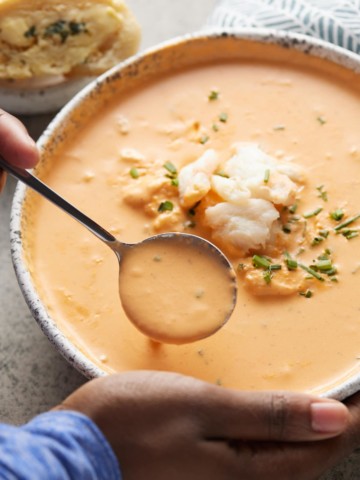
This delicious crab bisque is wonderfully rich and flavorful and will warm you from the inside out. Simple to make in one pot, it's a hearty dish the whole family will love!
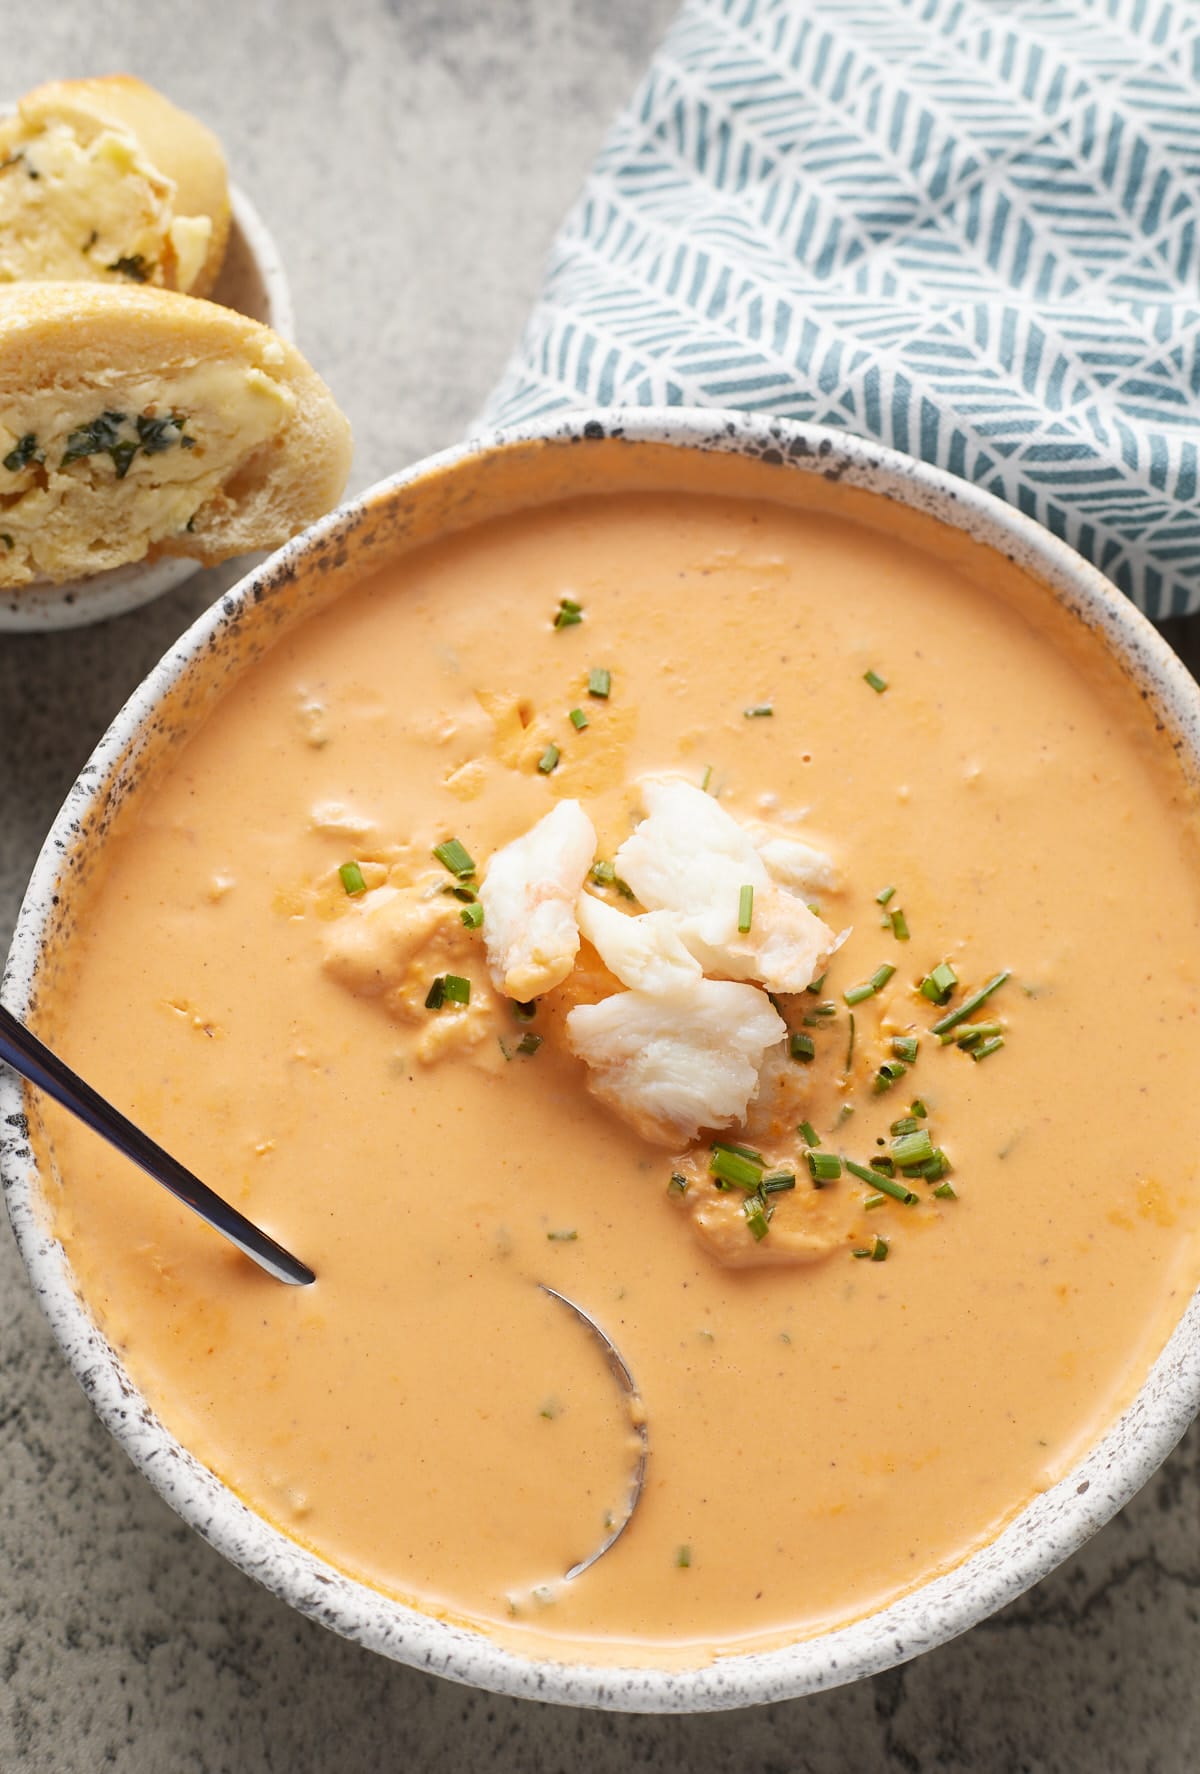
This is hands down one of my favorite seafood soup recipes! It's pretty easy to throw together and makes one delicious bowl of soup.
This crab bisque is made with crab meat, heavy cream, sherry, fresh vegetables and seasonings
If you are looking for more recipes with crab, try my air fryer crab cakes.
How to make crab bisque
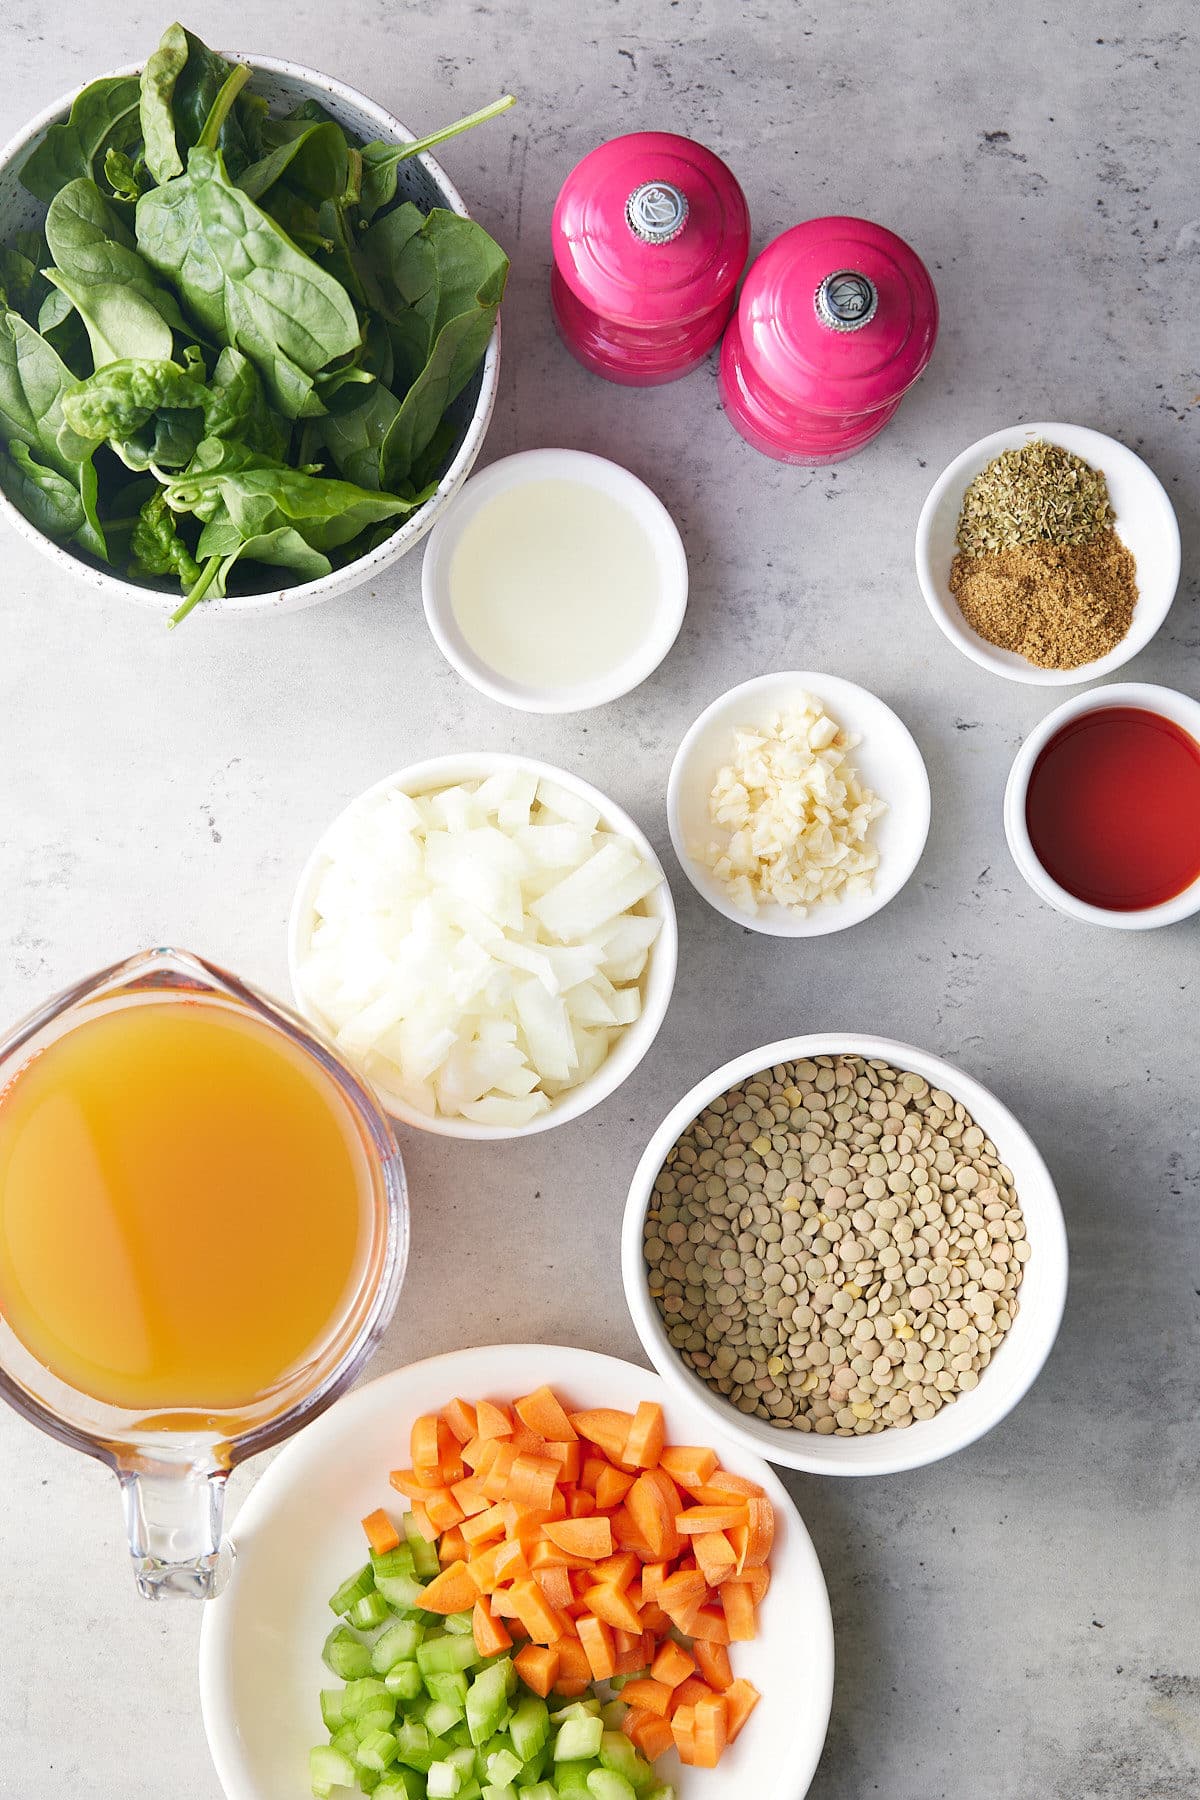
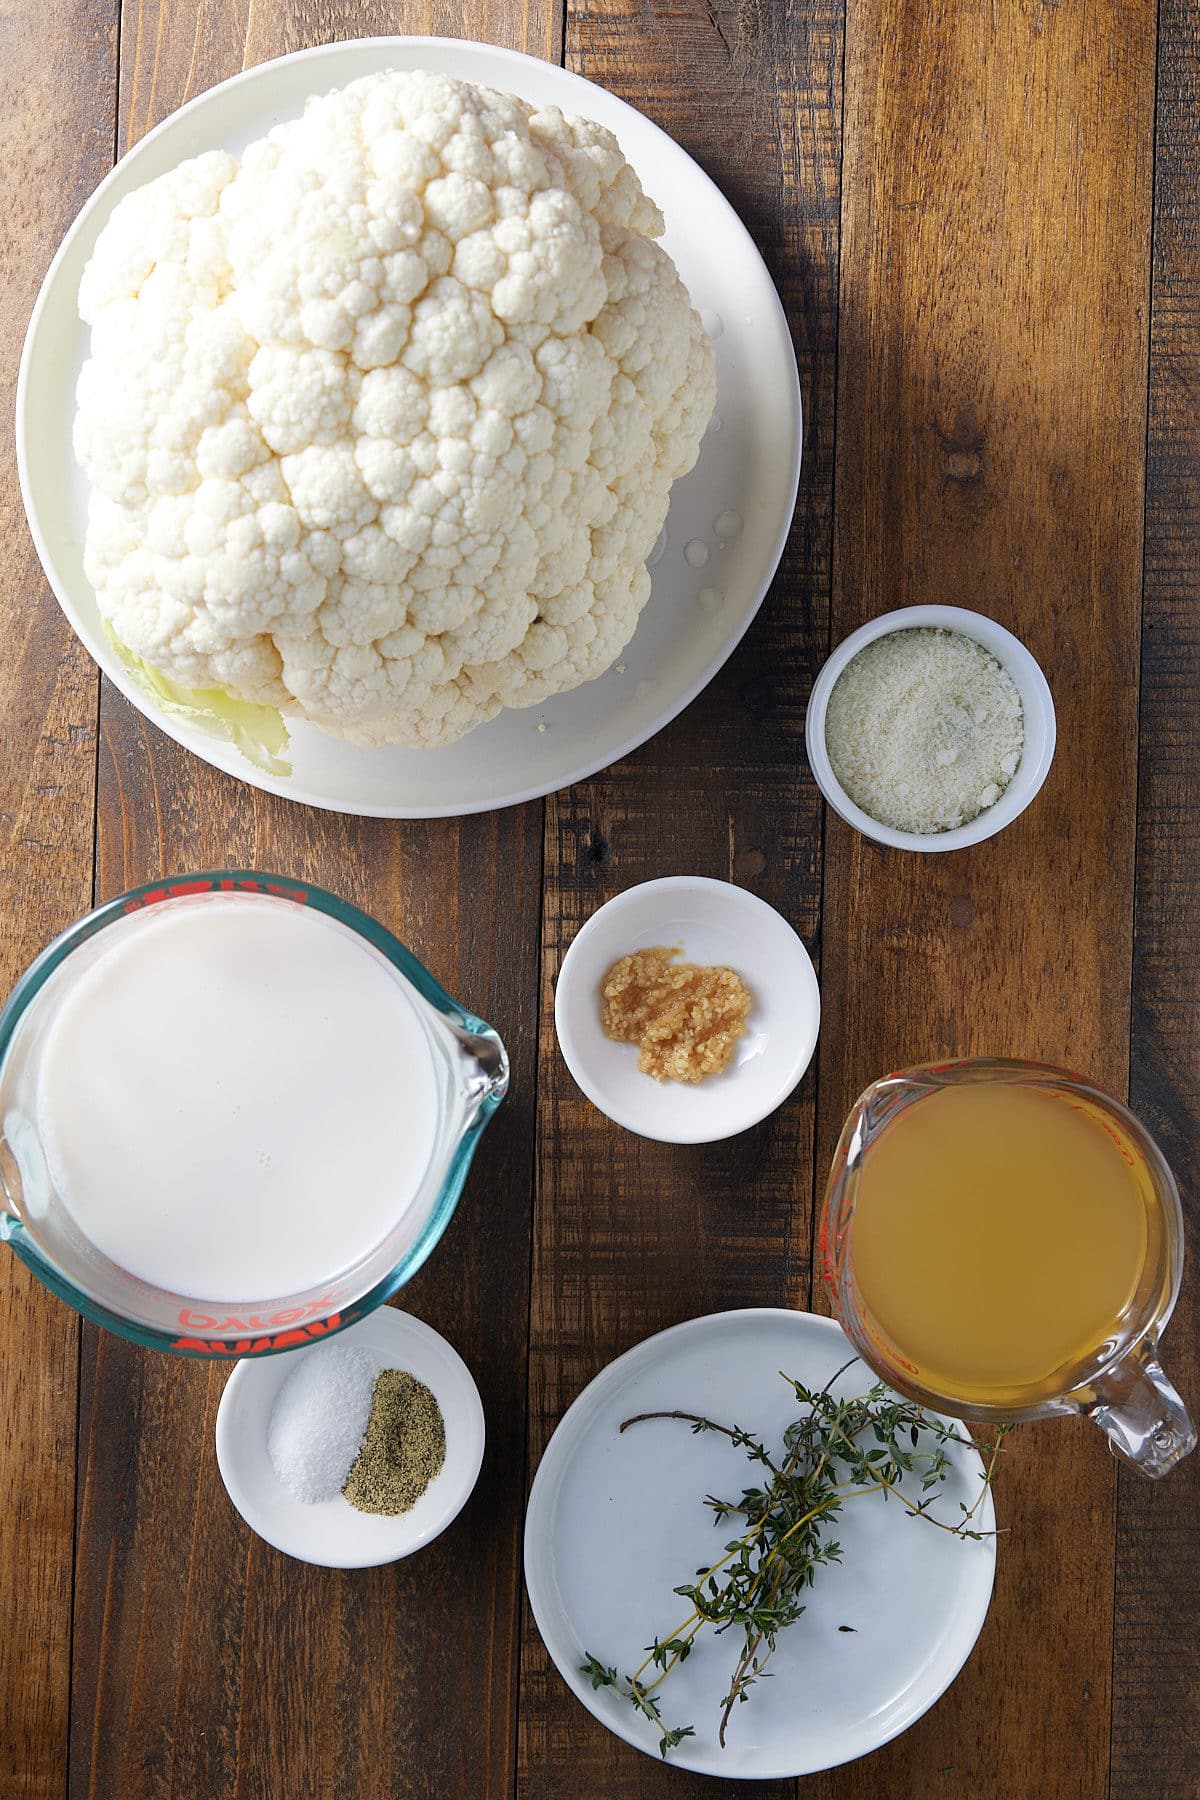
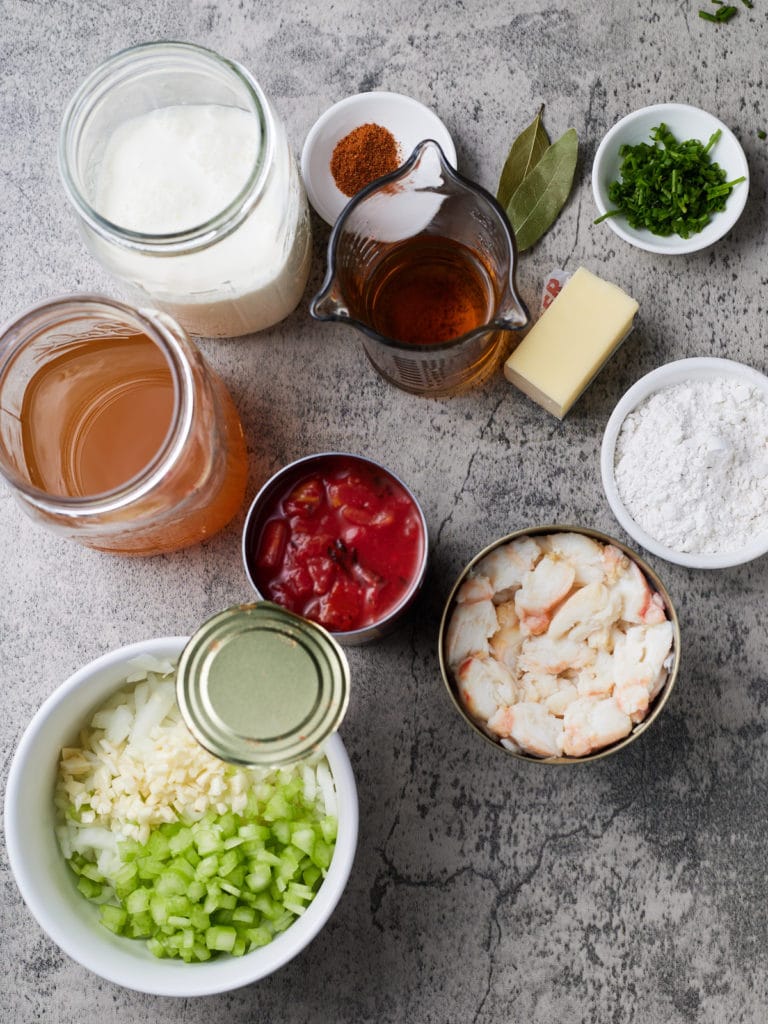
Gather your ingredients.
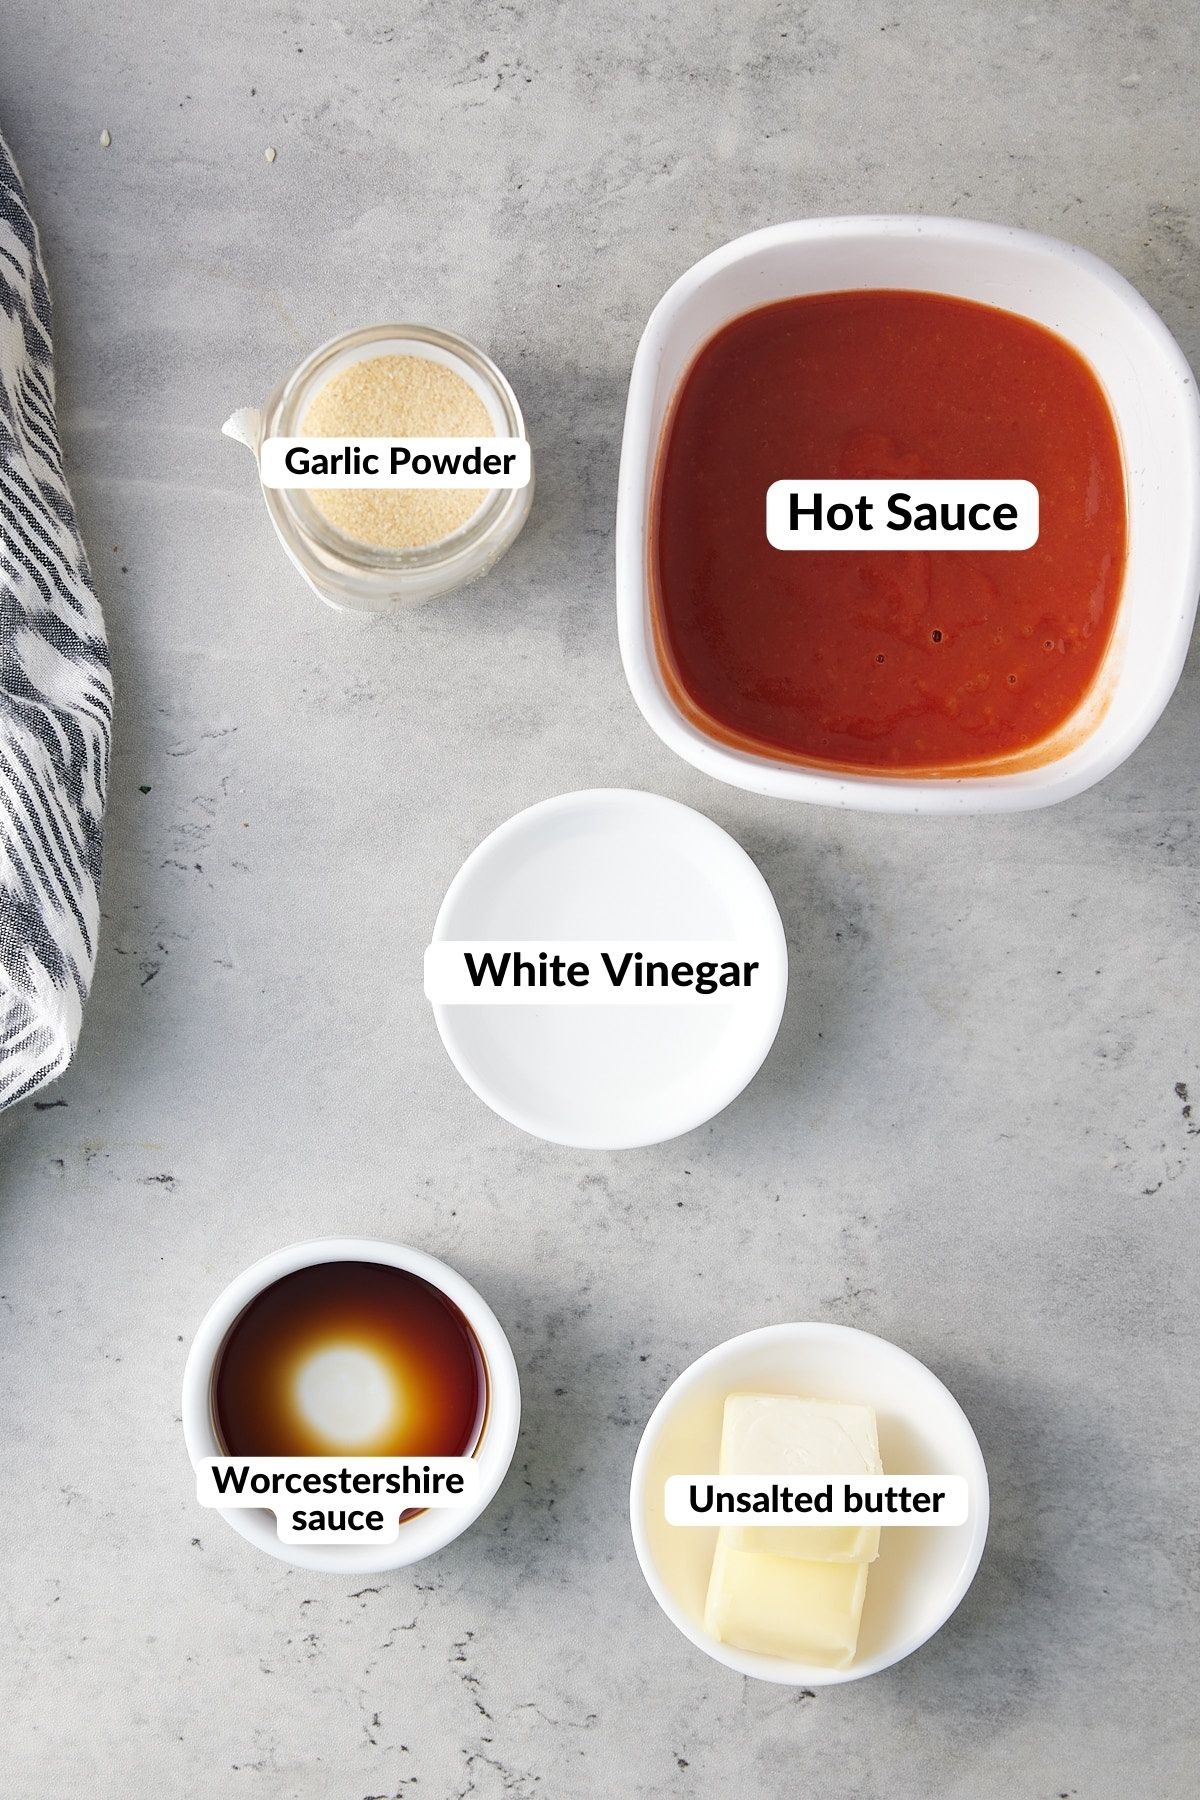
- Unsalted butter: for sautéing the aromatics.
- Aromatics: onion, celery, garlic - for flavor!
- All-purpose flour: to thicken the bisque
- Fire Roasted Tomatoes: this adds flavor and color.
- Liquids: Seafood stock and sherry cooking wine: You could also use clam juice instead of seafood stock if you don't have seafood stock or can't find it in stores. You can also use my easy shrimp stock recipe as well.
- Seasoning: bay leaves and old bay seasoning
- Crab meat: I use lump crab meat. You can use lump claw meat; however, the texture will not be the same.
- Heavy cream: for texture and flavor.
- Chives: for garnish. Feel free to sub with green onions.
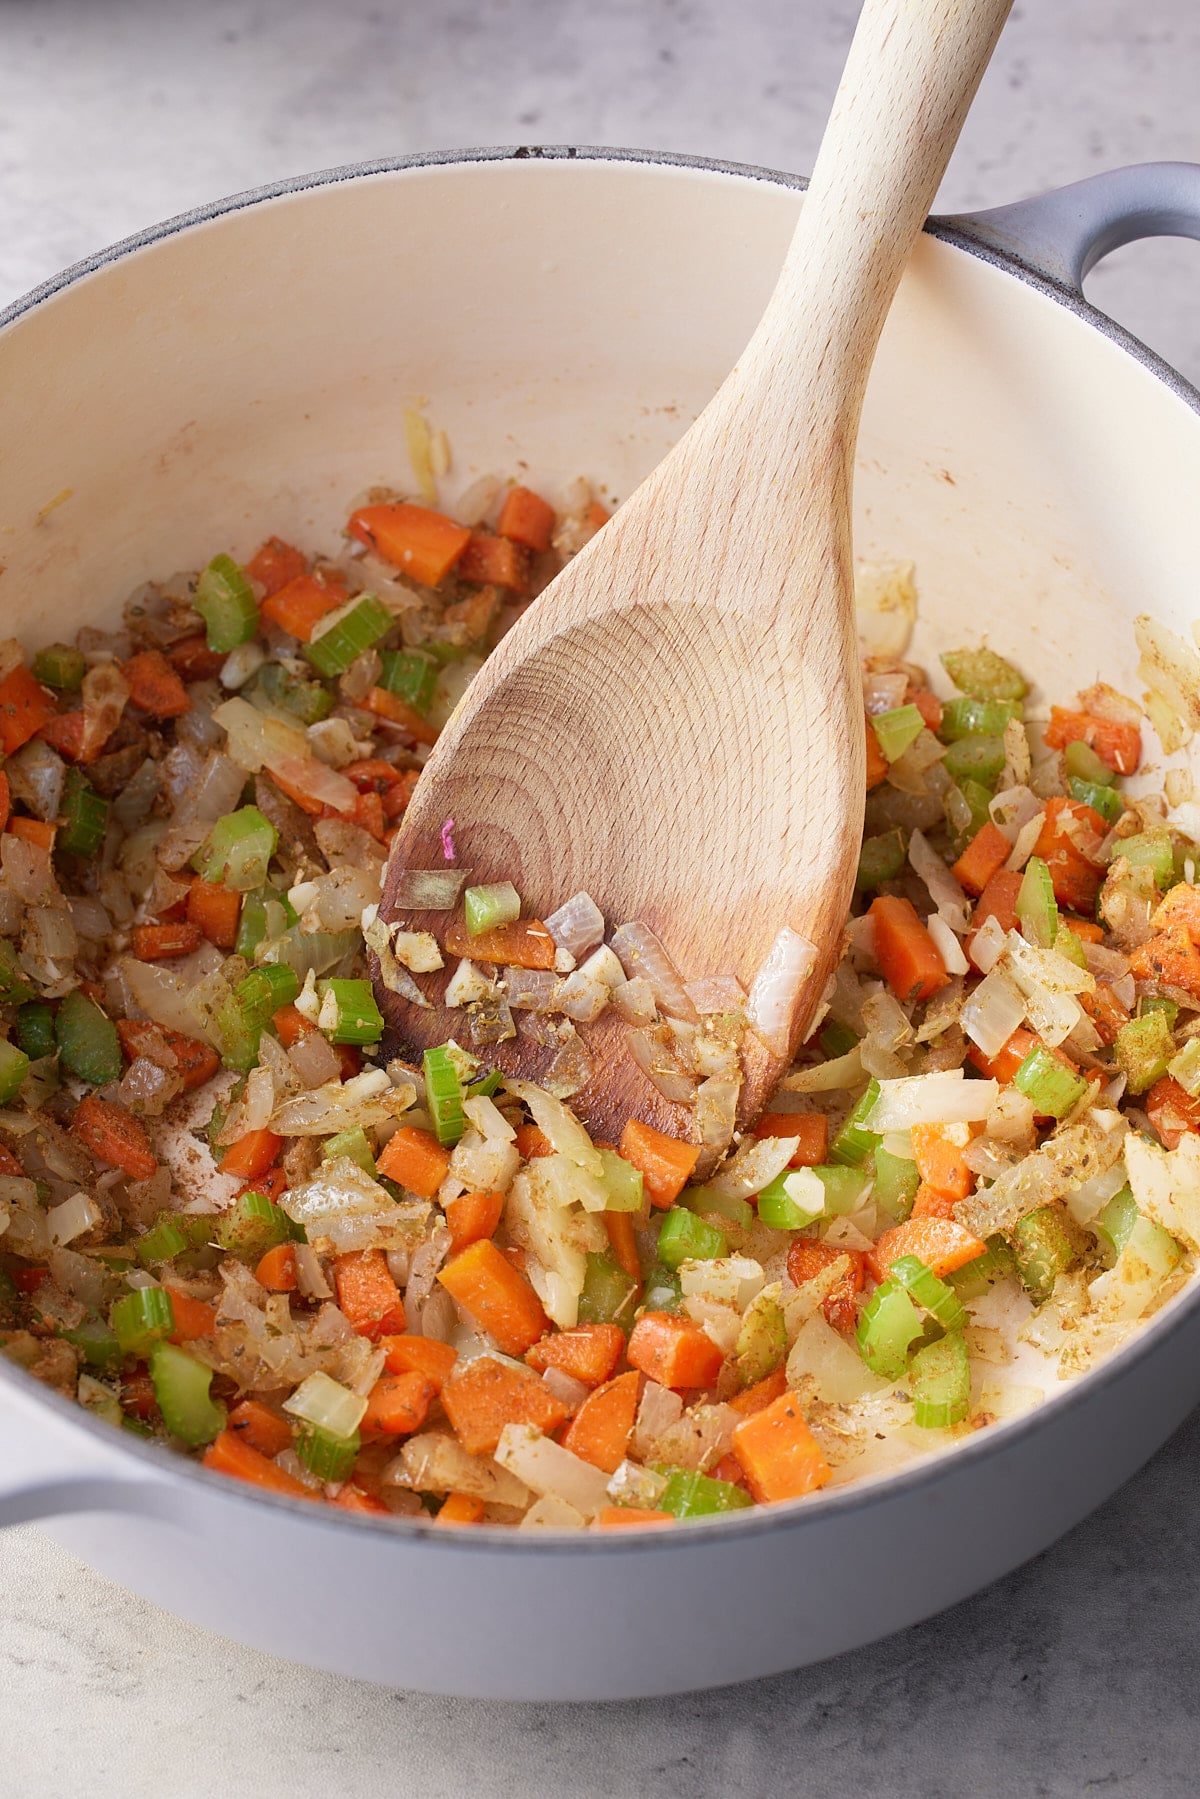
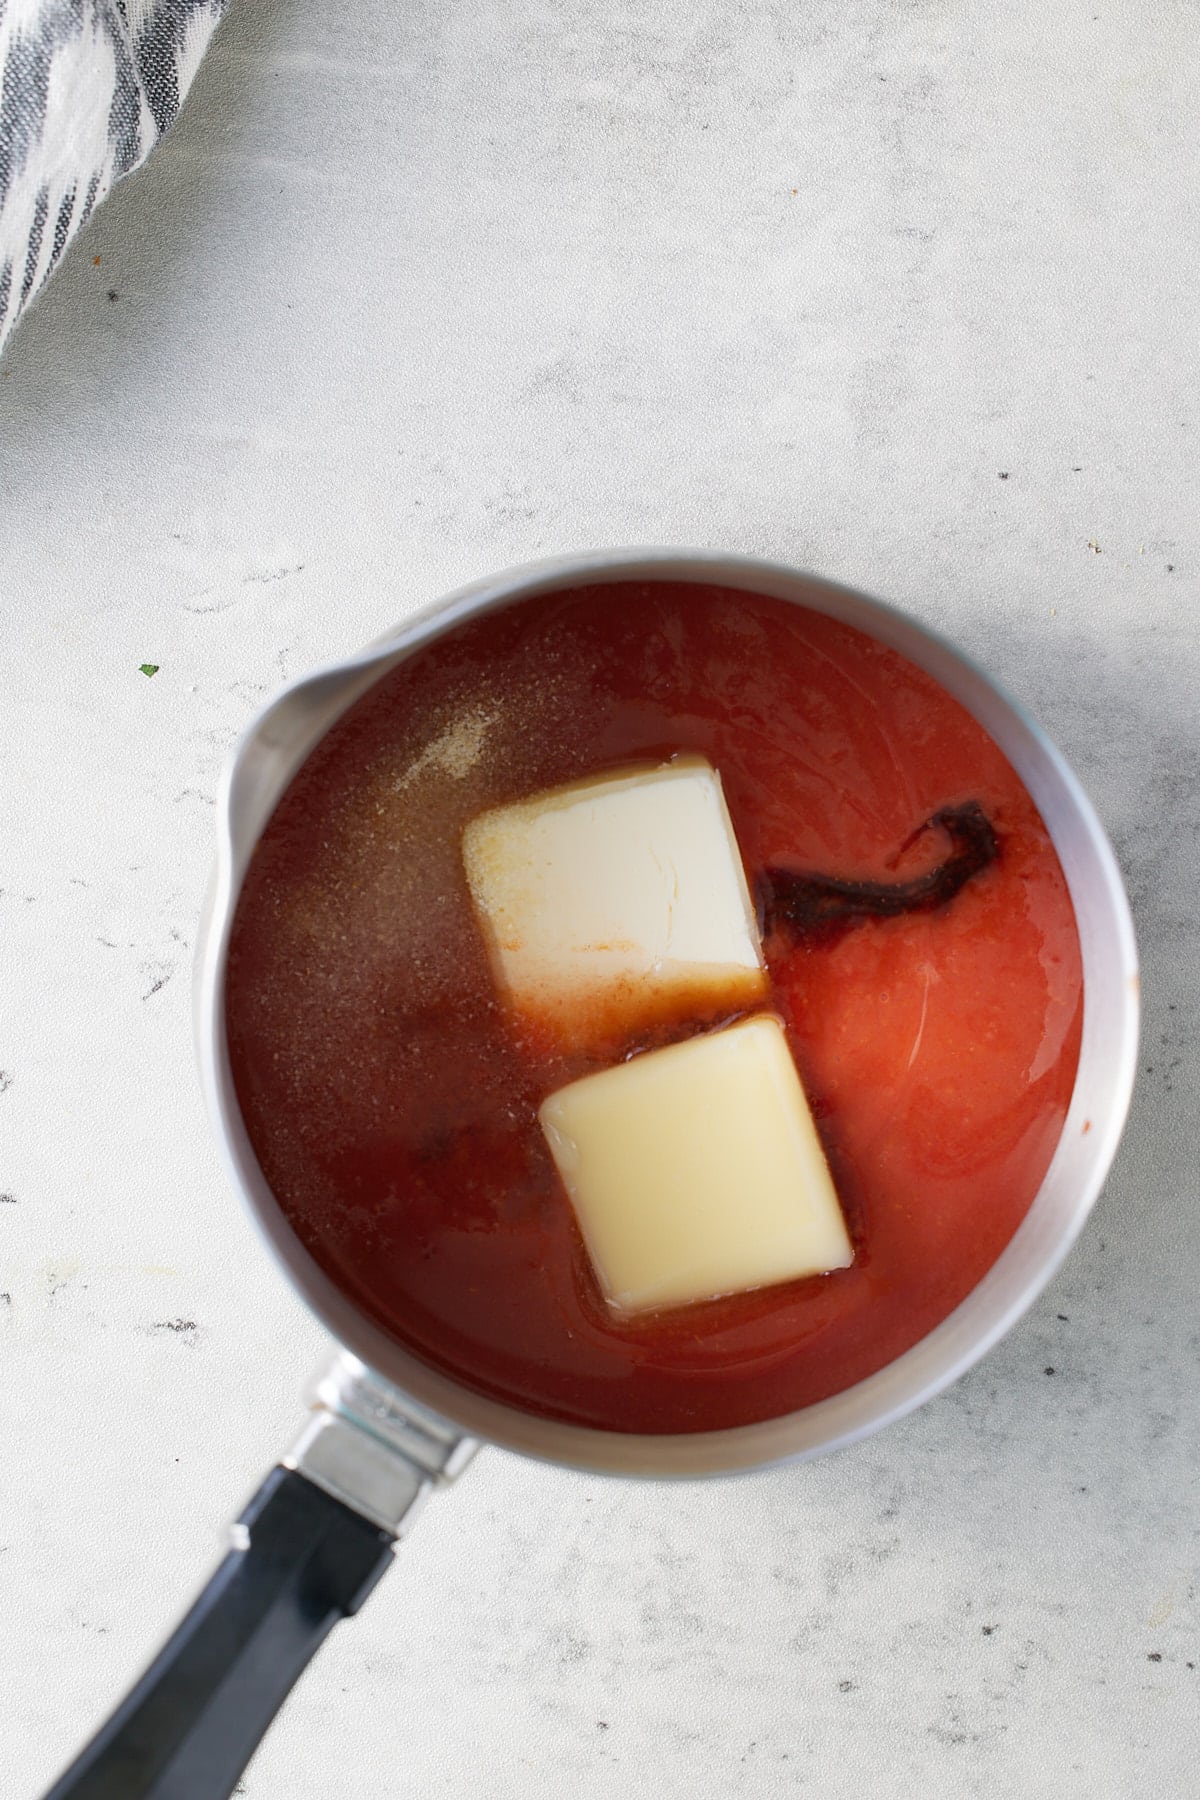
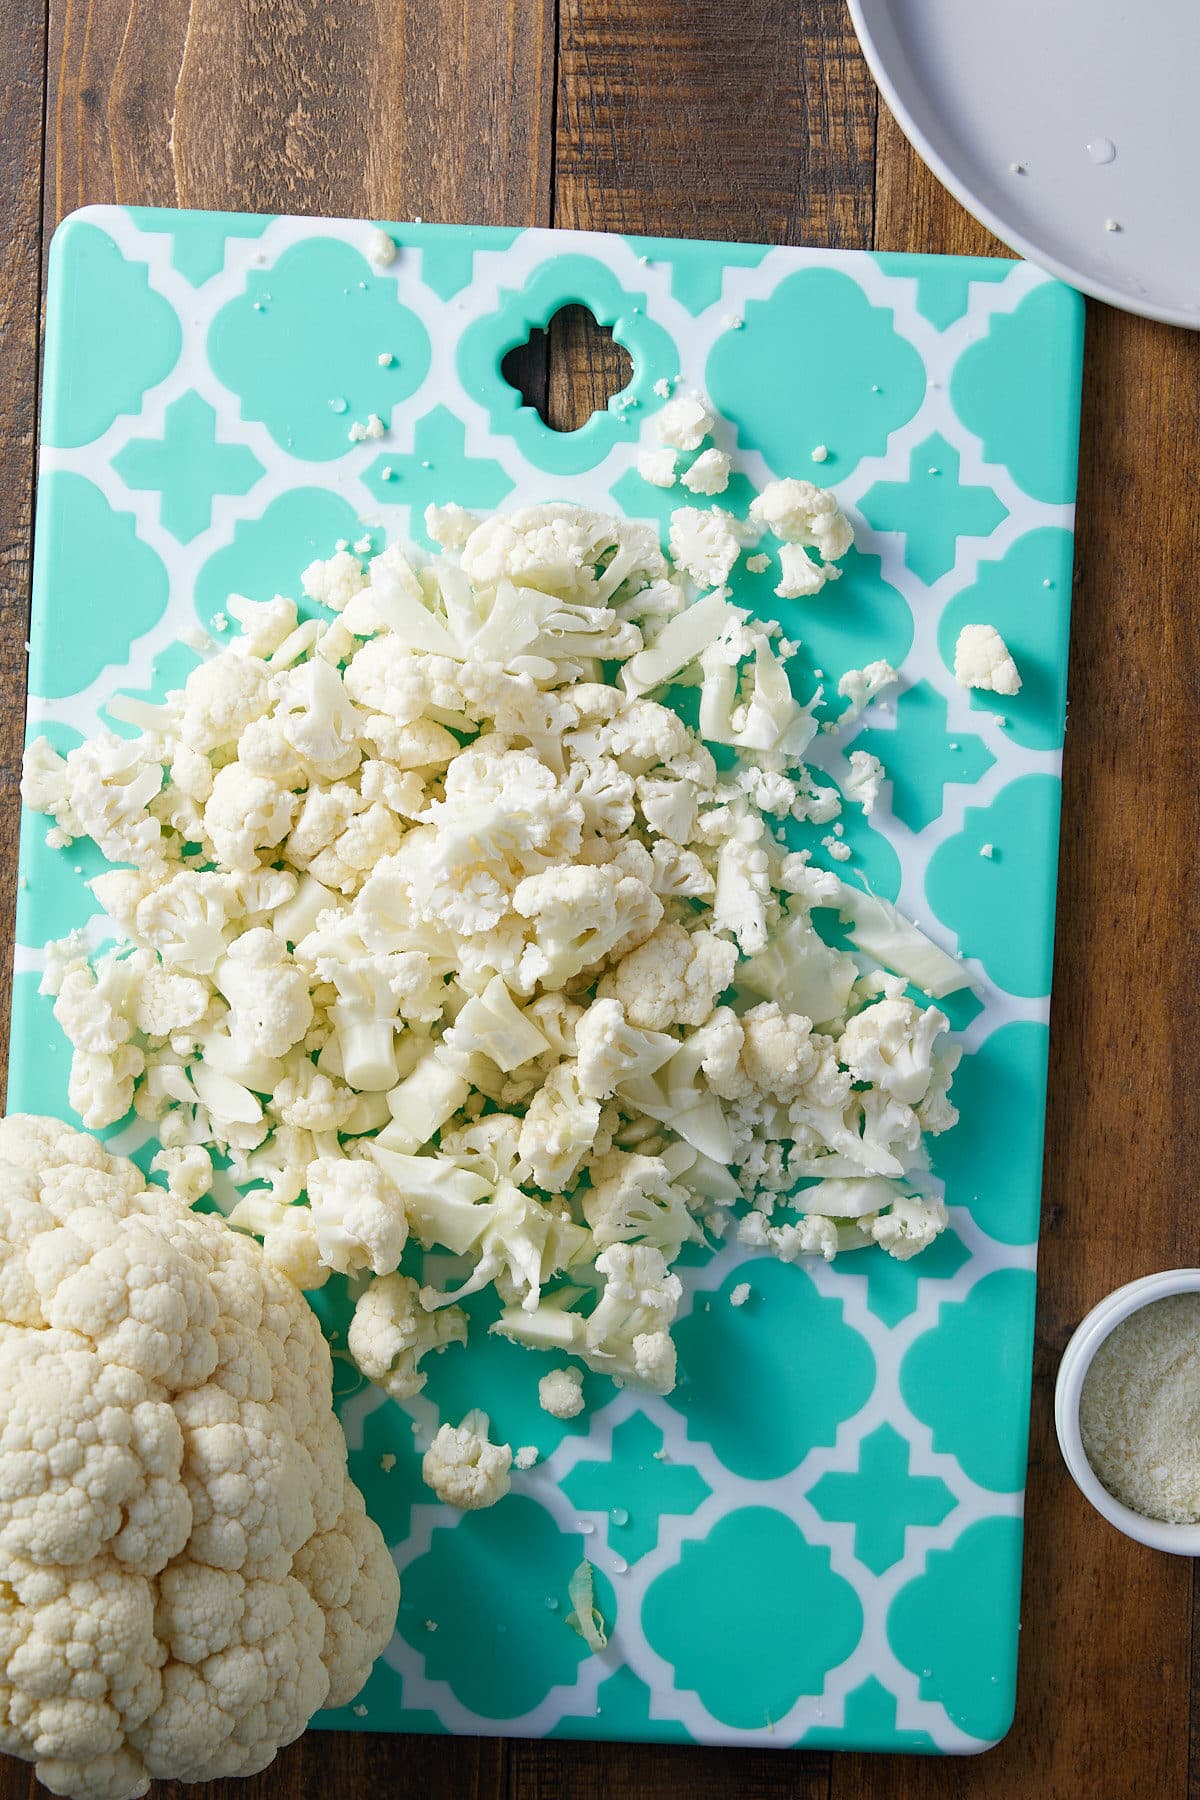
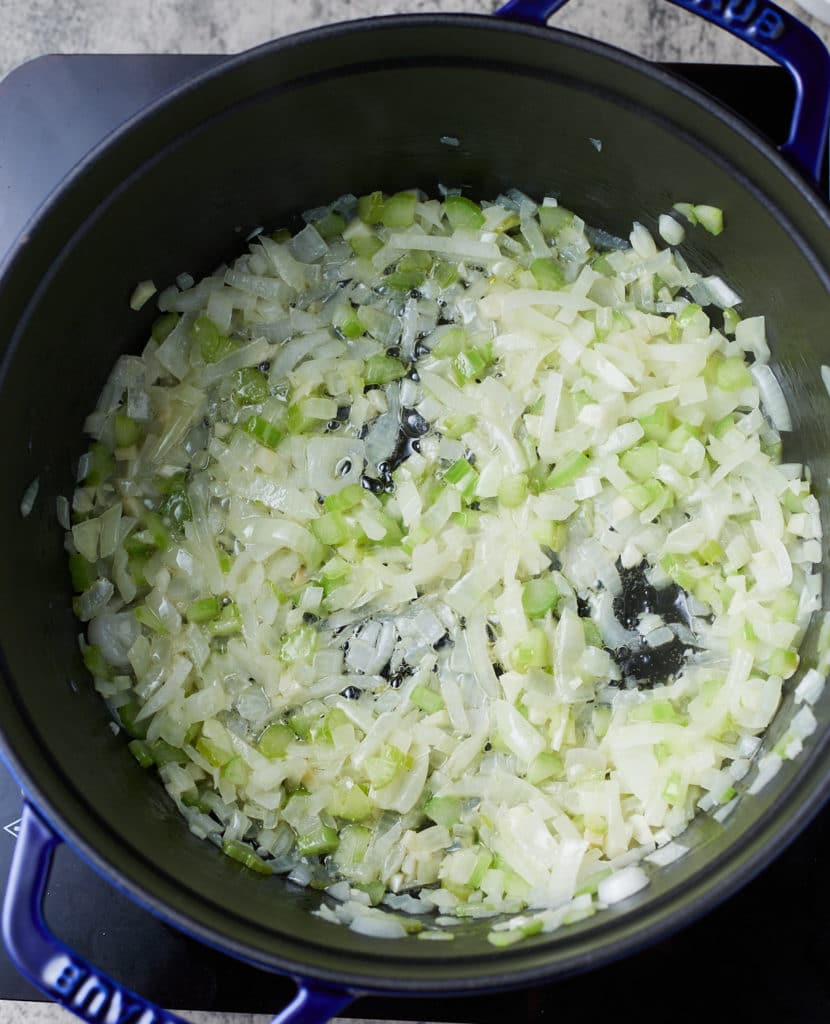
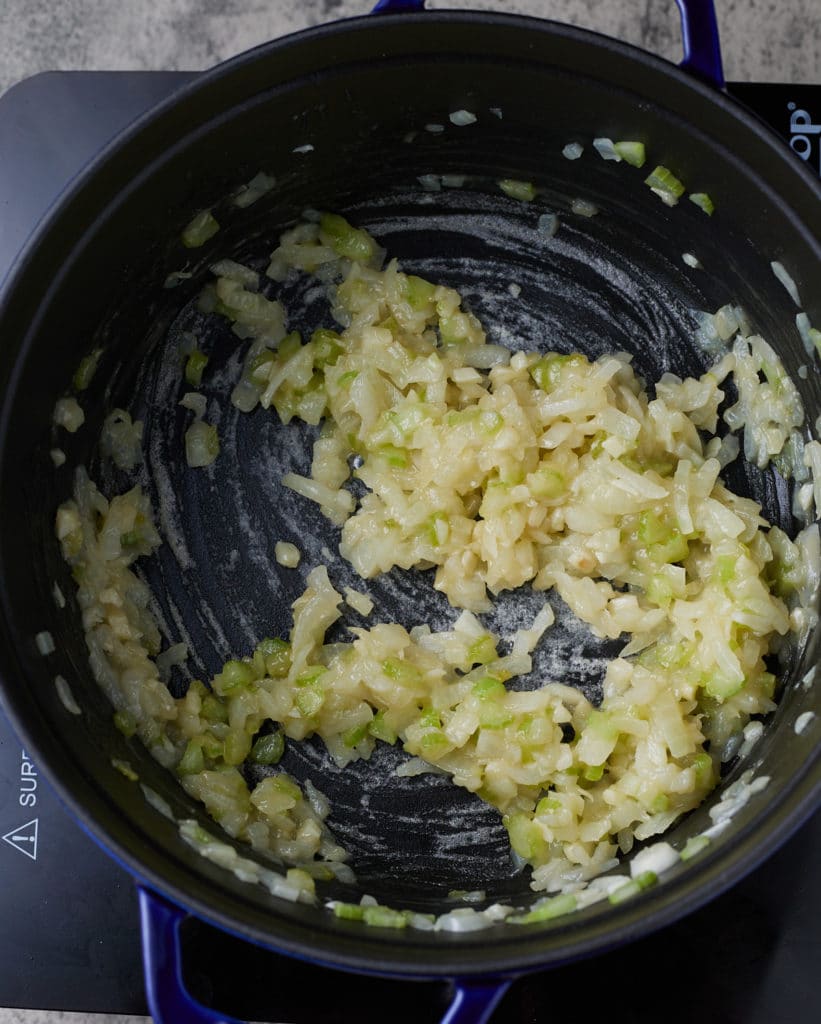
Melt butter in a large pot over medium heat. Add onion, celery, and garlic and sauté for about 10 minutes.
Stir in the flour and allow it to cook for a few minutes.
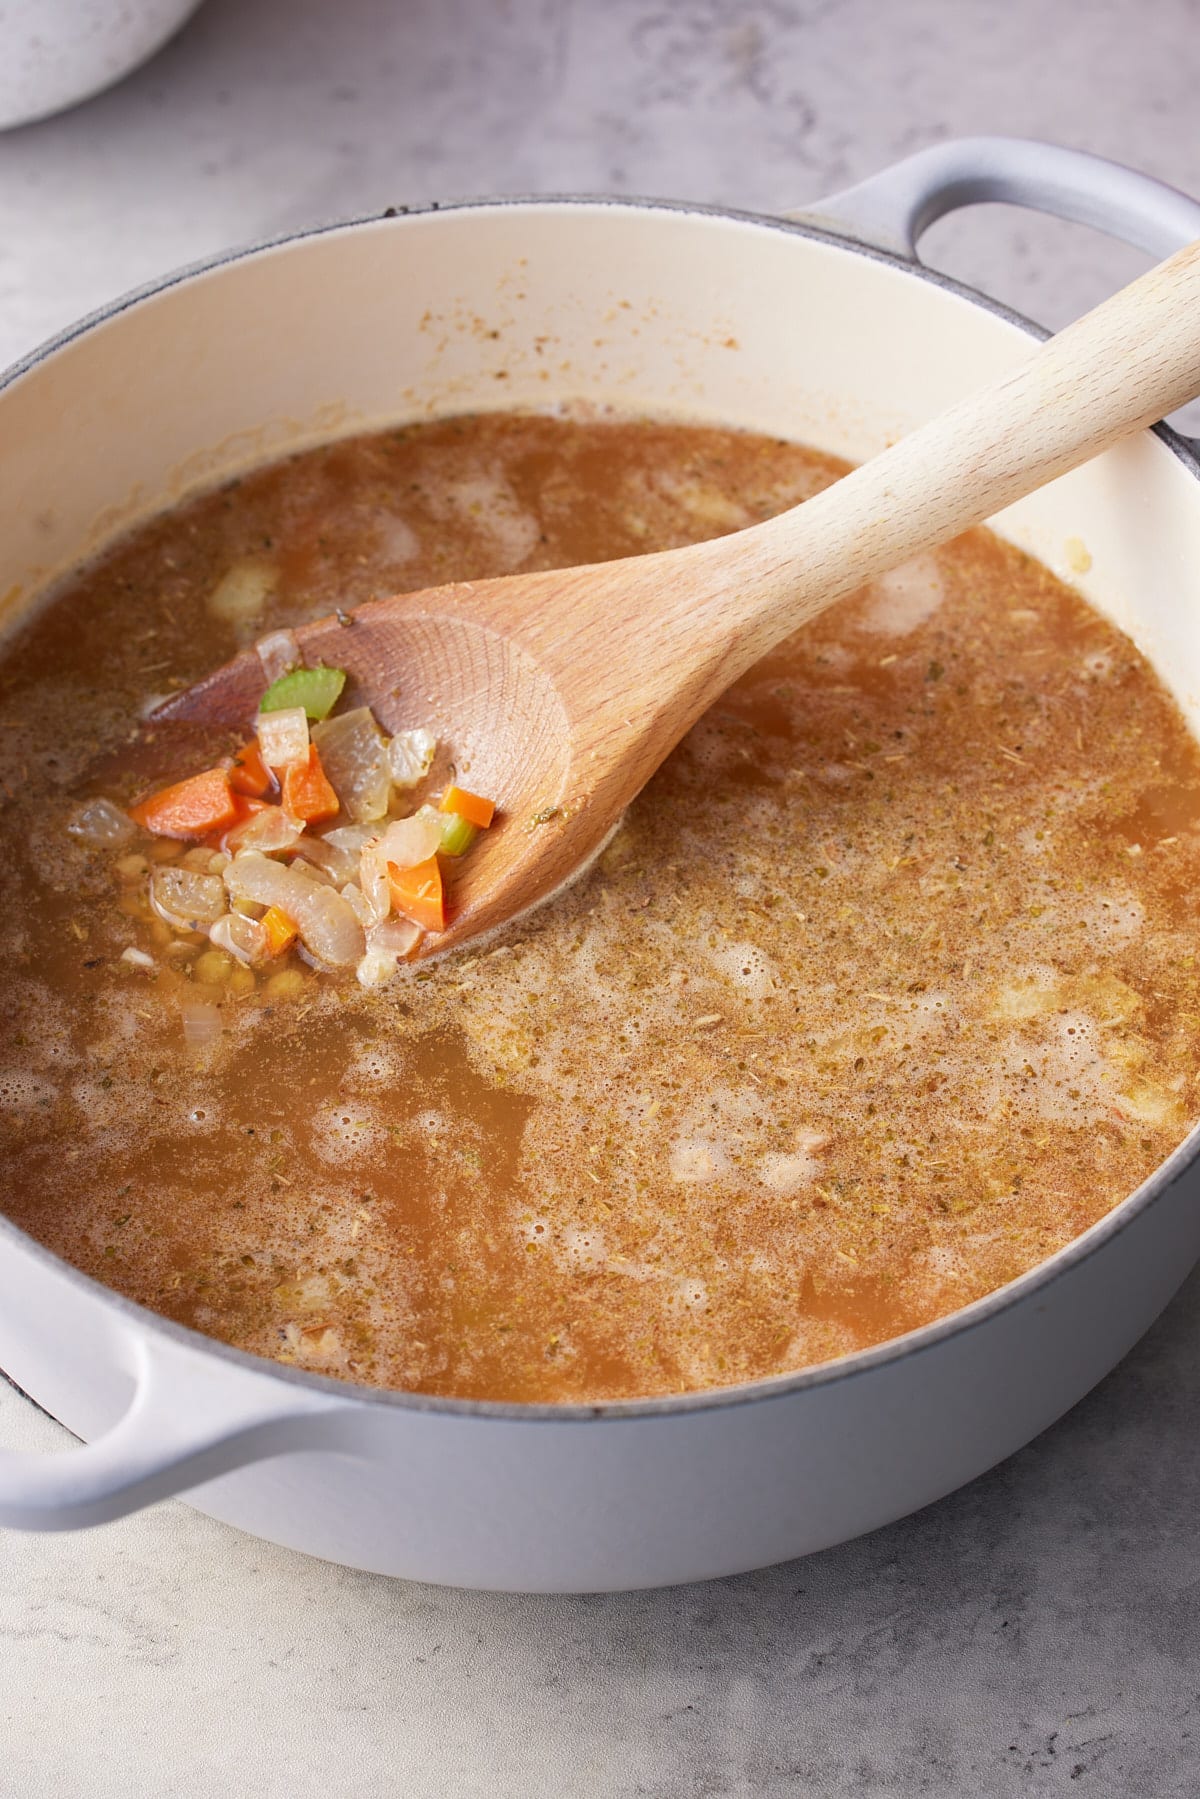
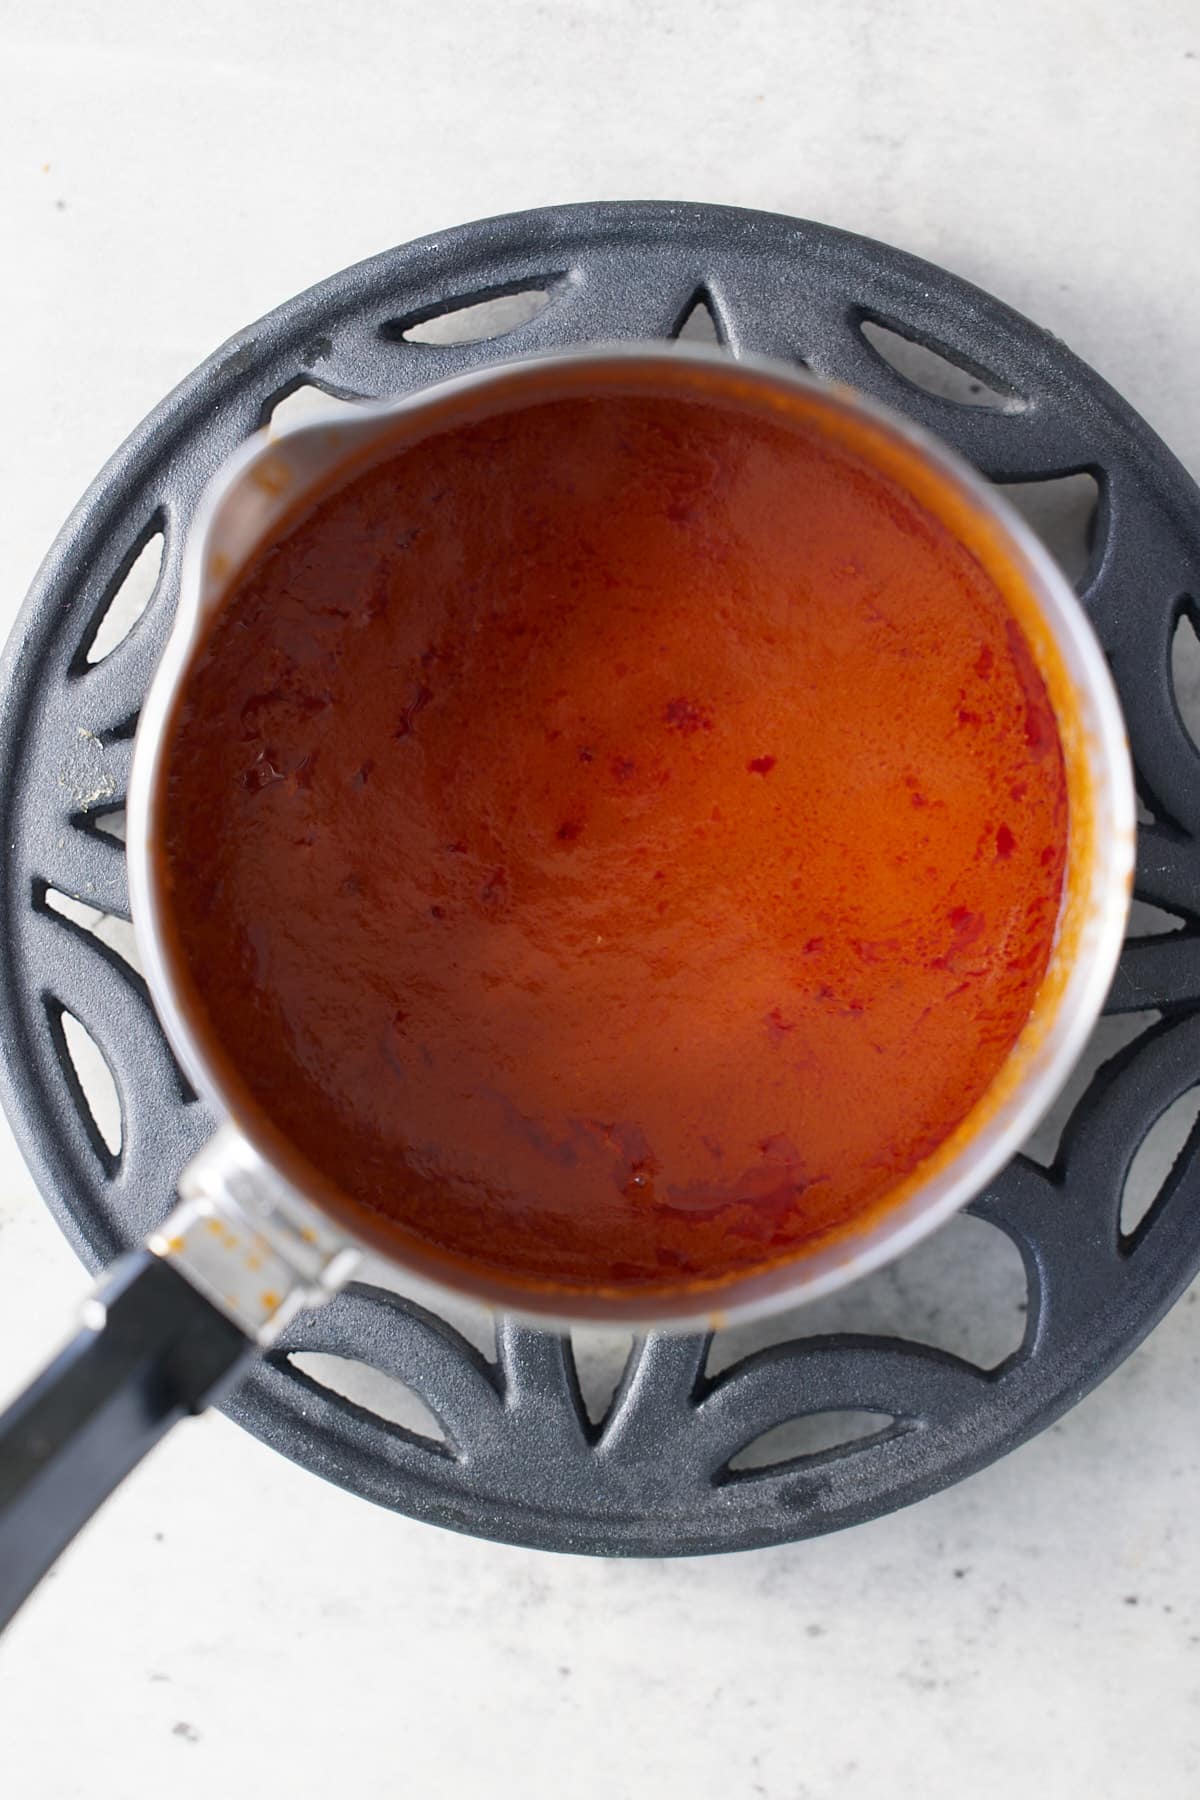
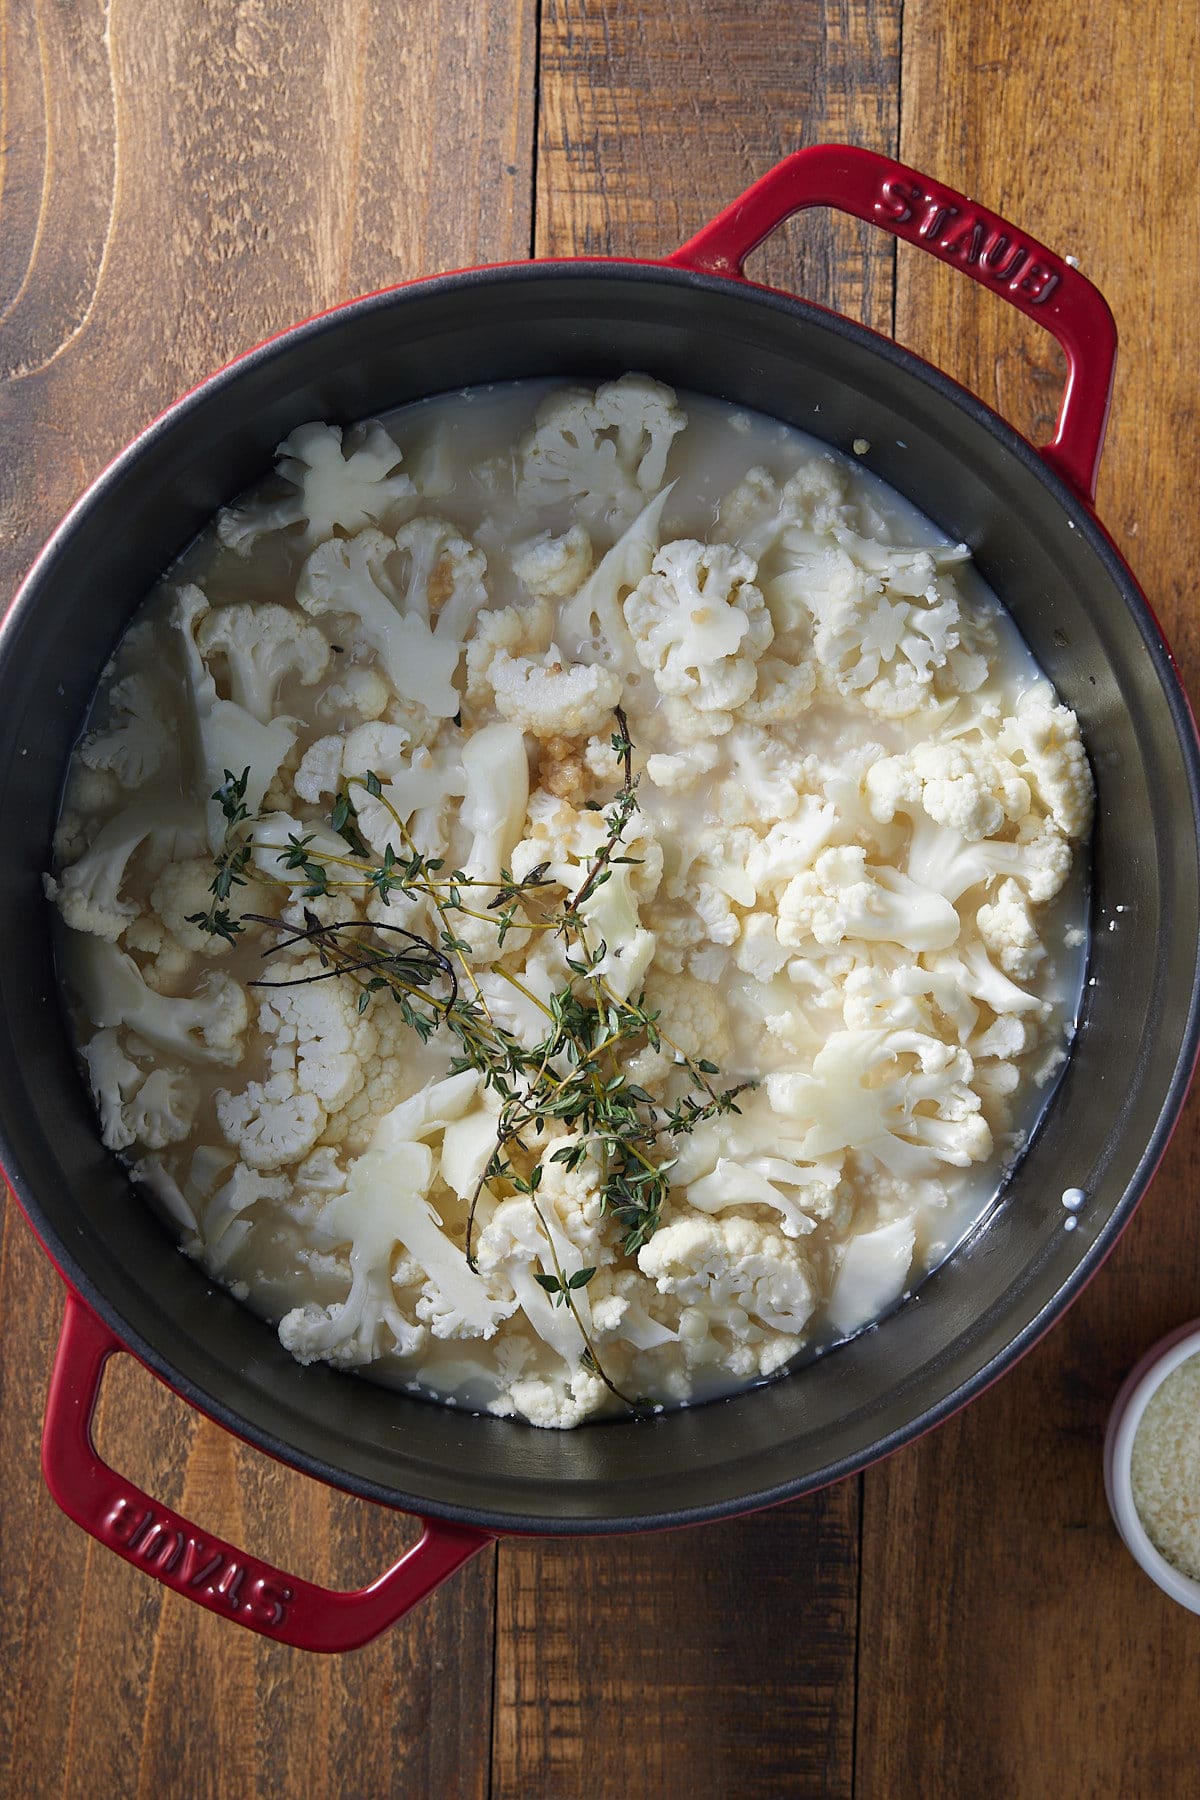
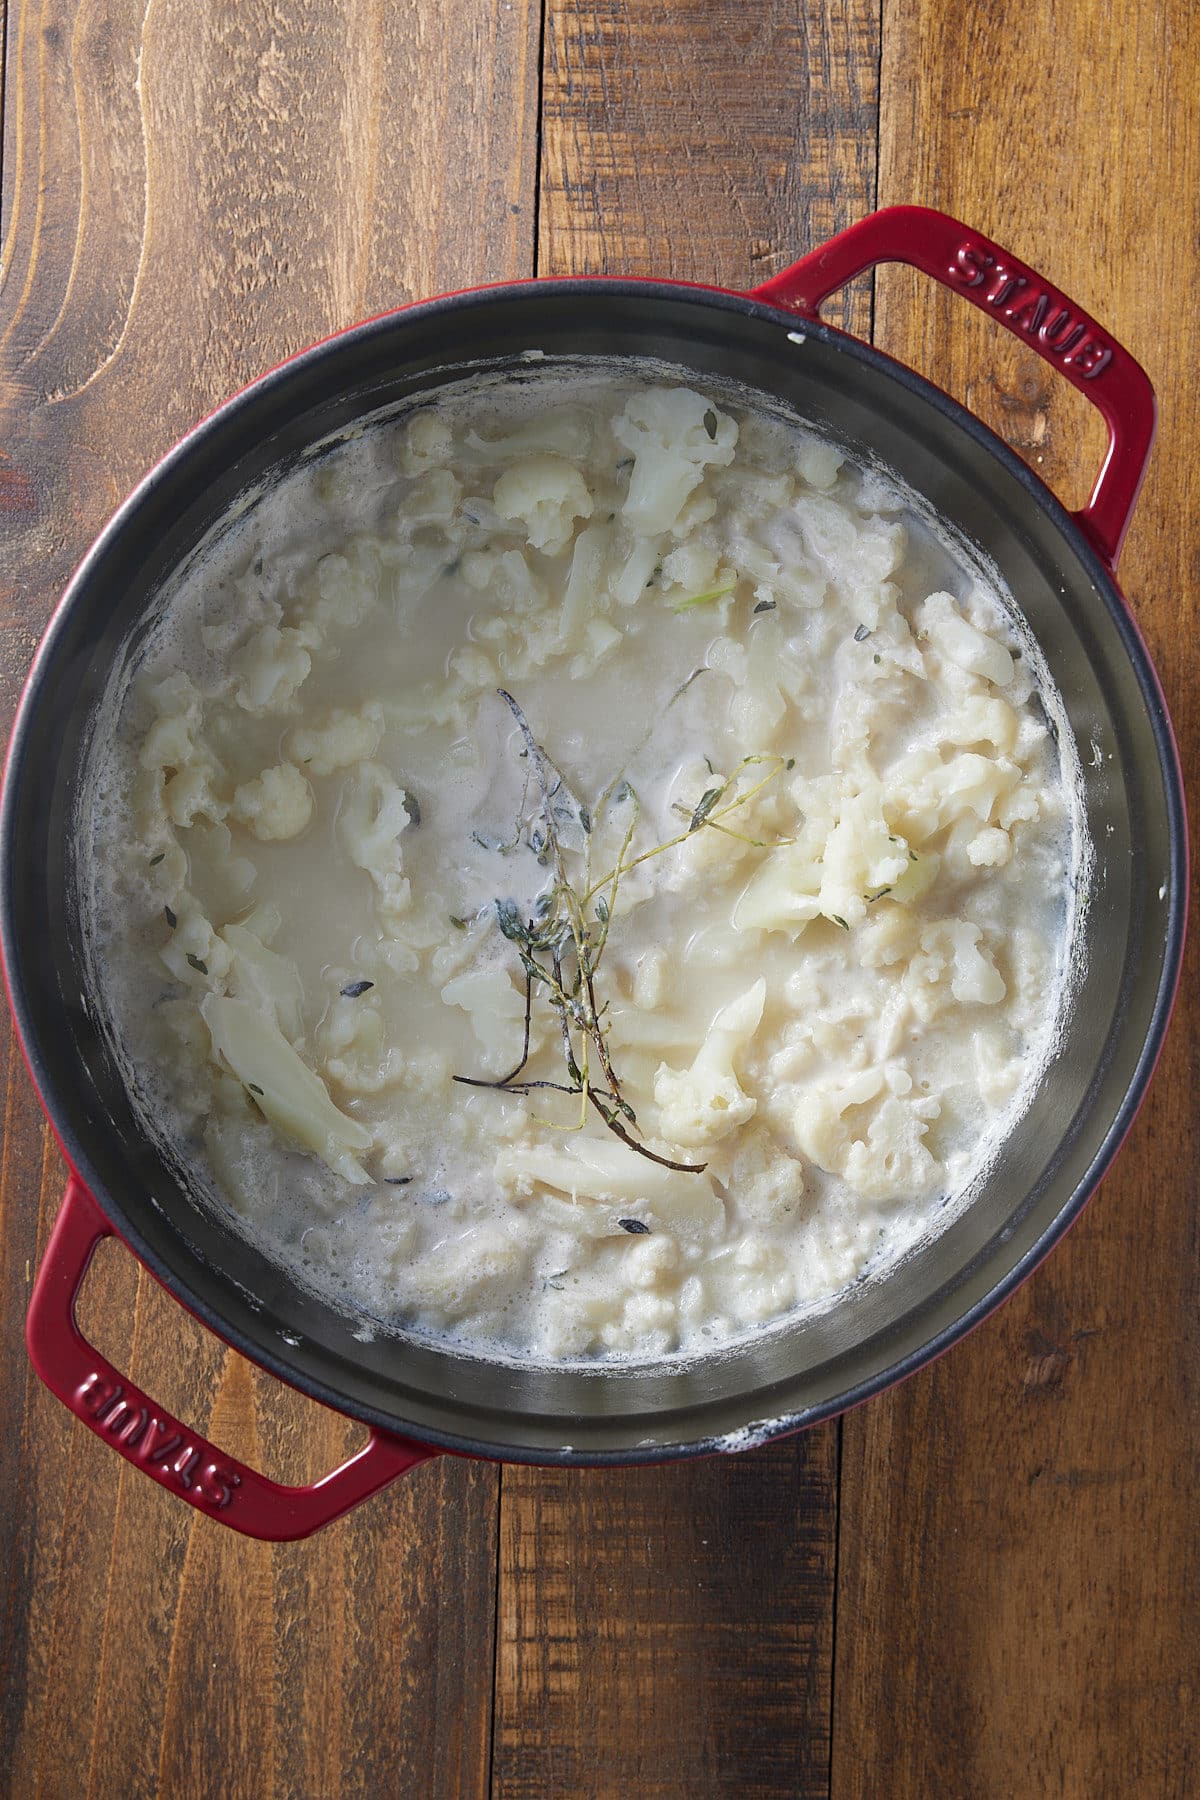
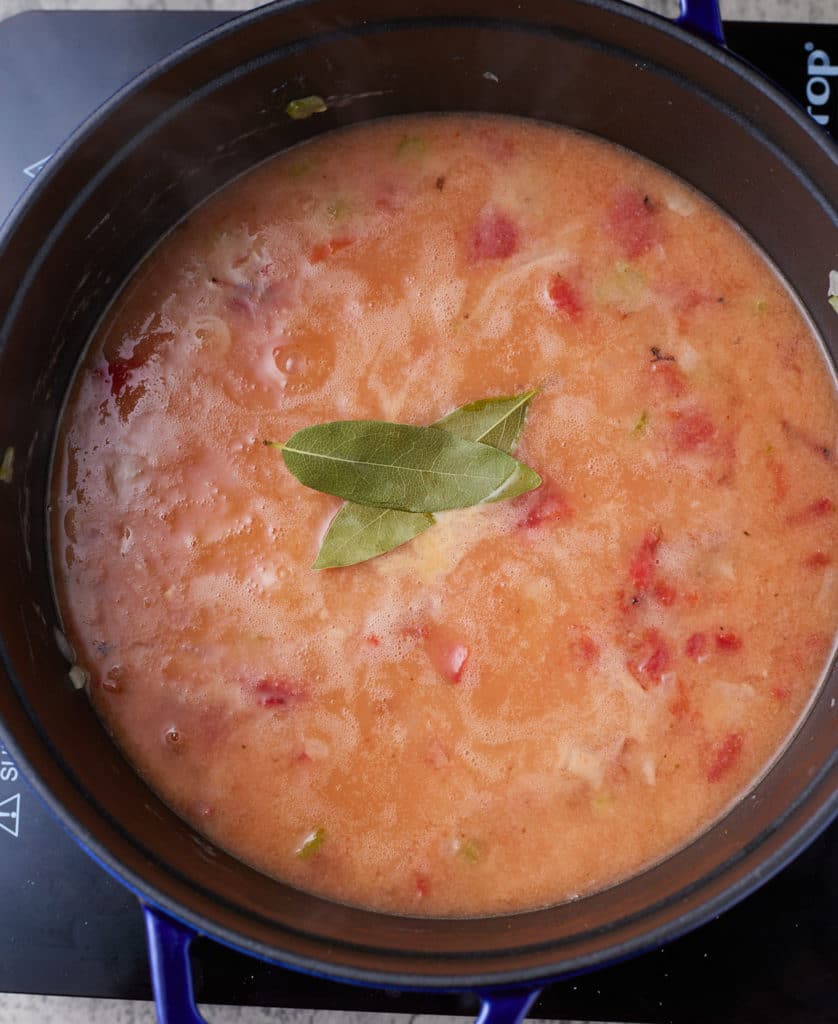
Add canned tomatoes, seafood stock, sherry wine, bay leaves, and old bay. Bring to simmer and allow to simmer for 15 minutes, stirring occasionally.
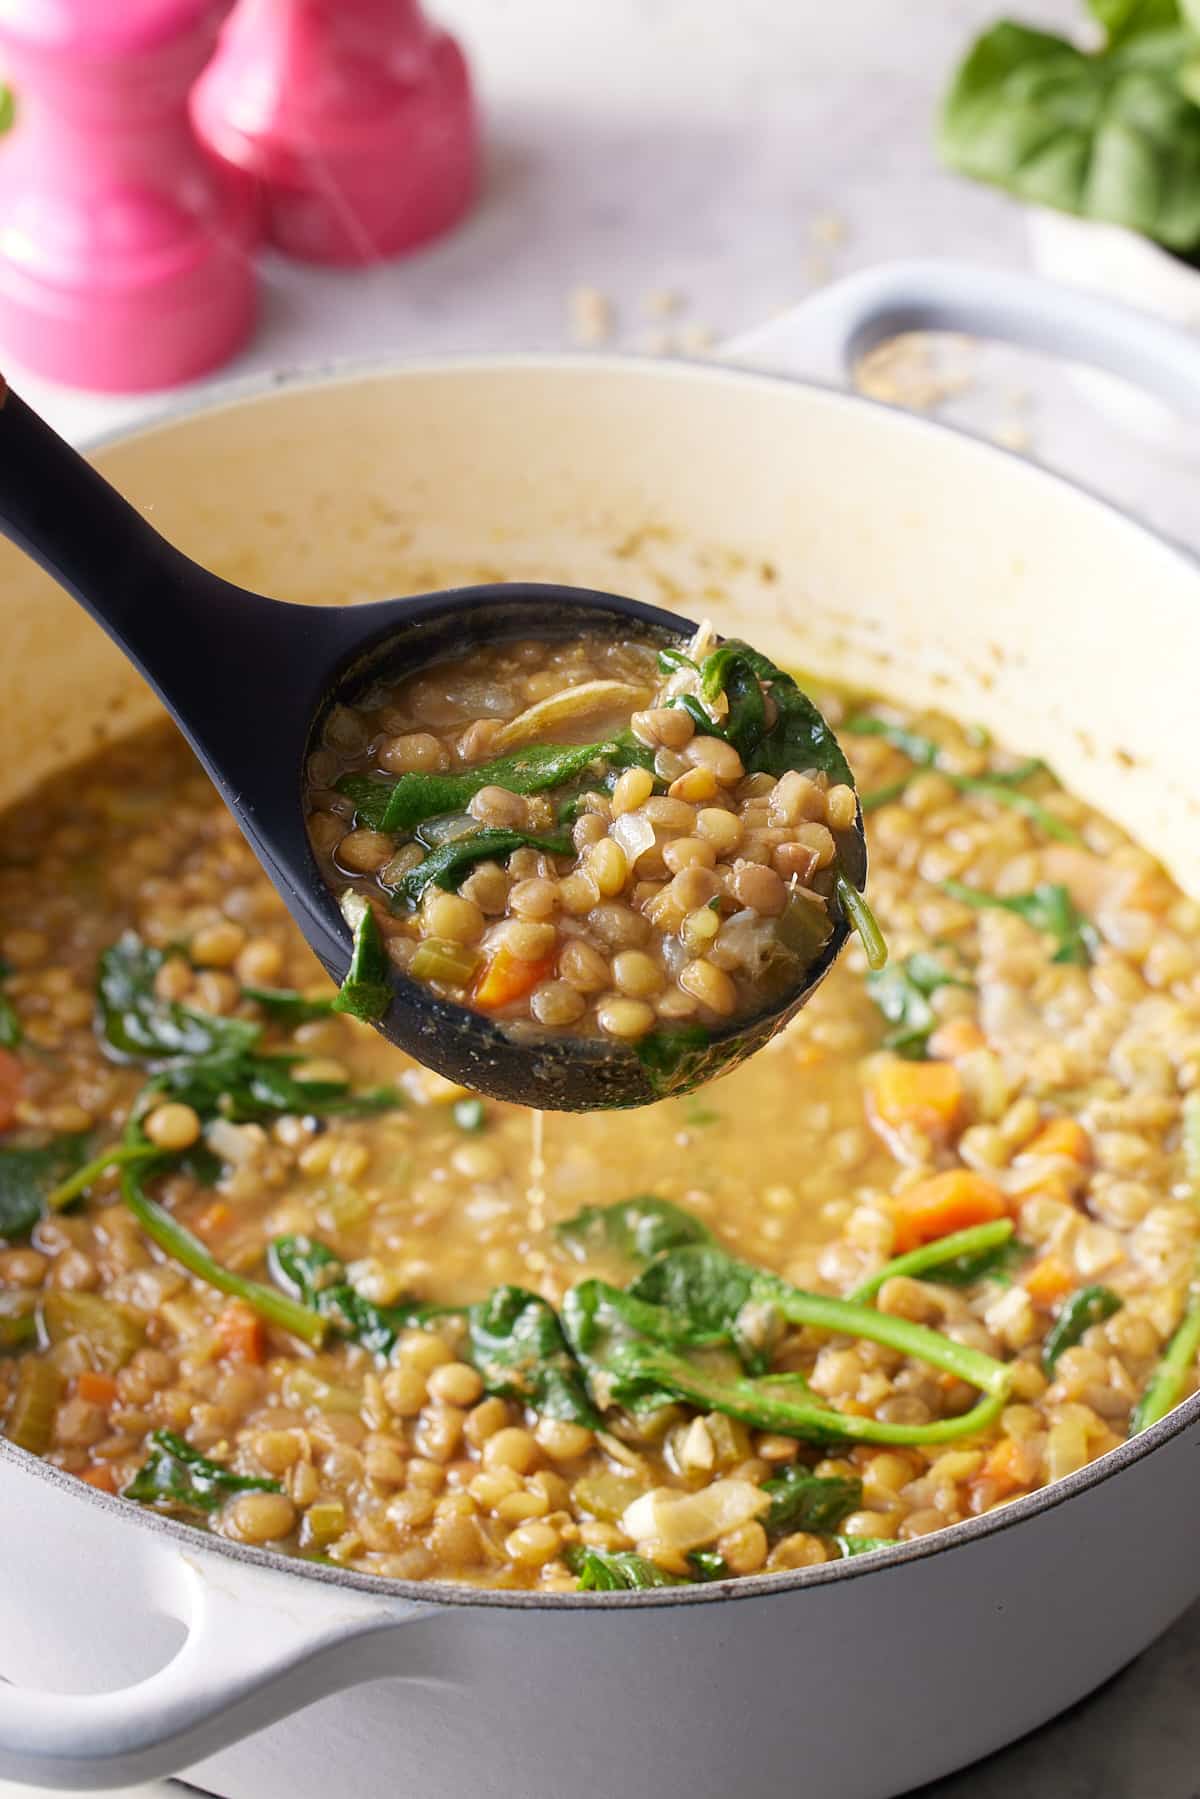
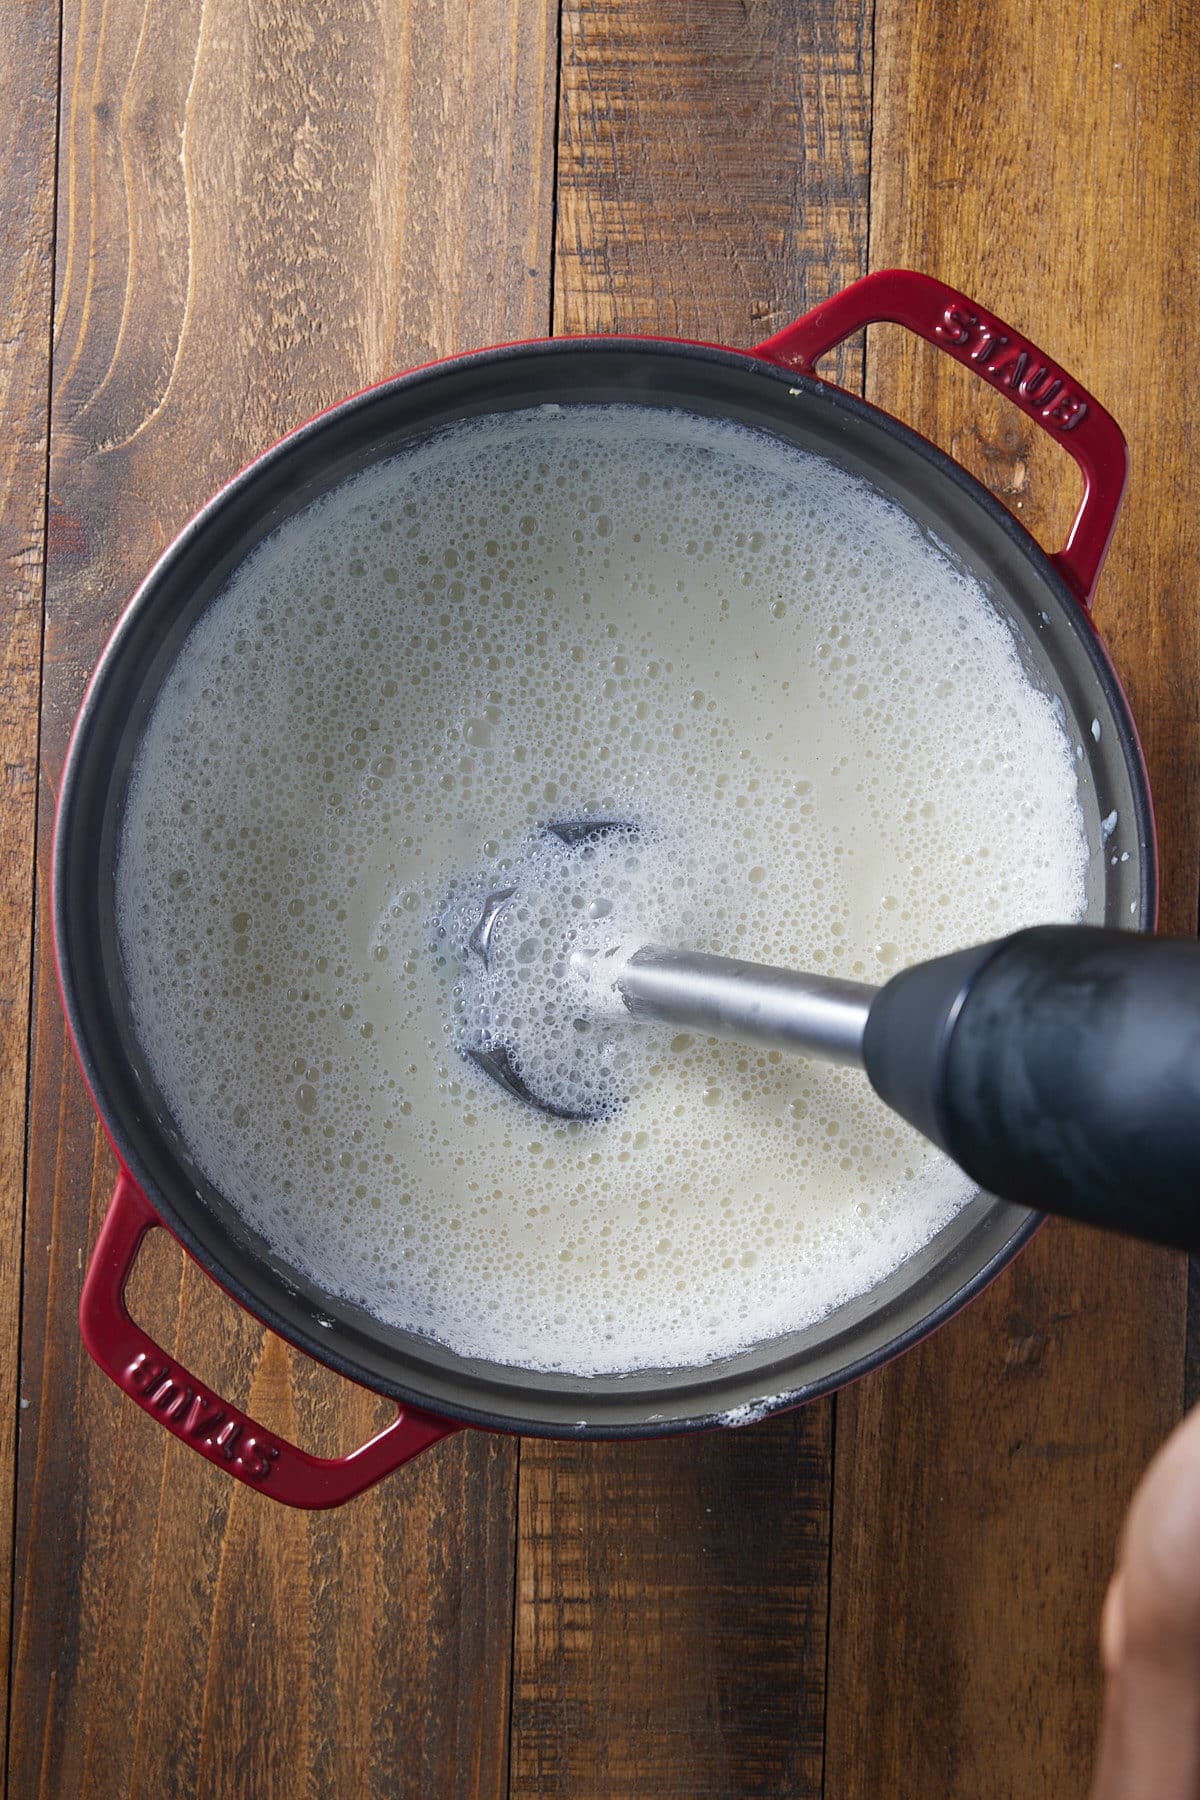
Remove bay leaves and blend the soup with an immersion blender or carefully blend in a blender until smooth.
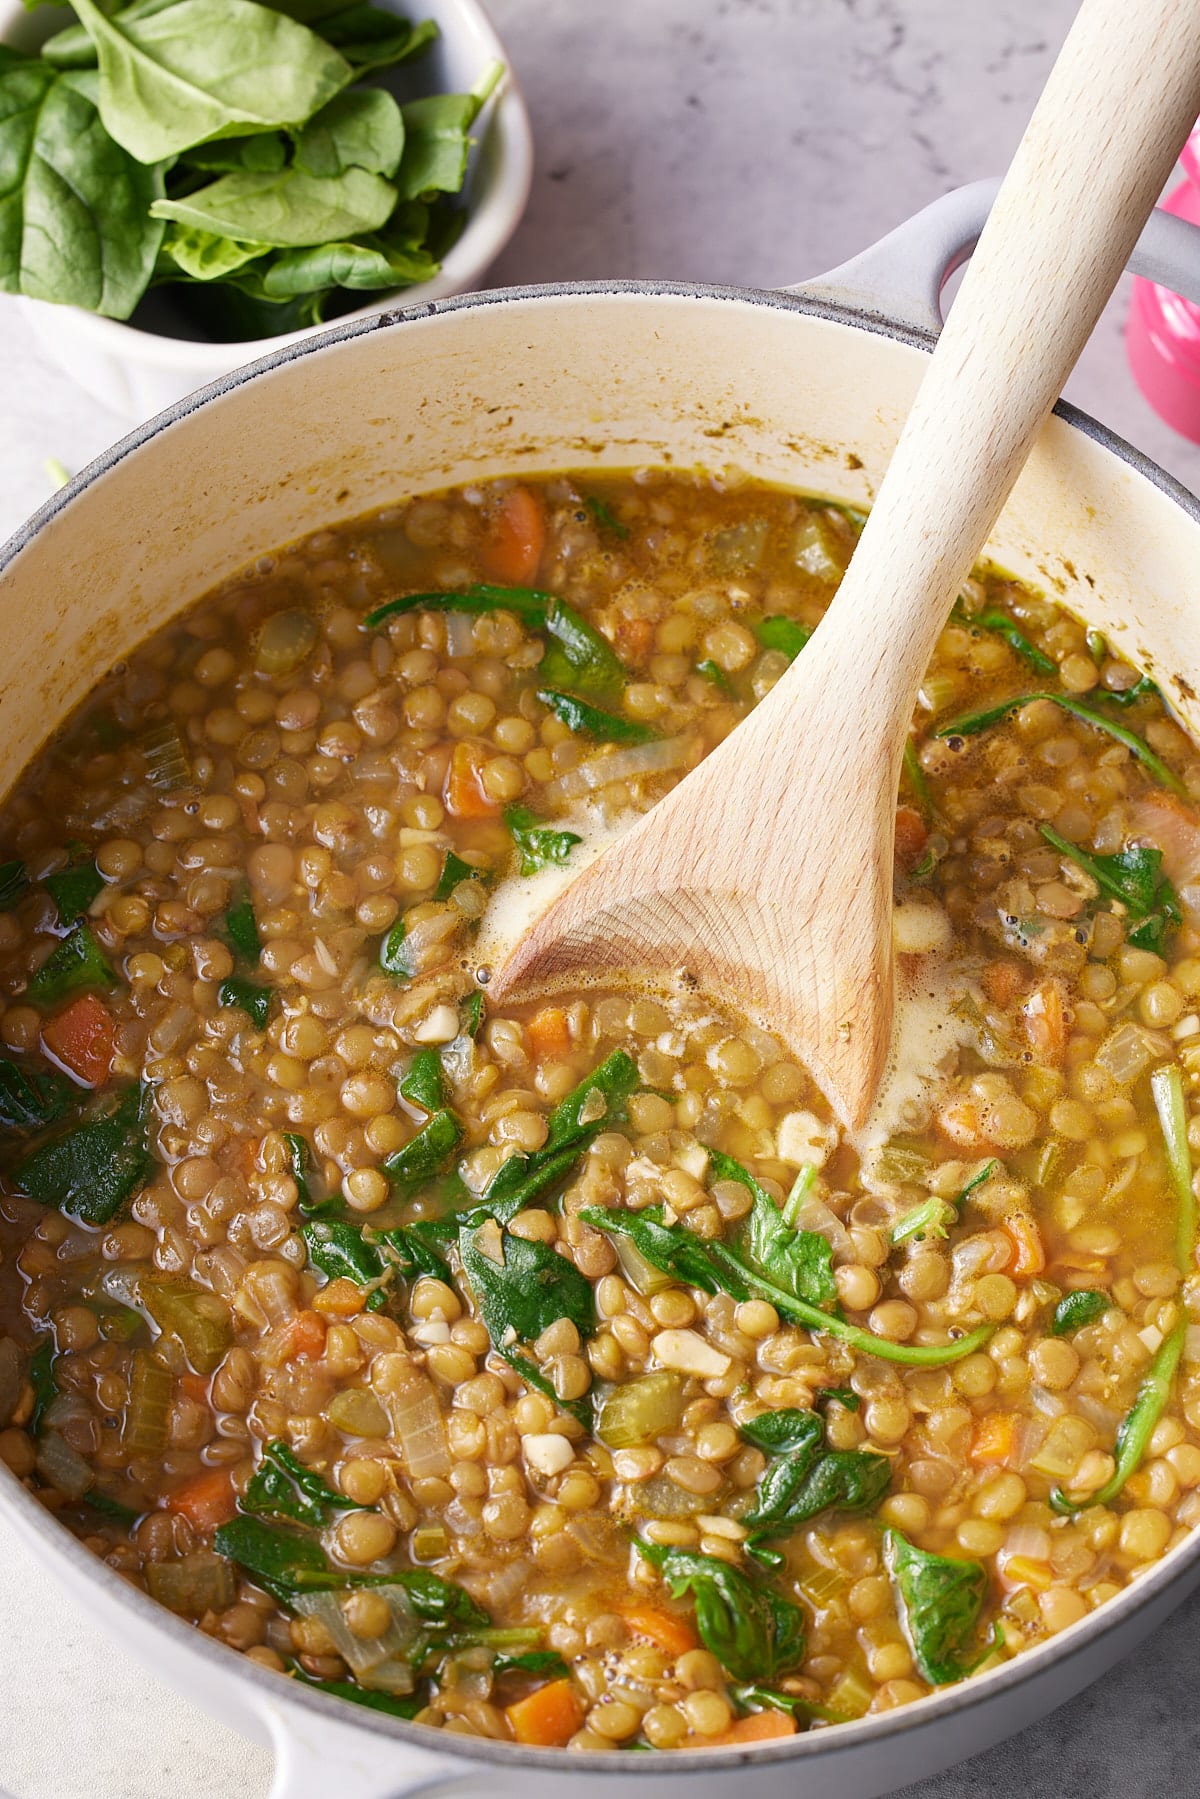
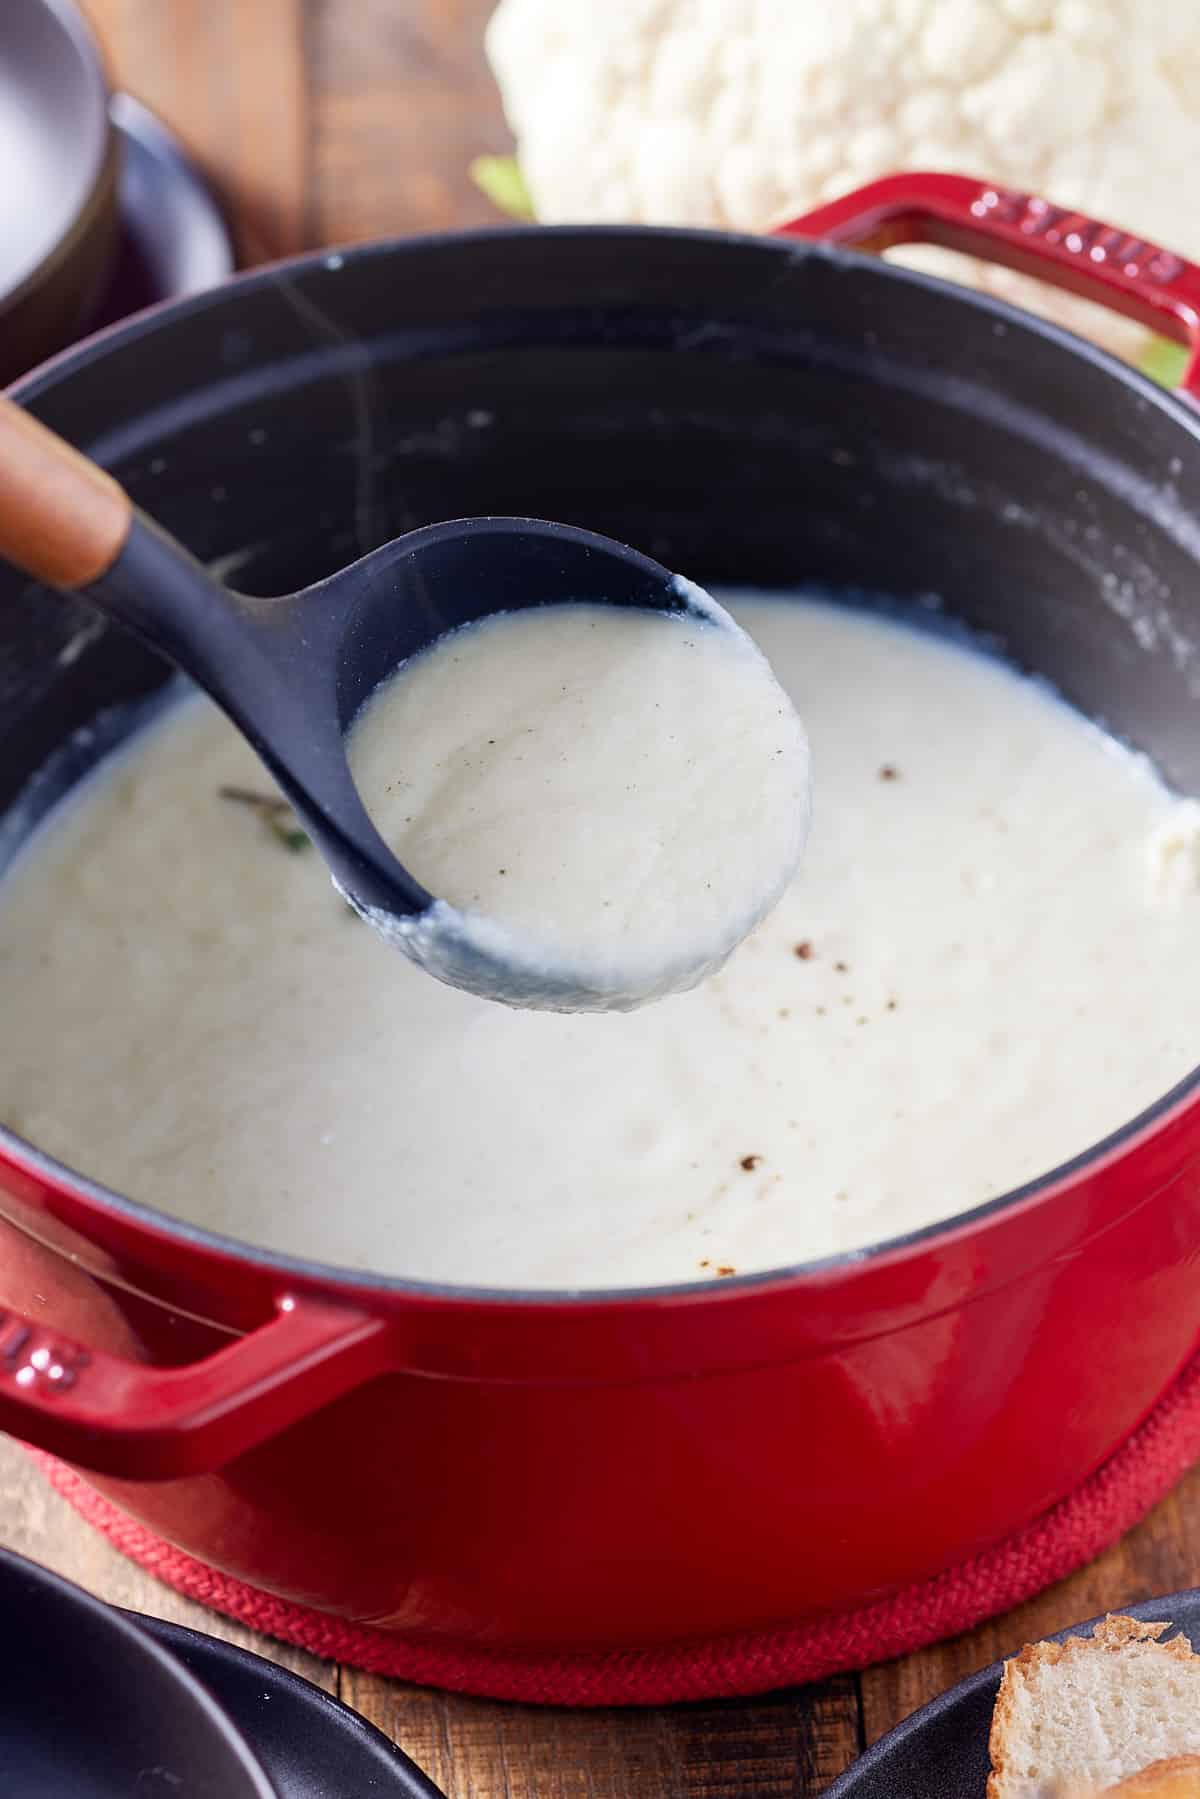
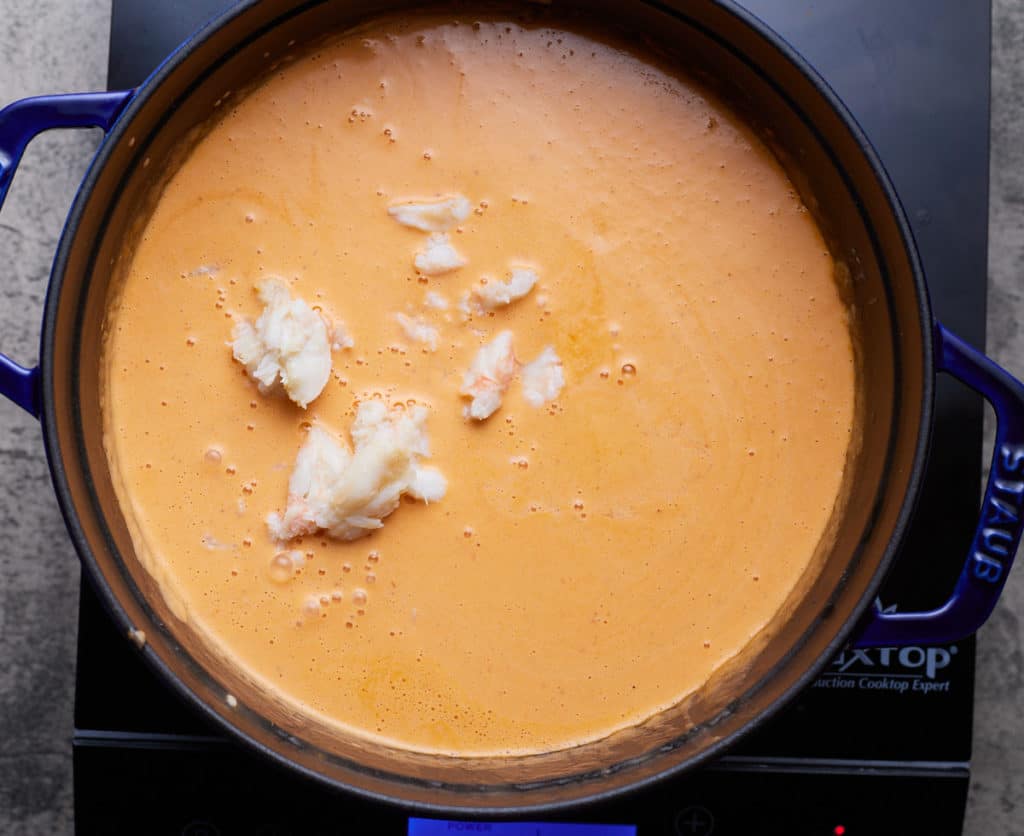
Return pot to heat and stir in heavy cream and add crab meat.

Continue to heat for 3-5 minutes, until crab meat is heated through.
What is a bisque?
A bisque is a soup of French origin. It's known to be smooth and creamy, hence the use of heavy cream. You can use milk instead of cream if you want to lessen the fat content, but it won't be as creamy.
Can you make it ahead of time?
This crab bisque is a great make-ahead meal and will keep well in the fridge for up to 4 days. Make the soup, let it cool, then transfer it to an airtight container. You can reheat the soup gently on the stovetop to serve.
Can you freeze it?
Yes. If you have to freeze it, it's best not to keep it frozen for more than a month. Reheat it on low and stir it well before and during heating so that the cream doesn't separate. I like to use Soupers for freezing soup.
What's the best crab to use?
Traditionally, freshly picked Dungeness crab meat is used in this soup, but to make it more accessible, you can easily use tinned crab lump meat. The seafood stock (or clam juice) boosts all those flavors, so you don't need to get fresh crab meat for this dish.
Recipe Notes and Tips
- Make the soup in a heavy-bottomed pot. This will distribute the heat more evenly so you don't get hotspots.
- If you don't have an immersion blender, you can use a stand blender. Transfer it to the blender in batches carefully as it will be very hot.
- Make this soup gluten-free by using 1:1 gluten-free flour.
FAQ
Yes. It'll taste a little different so I strongly urge the use of seafood, shrimp, fish, stock, or clam juice.
Sure, add a little more broth to accommodate the absence of the sherry cooking wine. For a substitute, try another adequate sherry wine substitute.
More Soup Recipes
- Easy Seafood Chowder
- Cream of Mushroom Soup
- Vegetable Soup
- Moroccan Spiced Soup
- Roasted Tomato Basil Soup

Crab Bisque
Equipment
Ingredients
- 4 Tablespoon unsalted butter
- 1 sweet onion, diced about 1 cup
- 1 celery stalk, diced about ½ cup
- 1 Tablespoon garlic chopped, about 4 small cloves
- 4 Tablespoon all-purpose flour
- 1 14.5 Oz can fire roasted tomatoes undrained
- 2 cups seafood stock or clam juice
- ½ cup sherry cooking wine
- 2 bay leaves
- ½ teaspoon old bay seasoning
- 2 cups heavy cream
- 1 lb crab lump meat
- 2 Tablespoon chives for garnish
Instructions
- Melt butter in a large pot over medium heat. Add onion, celery, and garlic and sauté for about 10 minutes.
- Stir in the flour and let it cook for a couple of minutes.
- Add tomatoes, seafood stock, sherry wine, bay leaves, and old bay. Bring to simmer and allow to simmer for 15 minutes, stirring occasionally.
- Remove bay leaves and blend the soup with an immersion blender or carefully blend in a blender until smooth.
- Return pot to heat and Stir in heavy cream and add crab meat, Continue to heat for 3-5 minutes, until crab meat is heated through.
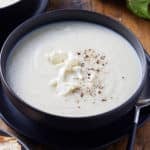
- Serve in bowls and top with chives.
Notes
- Make the soup in a heavy bottomed pan. This will distribute the heat more evenly so you don't get hotspots.
- If you don't have an immersion blender, you can use a stand blender. Transfer it to the blender in batches carefully as it will be very hot.
- Make this soup gluten free by using a 1:1 GF flour.
Nutrition
This post was originally published on January 28, 2021. It has been updated with additional helpful information.