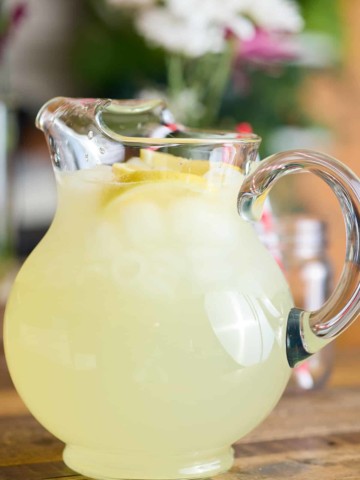
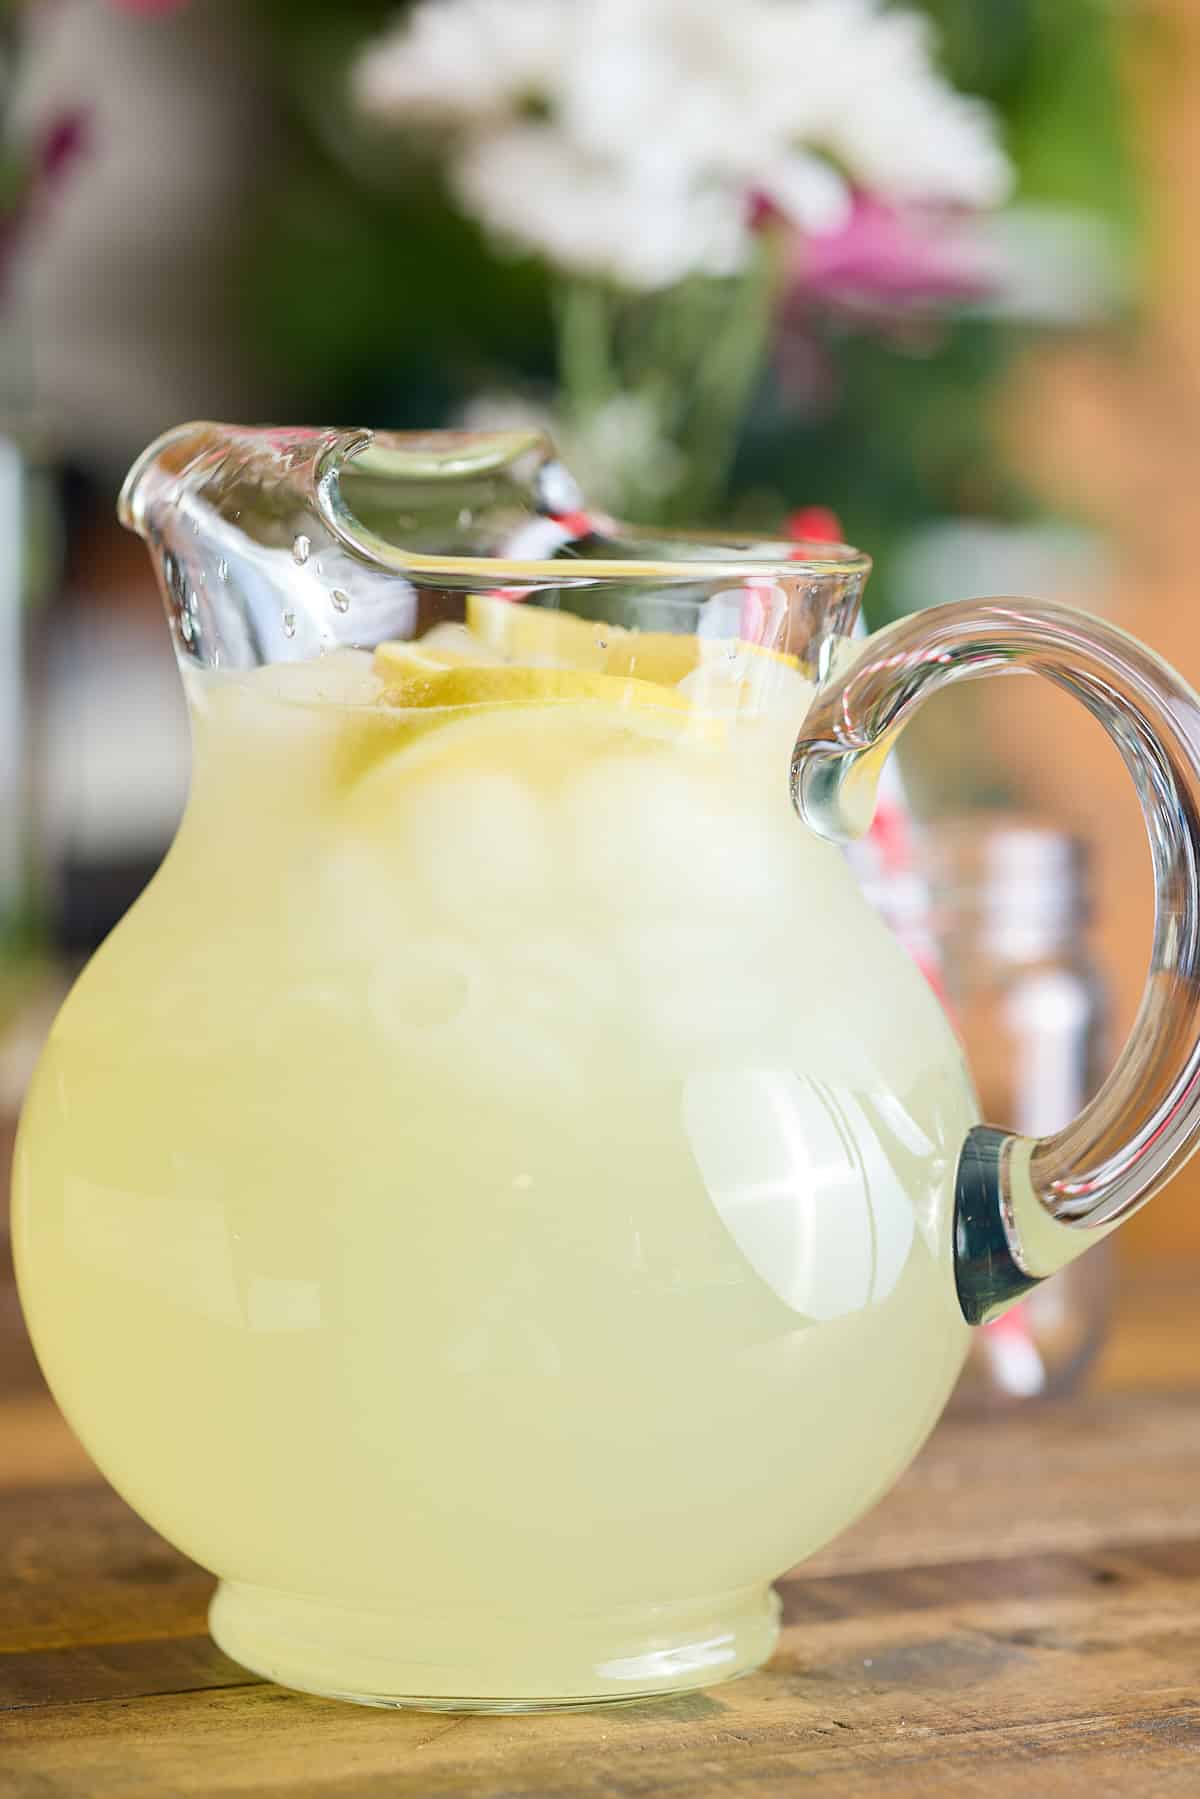
On a warm and sunny day, nothing is quite as refreshing as a pitcher of Classic Lemonade. Fresh lemon juice is combined with granulated sugar and fresh water, then served over ice. My Homemade Lemonade recipe beats overly sweet, store-bought soft drinks, any day of the week.
You’ll find the full recipe with ingredient amounts and instructions in the recipe card at the bottom of this post. Be sure to check out the blog post itself for extra tips and tricks!
Lemonade is one of those drinks that I will happily drink all year round. Made with freshly squeezed juice from 5 or 6 lemons, this thirst-quenching drink is bursting full of lemony flavor.
This is the ideal easy lemonade recipe for kids, only 2 simple ingredients and some water, so the kids can make it themselves.
I like making my own lemonade, and this healthy lemonade recipe is far better than store-bought lemonade. No artificial preservatives, flavorings, or excess sugars and syrup. With this traditional lemonade recipe, you adjust the sugar to your own tastes, making the lemonade as sweet or as sour as you like.
If you like to make your own homemade no-alcohol drinks, try these great-tasting recipes. My Tamarind Juice, Homemade Jamaican Ginger Beer, Jamaican Sorrel Drink, Jamaican Lemonade, Green Sherbet Punch, or my Fruit Punch.
Ingredients
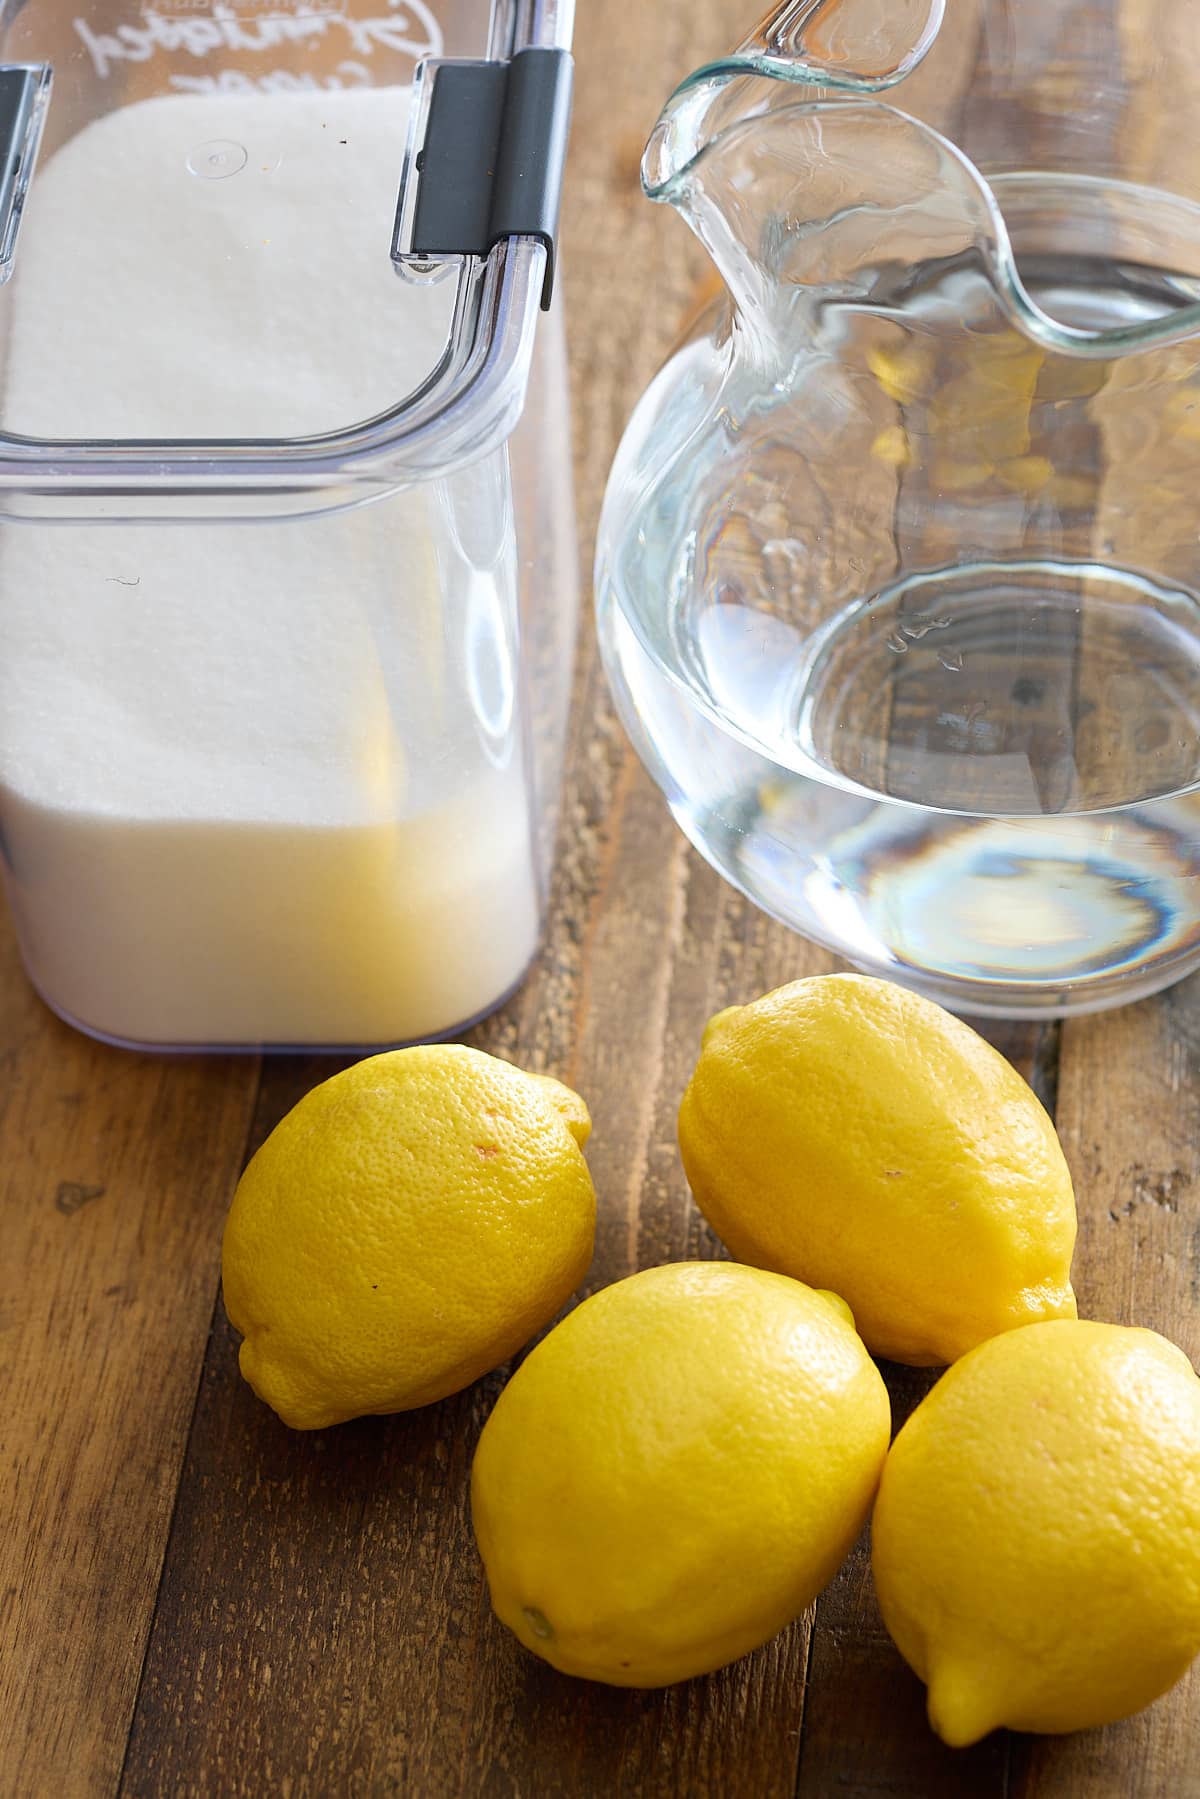
Here's what you will need to make homemade lemonade:
- Lemon - you need 1 ½ cups of freshly squeezed lemon juice, this is roughly 5-6 lemons.
- Sugar - white granulated sugar sweetens the lemonade.
- Water - I use 6 cups of water. You could use carbonated water to make a slightly fizzy lemonade.
How to make Classic Lemonade
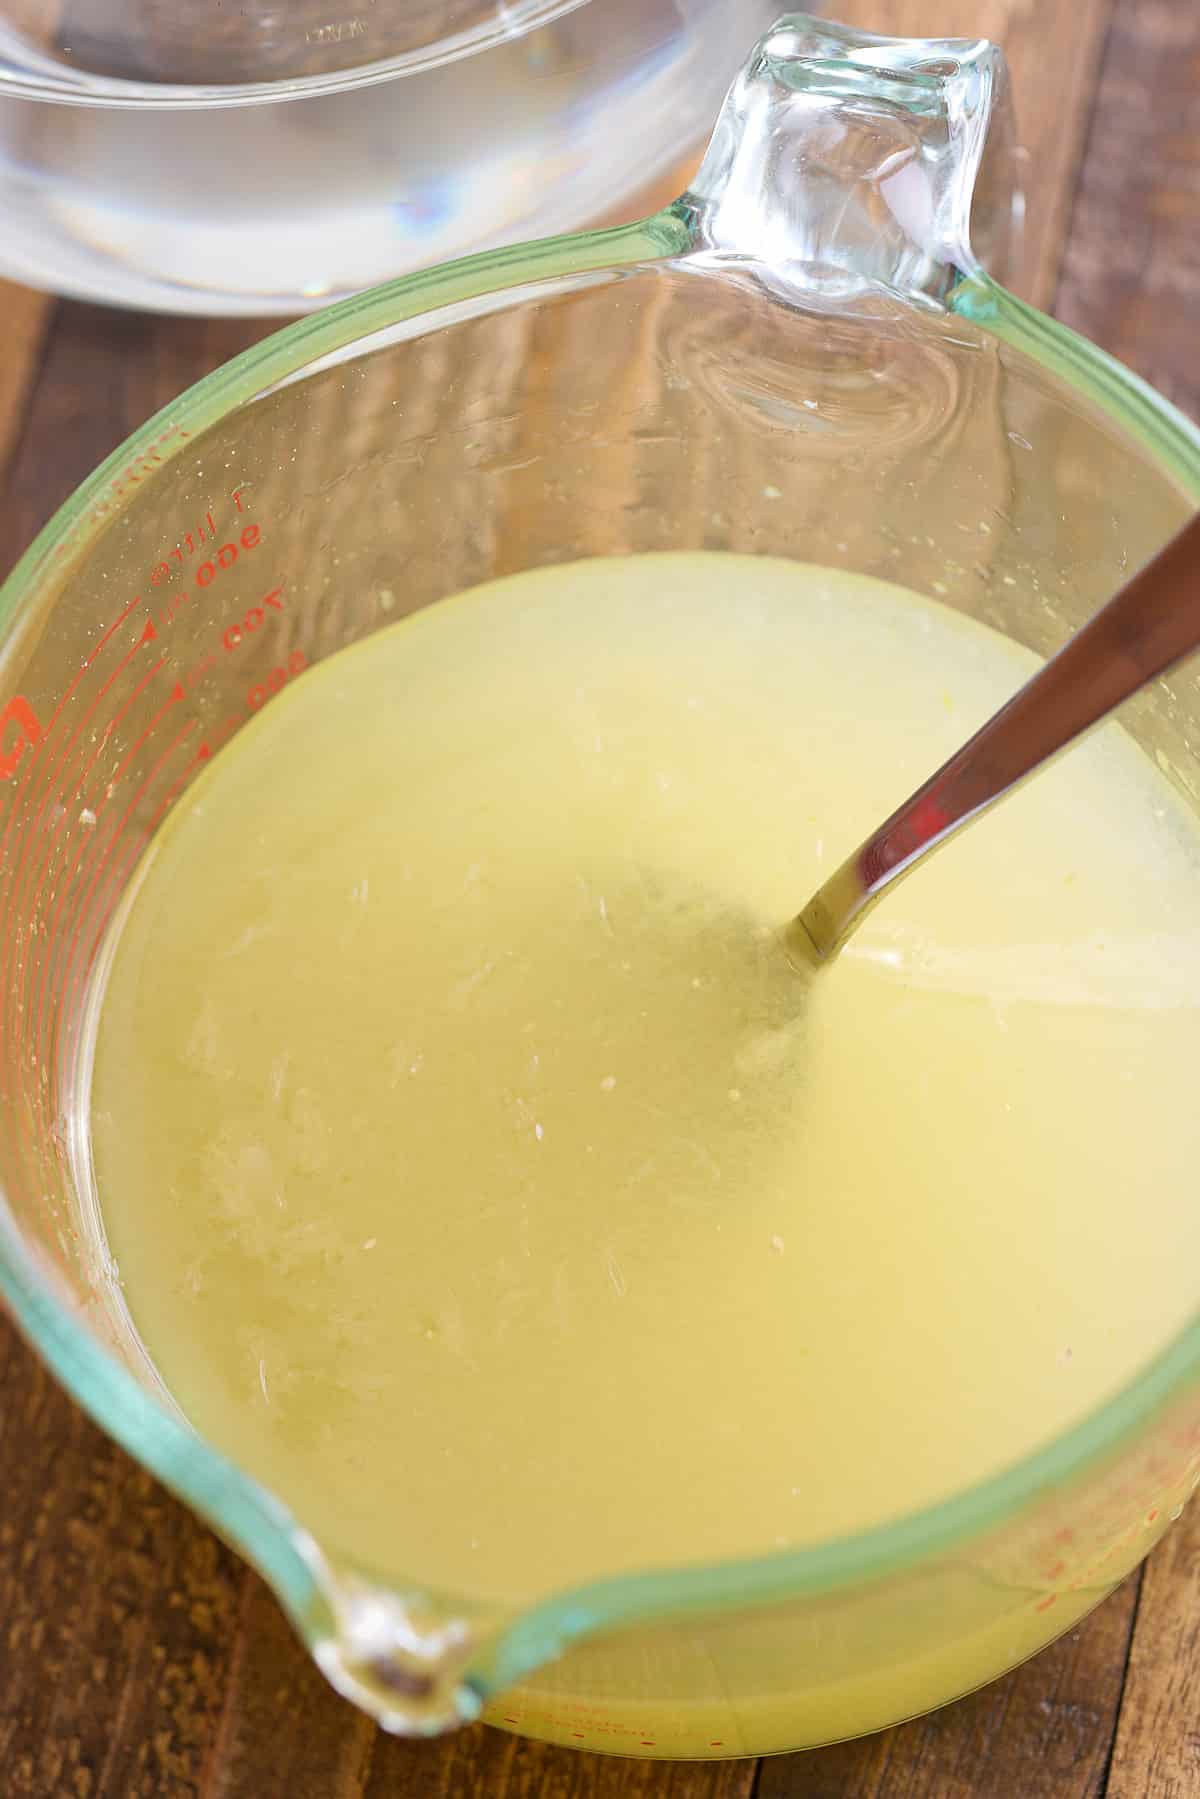
Squeeze fresh lemons until you have approximately 1.5 cups of lemon juice, ensuring that any seeds or pulp are discarded. Transfer the juice to a pitcher.
Add granulated sugar to the lemon juice and stir until it completely dissolves.
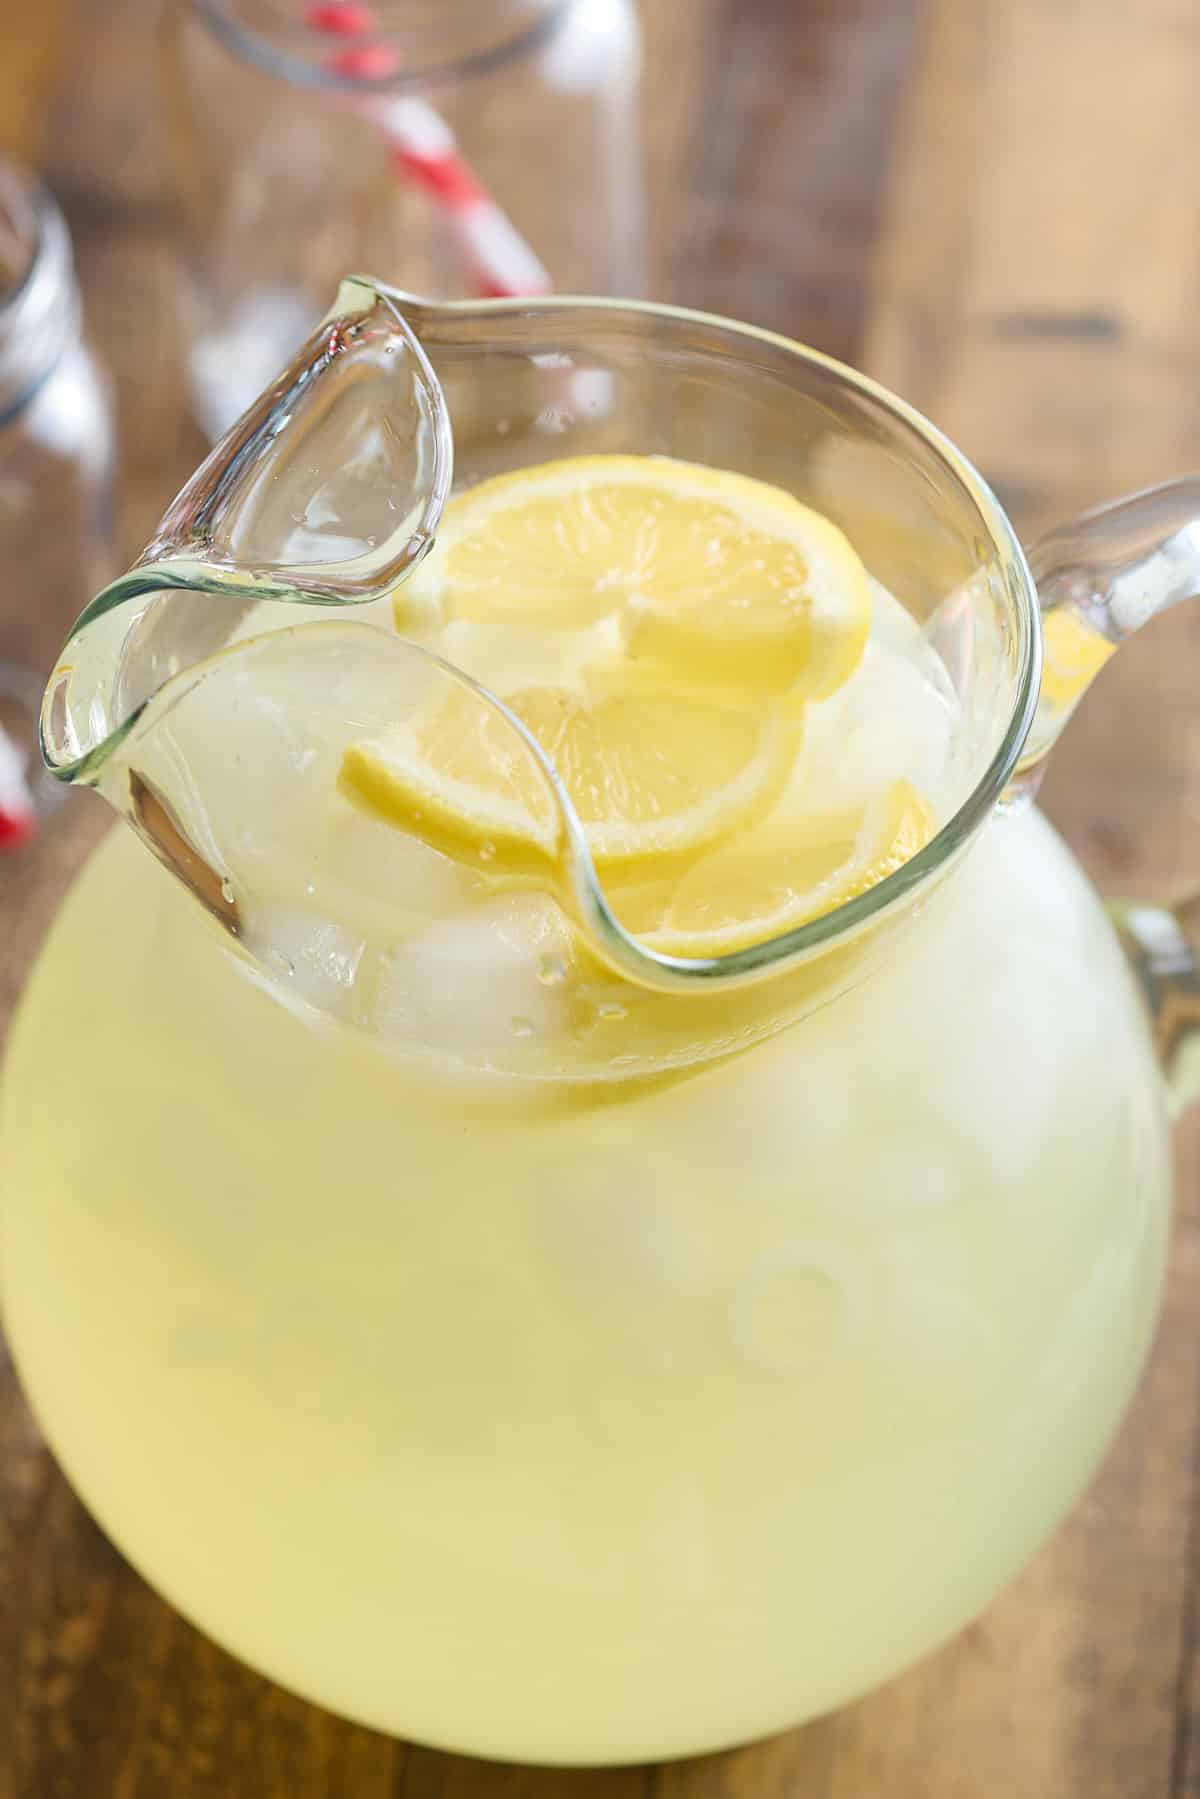
Pour water into the pitcher and stir everything together well. Taste and adjust the amount of sugar for your desired sweetness level if needed.
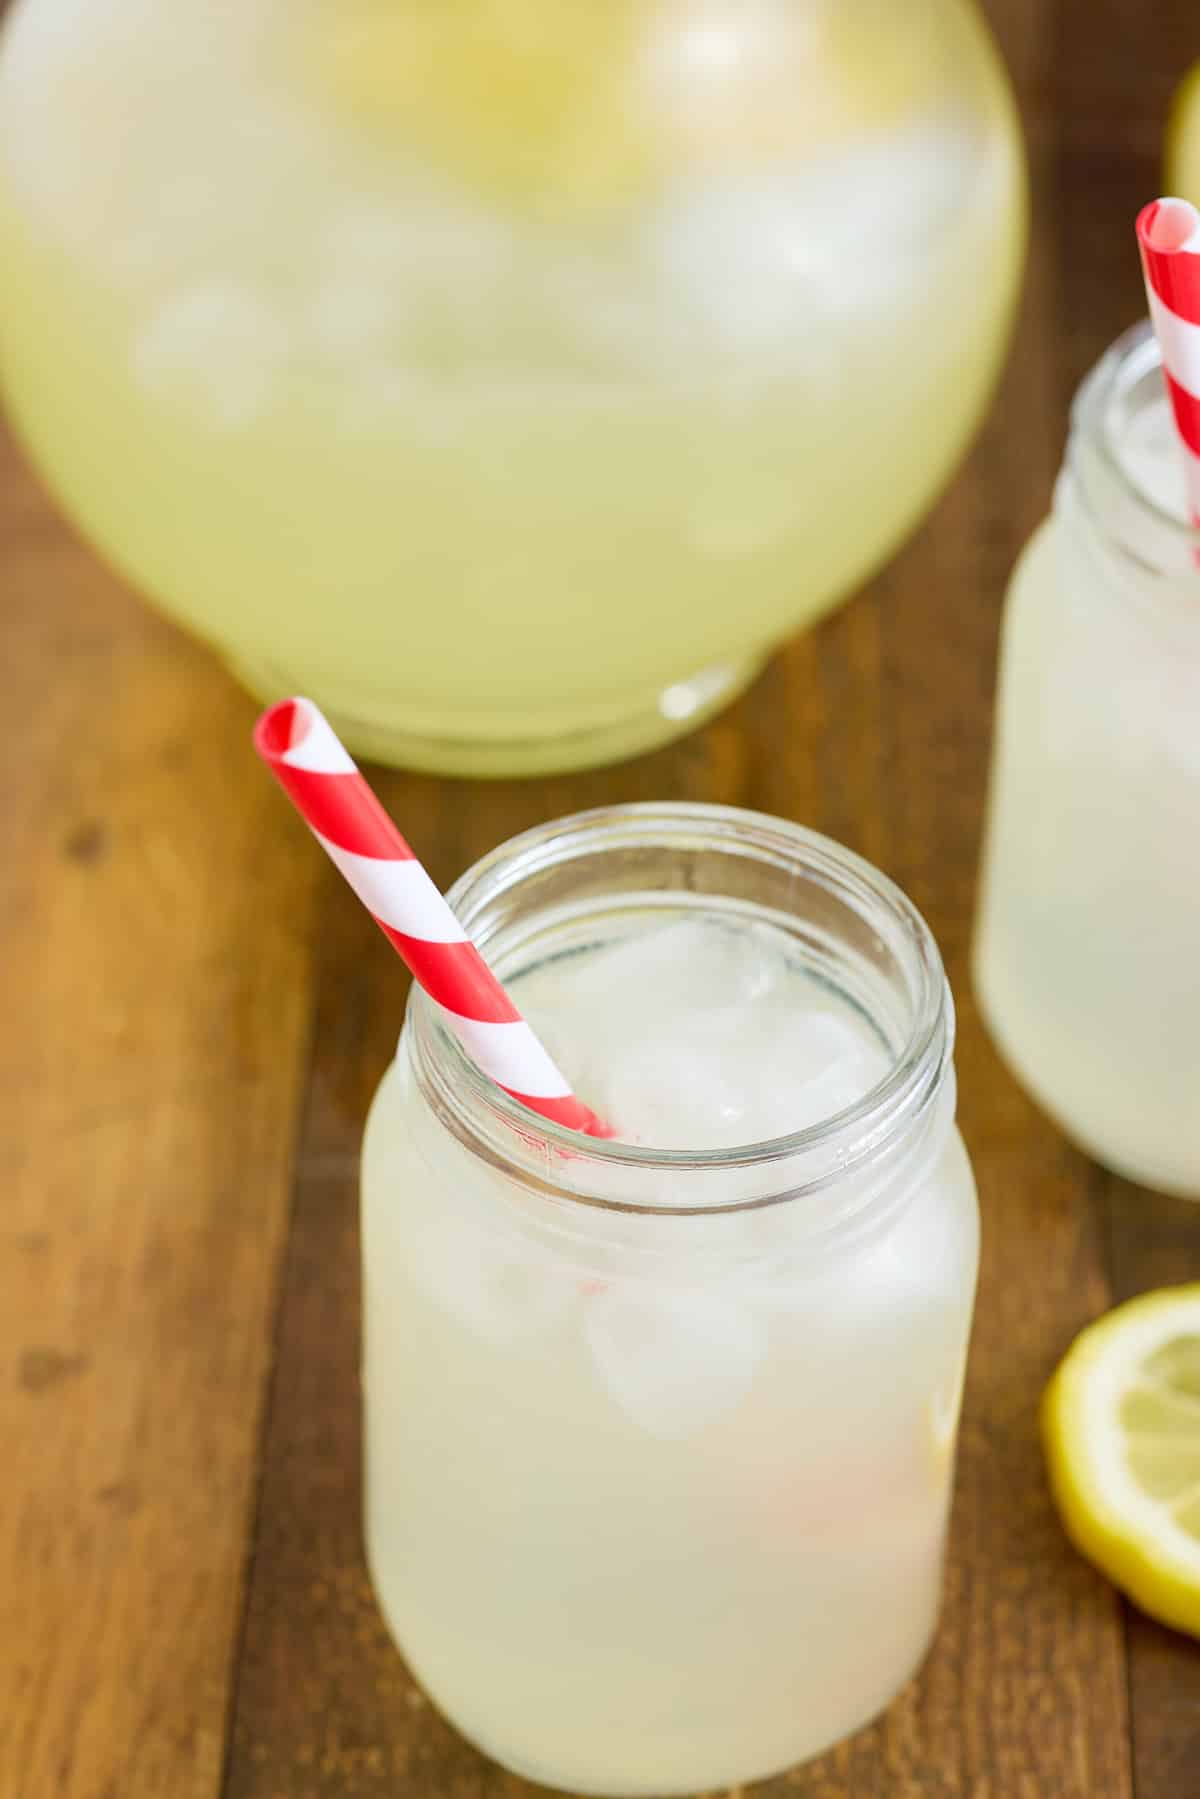
Serve over ice.
Do I need to make a simple syrup for lemonade?
I skip the simple syrup when it comes to making lemonade. Simply adding the sugar to the lemon juice first will allow the sugar to dissolve.
Expert Tips
These tips will help you make the best homemade lemonade recipe you've ever tried.
- I always use freshly squeezed lemon juice. If you're using bottled juice, use 100% lemon juice, not from concentrate, for the best flavor.
- Adjust the amount of sugar to your taste, by starting with a small amount and adding more until it's as sweet as you like. Remember you can always add, but you can't take away!
- This recipe is easily doubled or tripled if you are serving a crowd.
- Don't add the ice cubes until you are ready to serve, otherwise, you risk them melting and diluting the lemonade.
Flavor variations
- Swap the lemon juice for orange, lime, or grapefruit, or try a combination of citrus flavors.
- I've topped the lemon juice with slices of fresh lemon, but you could also add some fresh herbs like mint, rosemary, or basil too.
- Lemonade works a treat with berries, so add some freshly sliced strawberries; or whole raspberries, blackberries, or blueberries.
How to store
Make ahead: Prepare fresh homemade lemonade in advance then store it in the refrigerator until you are ready to serve.
To refrigerate: Leftover lemonade can be stored in the refrigerator for up to 5-7 days.
FAQs
Yes, absolutely. Just make sure you use 100% lemon juice and not lemon juice from concentrate.
If you have good tap water, use that, if not, then I suggest using bottled or filtered water. To add a little added sparkle, add carbonated bottled water.
If you have tried this Classic Lemonade recipe, or any other recipe on my blog, then please rate it and let me know how it turned out in the comments below!

Classic Lemonade
Ingredients
- 1 ½ cups lemon juice from 5-6 lemons
- ¾ - 1 cup granulated sugar or to taste
- 6 cups water
Instructions
- Squeeze fresh lemons until you have approximately 1.5 cups of lemon juice, ensuring that any seeds or pulp are discarded. Transfer the juice to a pitcher.
- Add granulated sugar to the lemon juice and stir until it completely dissolves.
- Pour water into the pitcher and stir everything together well. Taste and adjust the amount of sugar for your desired sweetness level if needed.
- Serve over ice.
Notes
- For the best flavor, use freshly squeezed lemon juice. If you're using bottled juice, use 100% lemon juice, not from concentrate, for the best flavor.
- Adjust the amount of sugar to your taste by starting with a small amount and adding more until it's as sweet as you like.