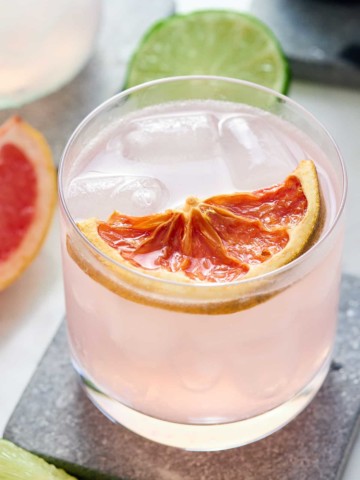
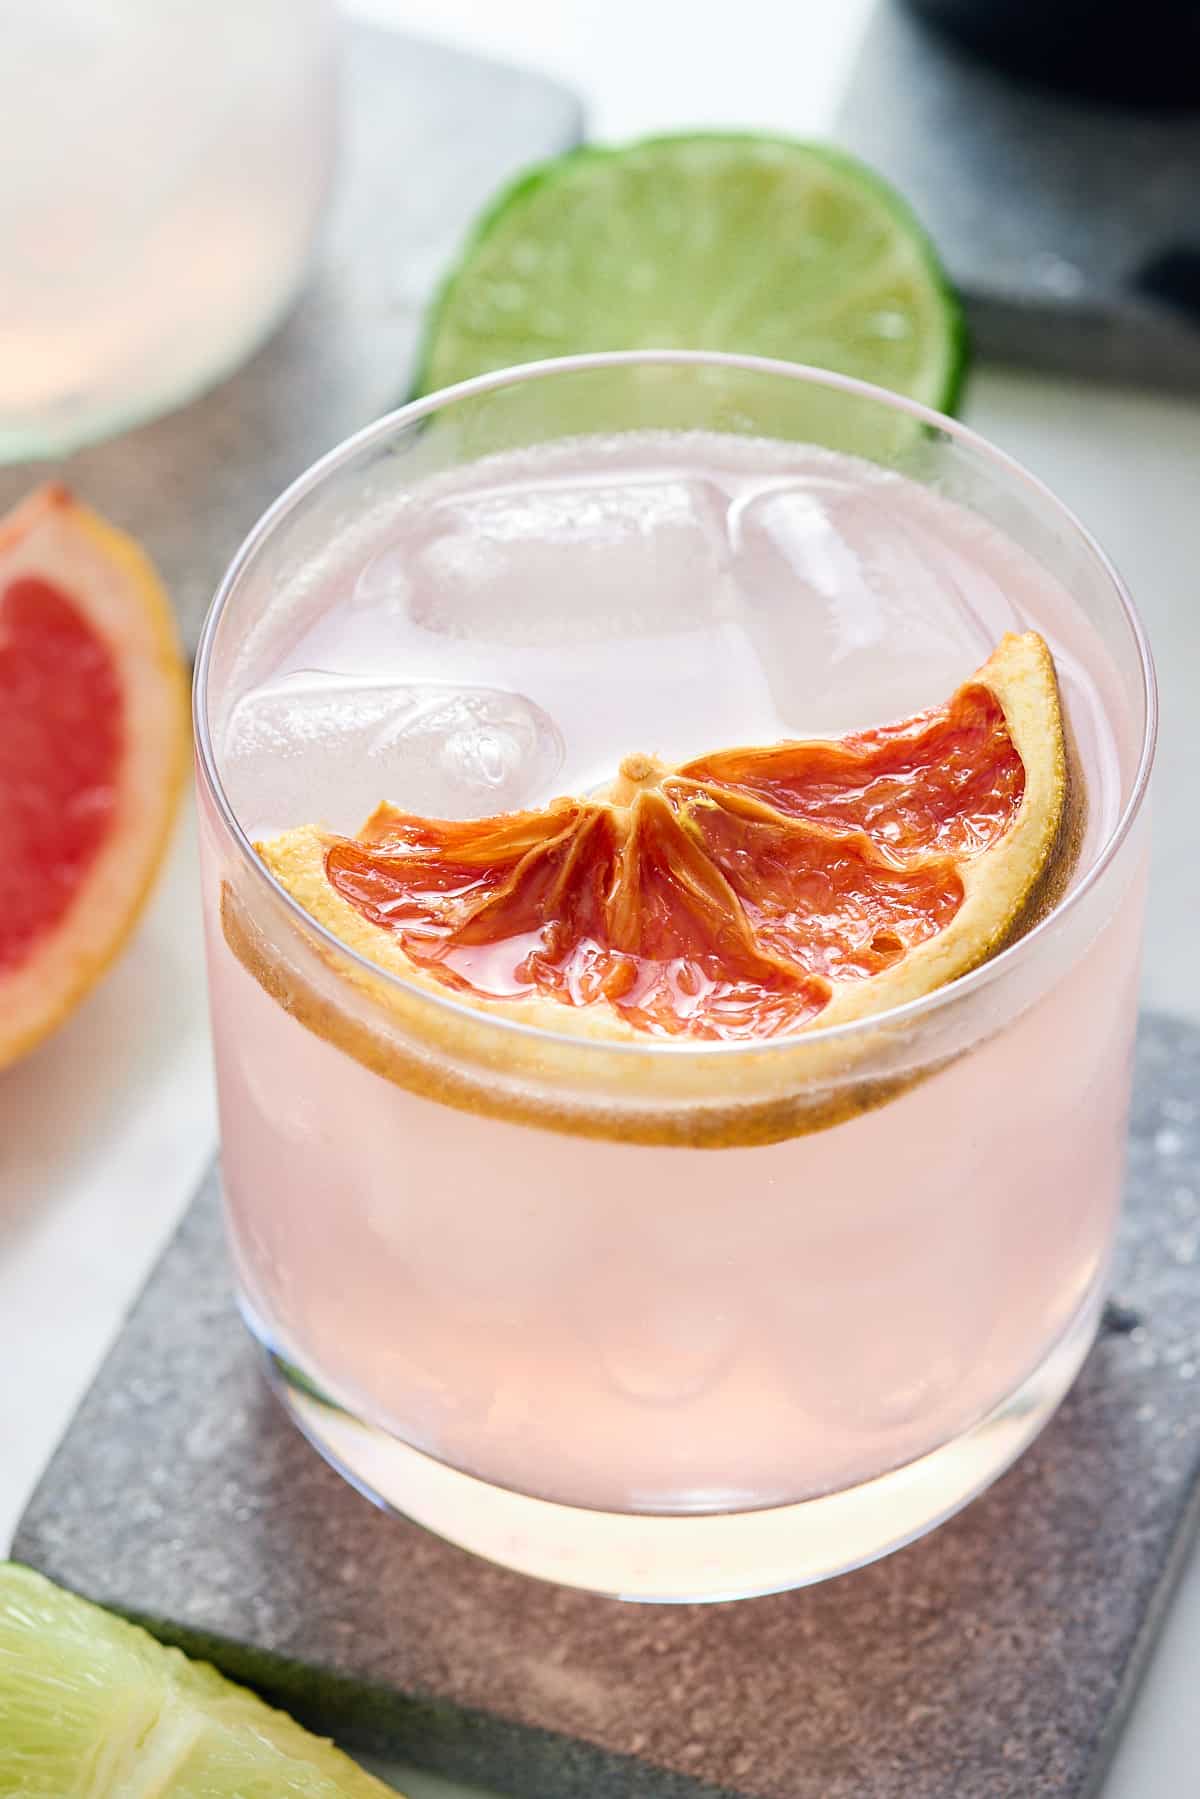
If you're looking for the perfect cocktail to serve at your next summer get together, look no further than this Classic Paloma Cocktail recipe. A Paloma is one of my favorite tequila cocktails and combines blanco tequila with grapefruit soda, for a drink that is deliciously refreshing. This post is meant for an audience 21 and over.
This post contains affiliate links, please read my full disclaimer here.
You’ll find the full recipe with ingredient amounts and instructions in the recipe card at the bottom of this post. Be sure to check out the blog post itself for extra tips and tricks!
What I love most about this easy Paloma recipe is that it can be prepared in minutes. I combine the tequila and grapefruit soda with some Simple Syrup and a squeeze of fresh lime juice for added zing.
These are the cocktails I love to make over the warm summer months when I don't want to spend too much time indoors, and would rather be outside enjoying my cocktail in the sunshine.
If you enjoy a cocktail when the sun is out, try my Jamaican Rum Punch, Fruity Martini, or Jamaican Guinness Punch recipes.
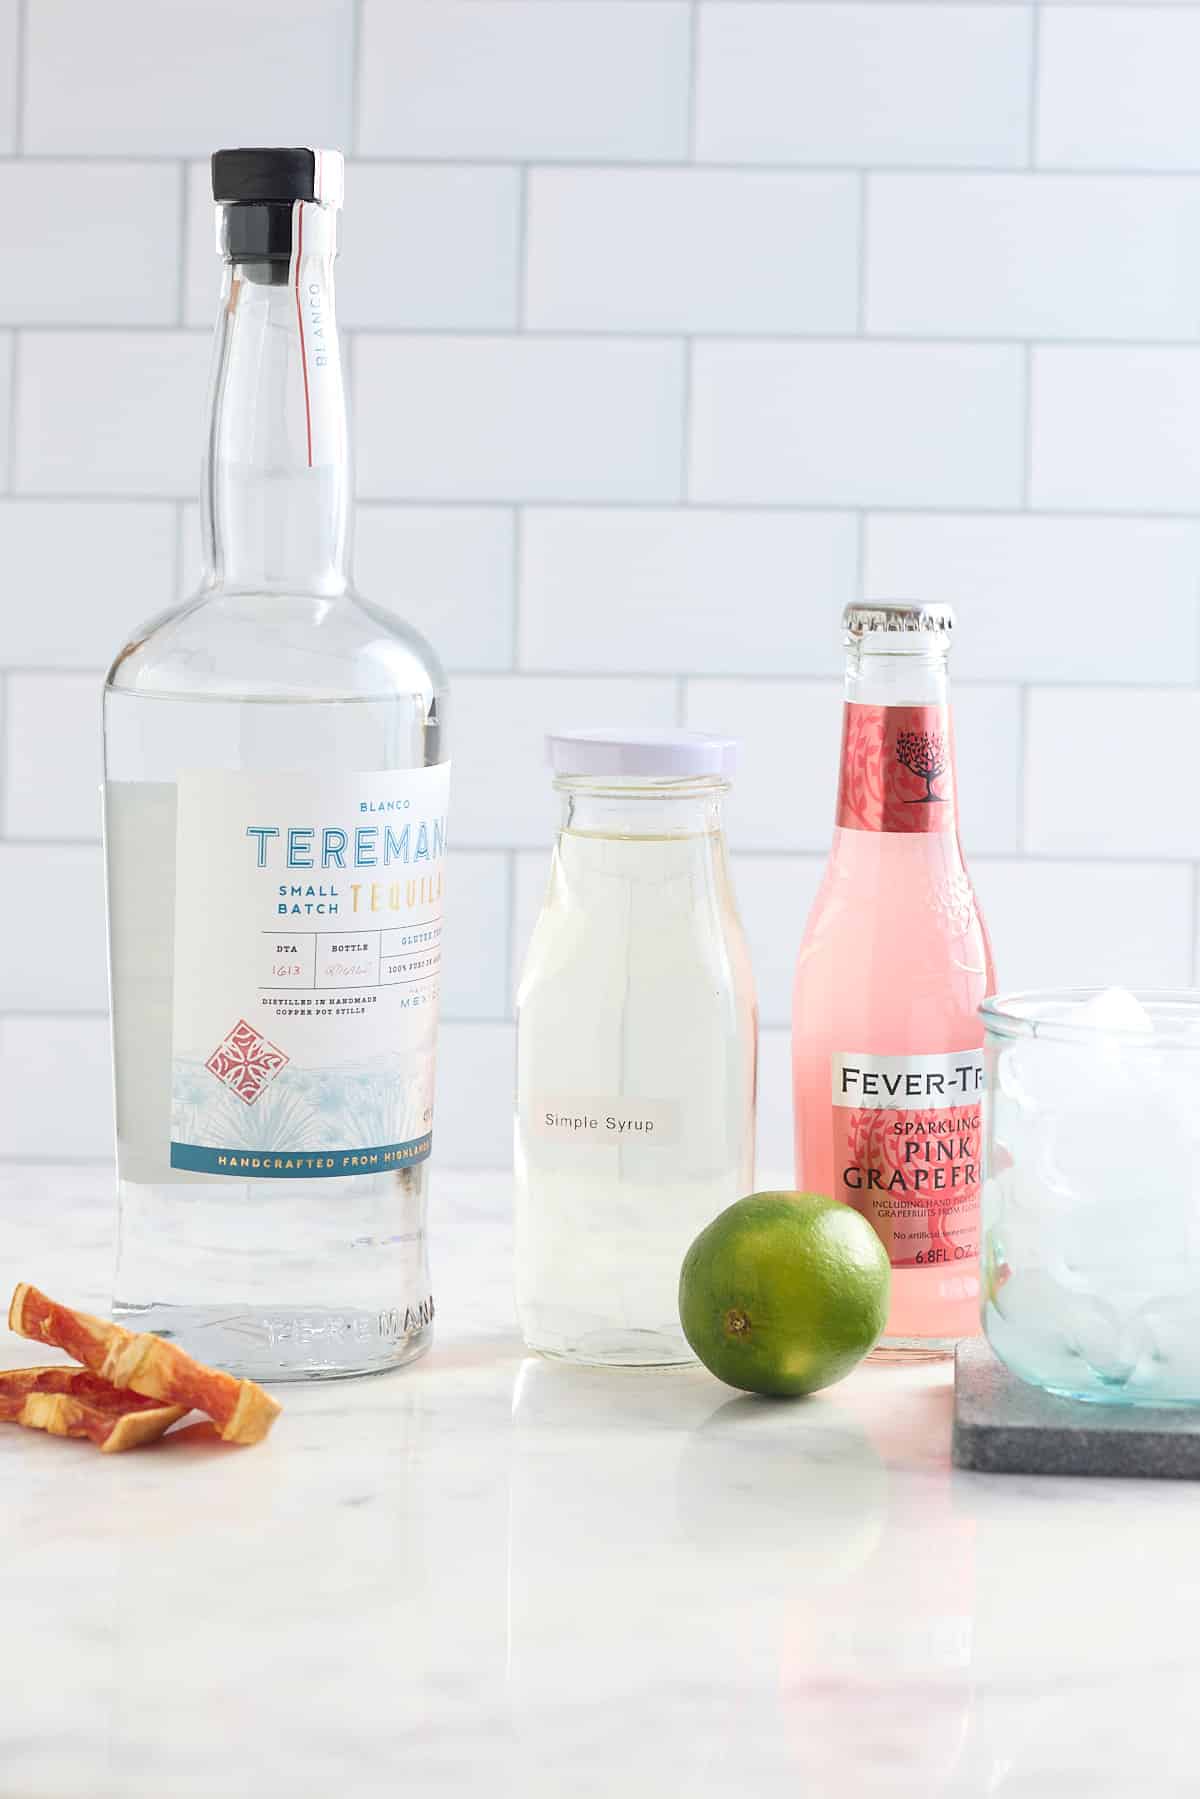
Paloma Cocktail Ingredients
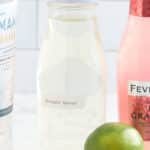
Here's what you will need to make a homemade Paloma cocktail:
- Tequila - when it comes to making the best Paloma, I use Blanco tequila.
- Lime - use fresh lime juice for the best flavor, although bottled lime juice can work in a pinch.
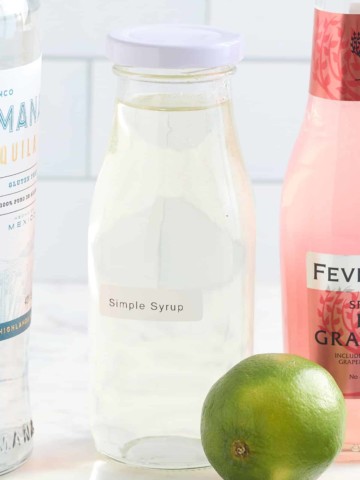
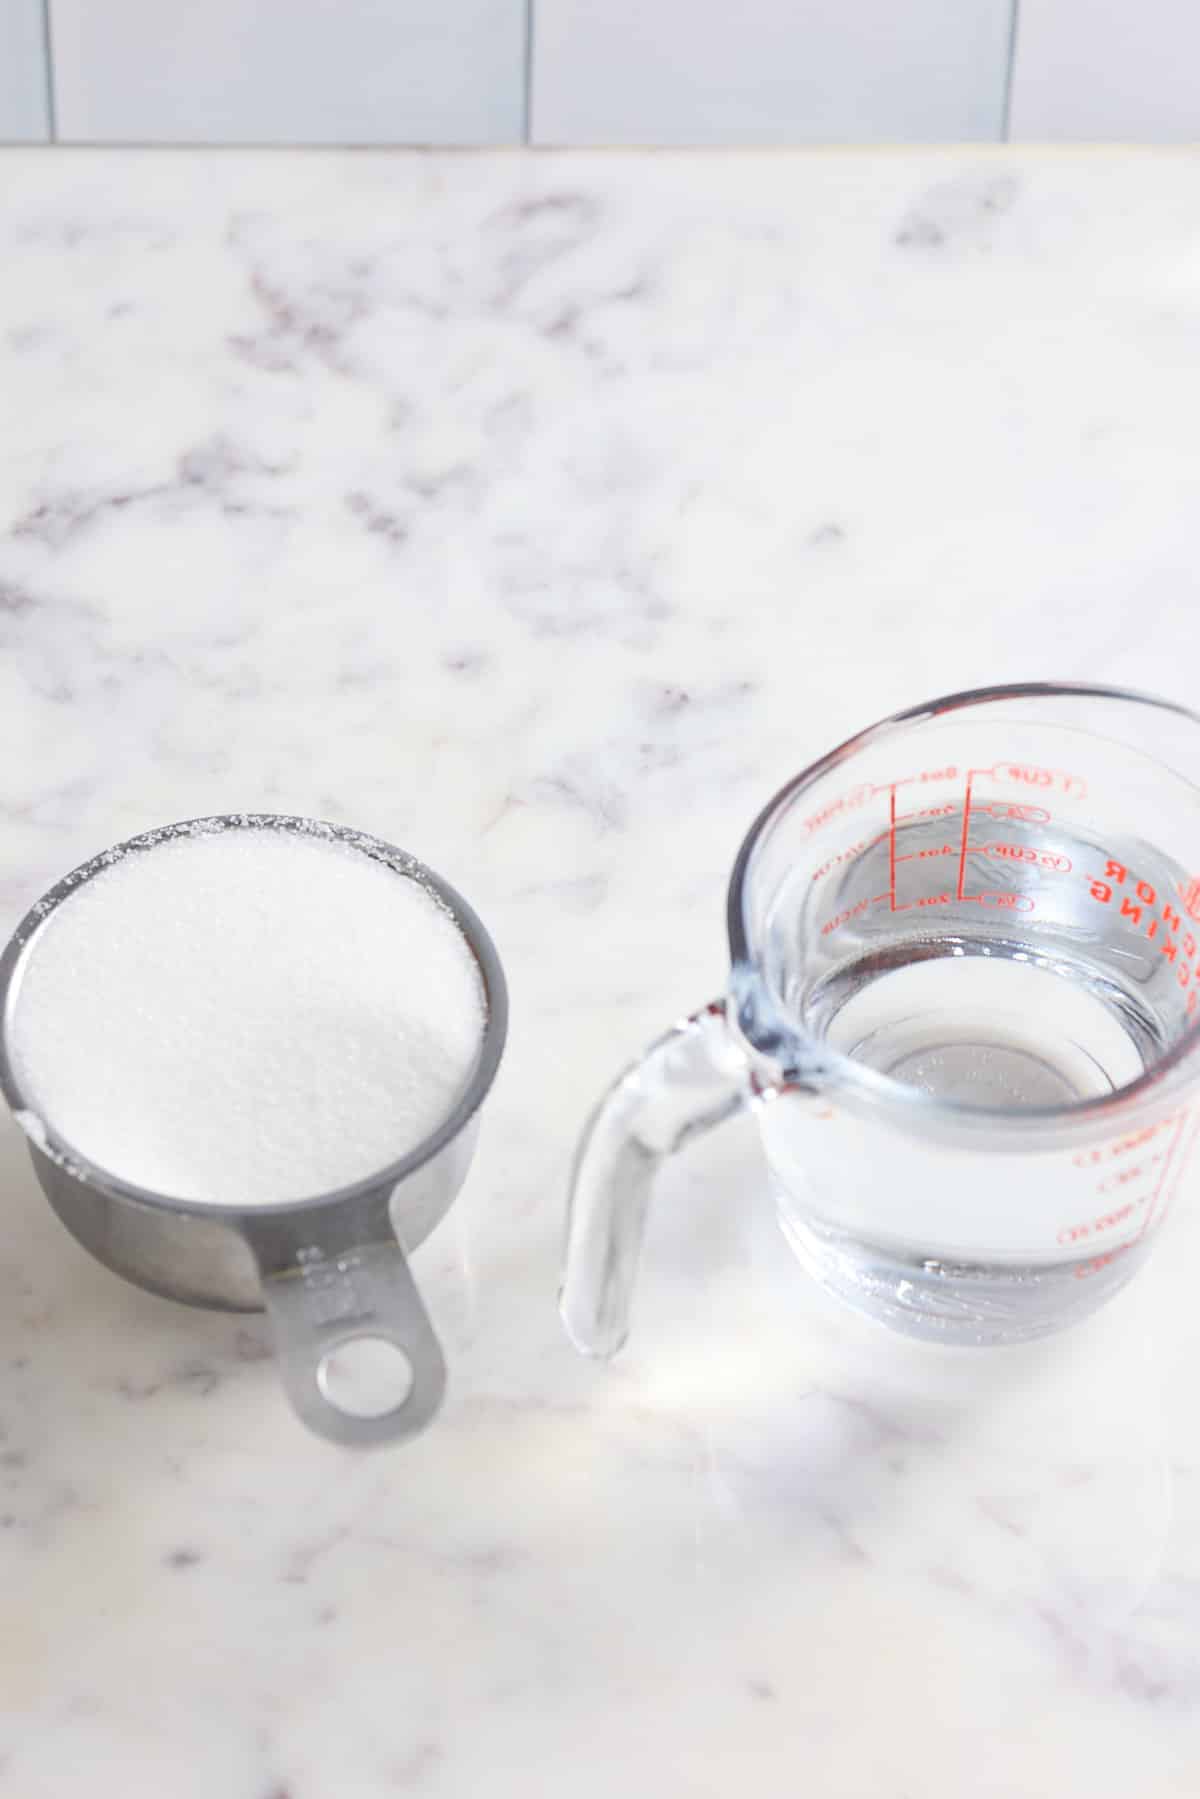
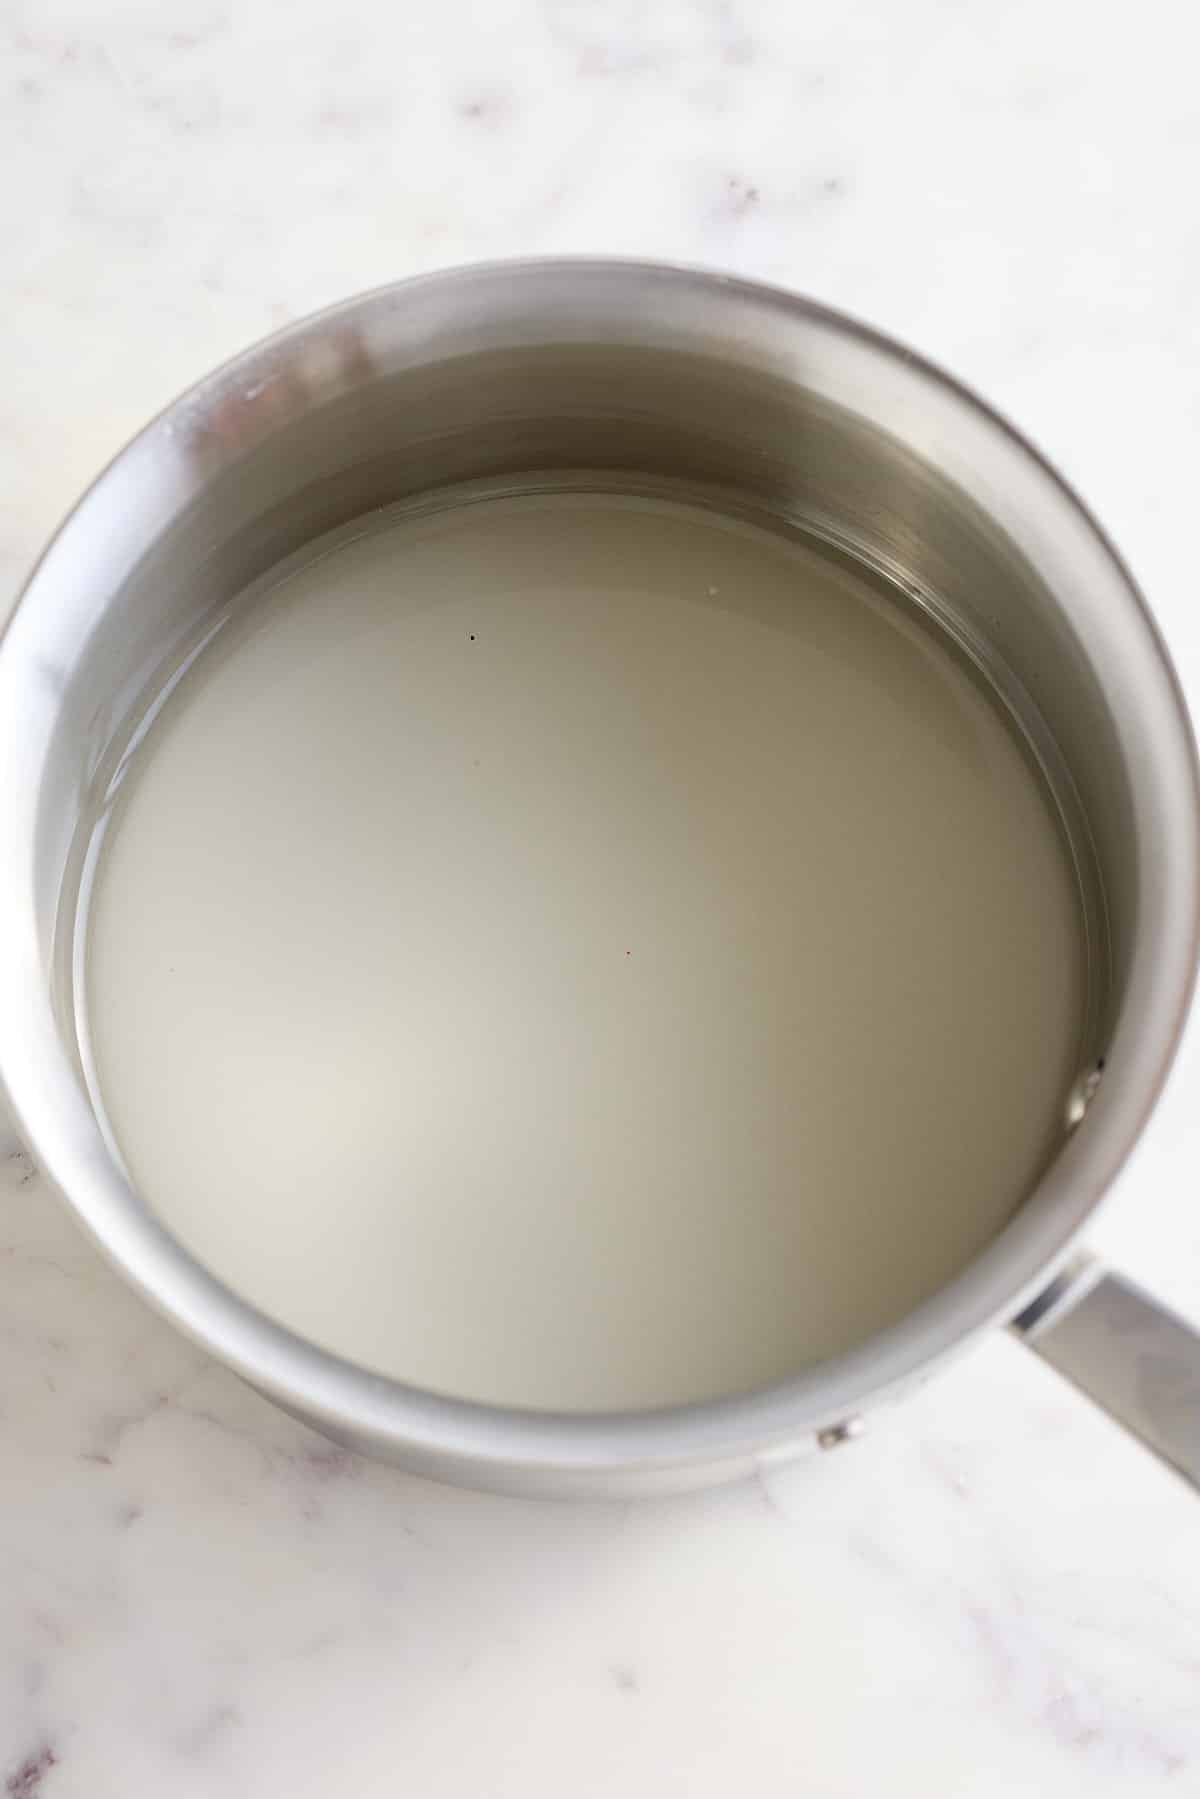
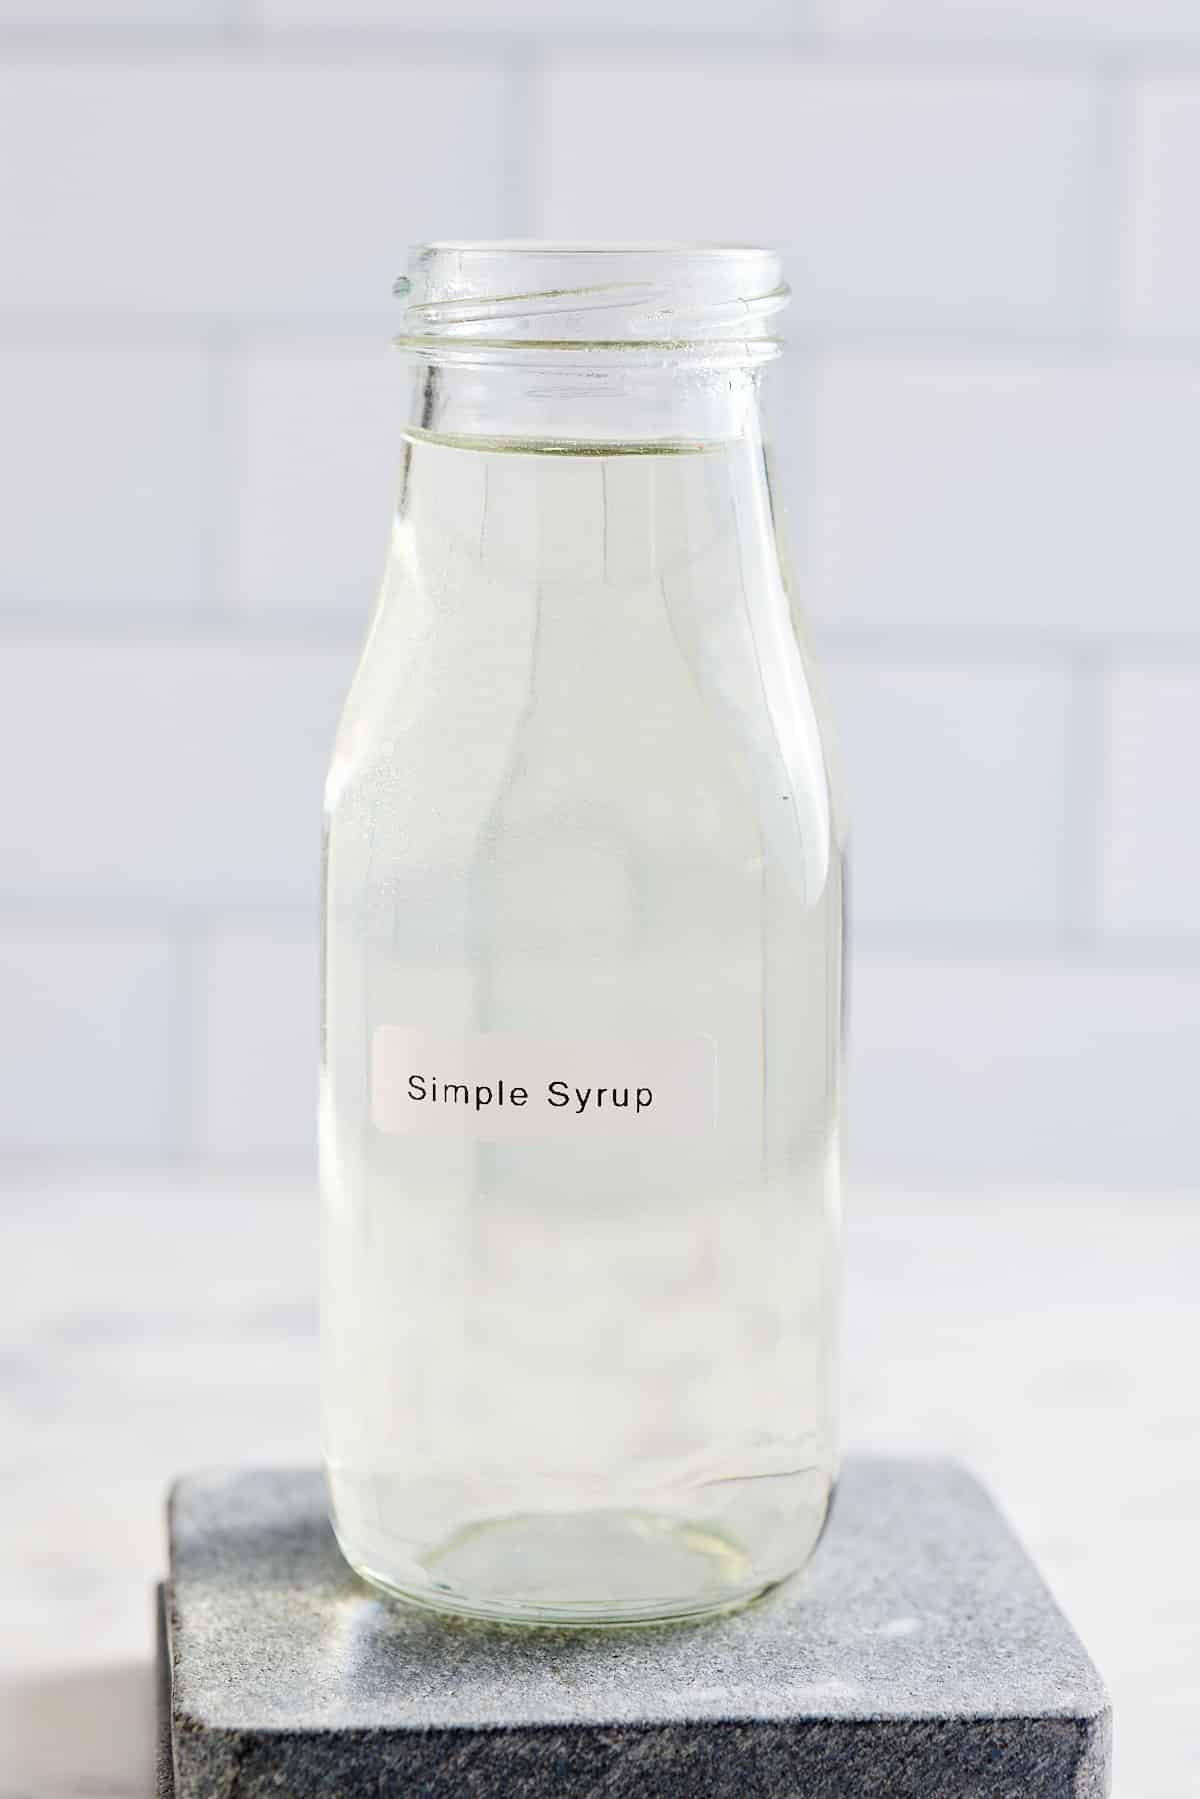
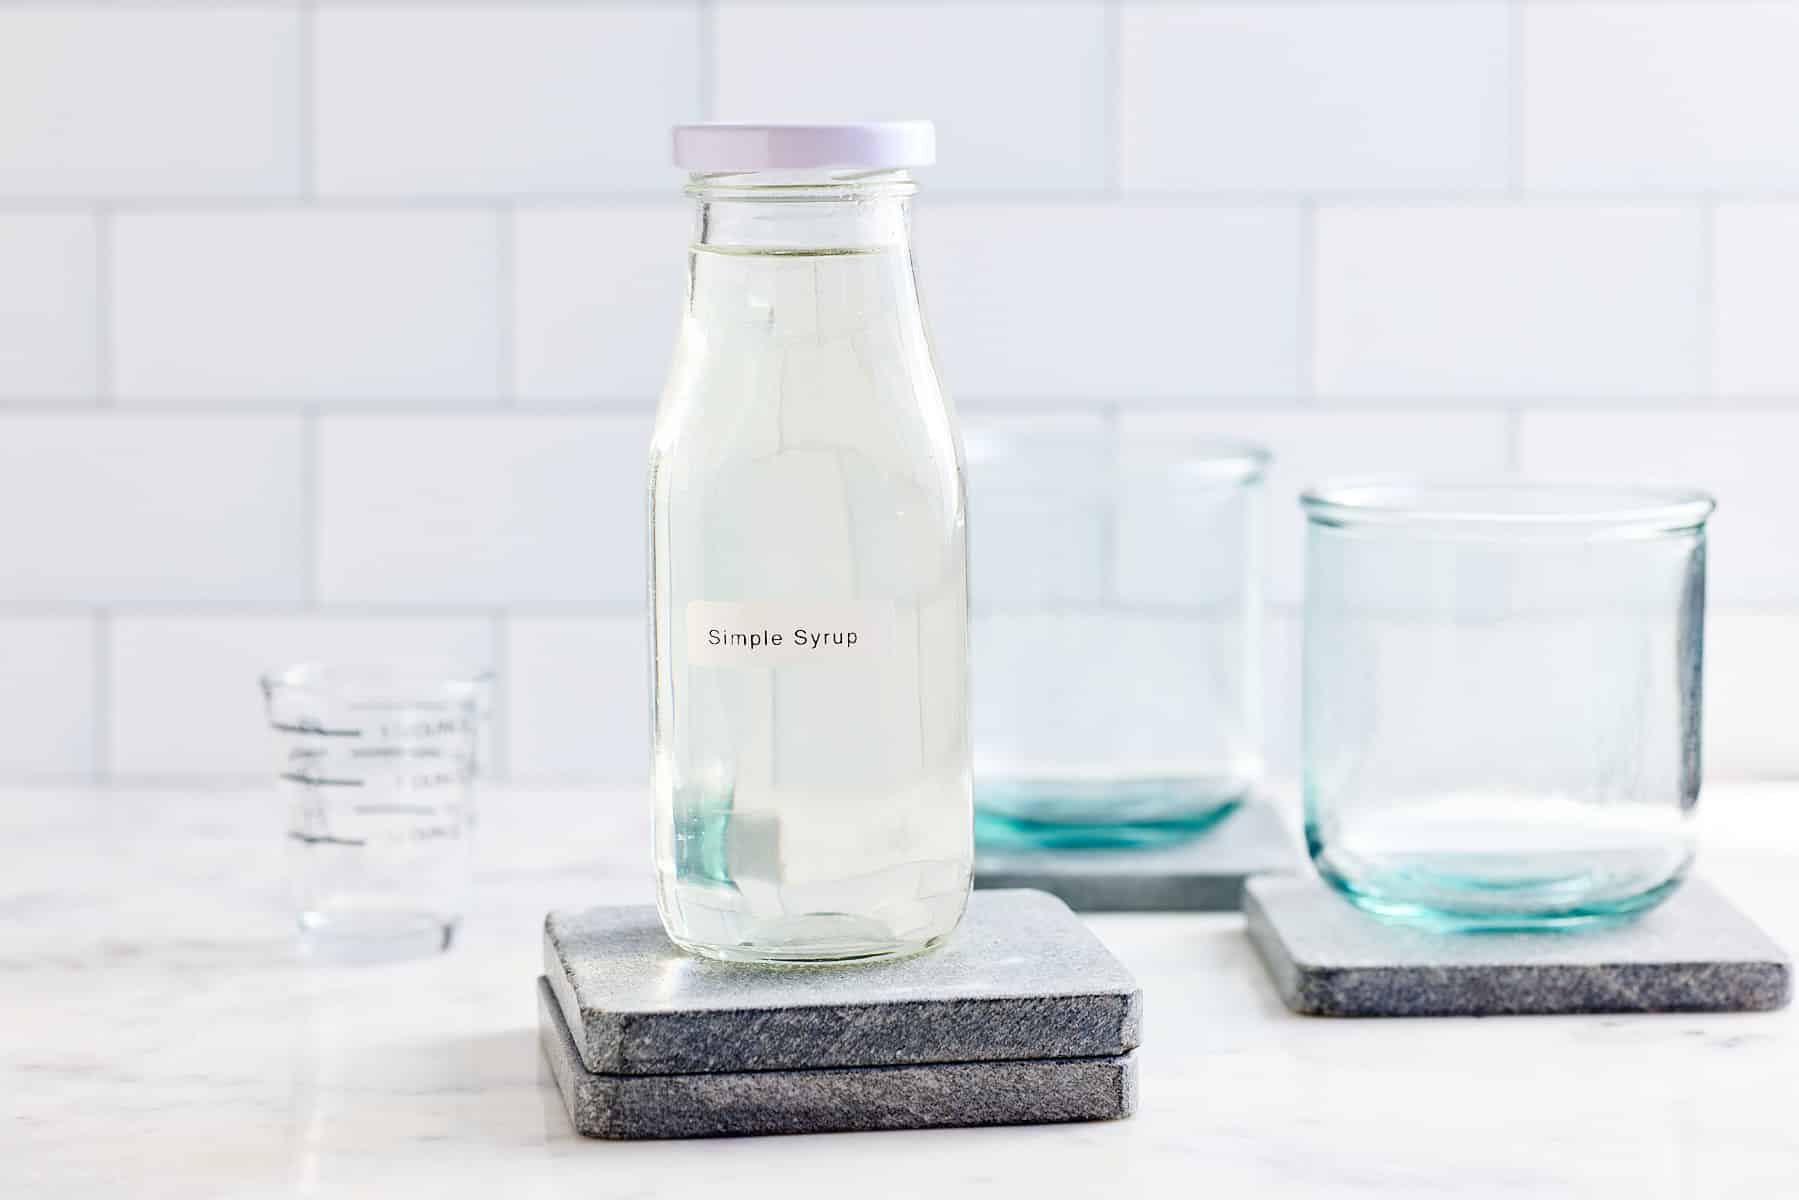
- Simple Syrup - make your own Simple Syrup using my quick and easy recipe. Alternatively, you can buy bottled sugar syrups in your local store.
- Soda - I like to use grapefruit soda in my Paloma cocktail.
- Grapefruit - garnish the cocktail with a half wheel of fresh grapefruit.
How to make a Classic Paloma Cocktail
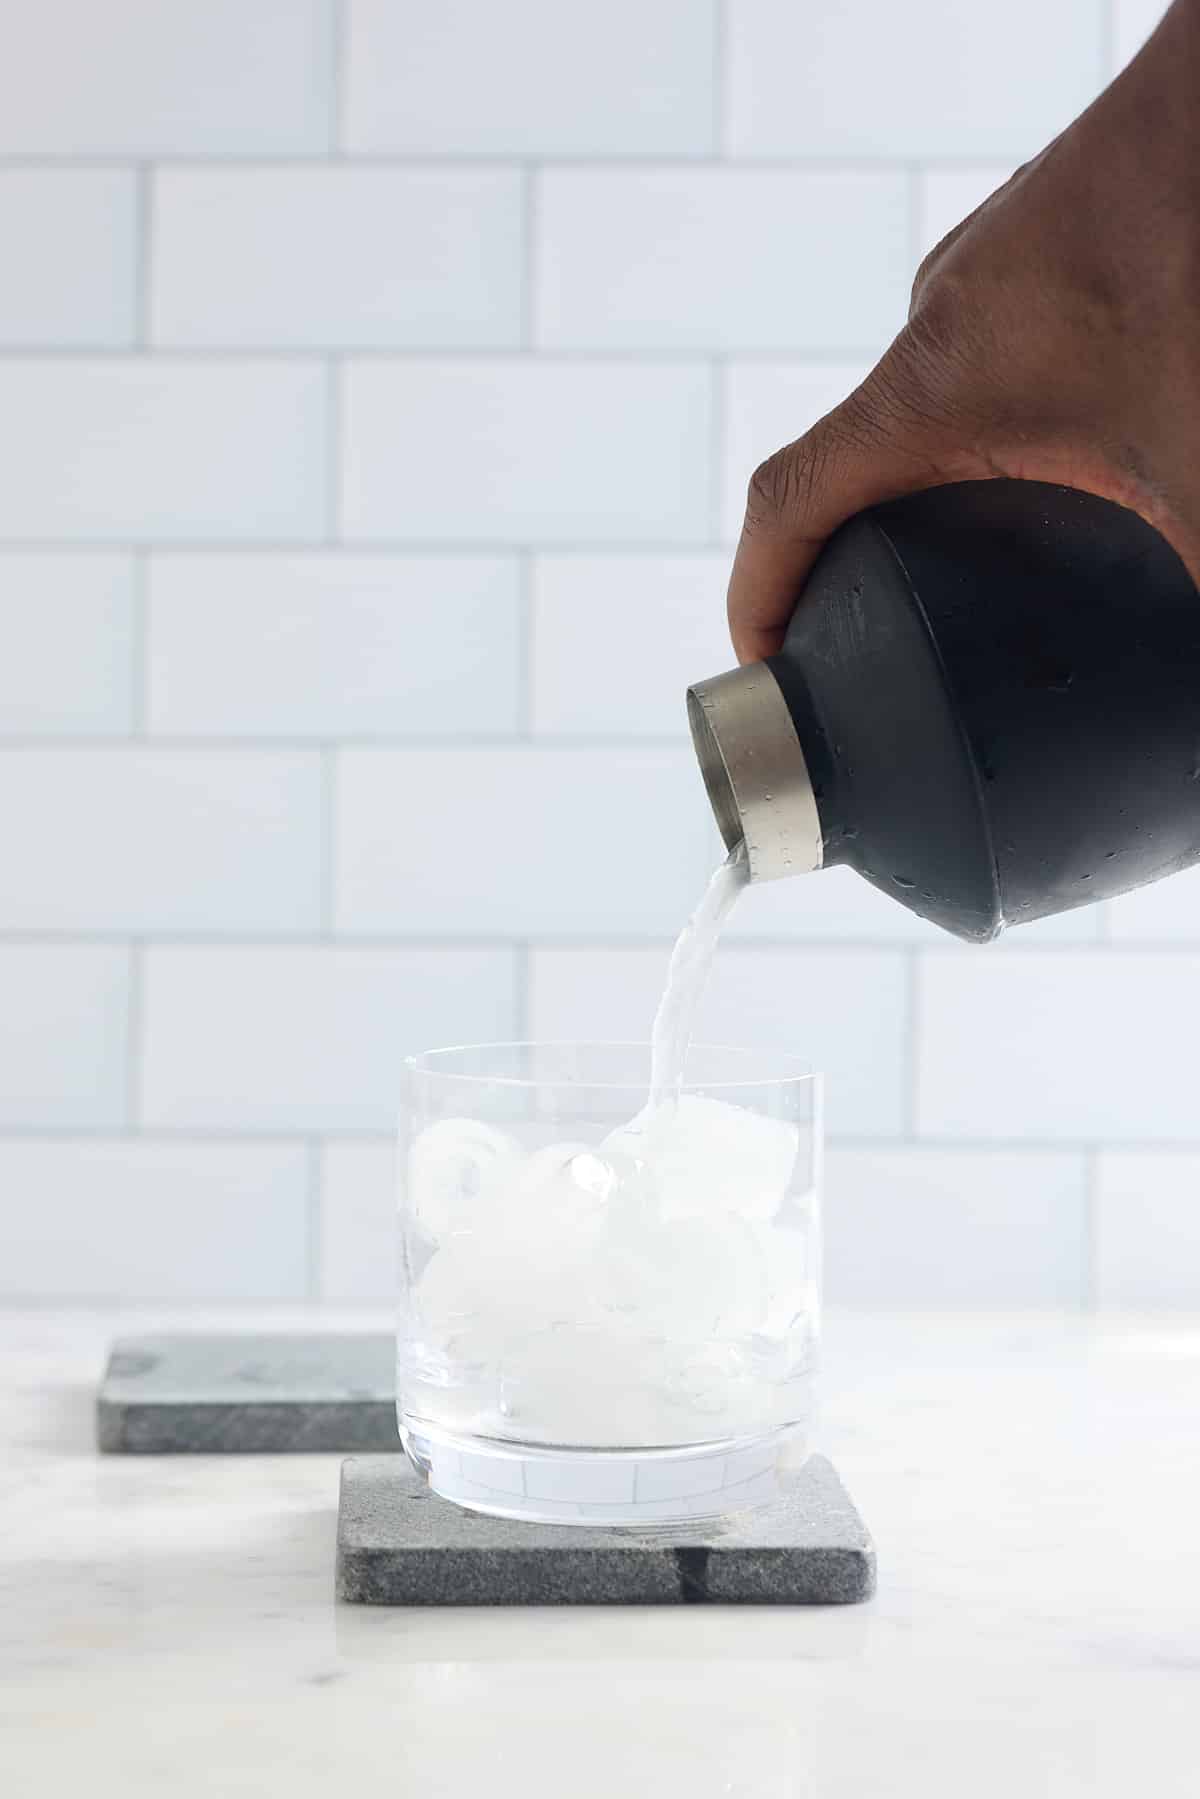
In a shaker filled with ice, combine the tequila, lime juice, and simple syrup. Shake well and strain into a rocks glass filled with ice.
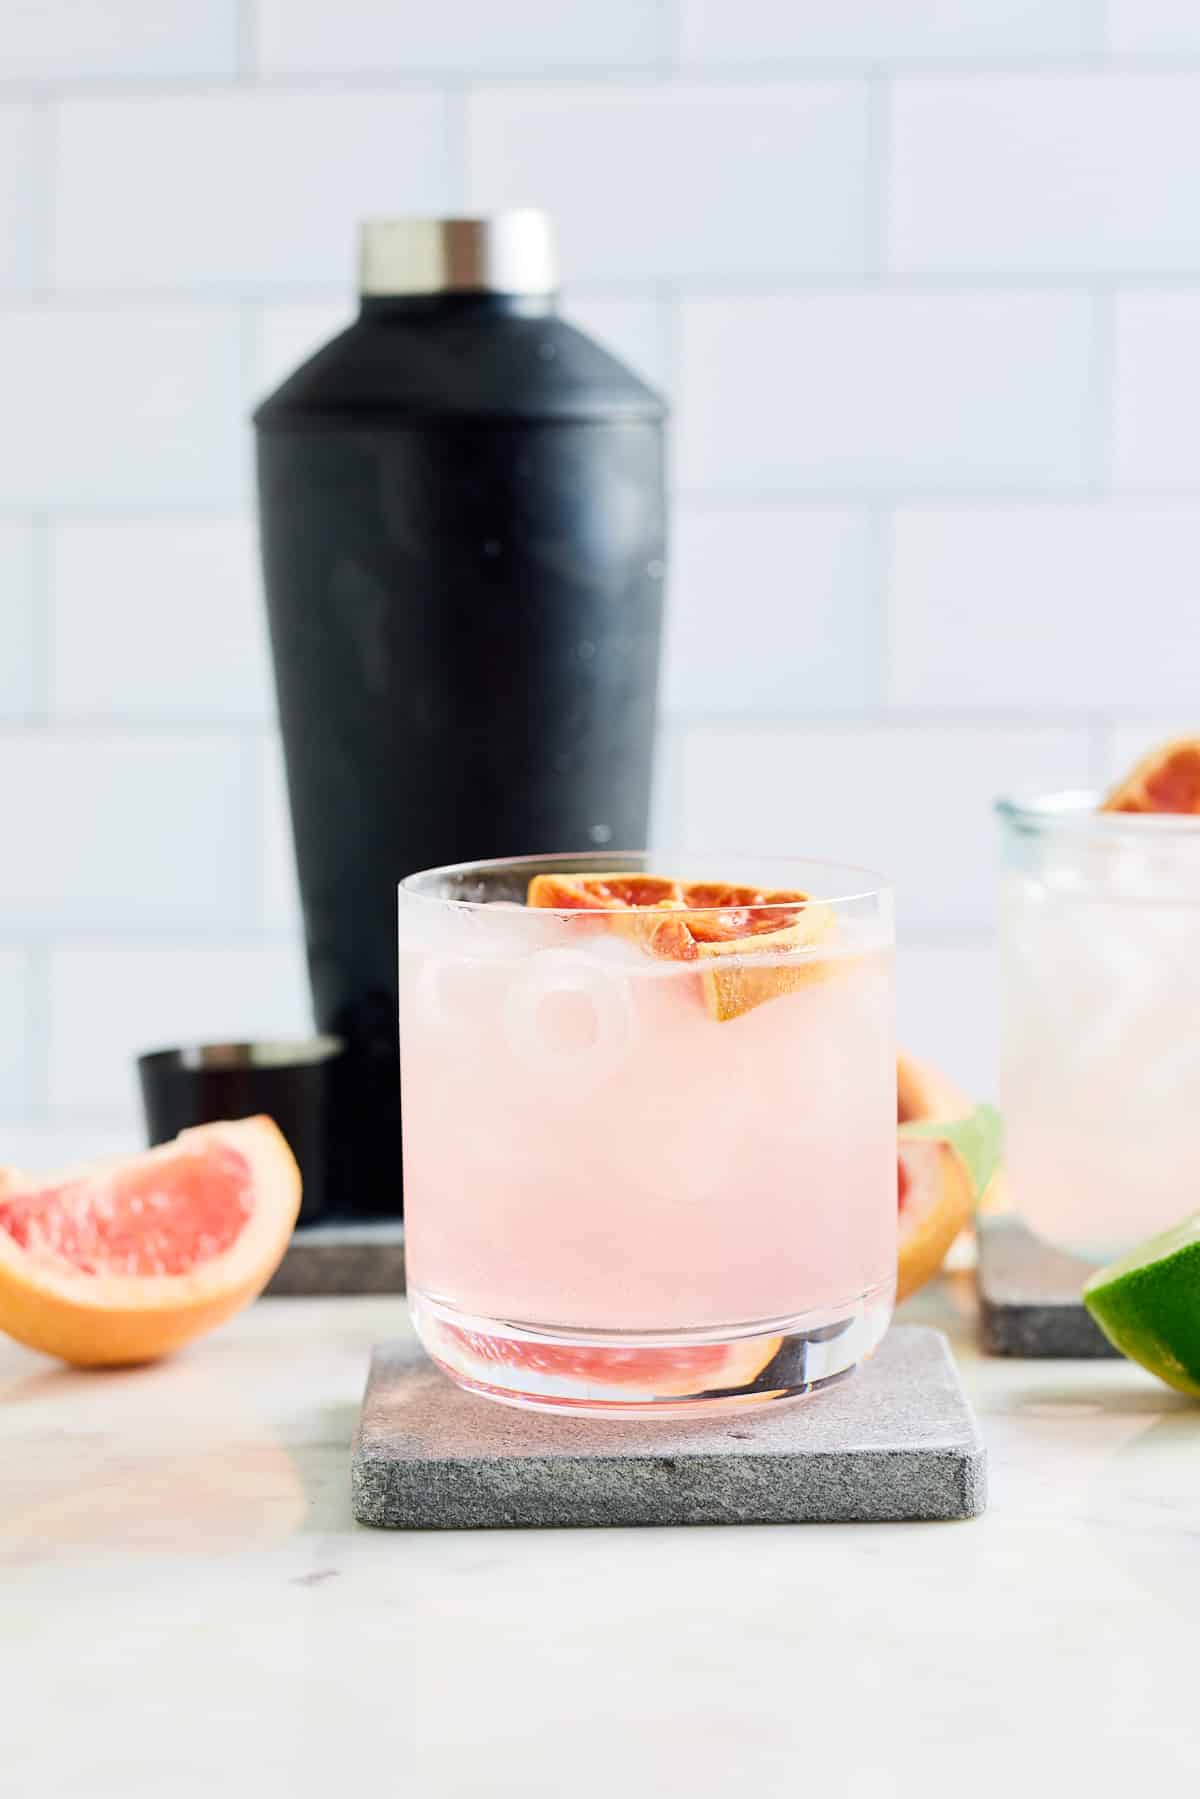
Top with grapefruit soda and stir gently to combine.
Garnish with a grapefruit half wheel and serve immediately.
Expert Tips
These tips will help you make the best Paloma Cocktail recipe you've ever tried.
- If you don't have a shaker, you can simply combine all of the ingredients in a glass filled with ice and stir until well combined.
- This cocktail is best served immediately, but it can also be made ahead of time and stored in the refrigerator for up to 24 hours. When ready to serve, simply add ice and stir well.
- Don't add the ice cubes until you are ready to serve, otherwise, you risk them melting and diluting the cocktail.
- Serving more people, no problem, just increase the recipe and prepare in a large jug rather than a cocktail shaker.
Flavor variations
- The most common grapefruit sodas used in Palomas are Squirt, Fresca, and Jarritos Toronja (grapefruit-flavored soda).
- If you can't find grapefruit soda, mix some fresh grapefruit juice with a little sparkling water instead.
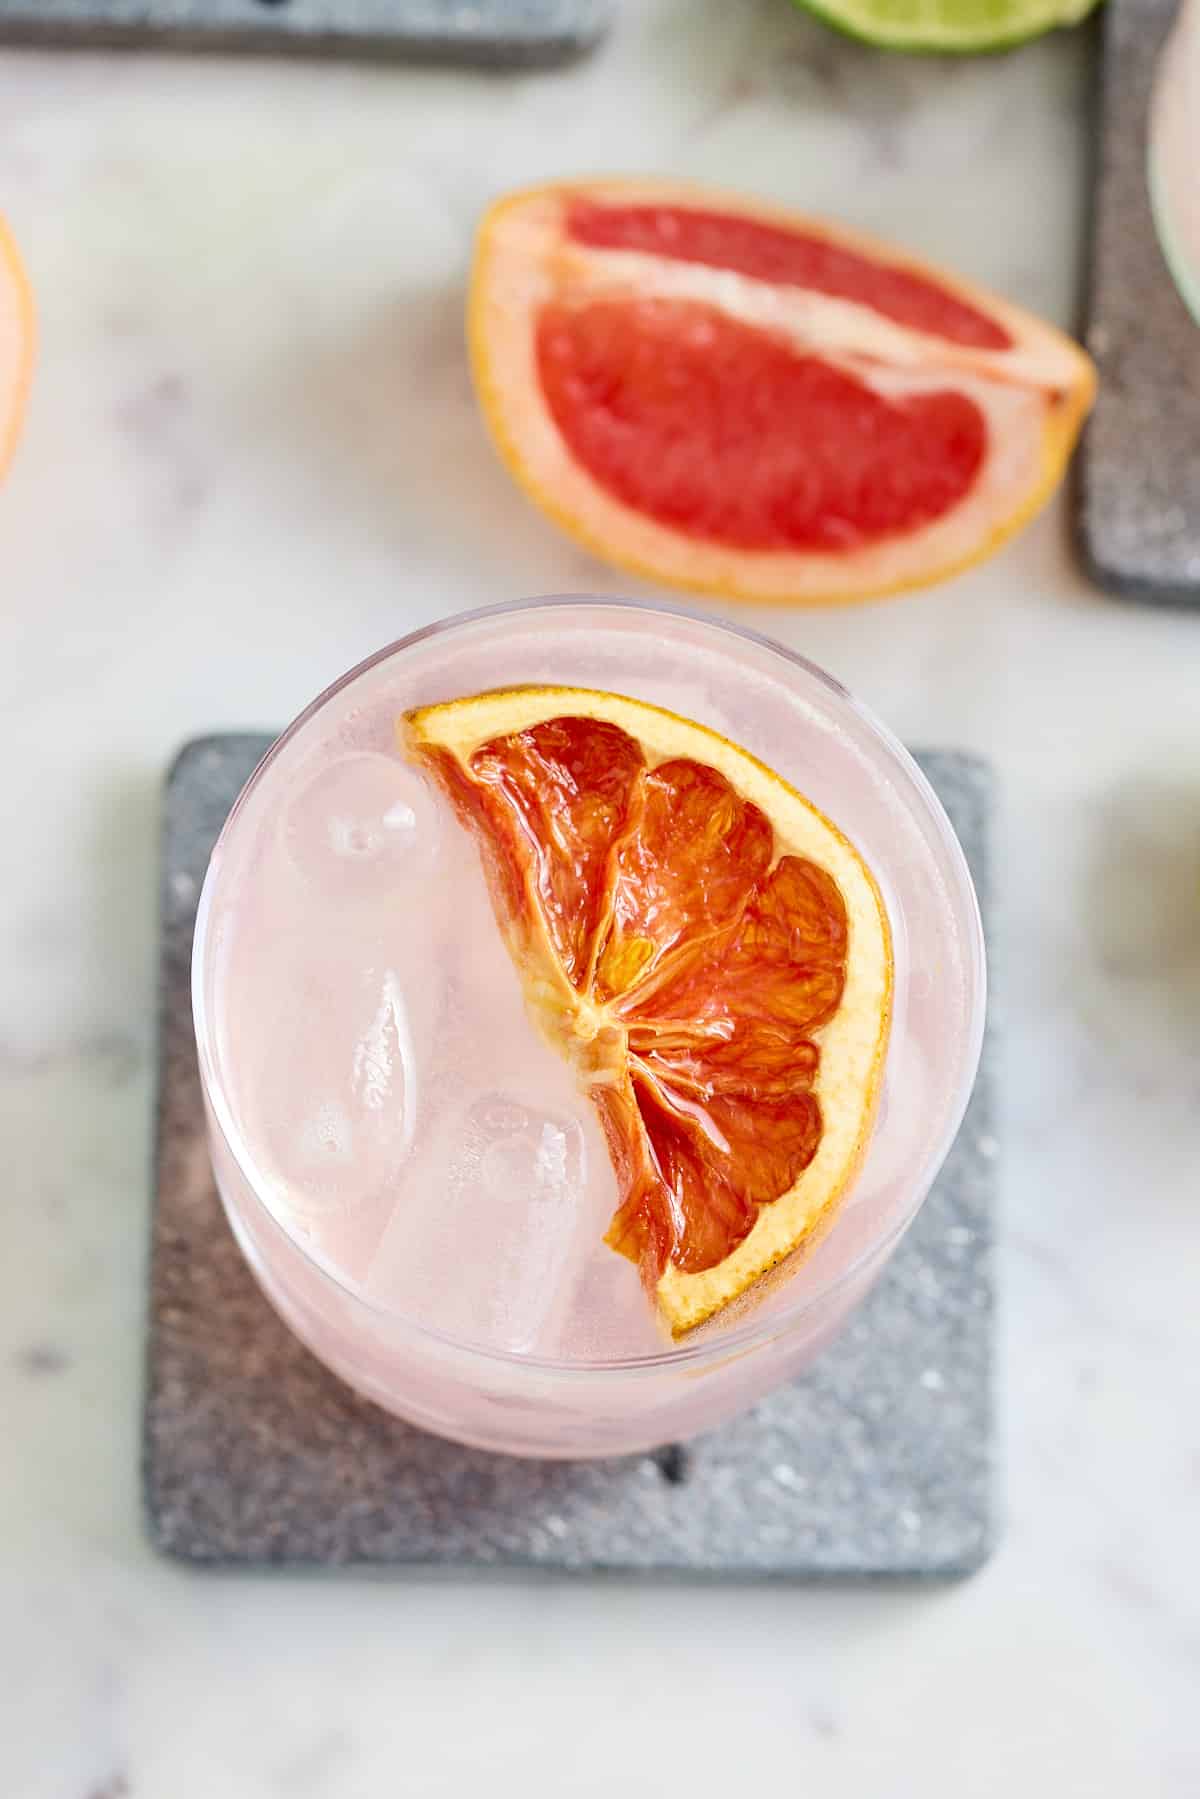
- I've garnished the cocktail with a slice of dried grapefruit, but you could also add a slice of lime or a slice of fresh grapefruit.
FAQs
A classic Mexican Paloma is made with tequila and grapefruit juice. I've added an extra squeeze of lime and some sugar syrup to the mix.
Although both are classic tequila-based cocktails, a margarita is sweetened with orange liqueur, while a Paloma is flavored with grapefruit juice or soda.
If you have tried this Paloma Cocktail recipe or any other recipe on my blog, then please rate it and let me know how it turned out in the comments below!

Paloma Cocktail
Equipment
Ingredients
- 2 oz bianco tequila
- ¾ oz lime juice
- ½ oz simple syrup
- 2 oz grapefruit soda
- grapefruit half wheel for garnish
Instructions
- In a shaker filled with ice, combine the tequila, lime juice and simple syrup. Shake well and strain into a rocks glass filled with ice.
- Top with grapefruit soda and stir gently to combine.
- Garnish with a grapefruit half wheel and serve immediately.
Notes
- The most common grapefruit sodas used in Palomas are Squirt, Fresca, and Jarritos Toronja (grapefruit-flavored soda).
- If you don't have a shaker, you can simply combine all of the ingredients in a glass filled with ice and stir until well combined.
- This cocktail is best served immediately, but it can also be made ahead of time and stored in the refrigerator for up to 24 hours. When ready to serve, simply add ice and stir well.