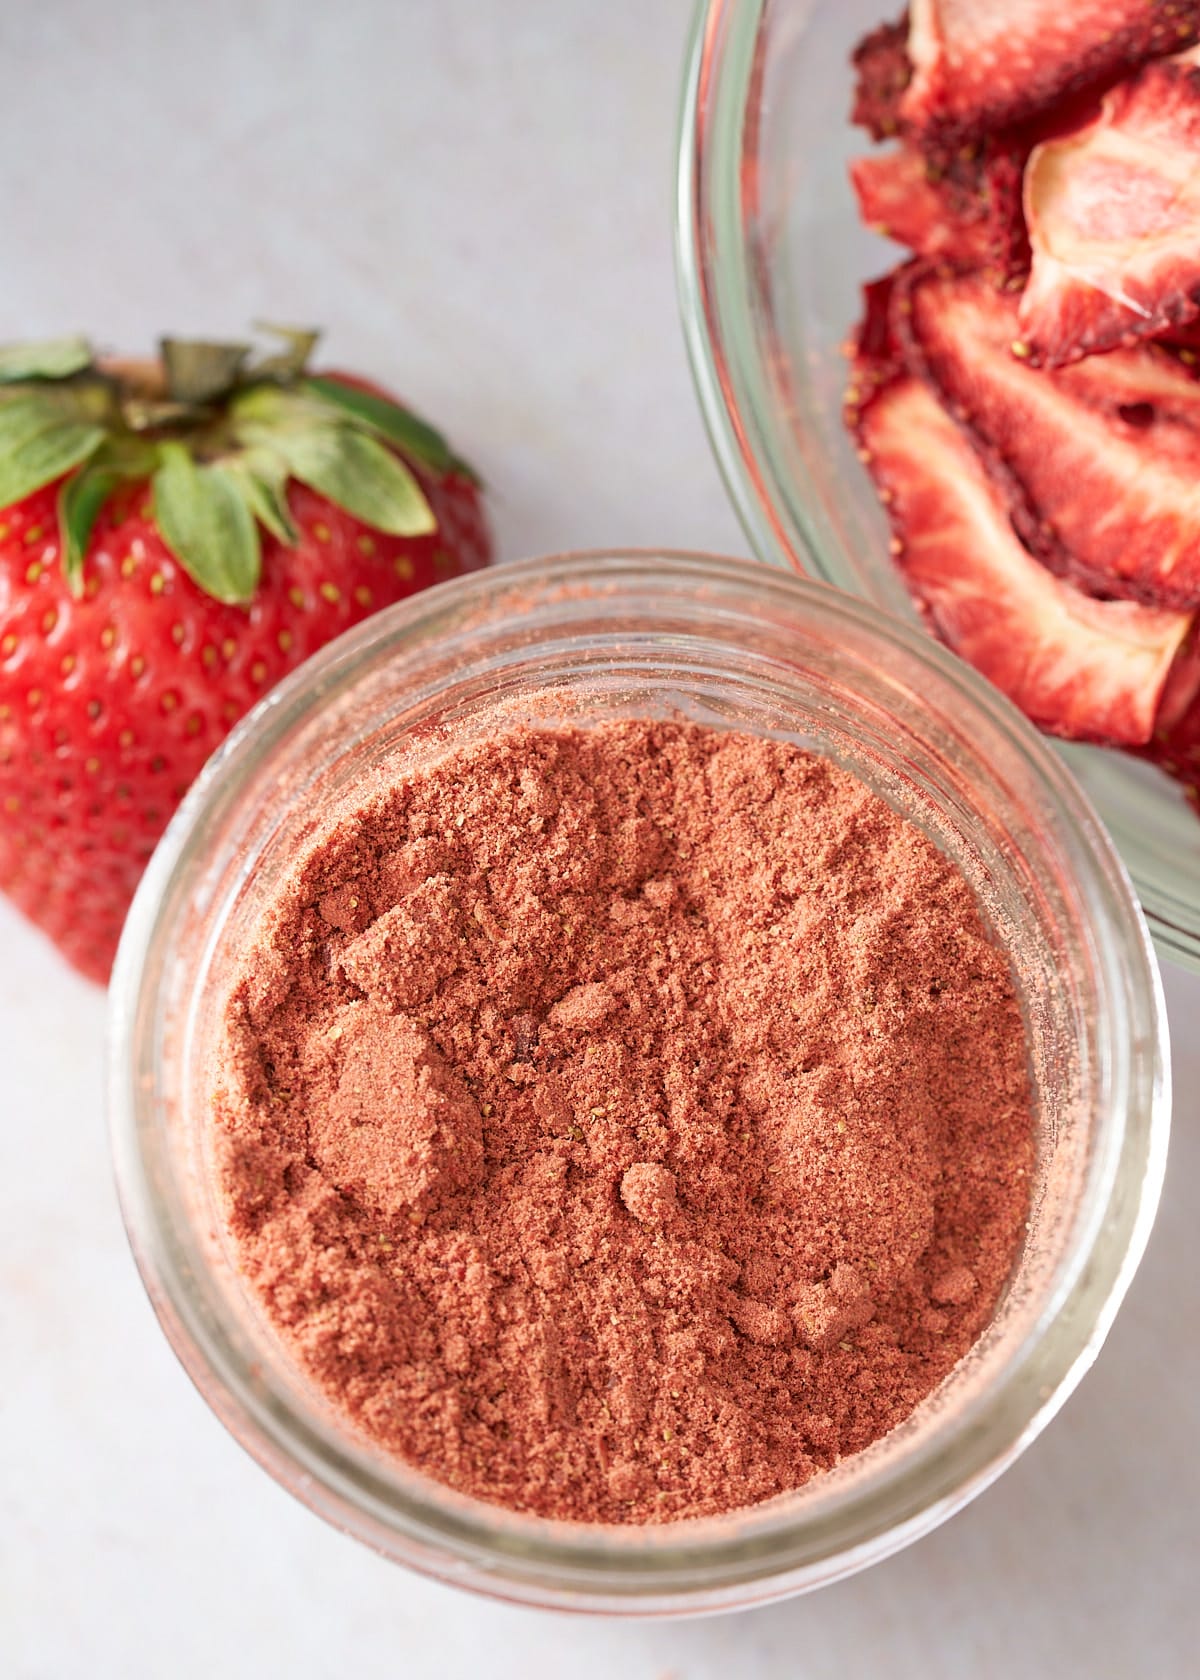
Whip up homemade fajita seasoning in 5 minutes; it's easy to make and even more delicious than a store-bought mix. Use right away, or mix up a big batch. Great for fajitas or any meat or vegetables you want to add this delicious flavor to.
This post contains affiliate links, please read my full disclaimer here.
You’ll find the full recipe with ingredient amounts and instructions in the recipe card at the bottom of this post. Be sure to check out the blog post itself for extra tips and tricks!
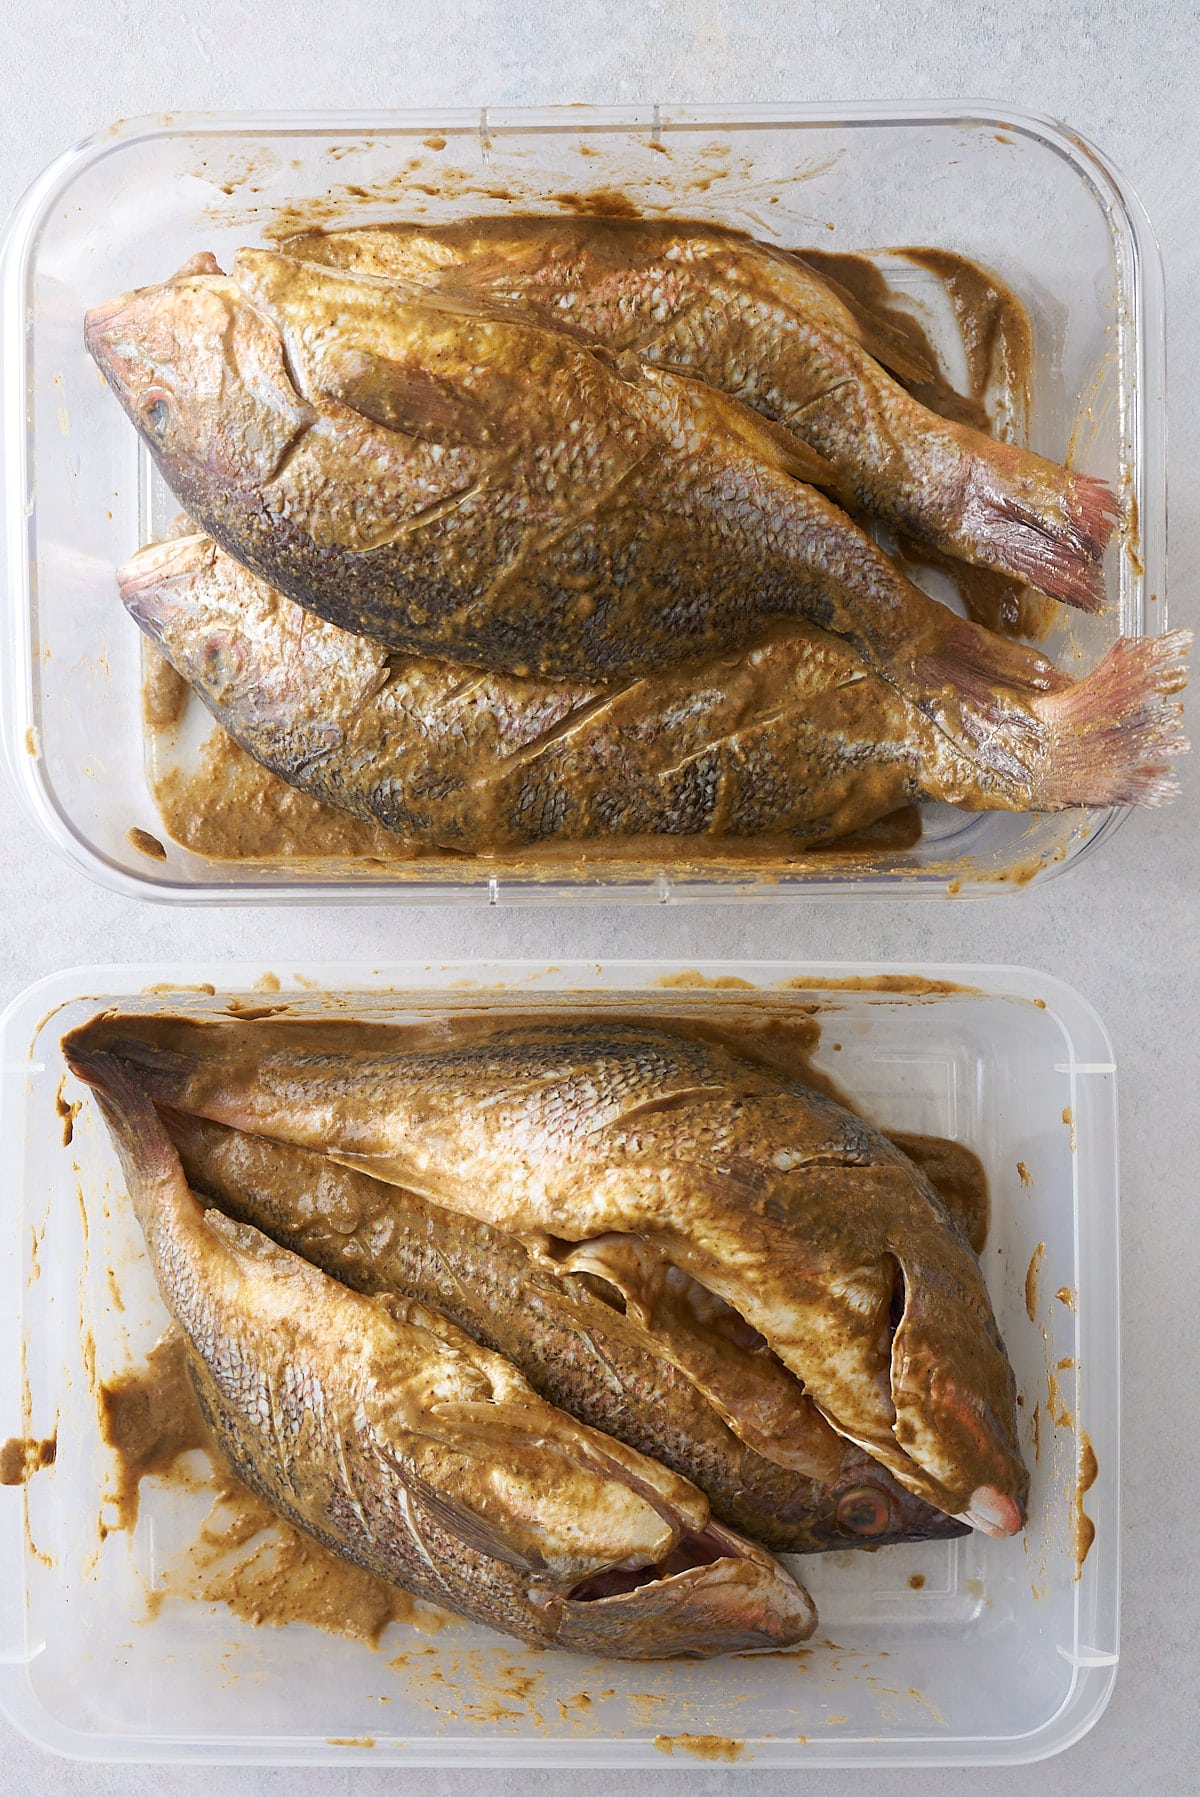
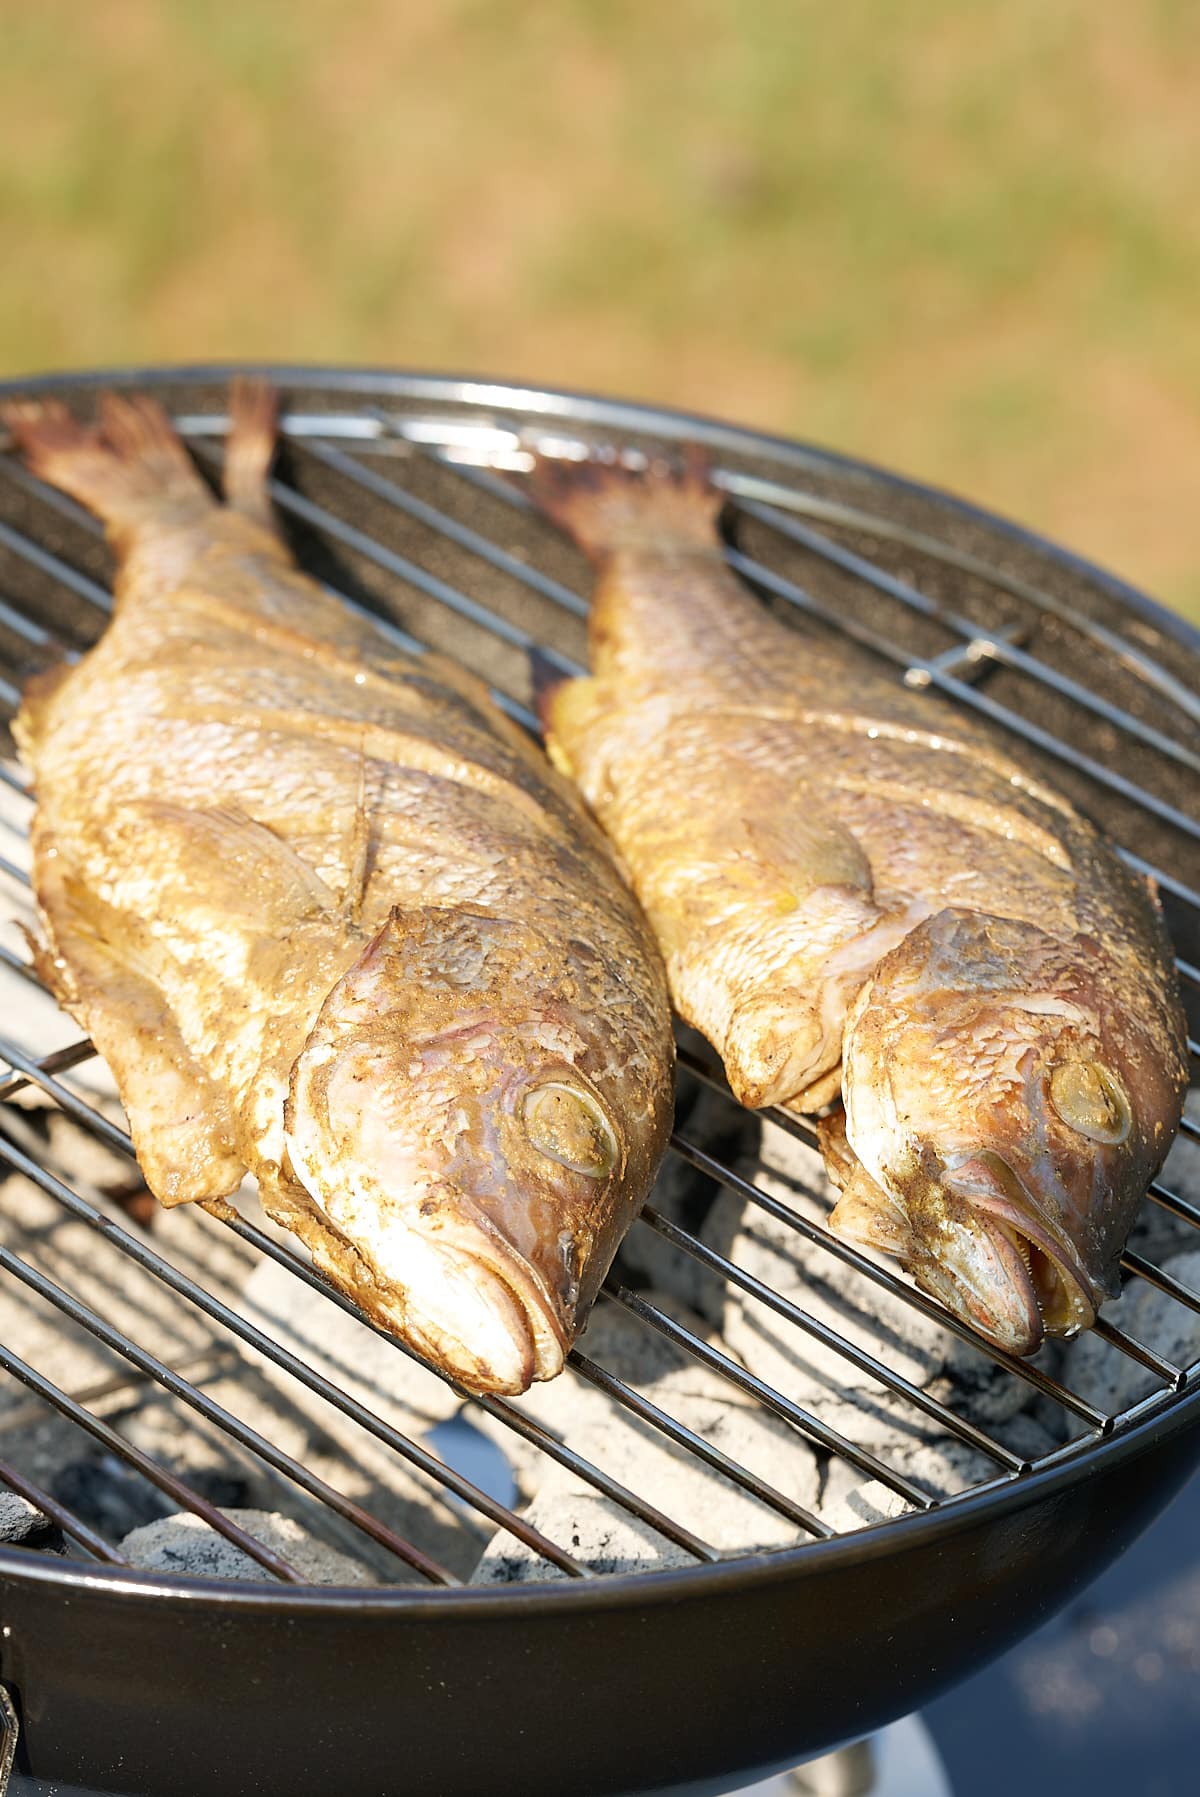
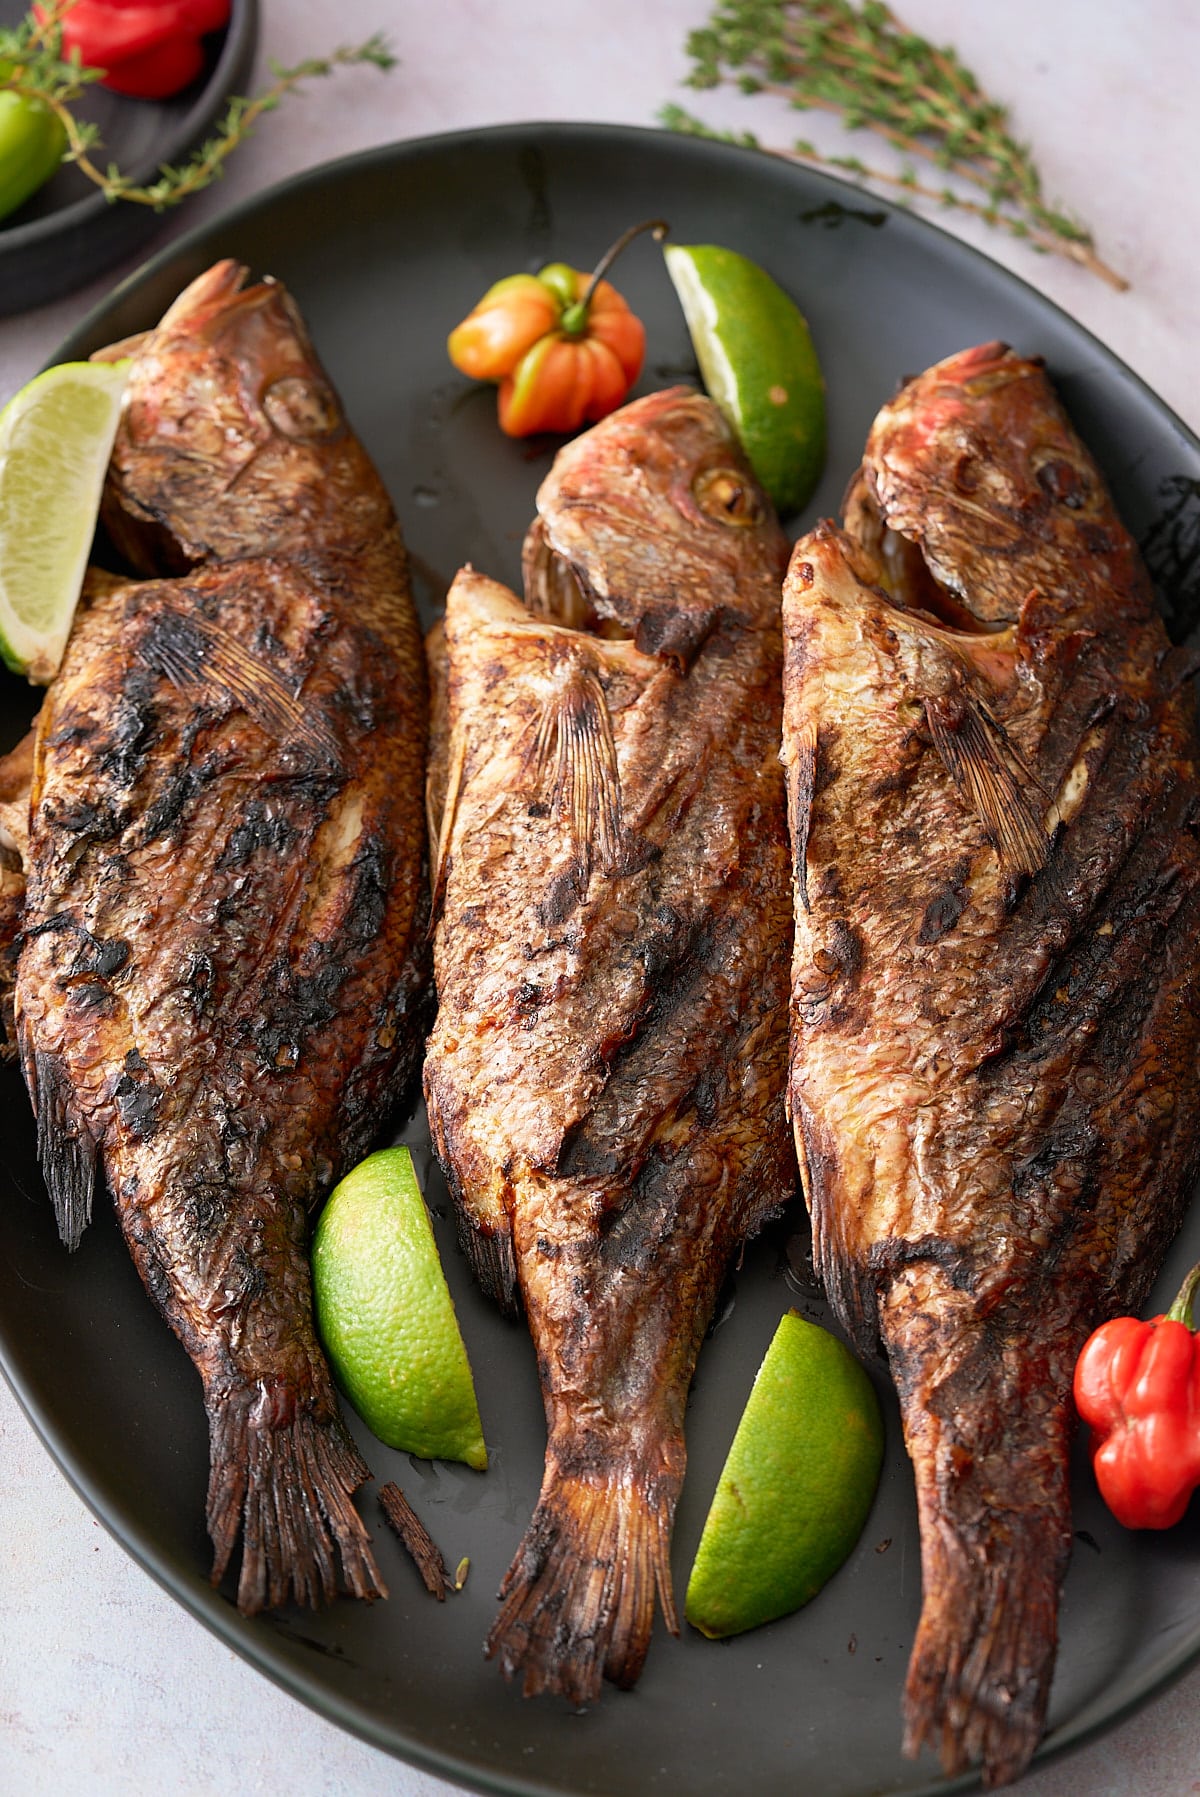
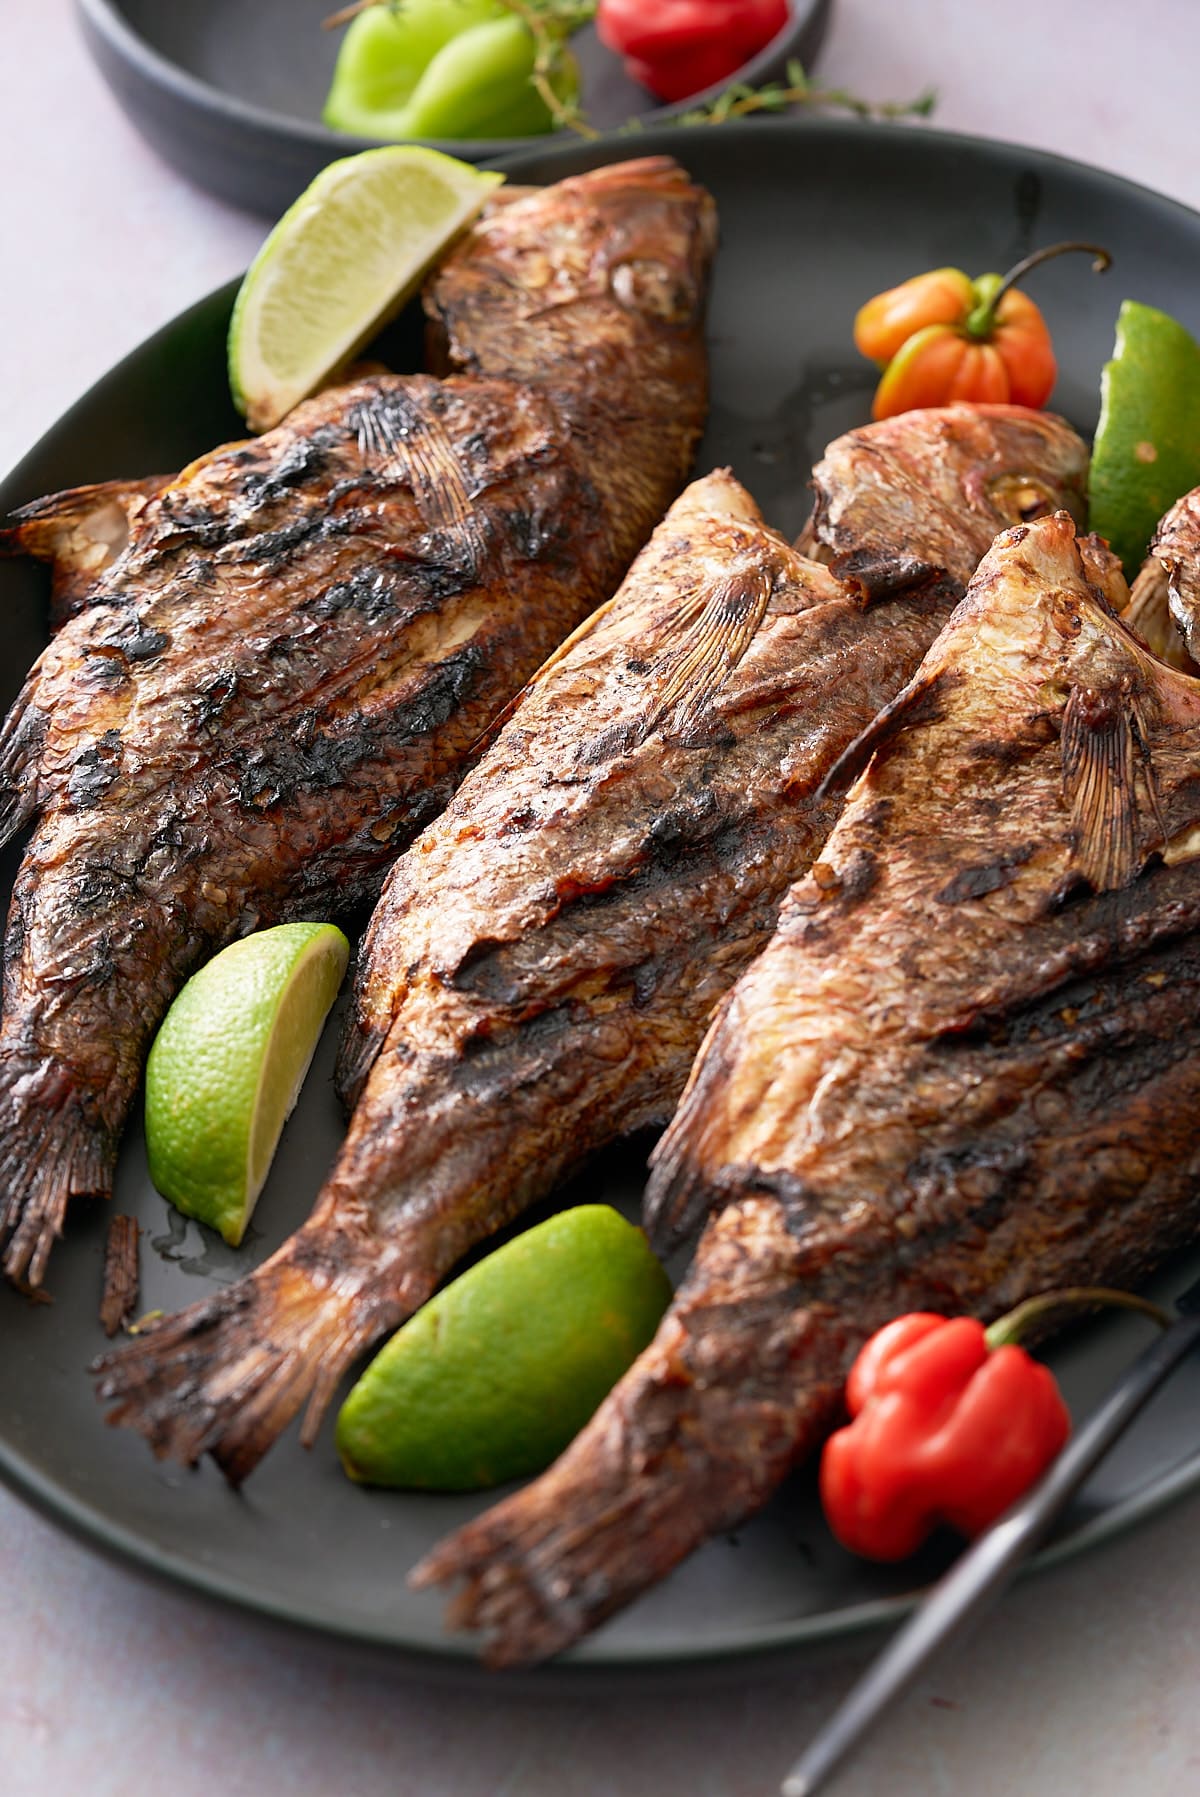
This fajita seasoning mix tastes wonderful on any chicken, steak, or seafood you prepare it with. You can even use this mixture as a dry rub on a whole chicken! If fajitas are what you're craving give my Air Fryer Steak Fajitas a try. You won't be disappointed!
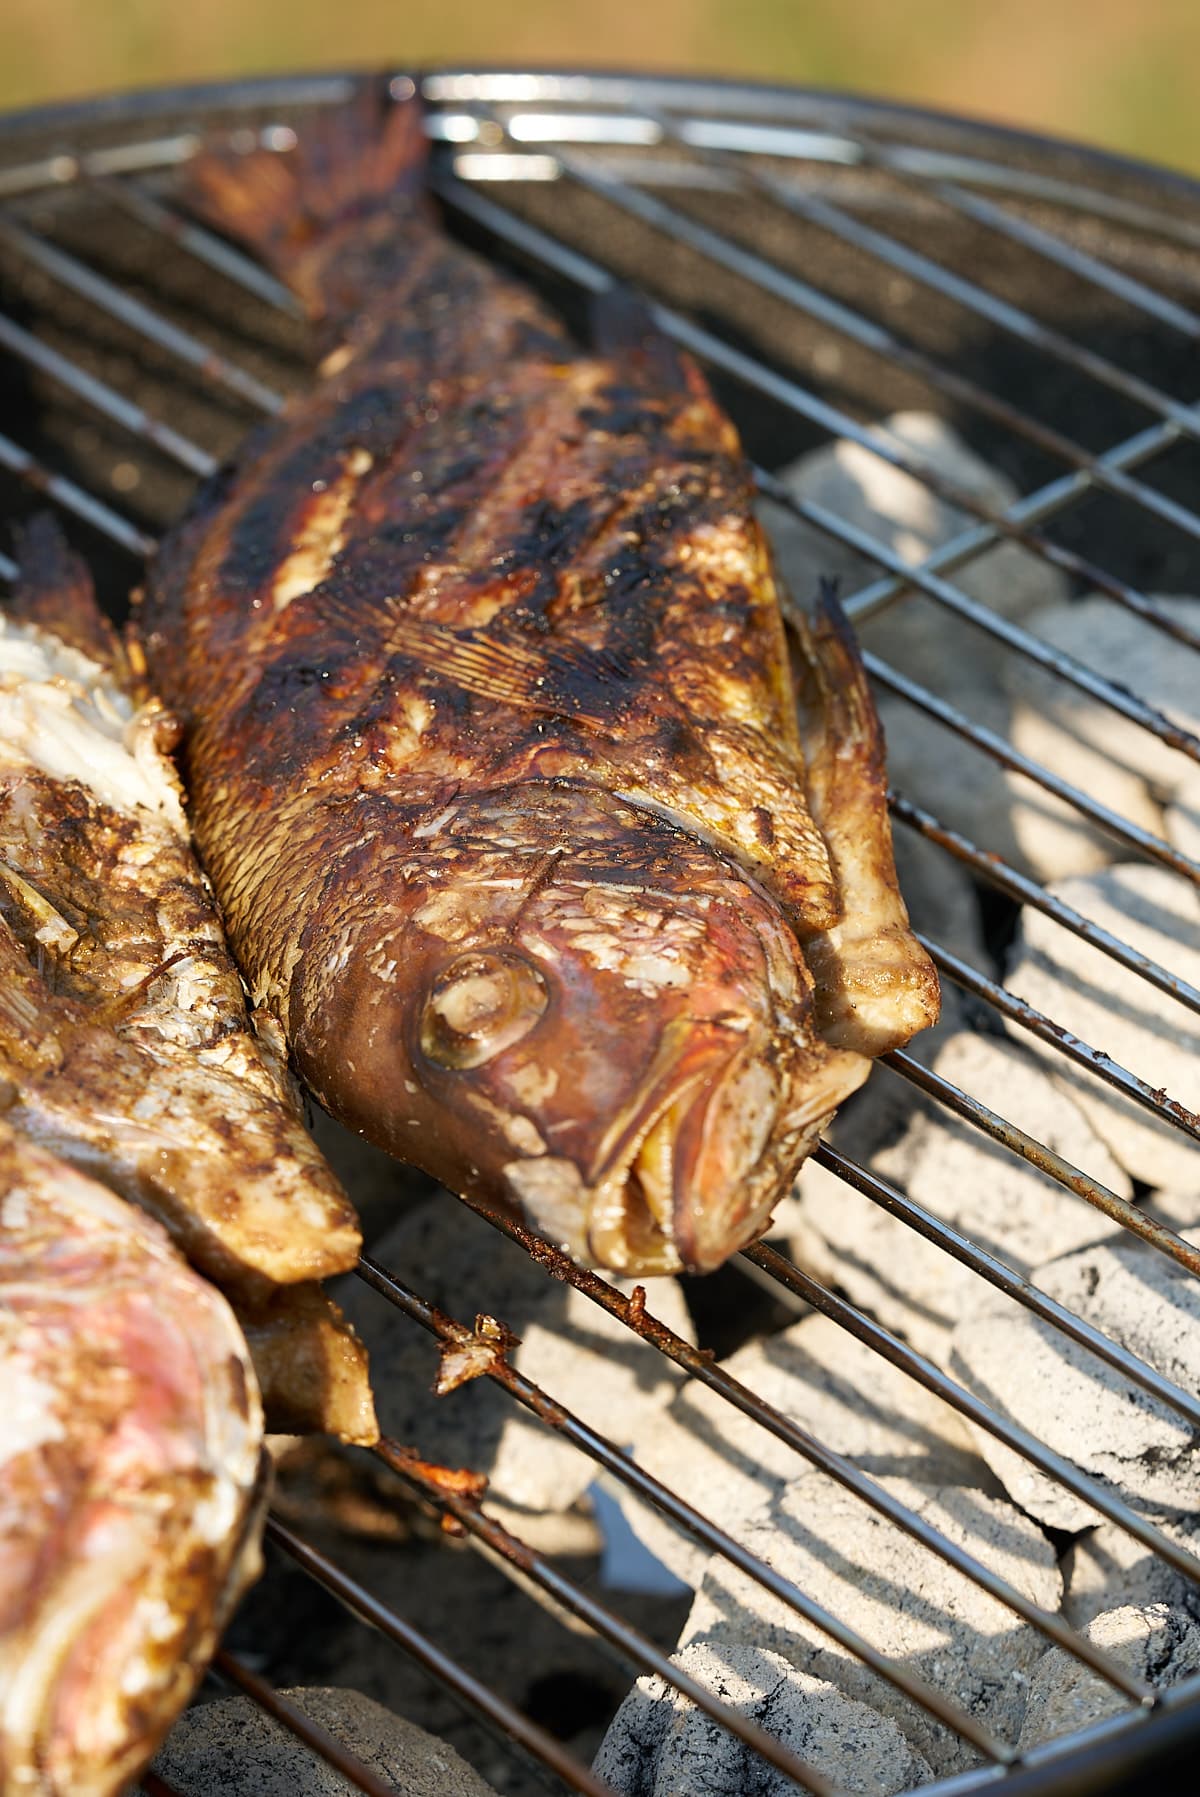
Want a flavorful but lighter meal? Season Easy Oven-Baked Fish with these bold flavors.
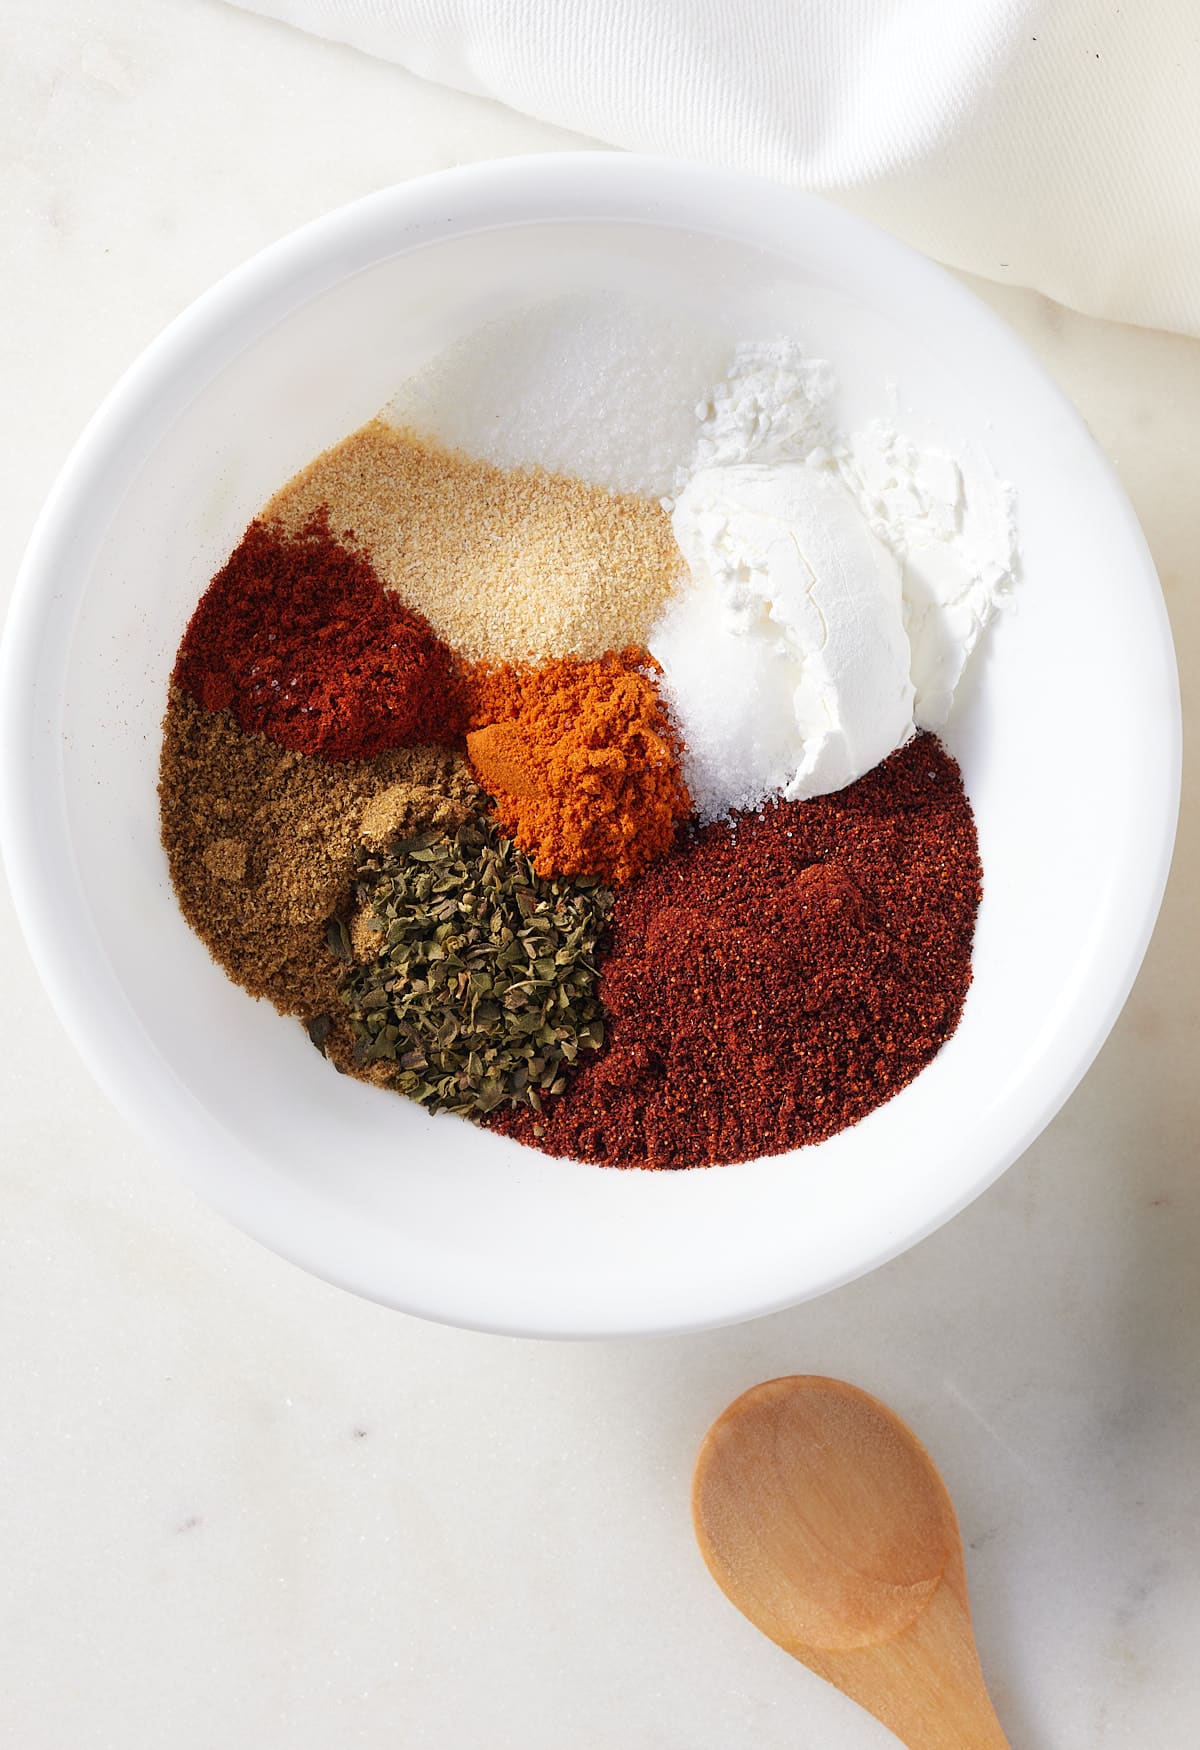
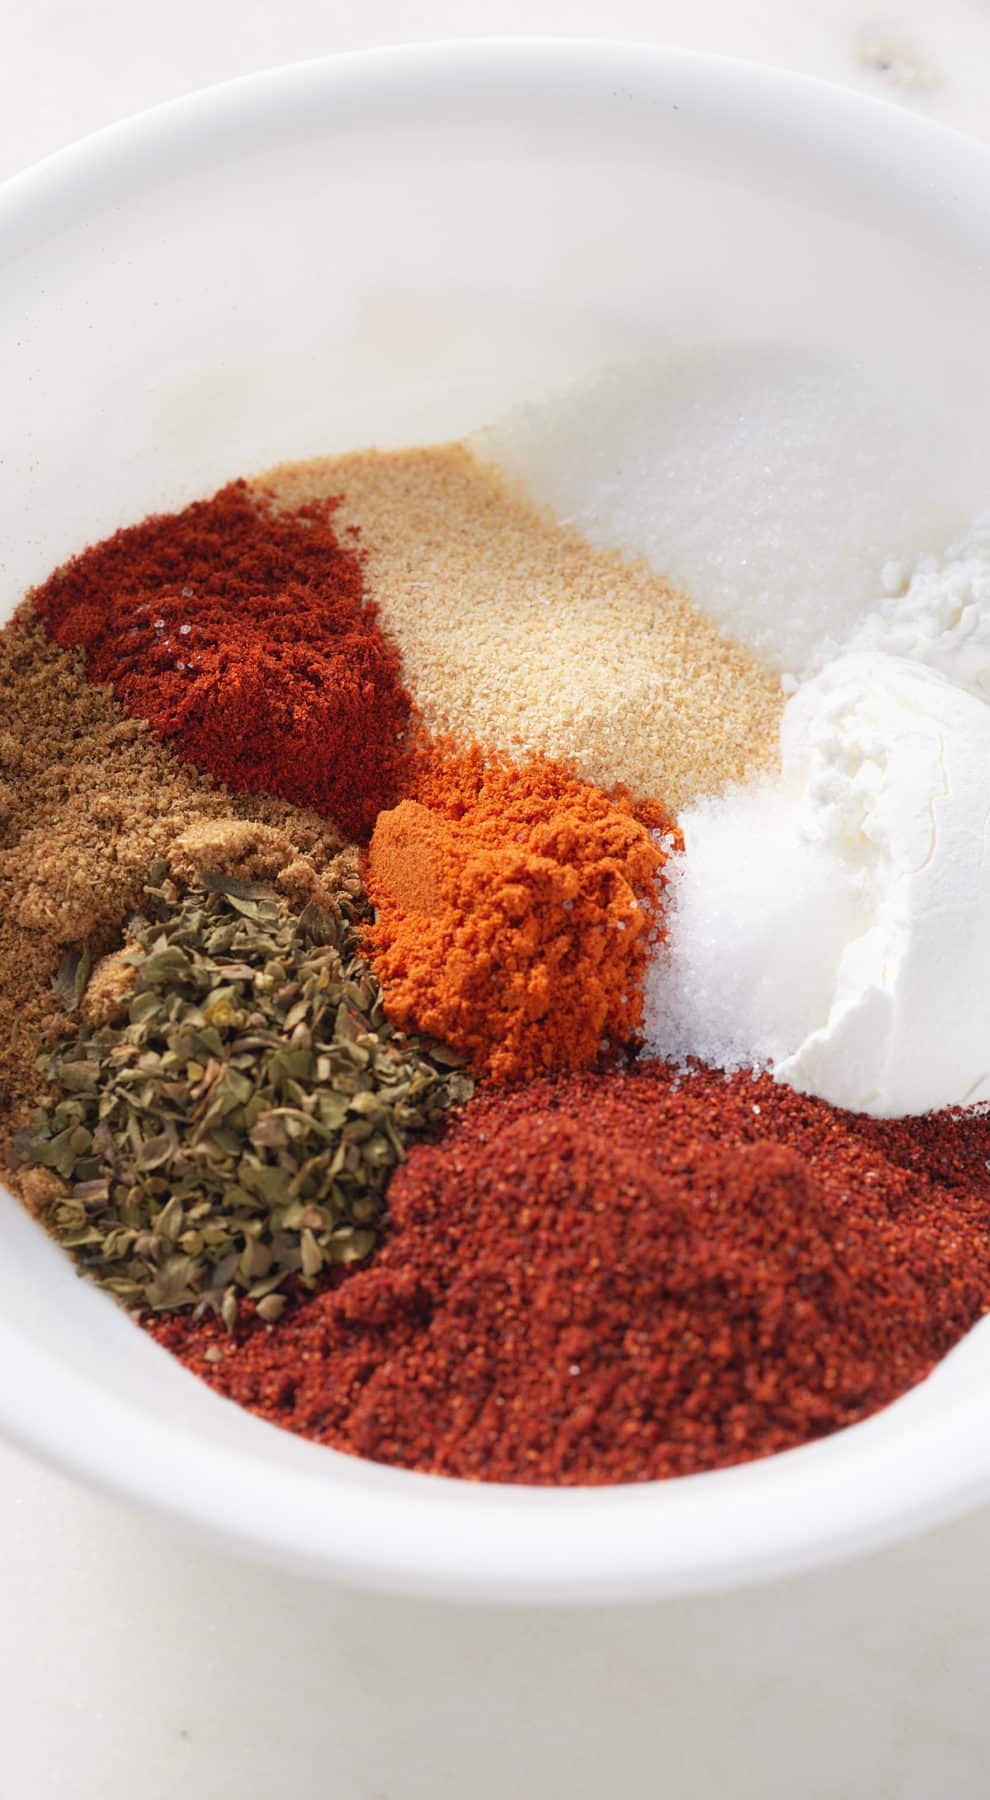
Ingredients and Tools Needed
- Chili Powder
- Cornstarch
- Ground Cumin
- Garlic Powder
- Paprika
- Granulated Sugar
- Oregano
- Cayenne Pepper
- Salt
Tools you'll need for this recipe
- Small bowl for mixing
- An airtight container for storage
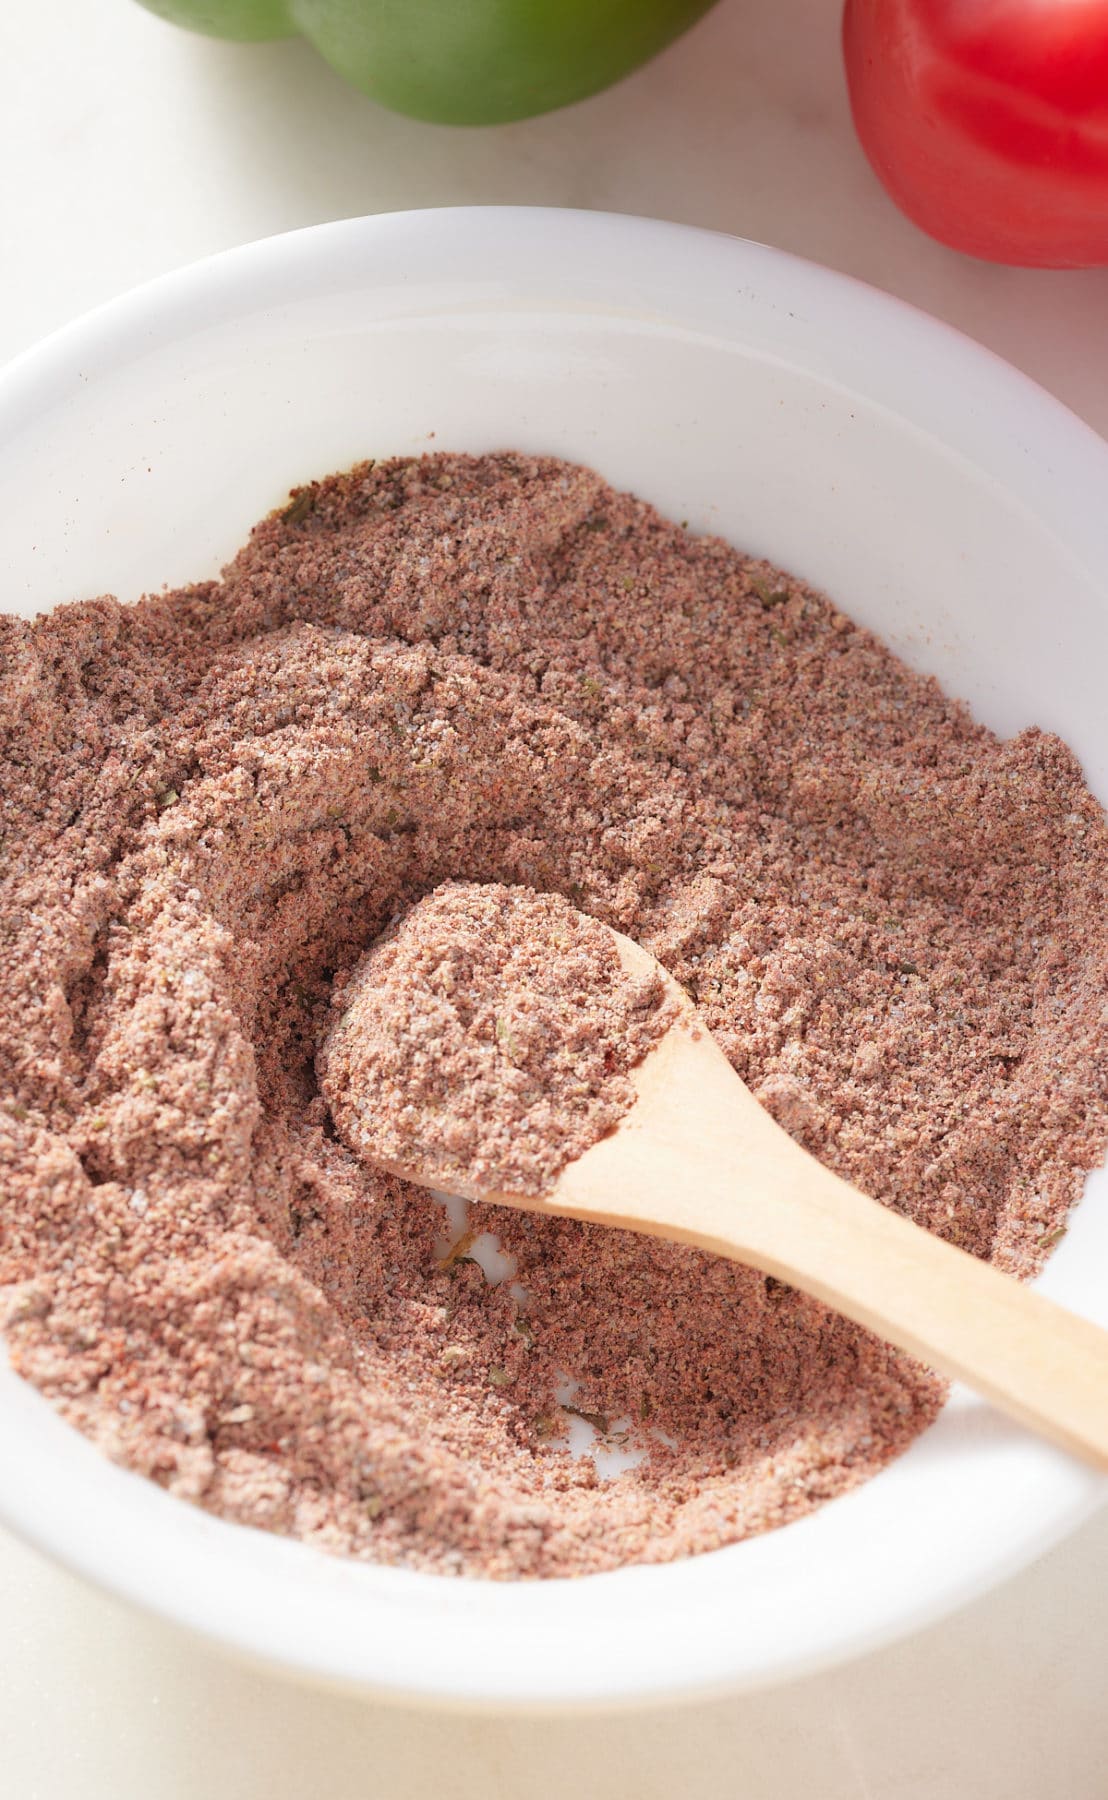
How To Make My Homemade Fajita Seasoning
Mix and store in an airtight container
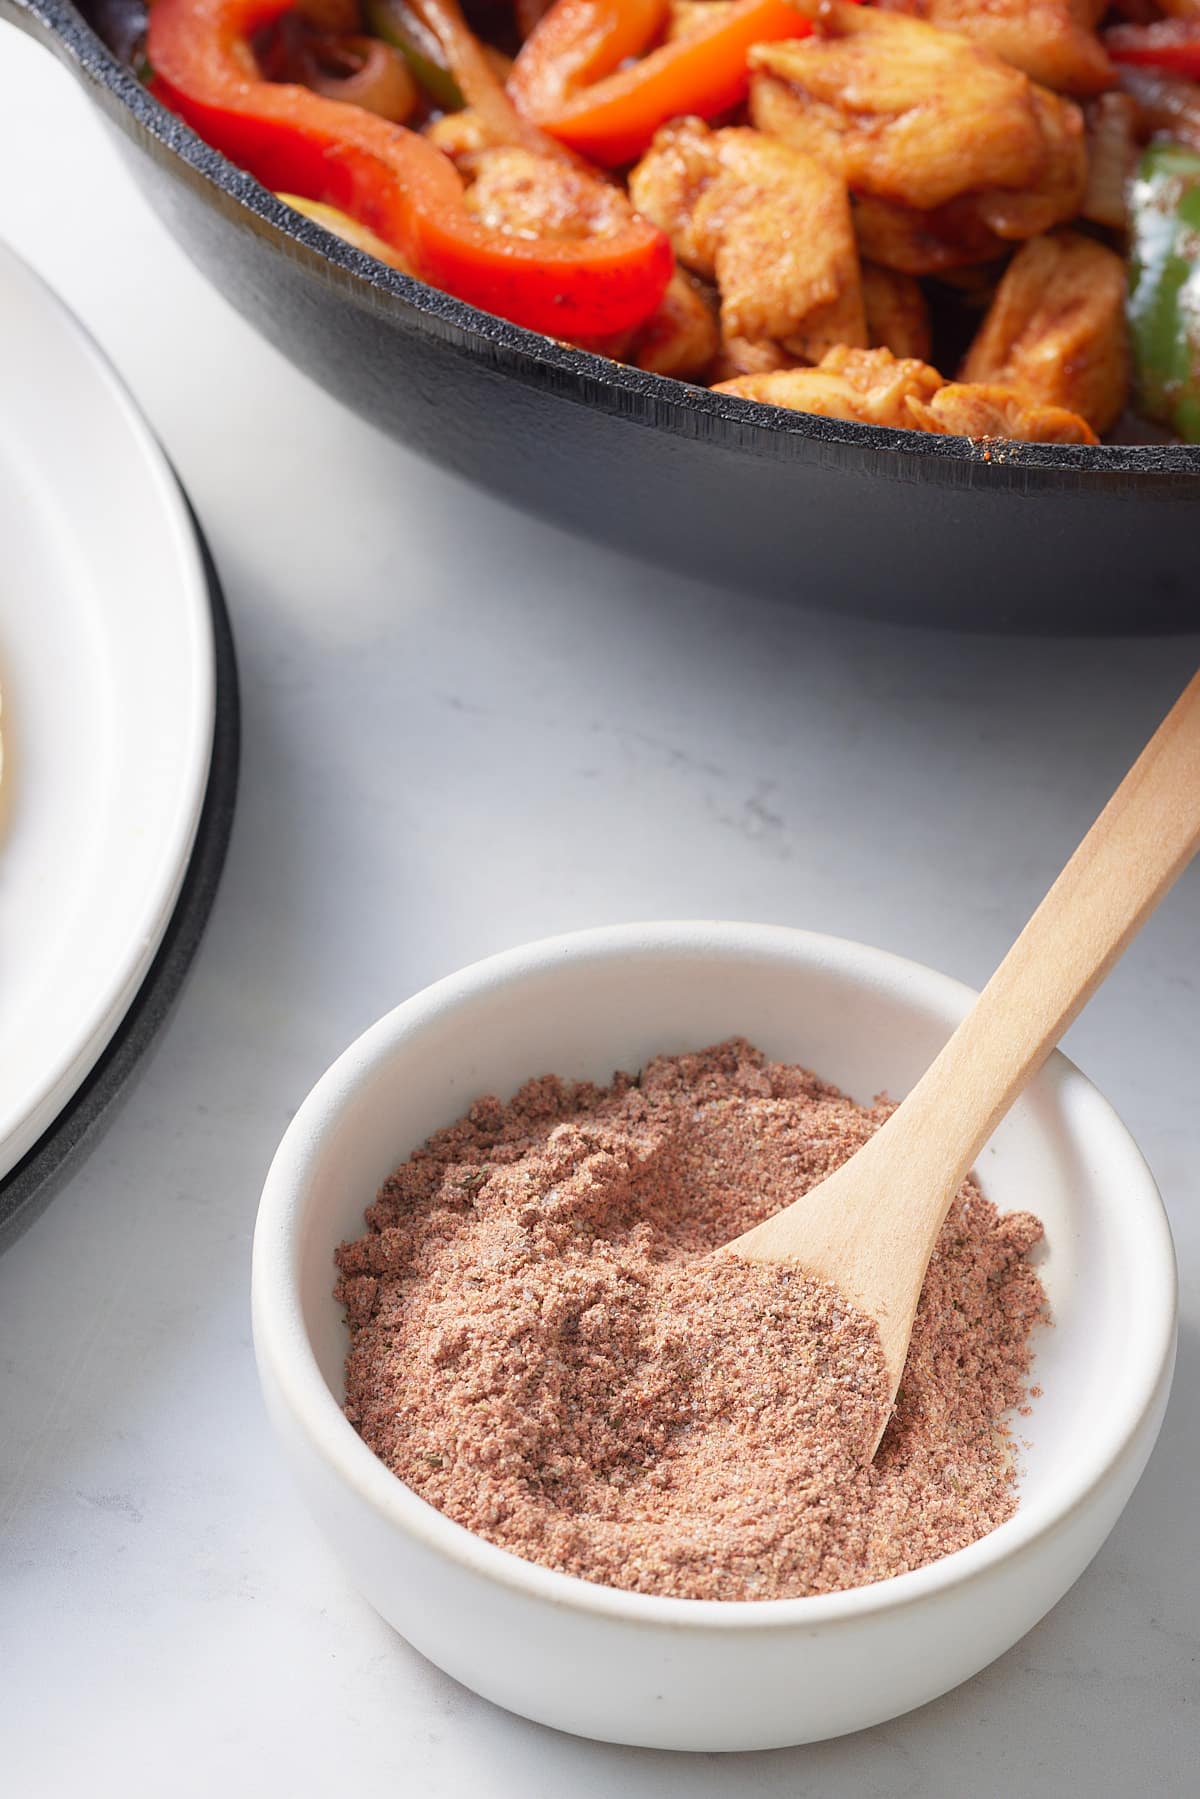
How To Use Fajita Seasoning
Use this fajita seasoning in place of store-bought packets. To make fajitas, add 2 Tablespoons of this seasoning and ½ cup of water. This will give the perfect flavor when making homemade fajitas in a skillet.
Using homemade fajita seasoning as a dry rub will also impart a delicious flavor to other baked dishes. If you're preparing a Mexican chili or soup, add some fajita seasoning for another layer of flavor.
If making vegetables, use about 1-2 teaspoons. I love to use this seasoning when making quick fajita vegetables.
How Long Does It Keep?
Depending on the freshness of your herbs and spices, this blend will keep well for 3 to 6 months. Storing your freshly made fajita seasoning in an airtight container and in a cupboard, out of direct sunlight, will help to maintain its freshness.
Avoid storing fajita seasoning in the fridge, it can dull the flavors.
Why Make Your Own Spice Mix?
Firstly, you will likely have all of the spices in your pantry, so instead of going out and buying a fajita seasoning packet, you can make your own at home. Most seasoning packets contain preservatives and additives, so it's a healthier option as well.
Taco seasoning and fajita seasoning are similar in the fact that they typically contain the same ingredients. The ratio of these ingredients, however, is what sets them apart. Taco seasoning generally will contain more chili powder, whereas fajita seasoning contains more cumin. Now, how much you add of each is purely preference. Taco seasoning will have a typical "spice" taste, and Fajita seasoning, because of the increased amount of cumin, has a "smokey" taste.
Notes
- Use this fajita seasoning in place of store-bought packets.
- To make fajitas, add 2 Tablespoons of this seasoning and ½ cup of water. This will give the perfect flavor when making homemade fajitas in a skillet.
- Make sure that your ingredients aren’t stale. Rub a little of each between your fingers, if they release an aroma they are good to use.
- I prefer to make smaller batches of spice blends, that way, they always taste fresh.
- A funnel makes it easy to pour spices into a jar.
- Double, triple, or quadruple the recipe if you like. Change the serving size in the recipe card below to modify the ingredients.
Looking for more homemade seasoning recipes? Try these out:
- Homemade Blackened Seasoning
- Homemade Fish Seasoning
- Chicken Seasoning
- Homemade All-Purpose Seasoning Recipe
- Homemade Cajun Seasoning
If you have tried this recipe or any other recipe on my blog, please rate it and let me know how it turned out in the comments below!
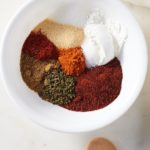
Homemade Fajita Seasoning
Ingredients
- 2 tablespoons Chili Powder
- 1 tablespoon Cornstarch
- 2 teaspoons Ground Cumin
- 2 teaspoons Garlic Powder
- 1 teaspoon Paprika
- 1 teaspoon Granulated Sugar
- ½ teaspoon Oregano
- ½ teaspoon Cayenne Pepper
- ½ teaspoon Salt or to taste
Instructions
- Mix and store in an airtight container
Notes
- Use this fajita seasoning in place of store-bought packets.
- To make fajitas, add 2 Tablespoons of this seasoning and ½ cup of water. This will give the perfect flavor when making homemade fajitas in a skillet.