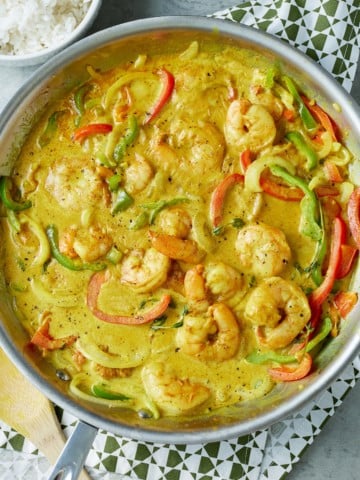
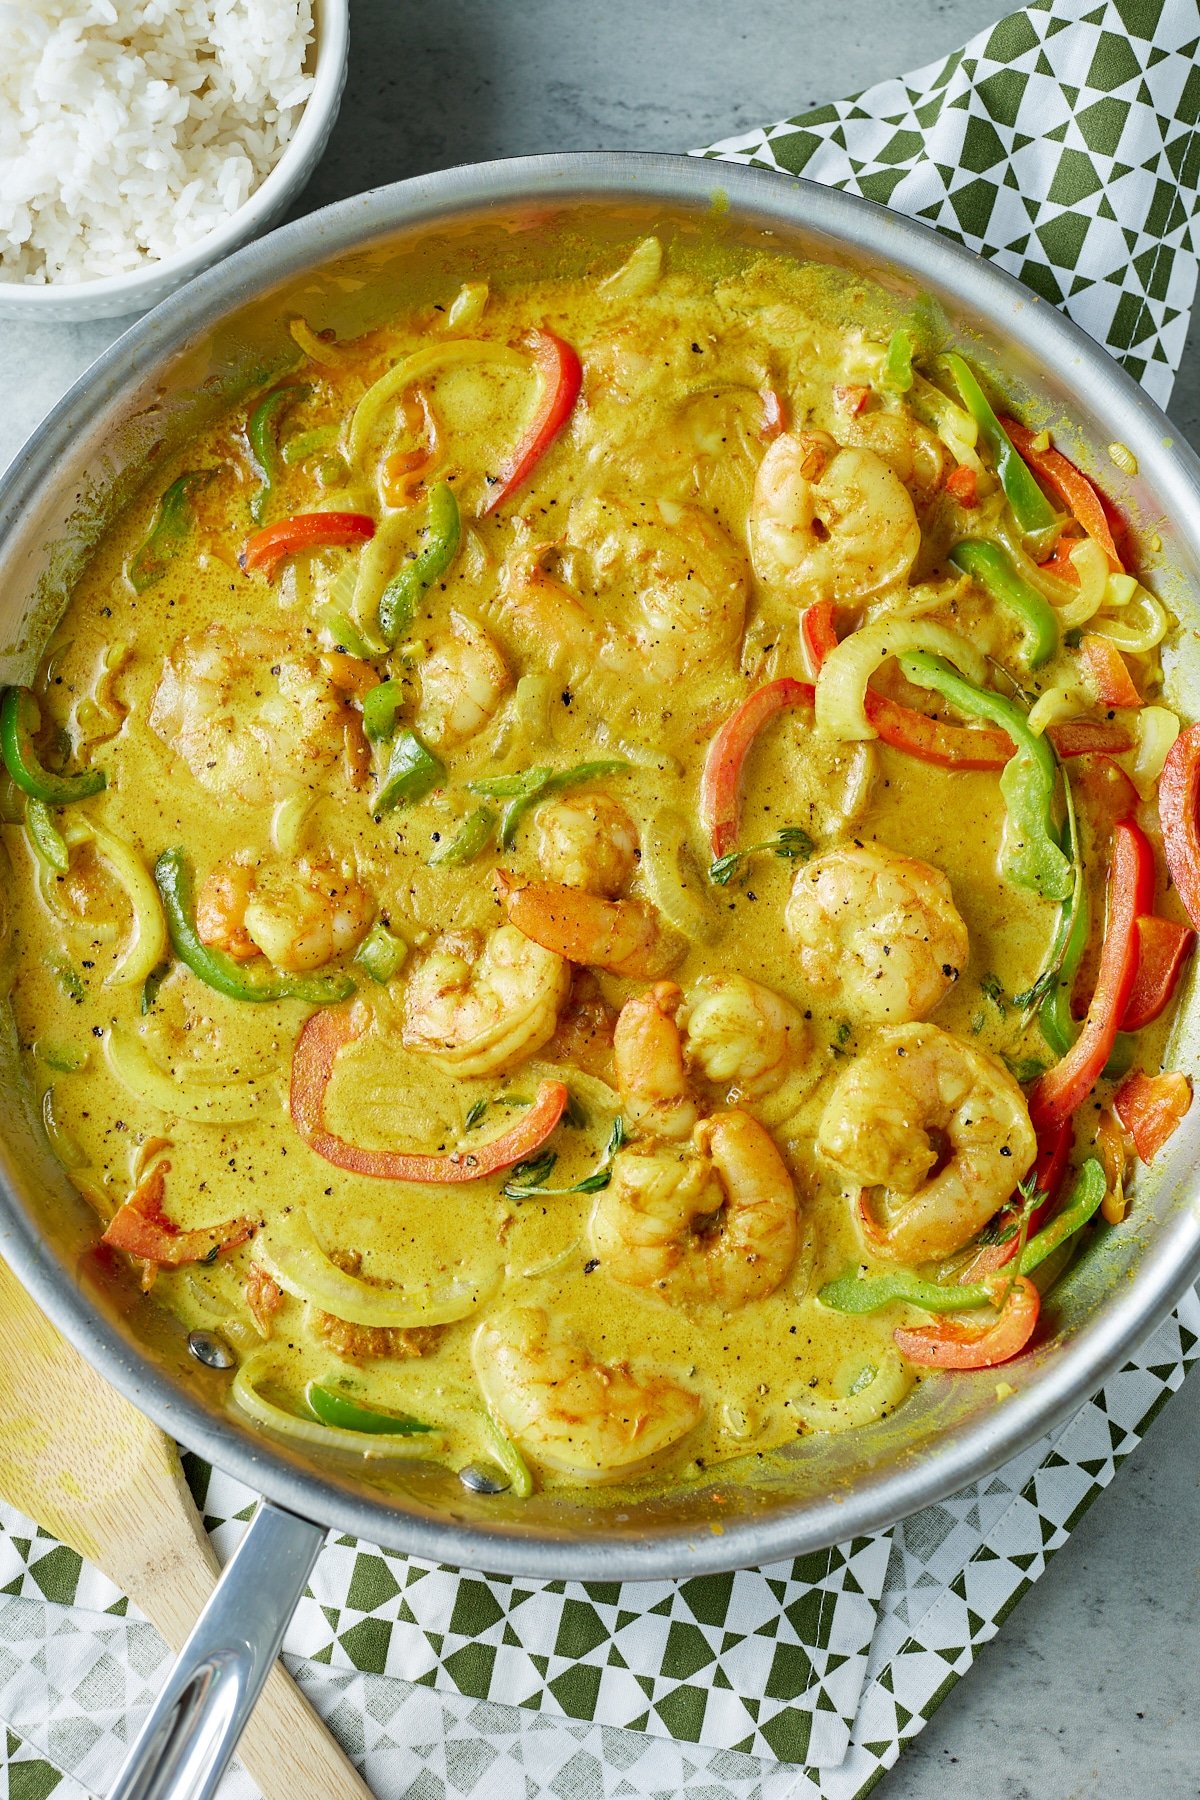
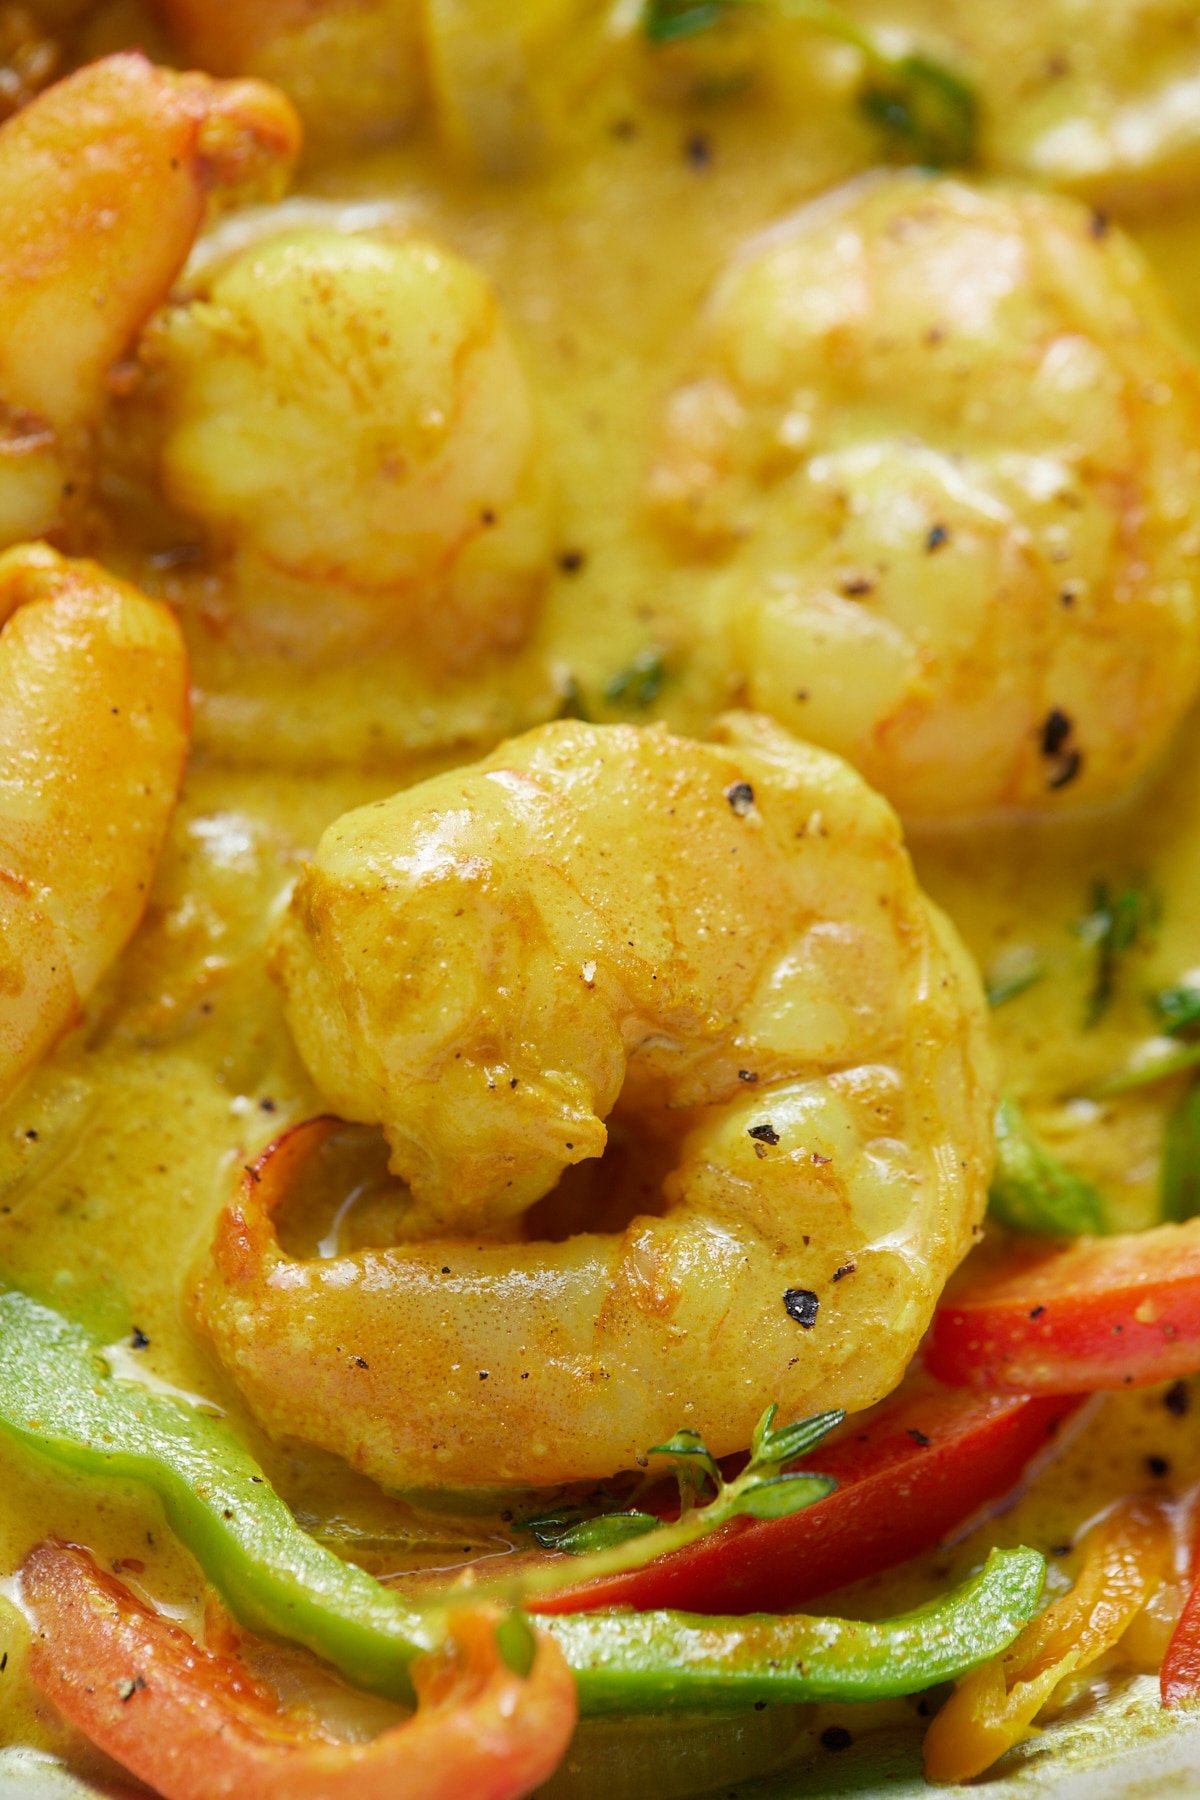
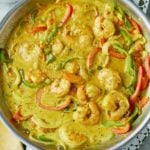
This Jamaican Curry Shrimp Recipe is creamy, bold, and full of island flavor. Made with Jamaican curry powder, large succulent shrimp, bell peppers, and coconut milk, it’s a quick and easy curry that works any night of the week.
You’ll find the full recipe with ingredient amounts and instructions in the recipe card at the bottom of this post. Be sure to check out the blog post itself for extra tips and tricks!

This is a go-to weeknight dinner for us when I want the flavors of curry in a hurry (See what I did there, I'm such a poet). For this curry shrimp recipe, I add coconut milk. Coconut milk is not standard in curry chicken or curry goat, but it is essential in curry shrimp. Coconut milk adds a creamy richness that perfectly complements the shrimp's delicate flavor.
The added peppers make this dish colorful and vibrant, and they are the perfect accompaniment to the shrimp and curry. I think your family will love this bold, quick curry dish too.
Love, Tanya
CURRY SHRIMP AT A GLANCE
- Prep Time: 10 minutes
- Cook Time: 15 minutes
- Total Time: 25 minutes
- Serves: 4
- Best For: Quick weeknight dinners, busy nights, easy island-inspired meals
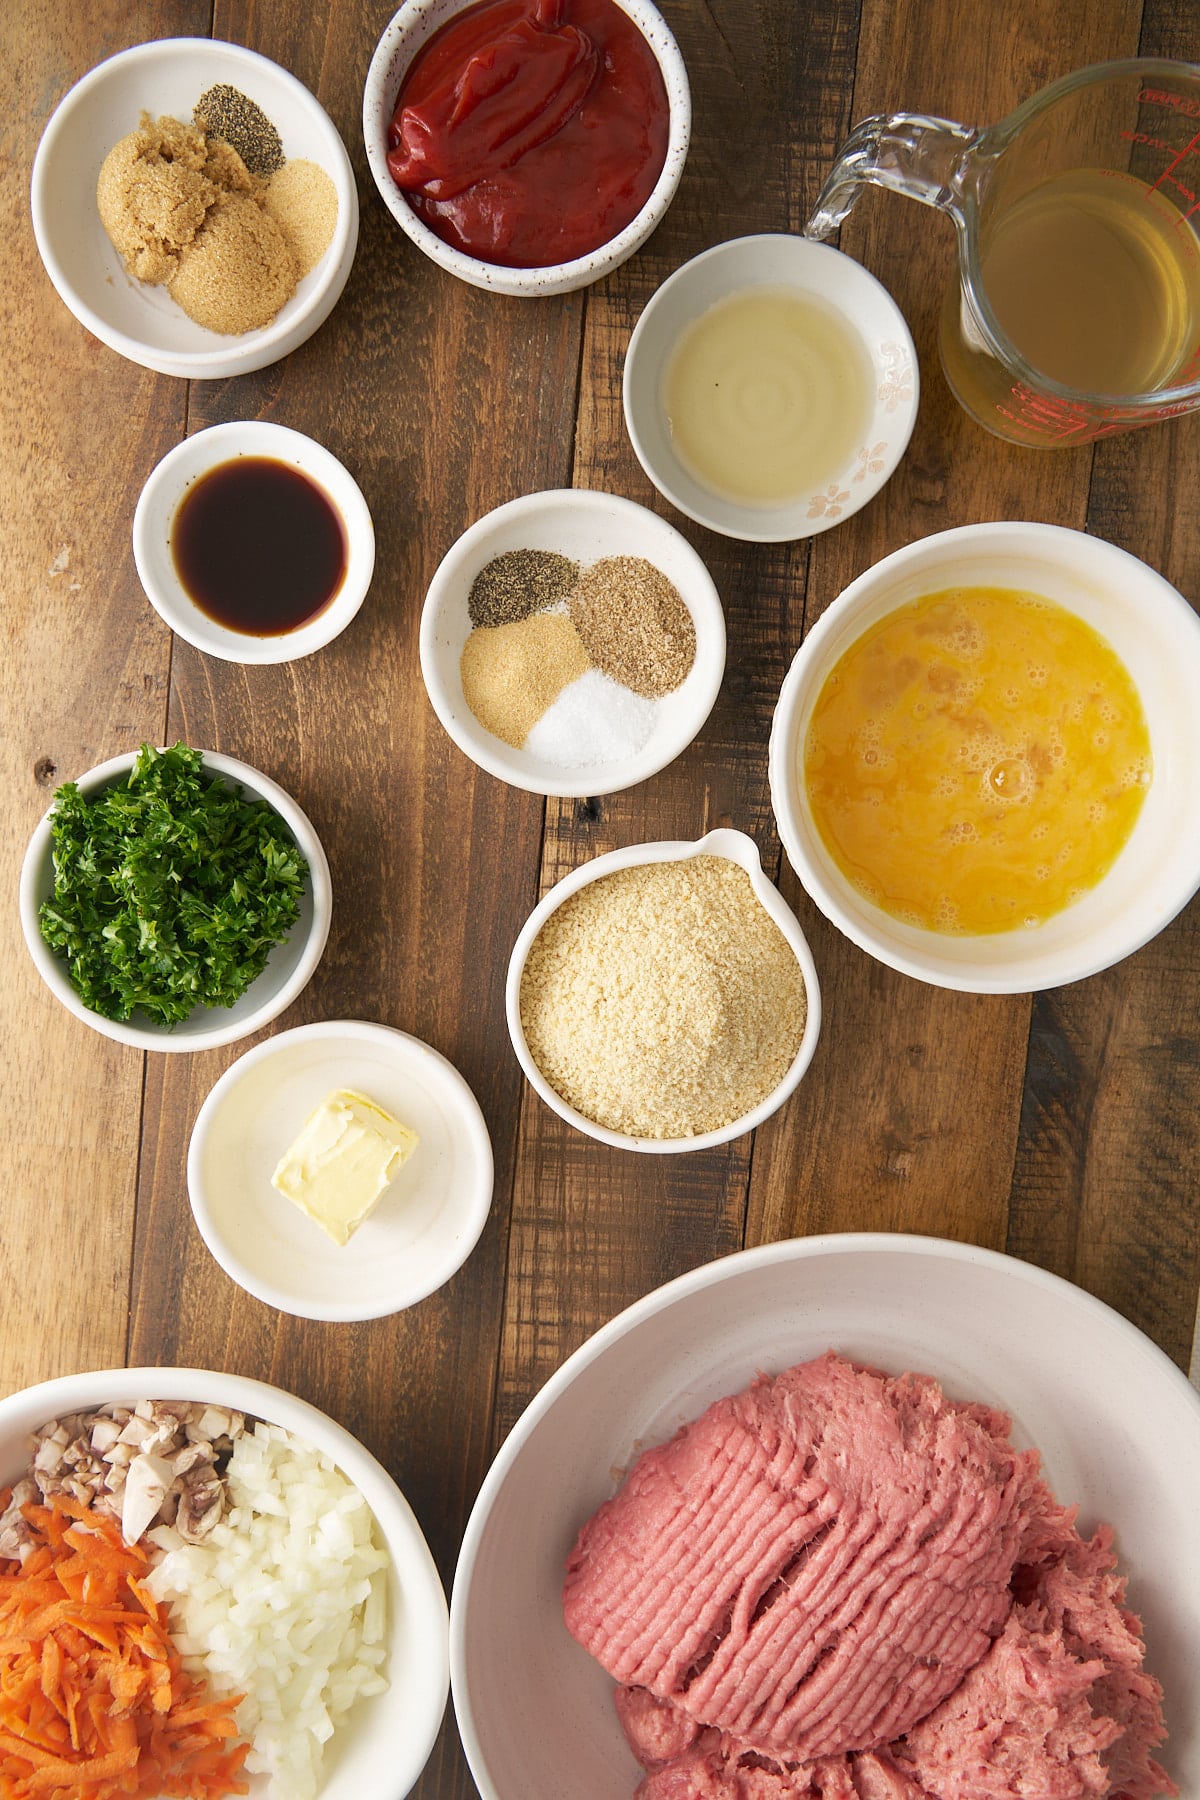
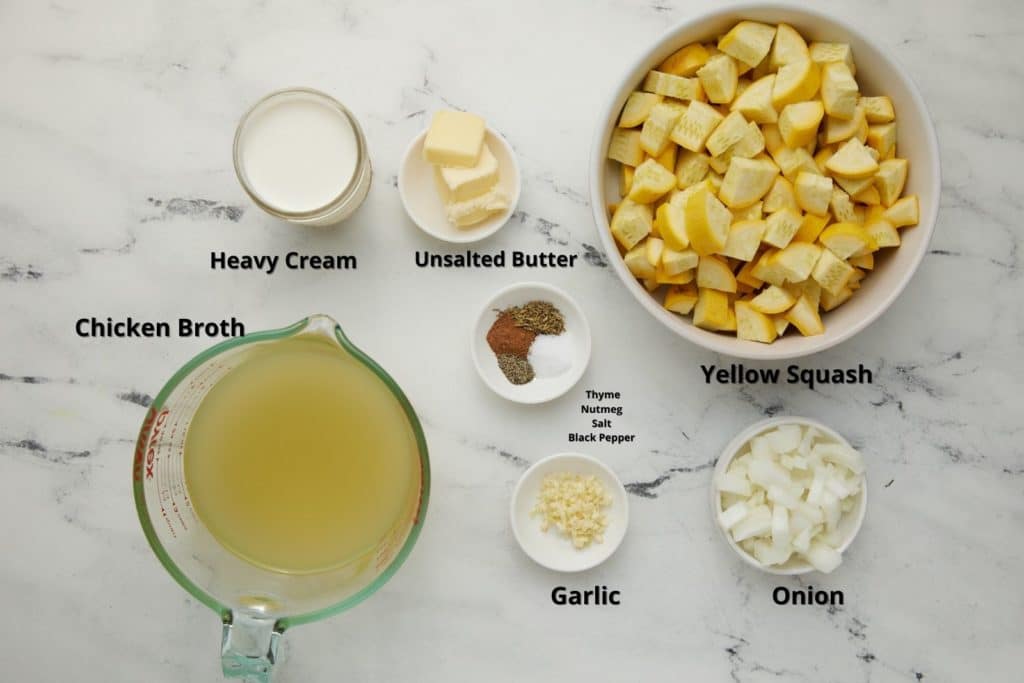
Ingredients Needed for this Curry Shrimp Recipe
- Shrimp - 1 pound of thawed large shrimp, peeled, cleaned, and deveined. This is the dish's main ingredient and adds a juicy and substantial texture that pairs well with the flavorful curry sauce. If using frozen shrimp, defrost them first.
- Spices and Herbs - Curry powder, all-purpose seasoning, thyme, salt, and pepper
- Vegetables - yellow onion, red and green bell peppers, scotch bonnet pepper for a little spice. If you can’t find scotch bonnets, habaneros or jalapeños are good substitutes.
- Liquids - unsweetened coconut milk from a can and ketchup.
- Oil - for sautéing the vegetables and shrimp.
How to make Jamaican Curry Shrimp
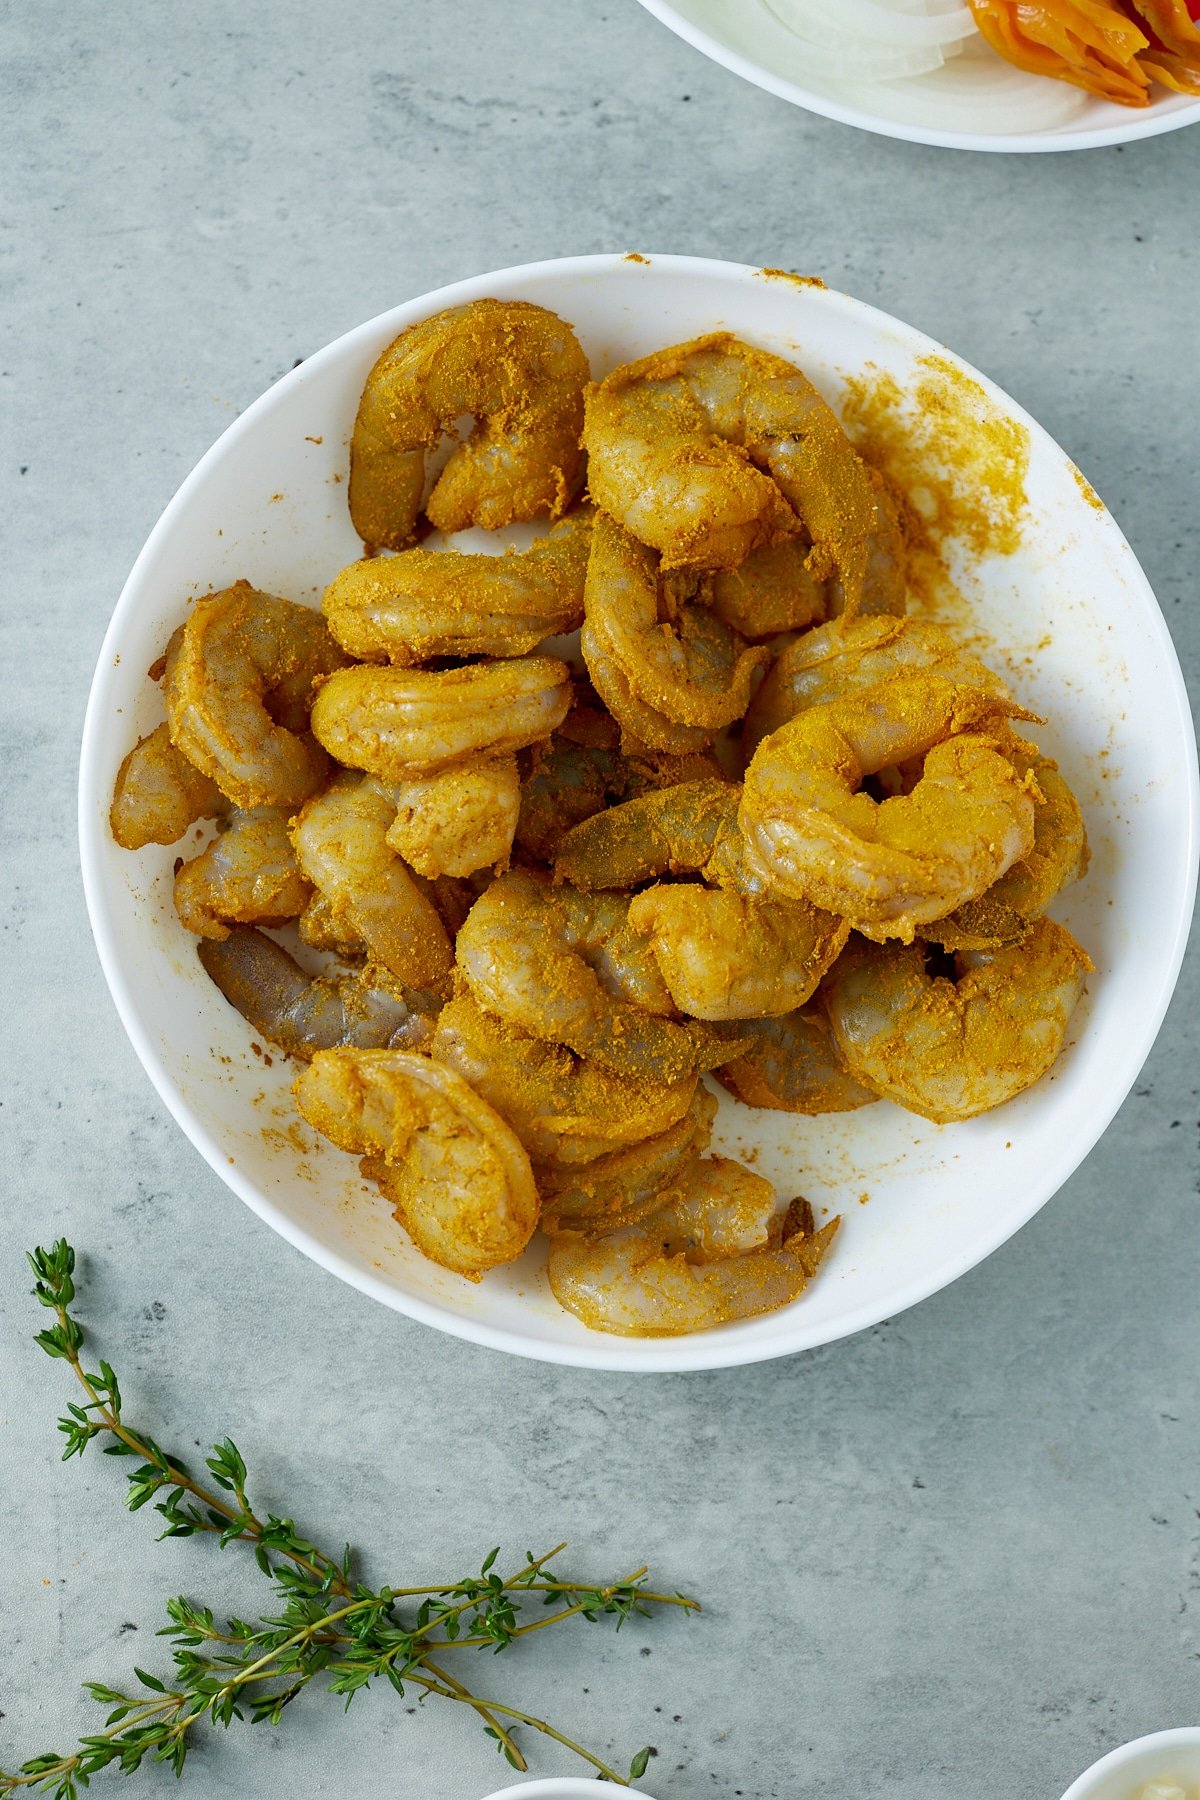
Step 1: Season the shrimp with 1 Tablespoon of curry powder and all-purpose seasoning, then set aside for about 10 minutes. Prepare the other ingredients, like chopping your onions, peppers, and garlic.
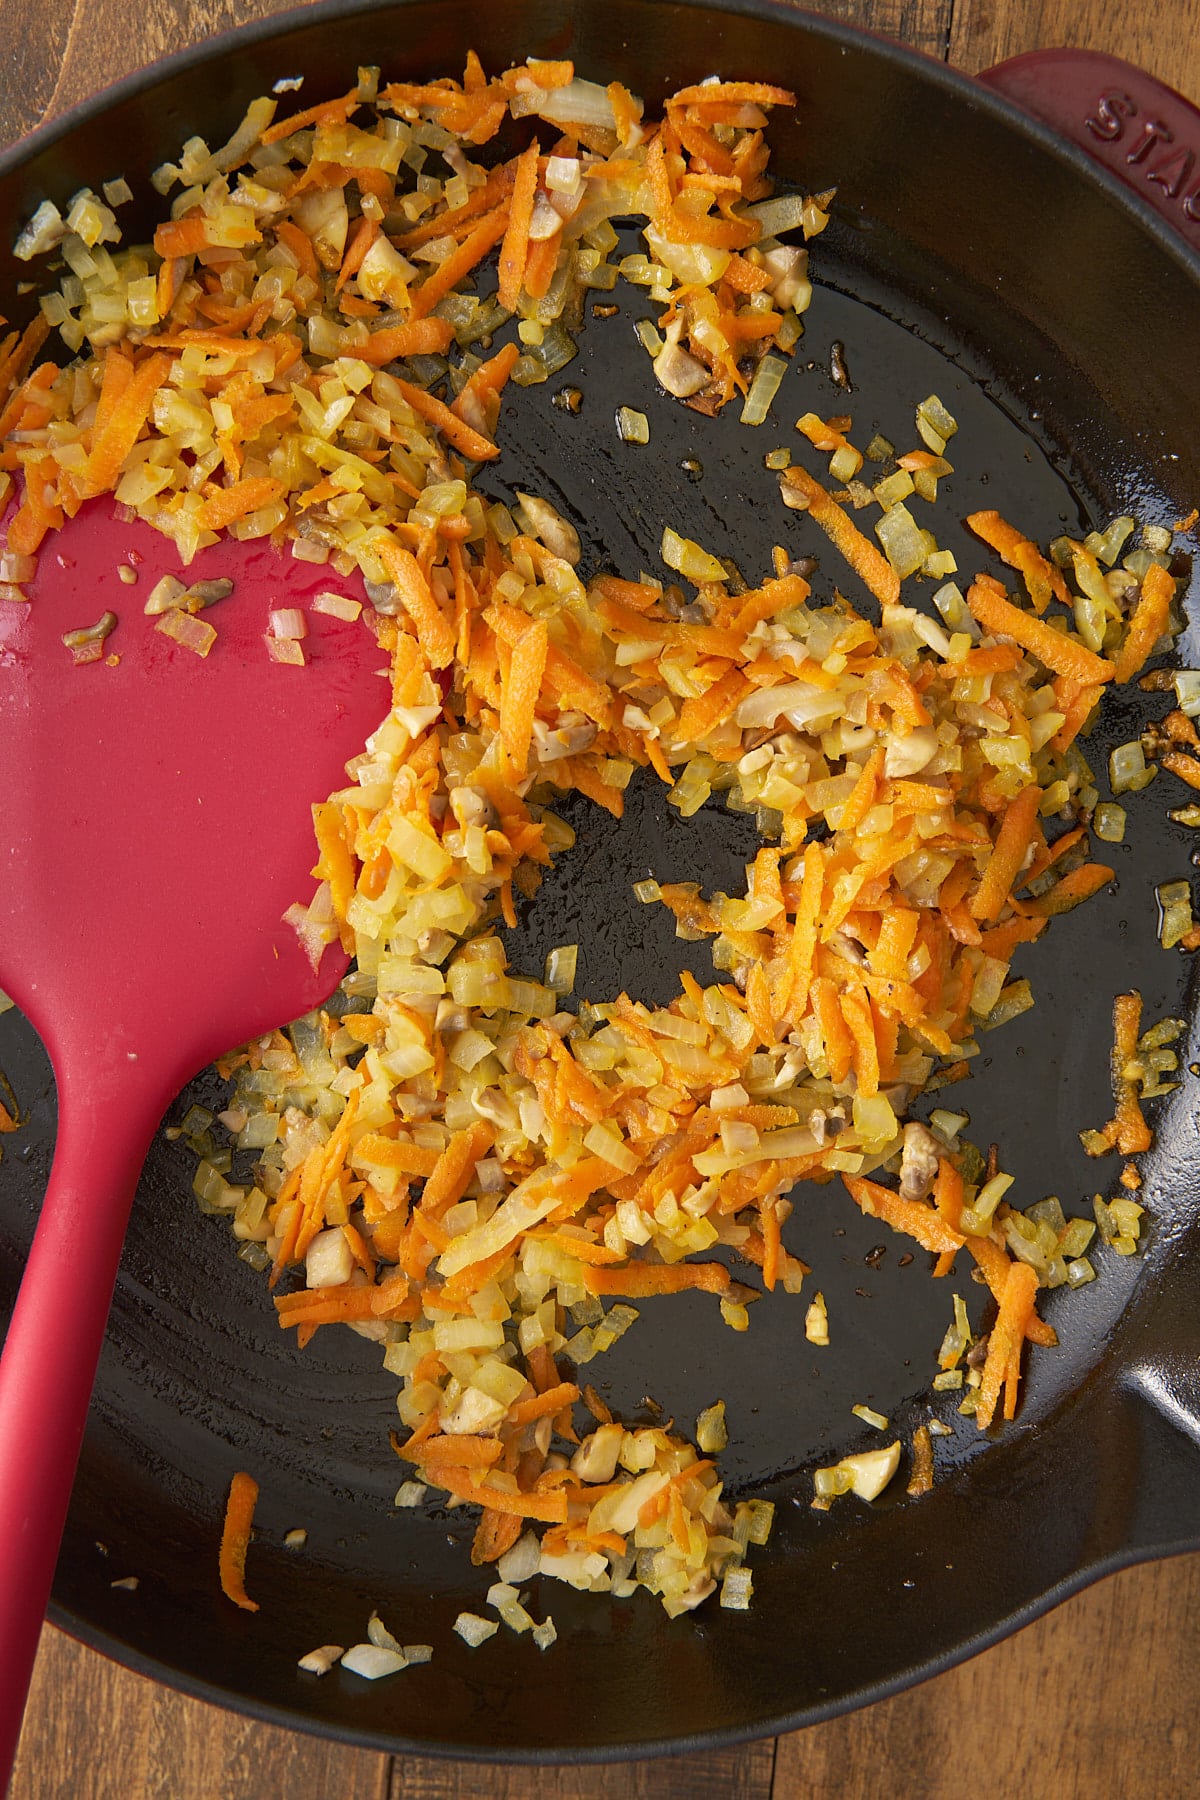
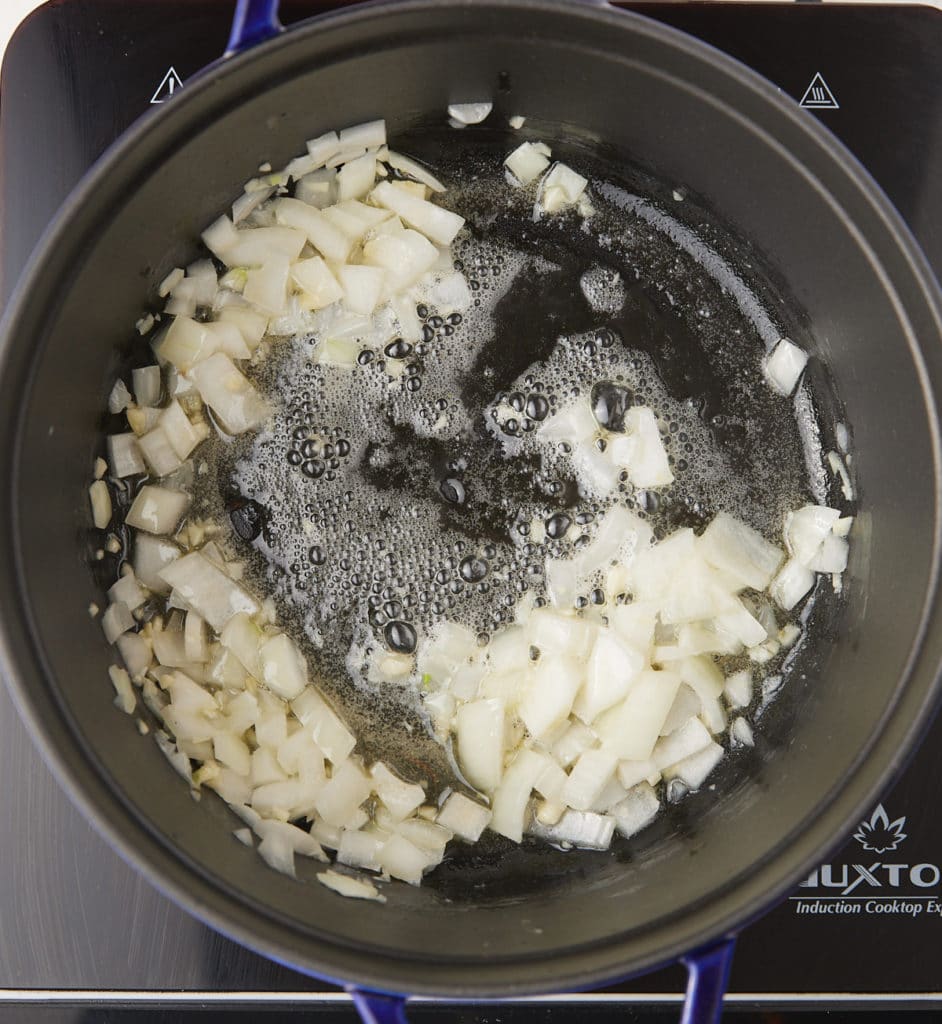
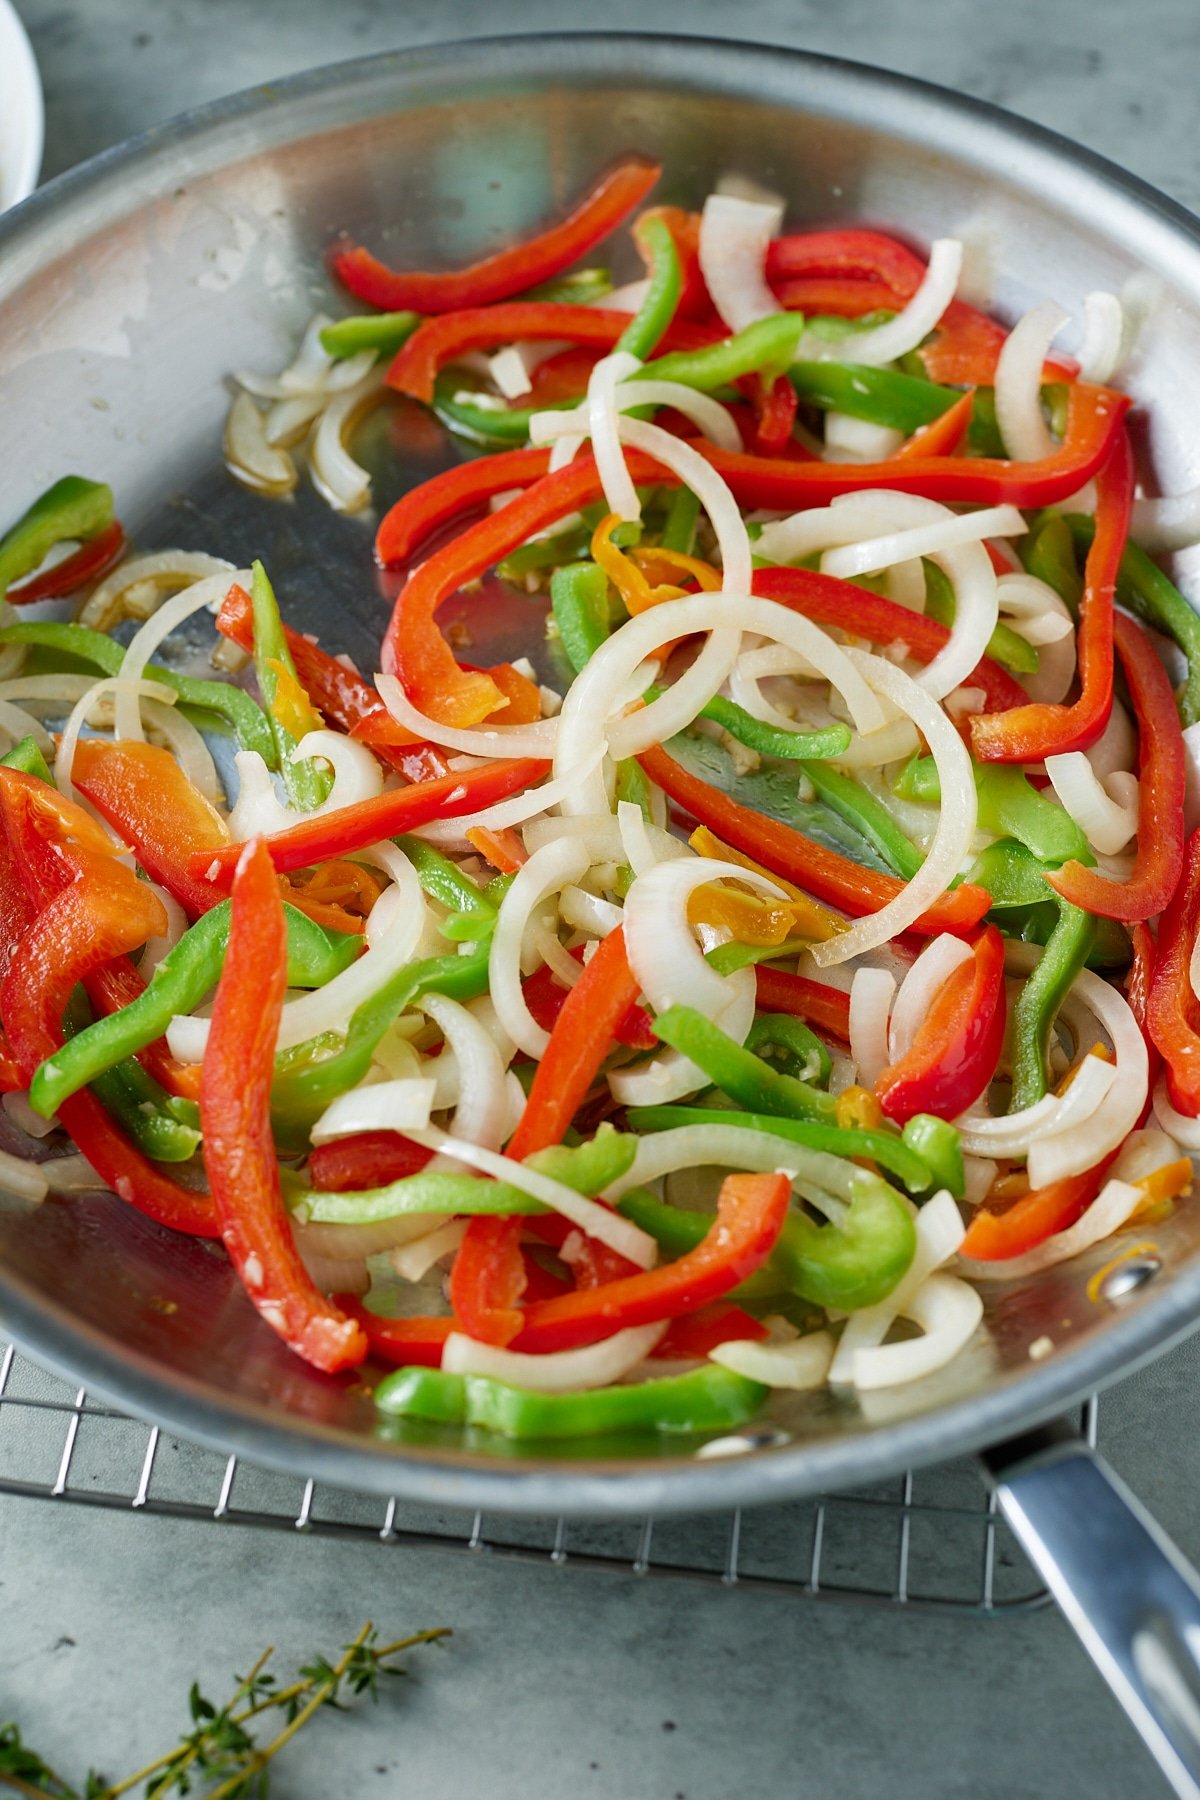
Step 2: Heat 2 Tablespoons of olive oil in a large skillet over medium heat. Add sliced yellow onion, red bell pepper, green bell pepper, scotch bonnet pepper (if using), and chopped garlic.
Stir for 5 minutes until the peppers are slightly softened.
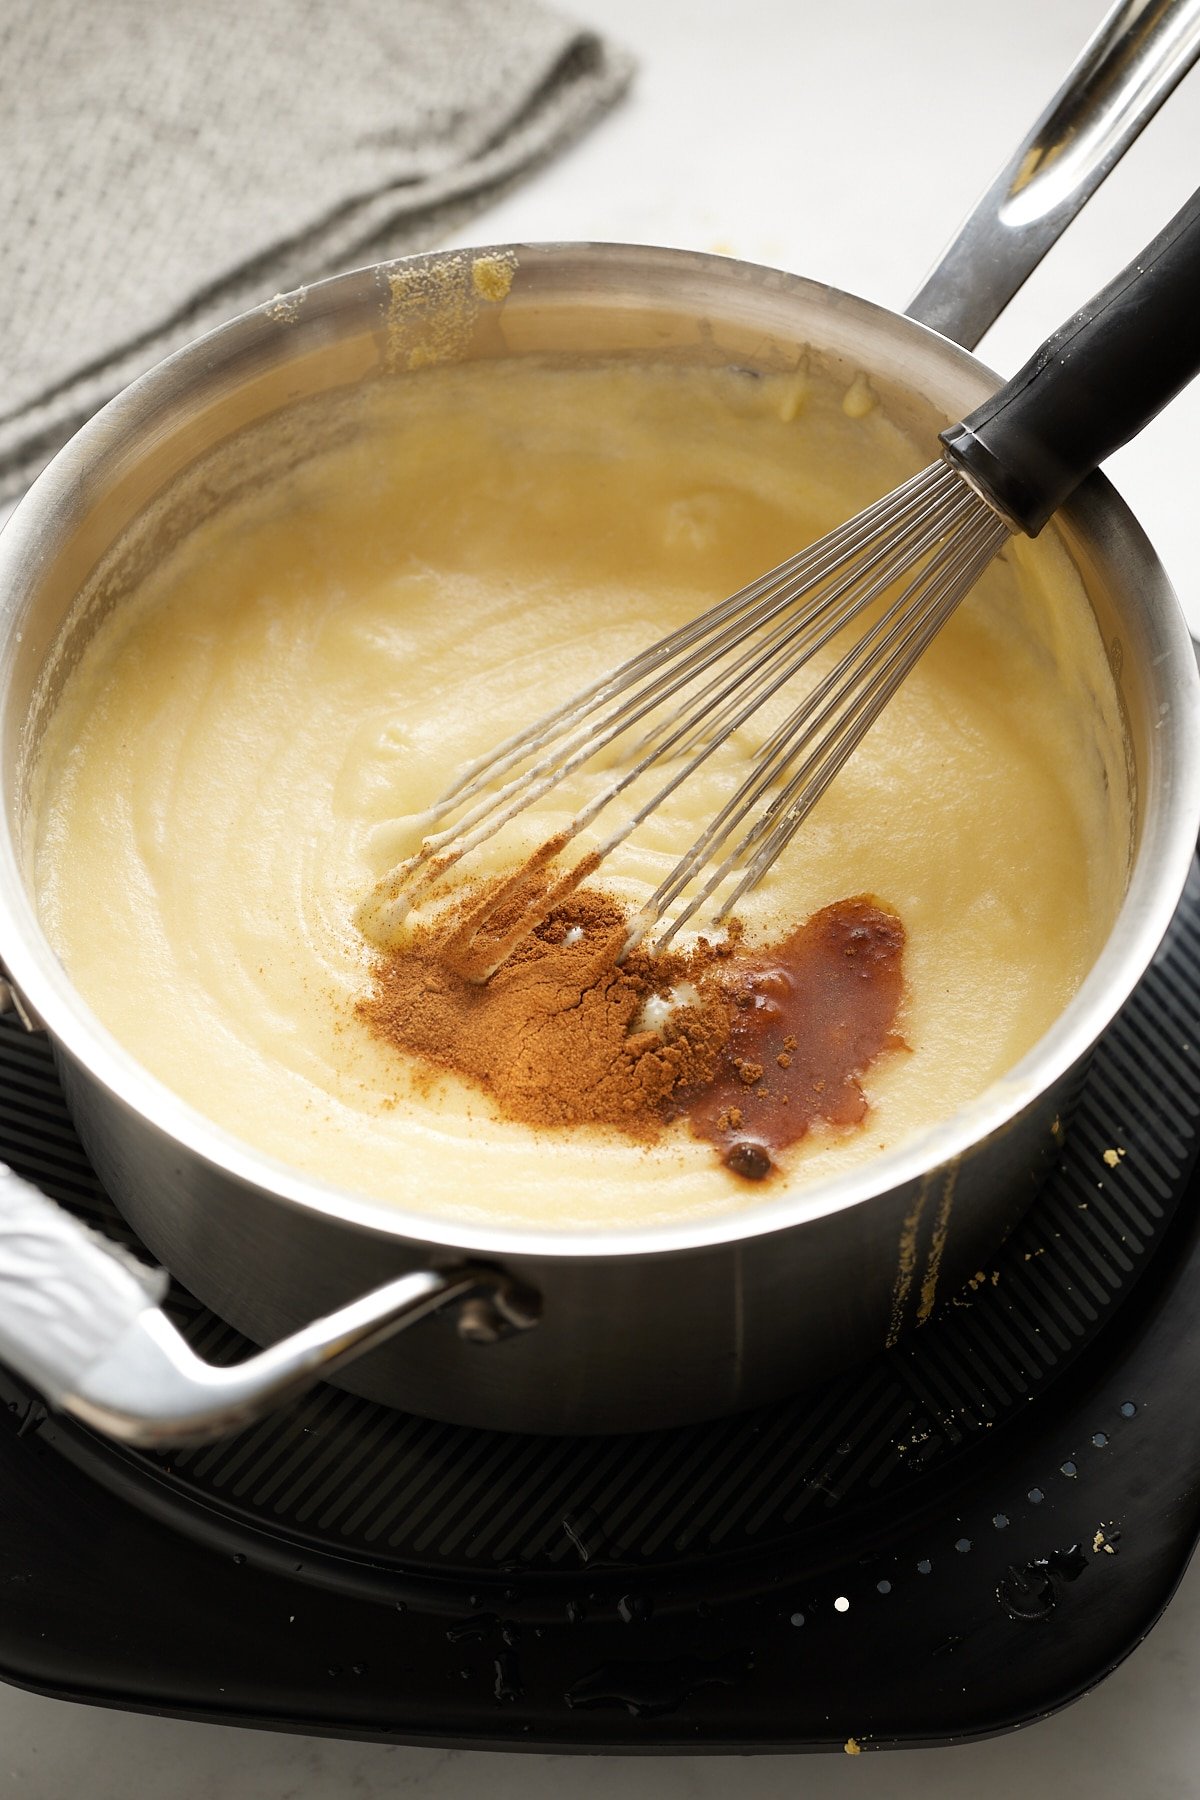
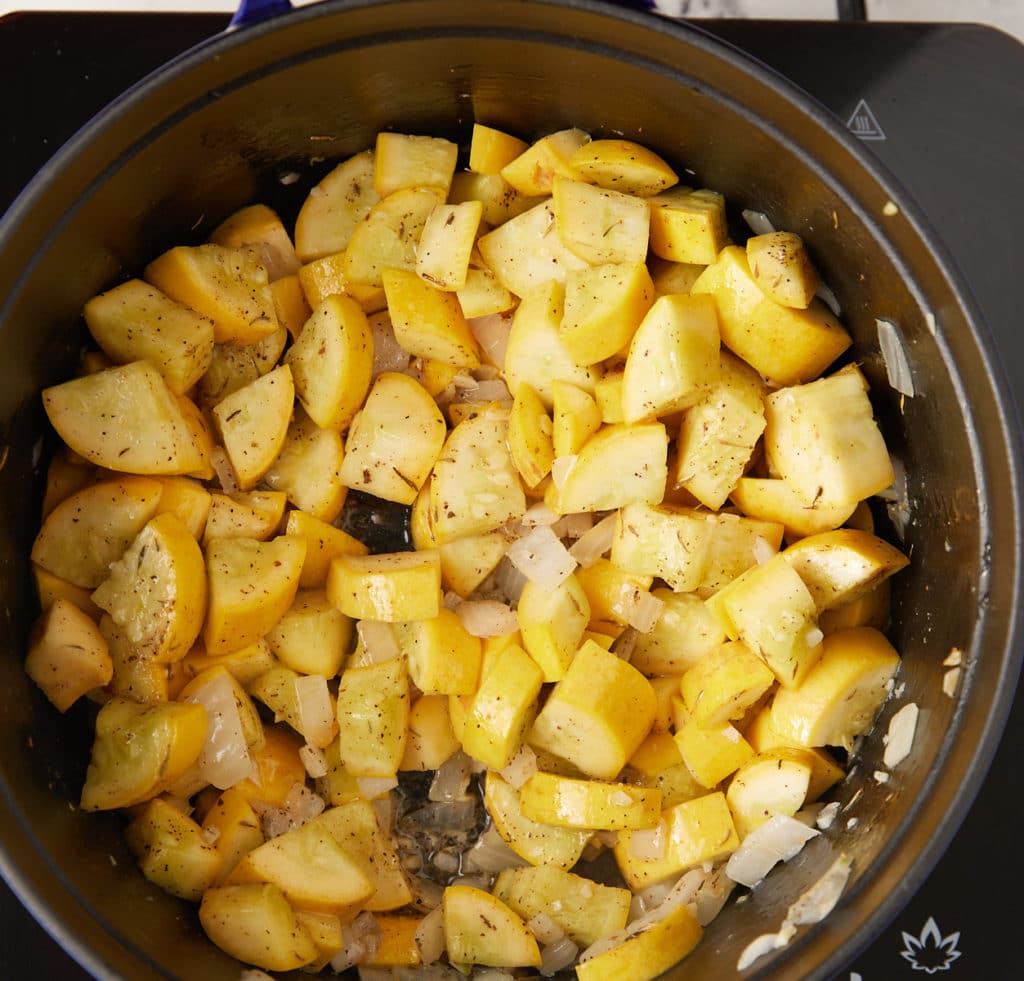
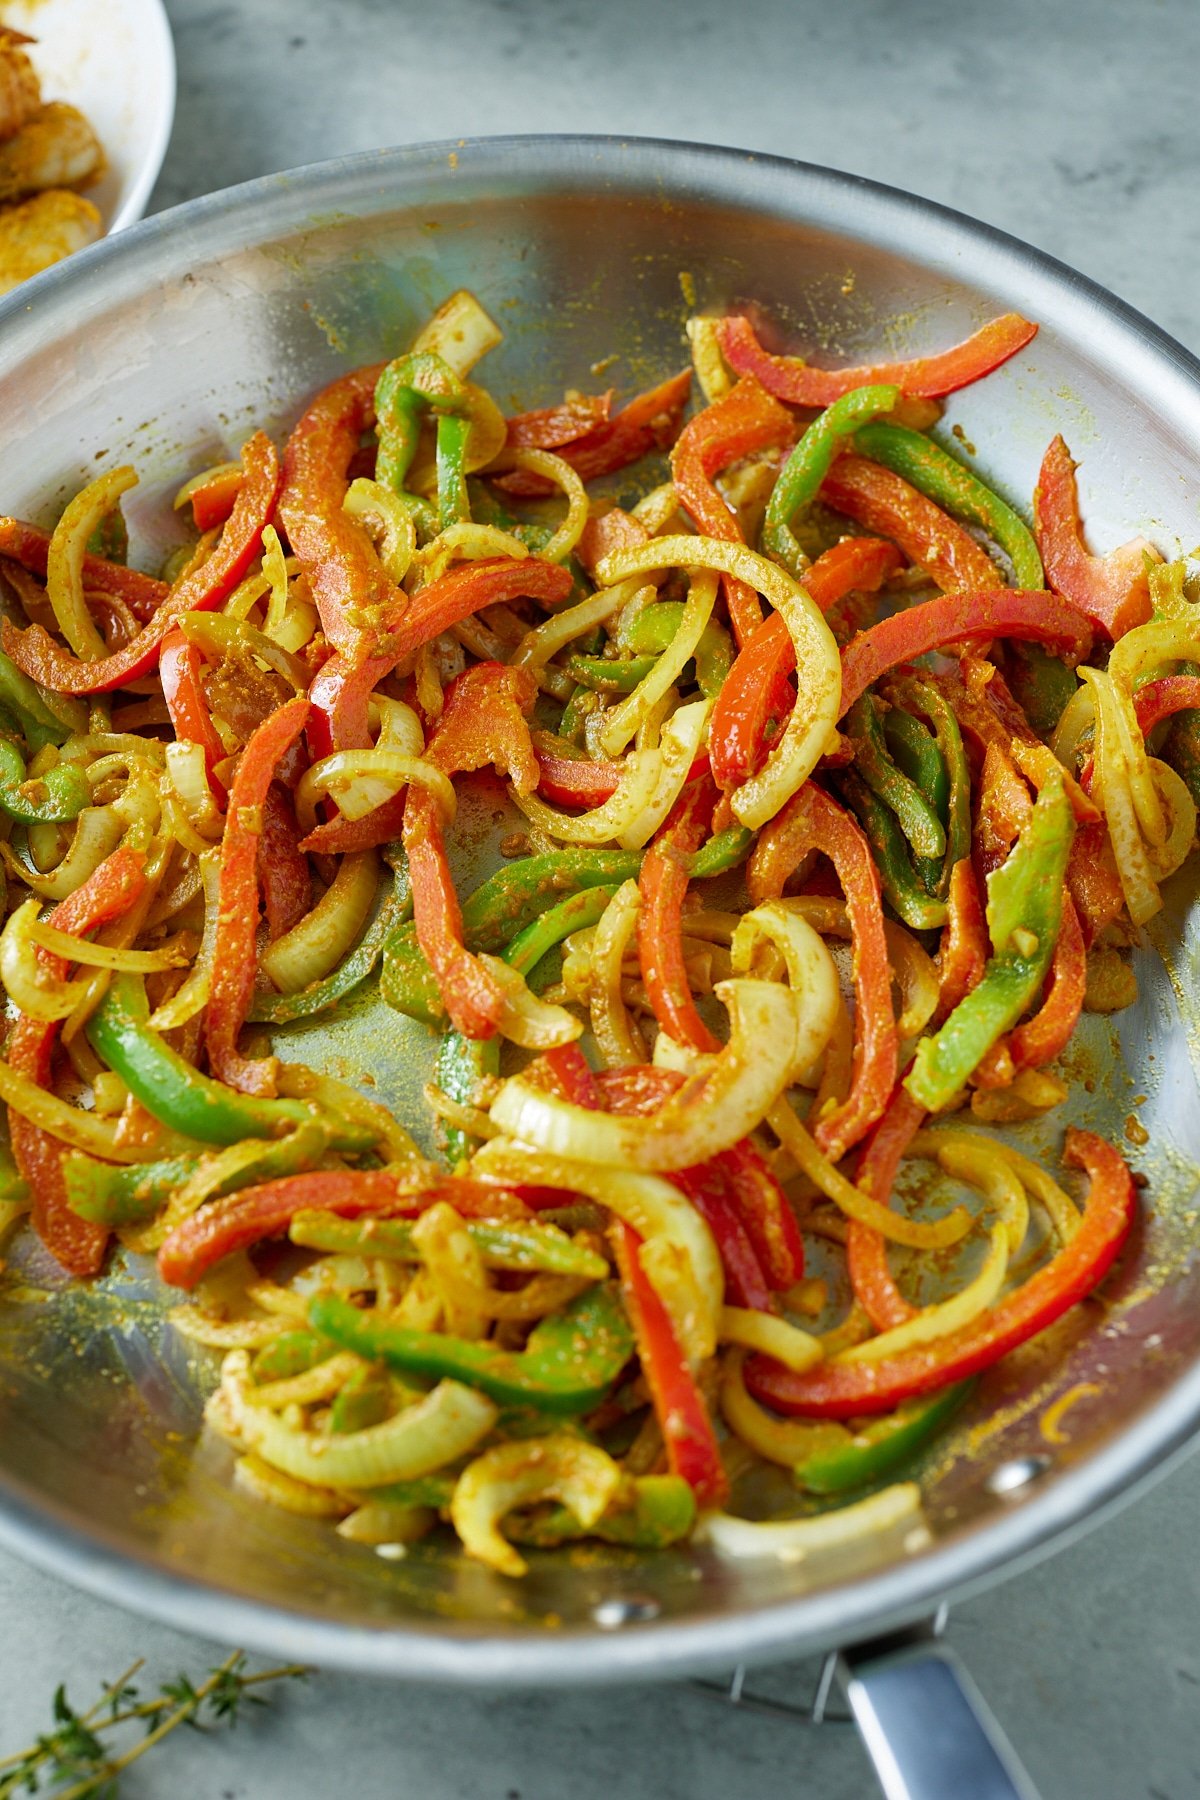
Step 3: Add the remaining curry powder and stir for an additional minute.
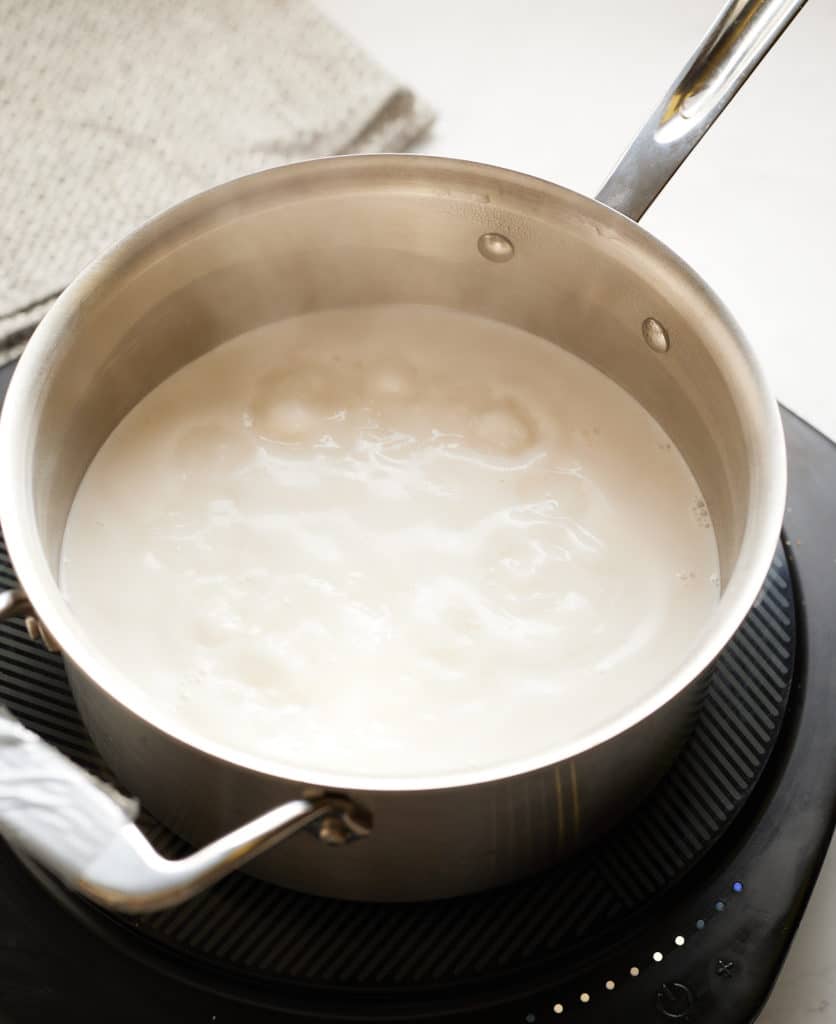
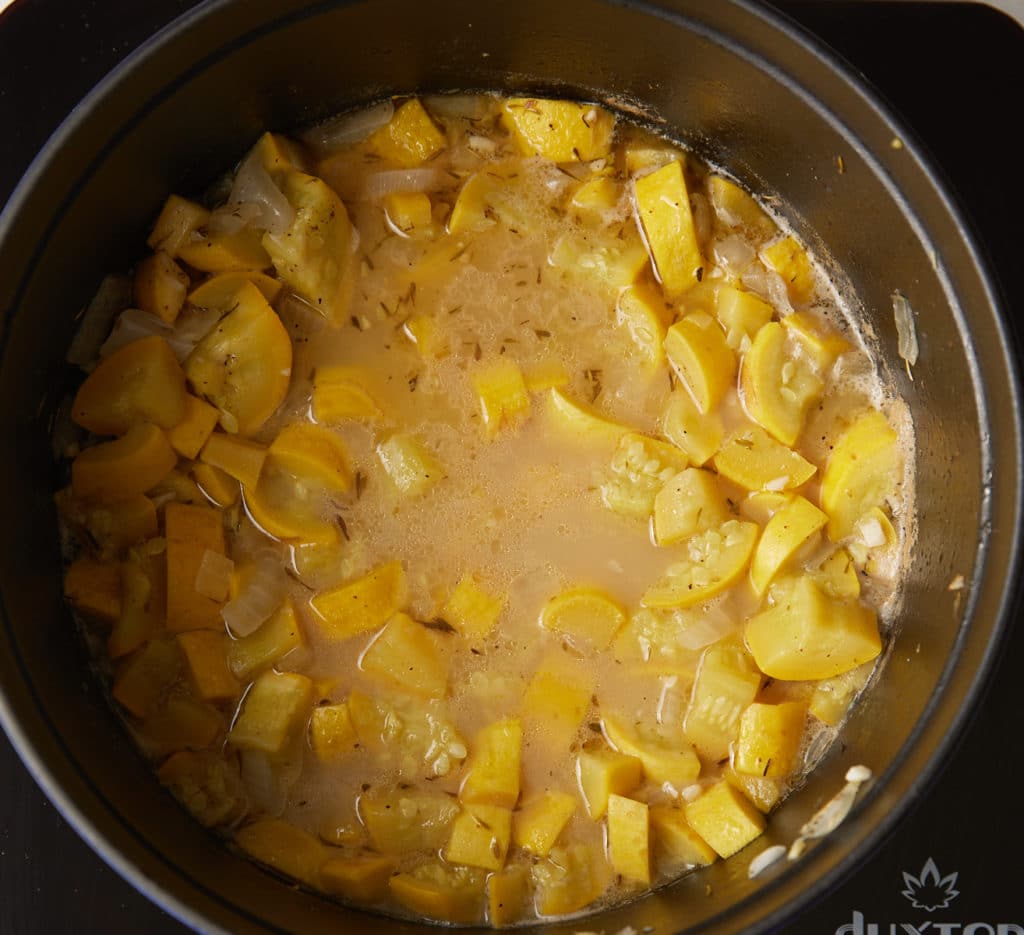
Step 4: Add coconut milk, seasoned shrimp, ketchup, and thyme to cover the shrimp in the sauce.
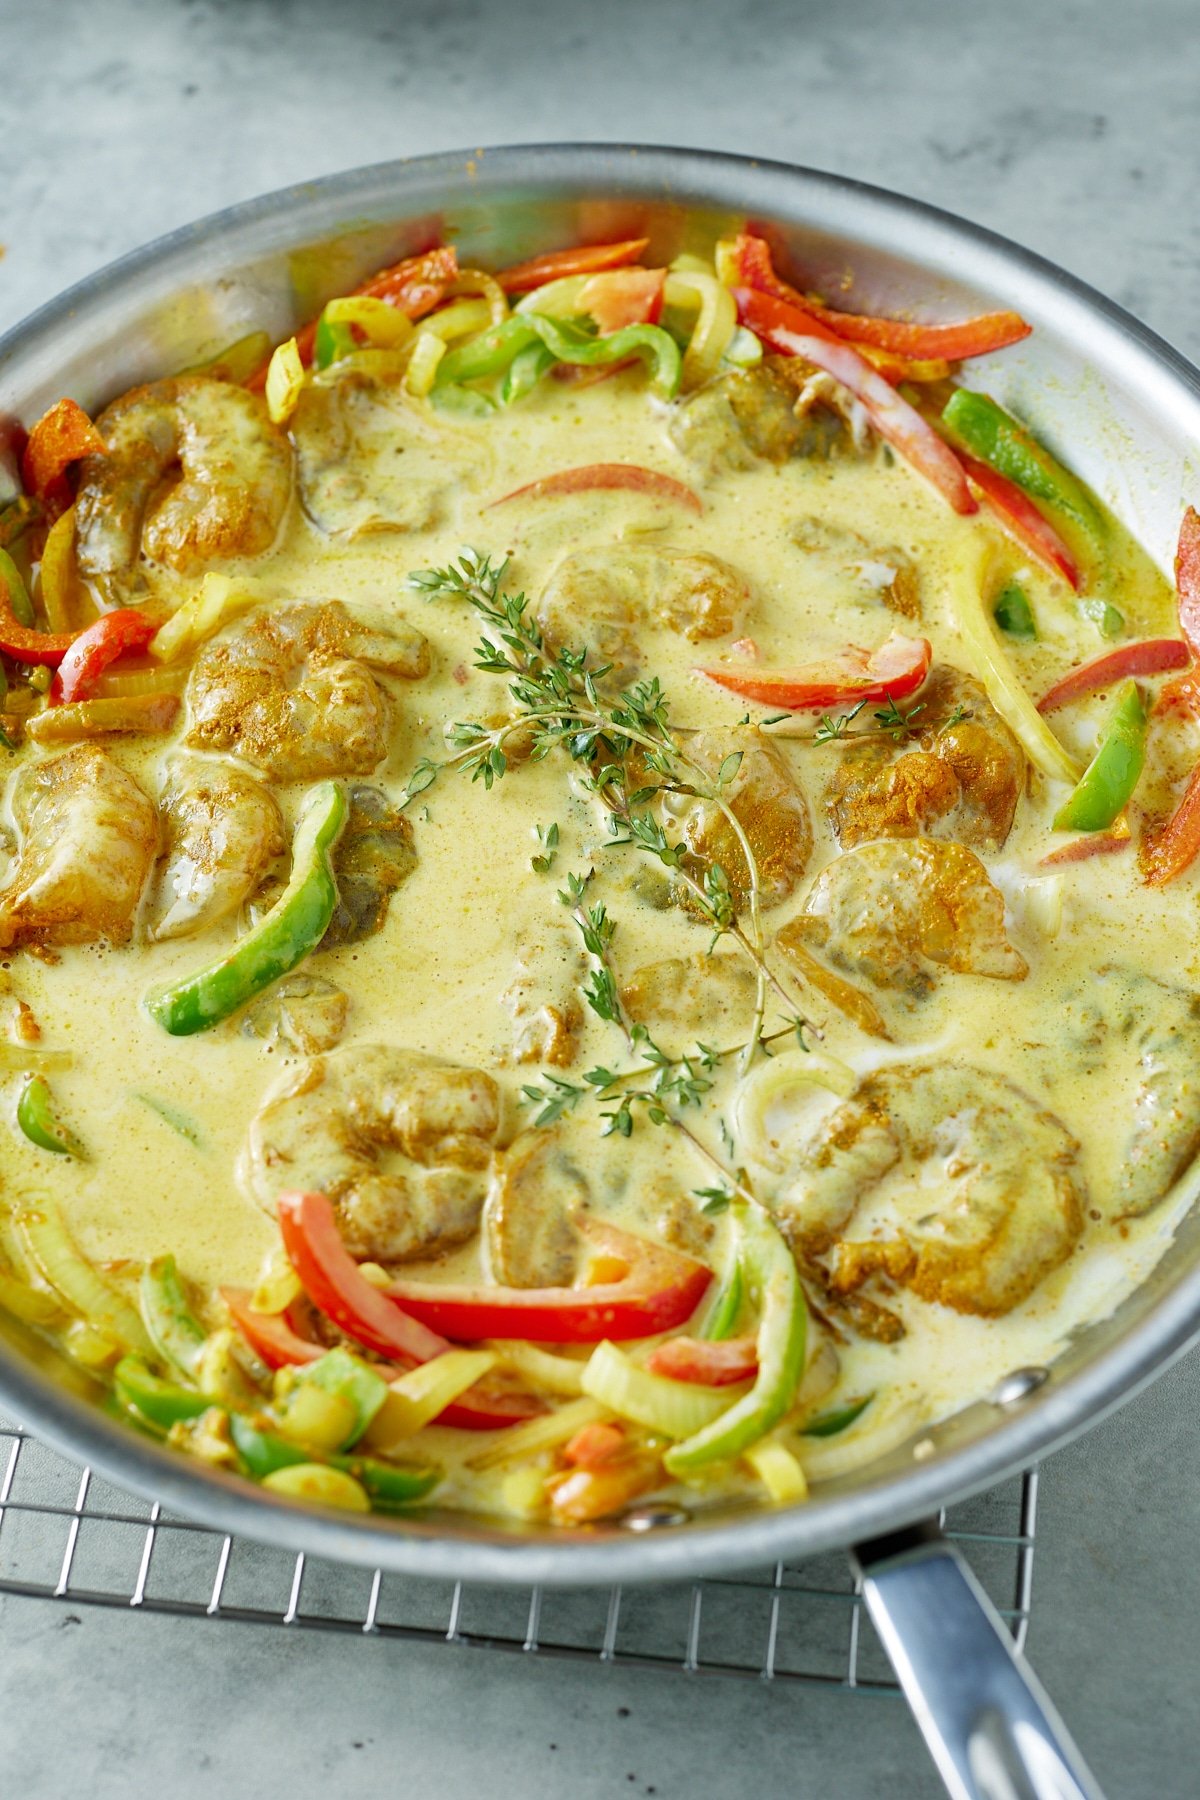
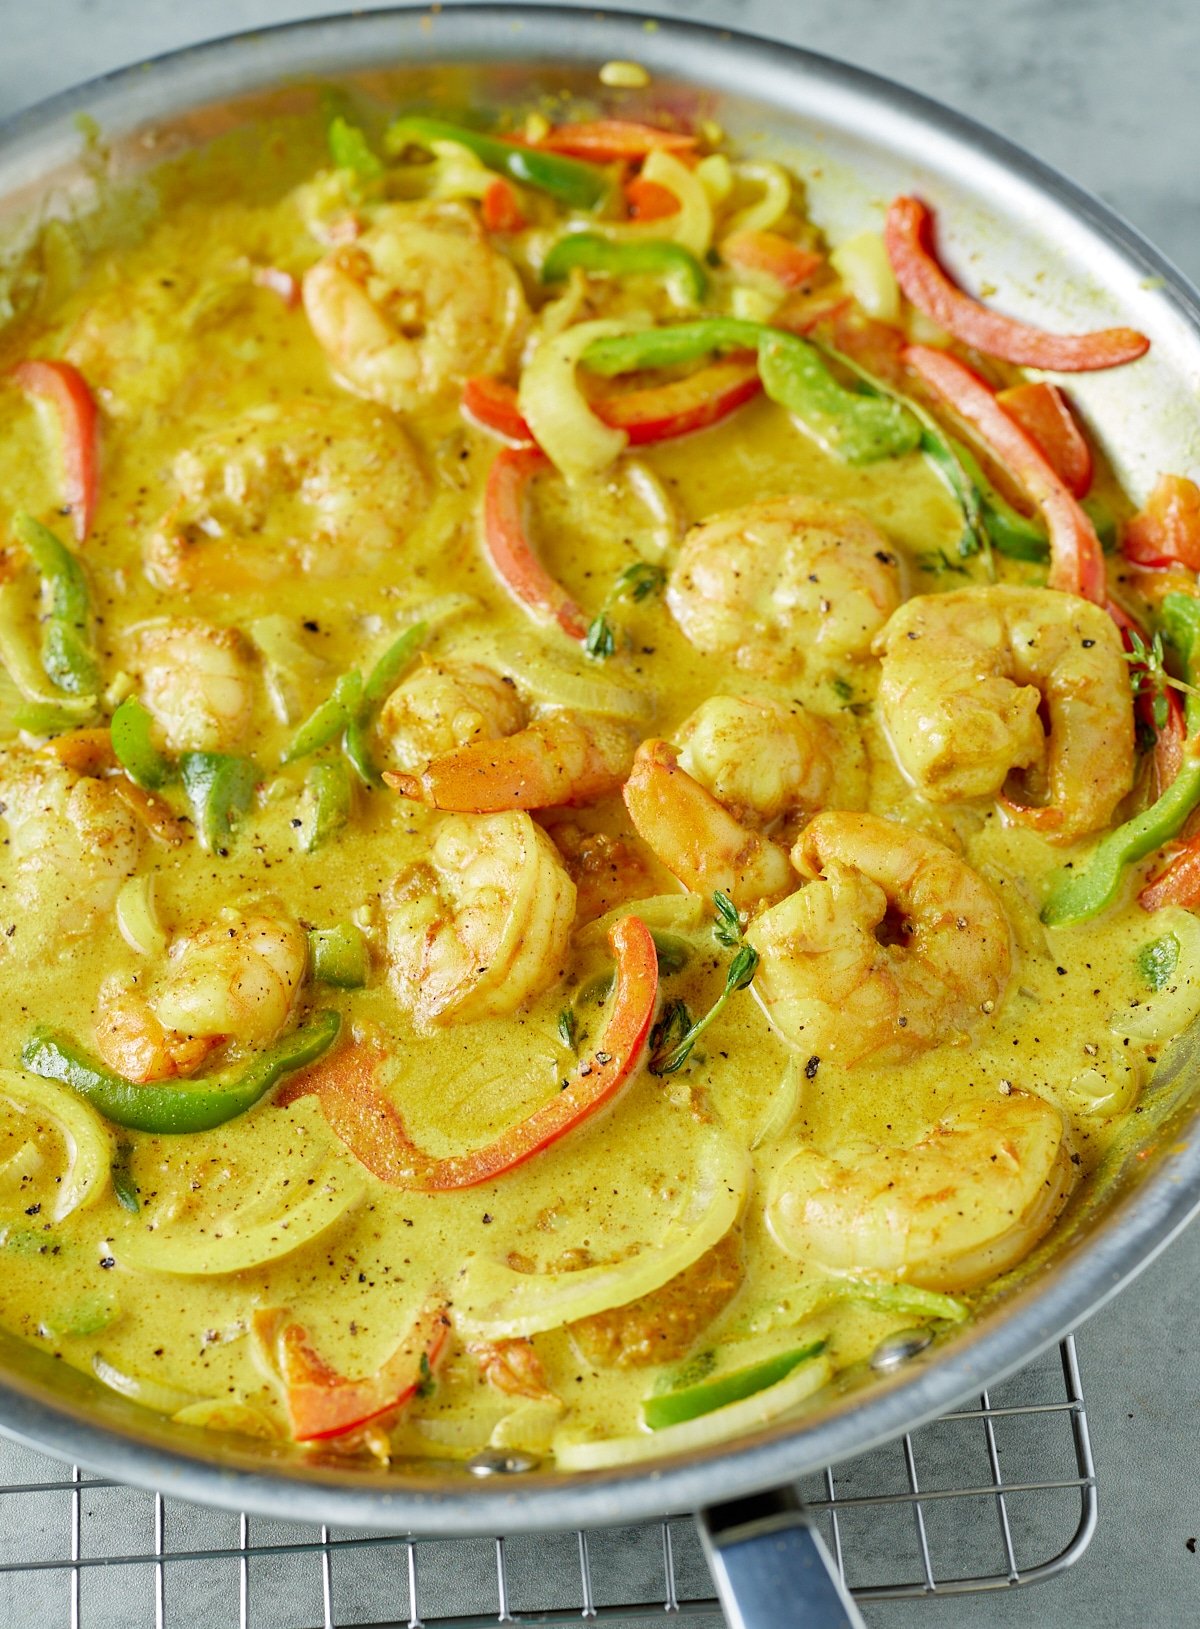
Step 5: Let the sauce simmer and cook the shrimp over medium heat, flipping halfway, until fully cooked on both sides. Stir occasionally. This should take about 5-6 minutes.
Salt and pepper to taste.
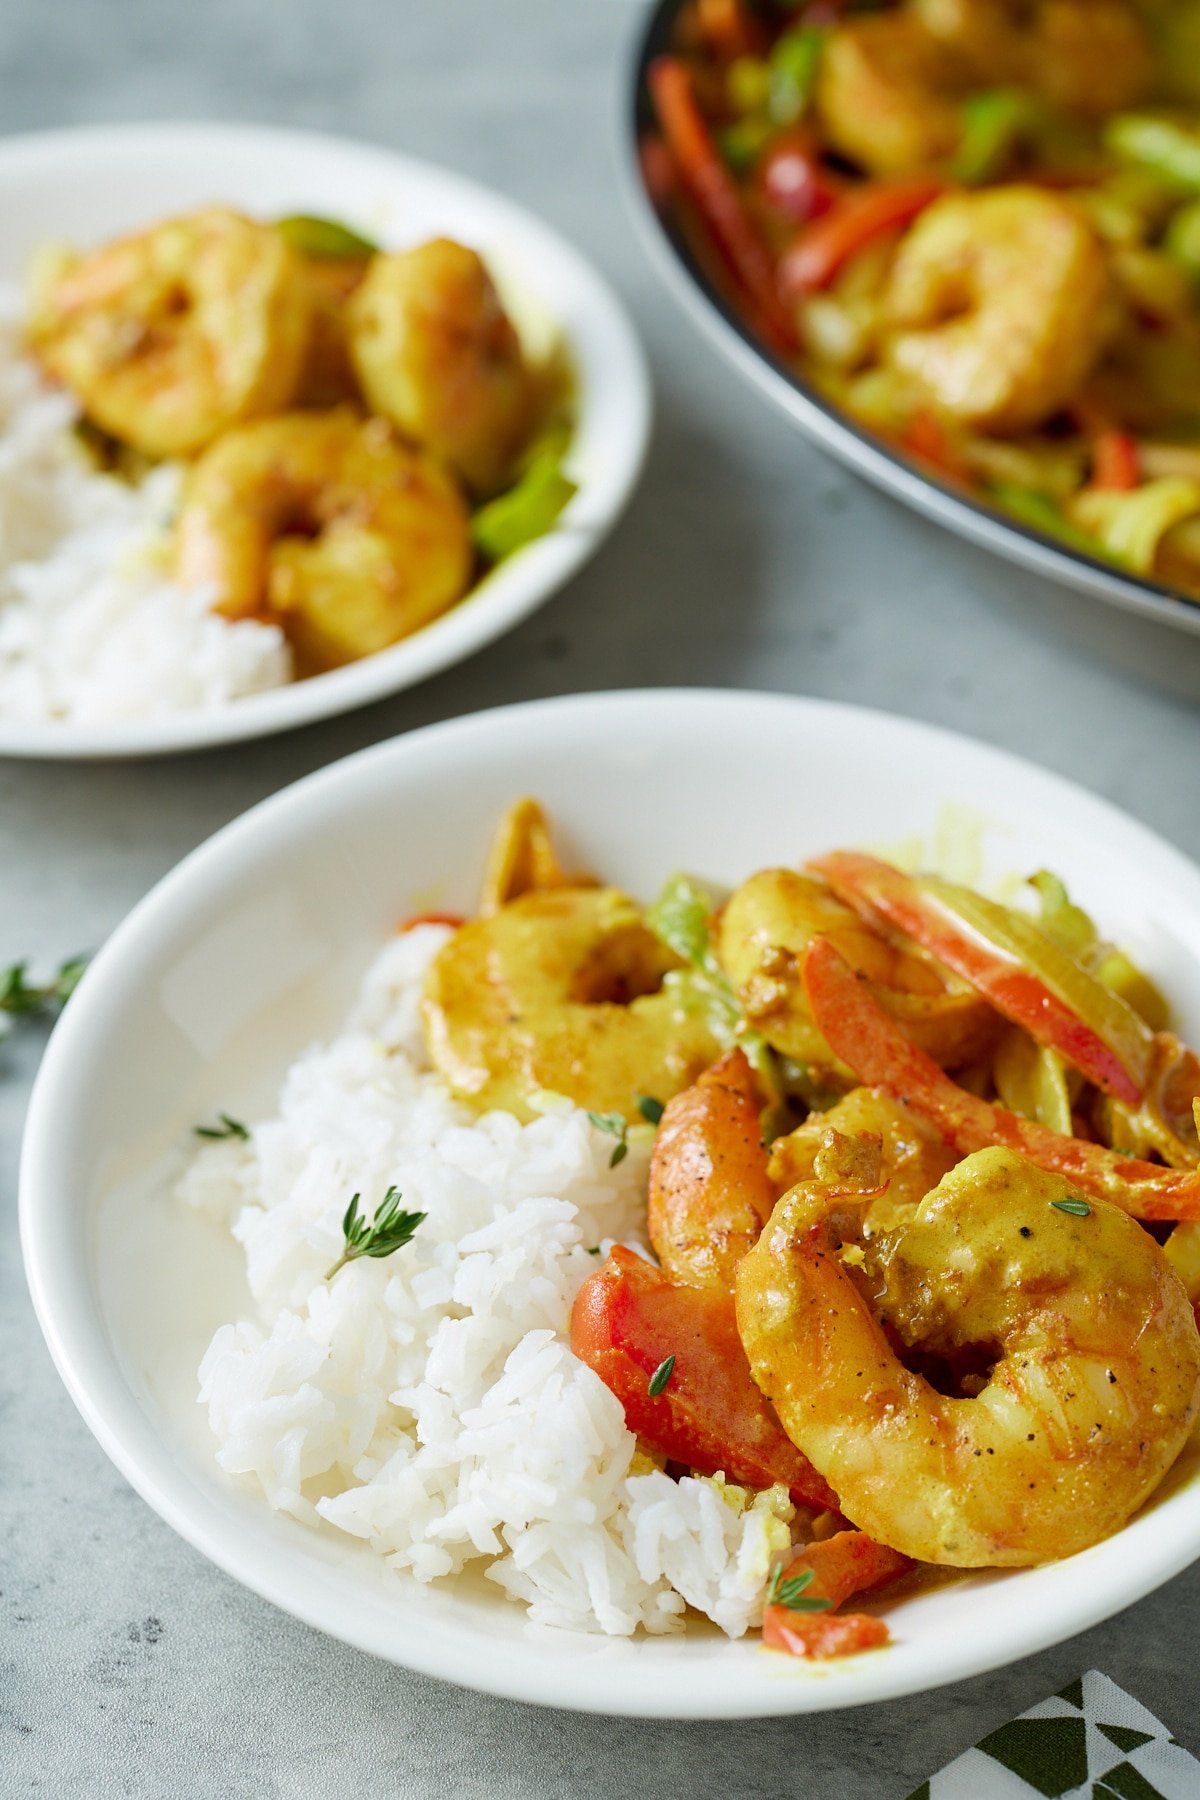
Step 6: Serve with rice, and enjoy.
How to store
Make ahead – Undoubtedly, curry shrimp is an excellent choice for a make-ahead dish. As time passes, the flavors meld more profoundly, offering an even more intense and delightful taste experience
To refrigerate – Store leftover curry in an airtight container for 3 days.
To freeze: Cool the curry before freezing. Then, place it in an airtight container and store it in the freezer for up to 3 months. Defrost in the refrigerator, and once thawed, heat it gently in a pot over the stove.
Variations
Make this curry your own with some of the following swaps:
- Protein swap - use chicken, a firm fish (like cod), or tofu in place of the shrimp.
- Add vegetables like spinach or cauliflower for a fun way to use leftovers.
- Top the curry with fresh herbs, like cilantro, for an extra pop of flavor and color.
Tanya's Top Tips on Jamaican Curry Shrimp Recipe
- This curry creates a rich and delicious sauce. I use a whole can of full-fat coconut milk. If you like your sauce a little thinner, sub half of the coconut milk with water.
- I use Blue Mountain Jamaican curry powder for this recipe or my homemade curry powder recipe.
- Make sure to keep the heat on medium to avoid scorching the sauce. If your sauce begins to scorch, turn your heat down to medium-low.
- This dish is delicious served over white or brown rice. Coleslaw served on the side is also a great idea.
- If you're not a fan of spice, omit the scotch bonnet pepper.
FAQ
Yes, coconut milk lends a distinctive, rich, and creamy texture to Caribbean dishes. Nonetheless, heavy cream or yogurt can serve as suitable replacements if needed.
The naming can depend on regional vernacular and personal preference. In many Western countries, it is commonly called "shrimp curry." In Caribbean nations, including Jamaica, it is traditionally called "curry shrimp."
Looking for more Jamaican recipes? Try these out
- Jerk Shrimp - Not curry, but a spicy, smoky way to enjoy Caribbean shrimp.
- Jamaican Oxtail - A traditional, well-loved Jamaican dish. These oxtails are pressure-cooked until tender.
- Ackee and Saltfish - Jamaica's national dish.
- Brown Stew Chicken - Another classic. My family enjoyed brown stew chicken on a weekly basis.
- Jerk Chicken - Marinated and then grilled to perfection. I use the air fryer or oven when it's convenient.
- Rice and Peas - This is my go-to rice side for many dishes. It would work great with this curry shrimp.
Jamaican Curry Shrimp Recipe
Ingredients
- 1 lb jumbo shrimp peeled and deveined, tails removed
- 2.5 Tablespoons Jamaican curry powder separated
- 1 teaspoon all-purpose seasoning
- 2 Tablespoons olive oil
- 1 medium yellow onion sliced
- 1 medium red bell pepper sliced
- 1 medium green bell pepper sliced
- 1 scotch bonnet pepper seeds removed and sliced (optional)
- 3 cloves garlic chopped
- 13.5 oz can of unsweetened coconut milk
- ½ Tablespoon ketchup
- 4 sprigs of thyme or ½ teaspoon dried thyme
- Salt and pepper
Instructions
- Season shrimp with 1 Tablespoon of curry powder and all-purpose seasoning and set aside for about 10 minutes while you prepare the other ingredients like chopping your onions, peppers, and garlic.
- Heat 2 Tablespoons of olive oil in a large skillet over medium heat. Add sliced yellow onion, red bell pepper, green bell pepper, scotch bonnet pepper, if using, and chopped garlic and stir for 5 minutes, until peppers are slightly softened.
- Add 1.5 Tablespoons of curry powder to the skillet and stir for an additional minute.
- Then add coconut milk, seasoned shrimp, ketchup, and thyme, making sure the shrimp is covered in the sauce.
- Allow the sauce to come to a simmer and continue to cook over medium heat, stirring occasionally and flipping the shrimp halfway, until the shrimp is fully cooked on both sides. This should take about 5-6 minutes. Salt and pepper to taste.
Video
Notes
- This curry creates a rich and delicious sauce because I use a whole can of coconut milk. If you like your sauce a little thinner, sub half of the coconut milk with water.
- I use Blue Mountain Jamaican curry powder for this recipe.
- Make sure to keep the heat on medium to avoid scorching the sauce. If your sauce begins to scorch, turn your heat down to medium-low.
- This dish is delicious served over white rice.
- If you're not a fan of spice, omit the scotch bonnet pepper.
Nutrition
This post was originally published on September 8, 2021. It has been updated with additional helpful information.