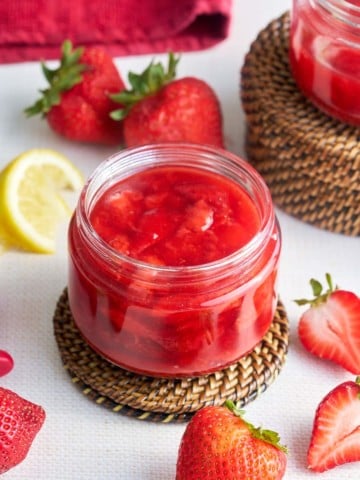
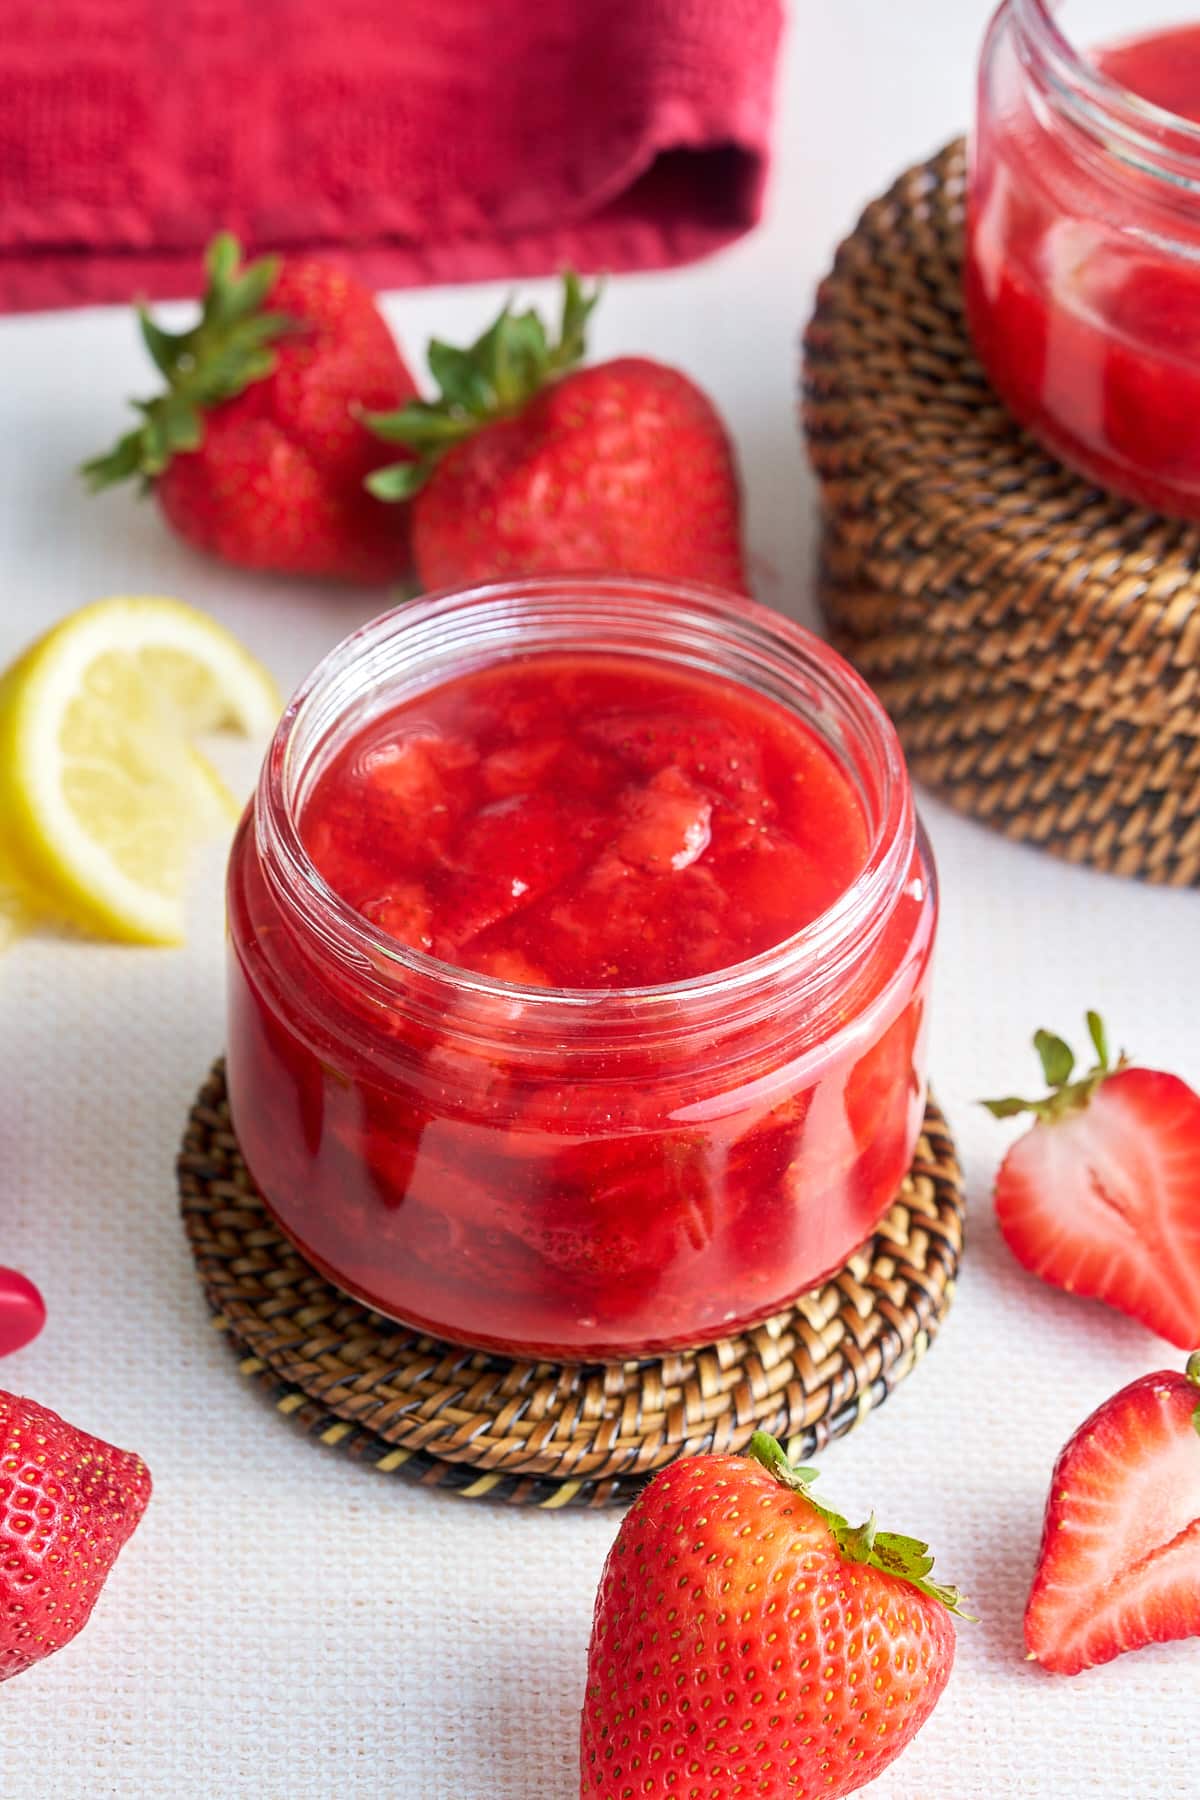
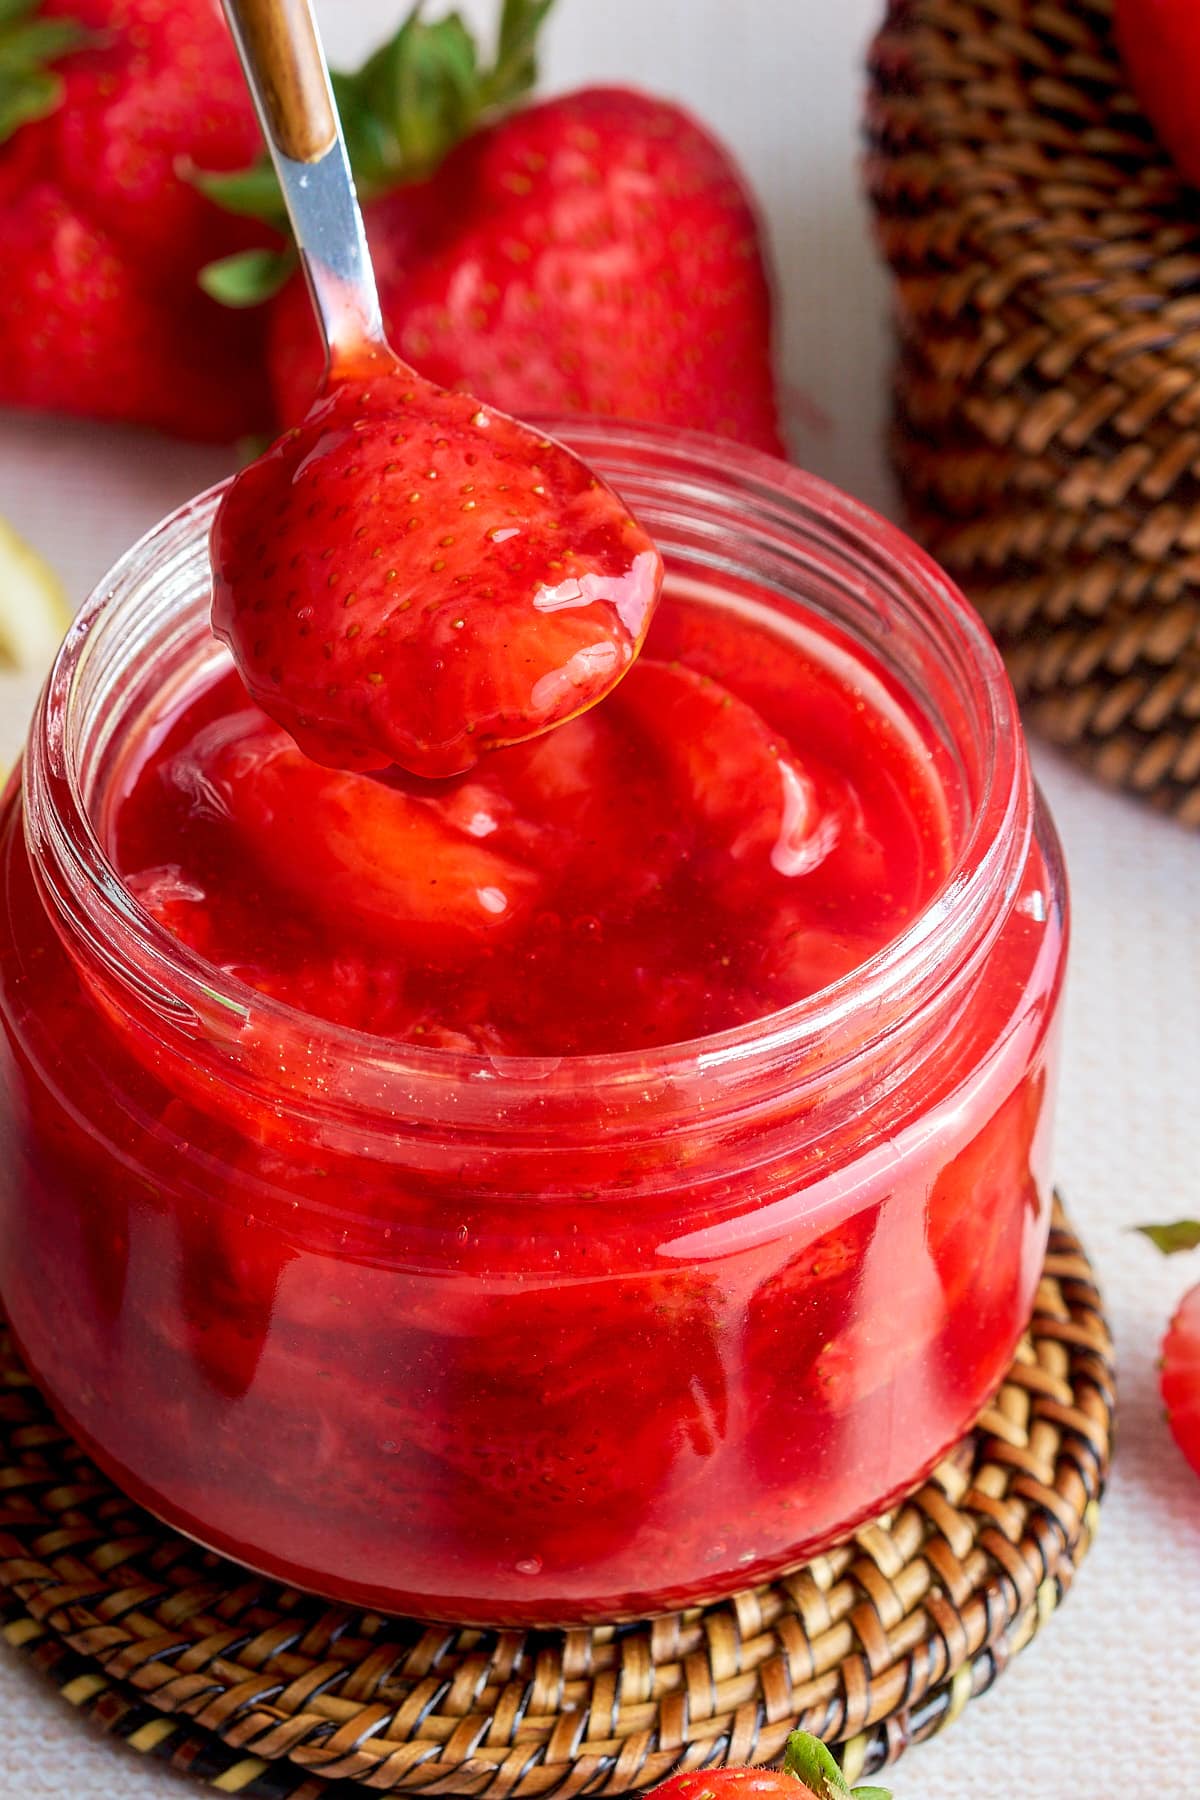
This strawberry compote is a simple and delicious way to use fresh berries. Making a sweet and tangy topping for yogurt, ice cream, pancakes, or waffles is easy. You only need a few ingredients and a few minutes on the stove.
This post contains affiliate links, please read my full disclaimer here.
You’ll find the full recipe with ingredient amounts and instructions in the recipe card at the bottom of this post. Be sure to check out the blog post itself for extra tips and tricks!
During the summer, I love incorporating fresh berries into almost everything. One of my favorite ways to enjoy them is by making a delicious fruit compote. I like this strawberry compote because I LOVE strawberries. The red topping looks good and tastes delicious.
I use simple ingredients for this recipe, like fresh strawberries, fresh lemon juice, and granulated sugar. I vary from traditional recipes by adding a little cinnamon to add more depth of flavor.
If you love fruit compotes, you'll love this blueberry compote recipe.
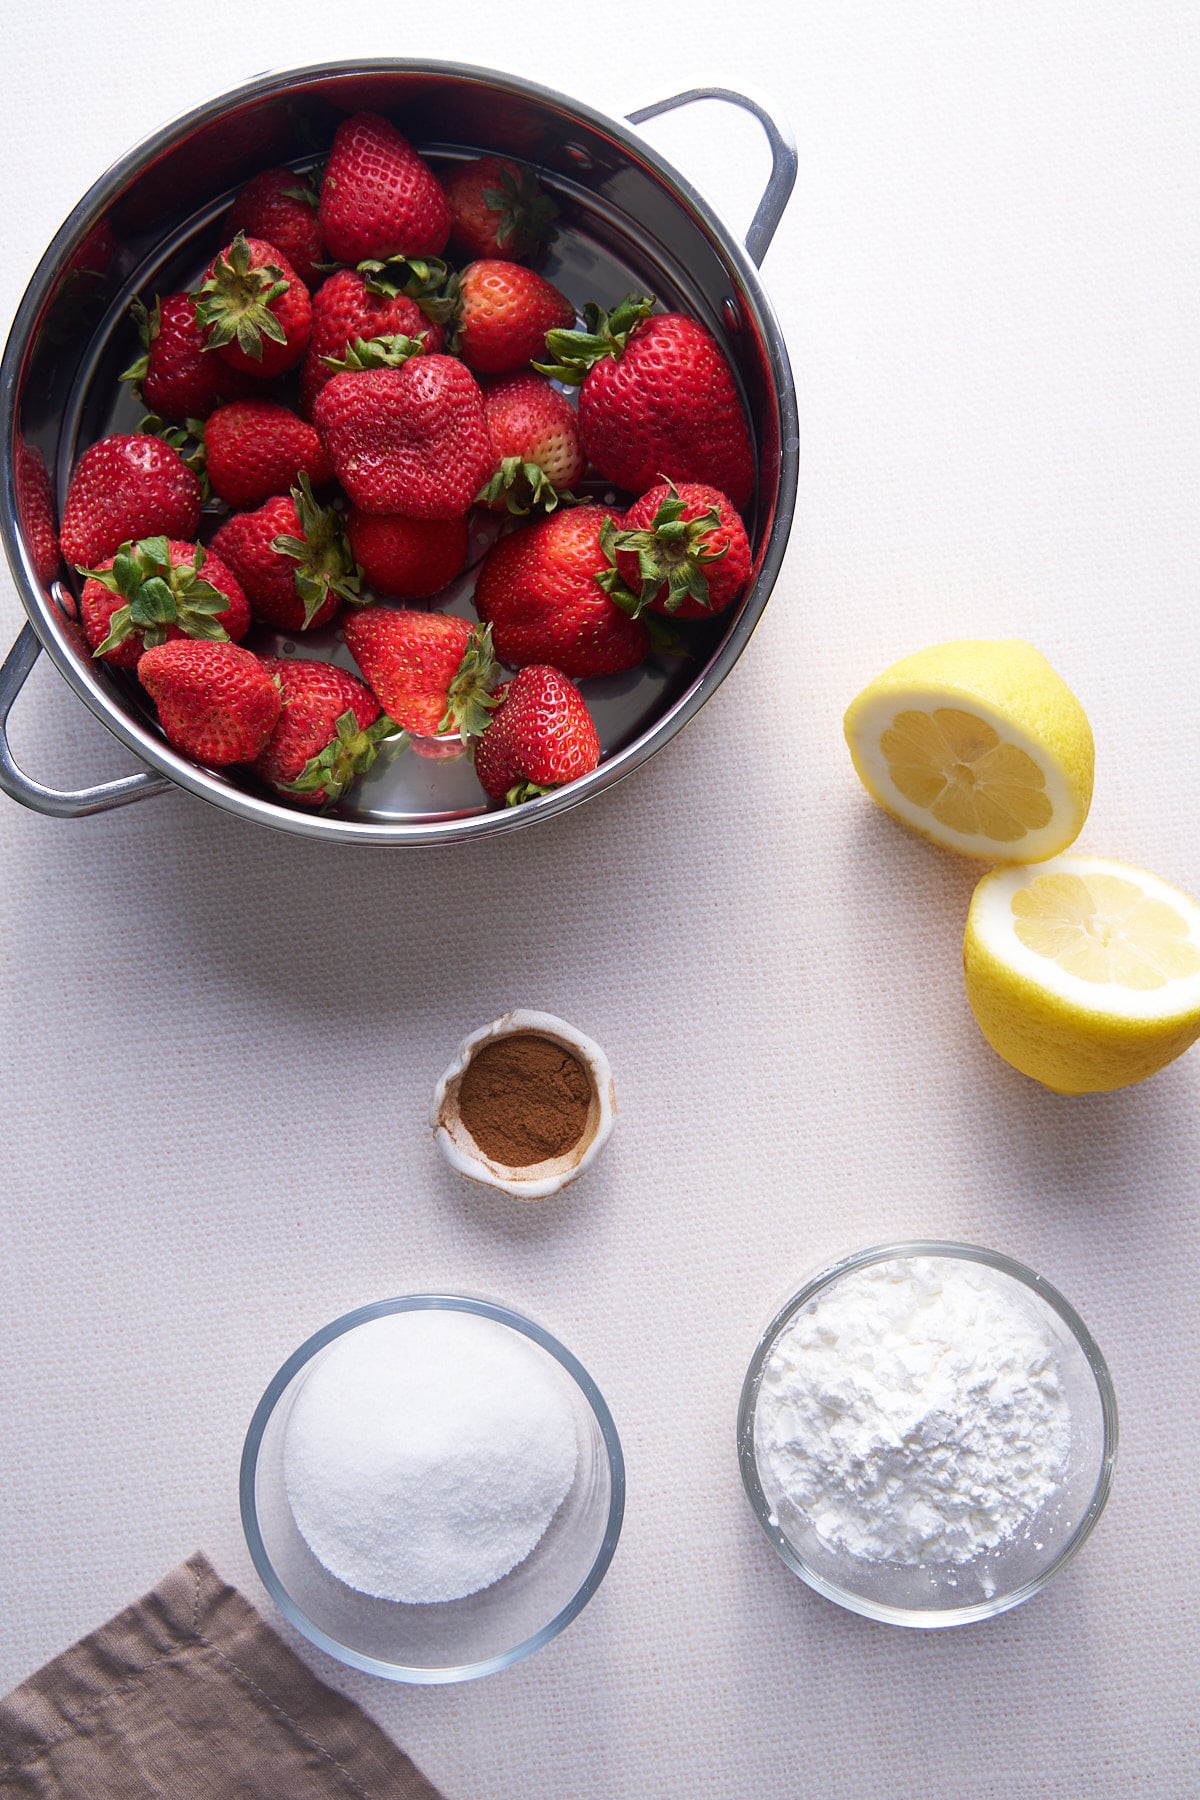
Ingredients for Strawberry Compote (Full ingredient amounts in recipe card below)
- Fresh strawberries - I use fresh strawberries for this recipe, but frozen berries also work.
- Granulated white sugar - to add a bit of sweetness.
- Lemon Juice - I love adding acid components to my fruit compotes and prefer lemon juice. In some recipes, a small amount of vanilla extract is added.
- Ground Cinnamon—This is optional; only add a pinch. I love the flavor cinnamon gives to the compote.
- Cornstarch + water – mixed into a quick slurry to thicken.
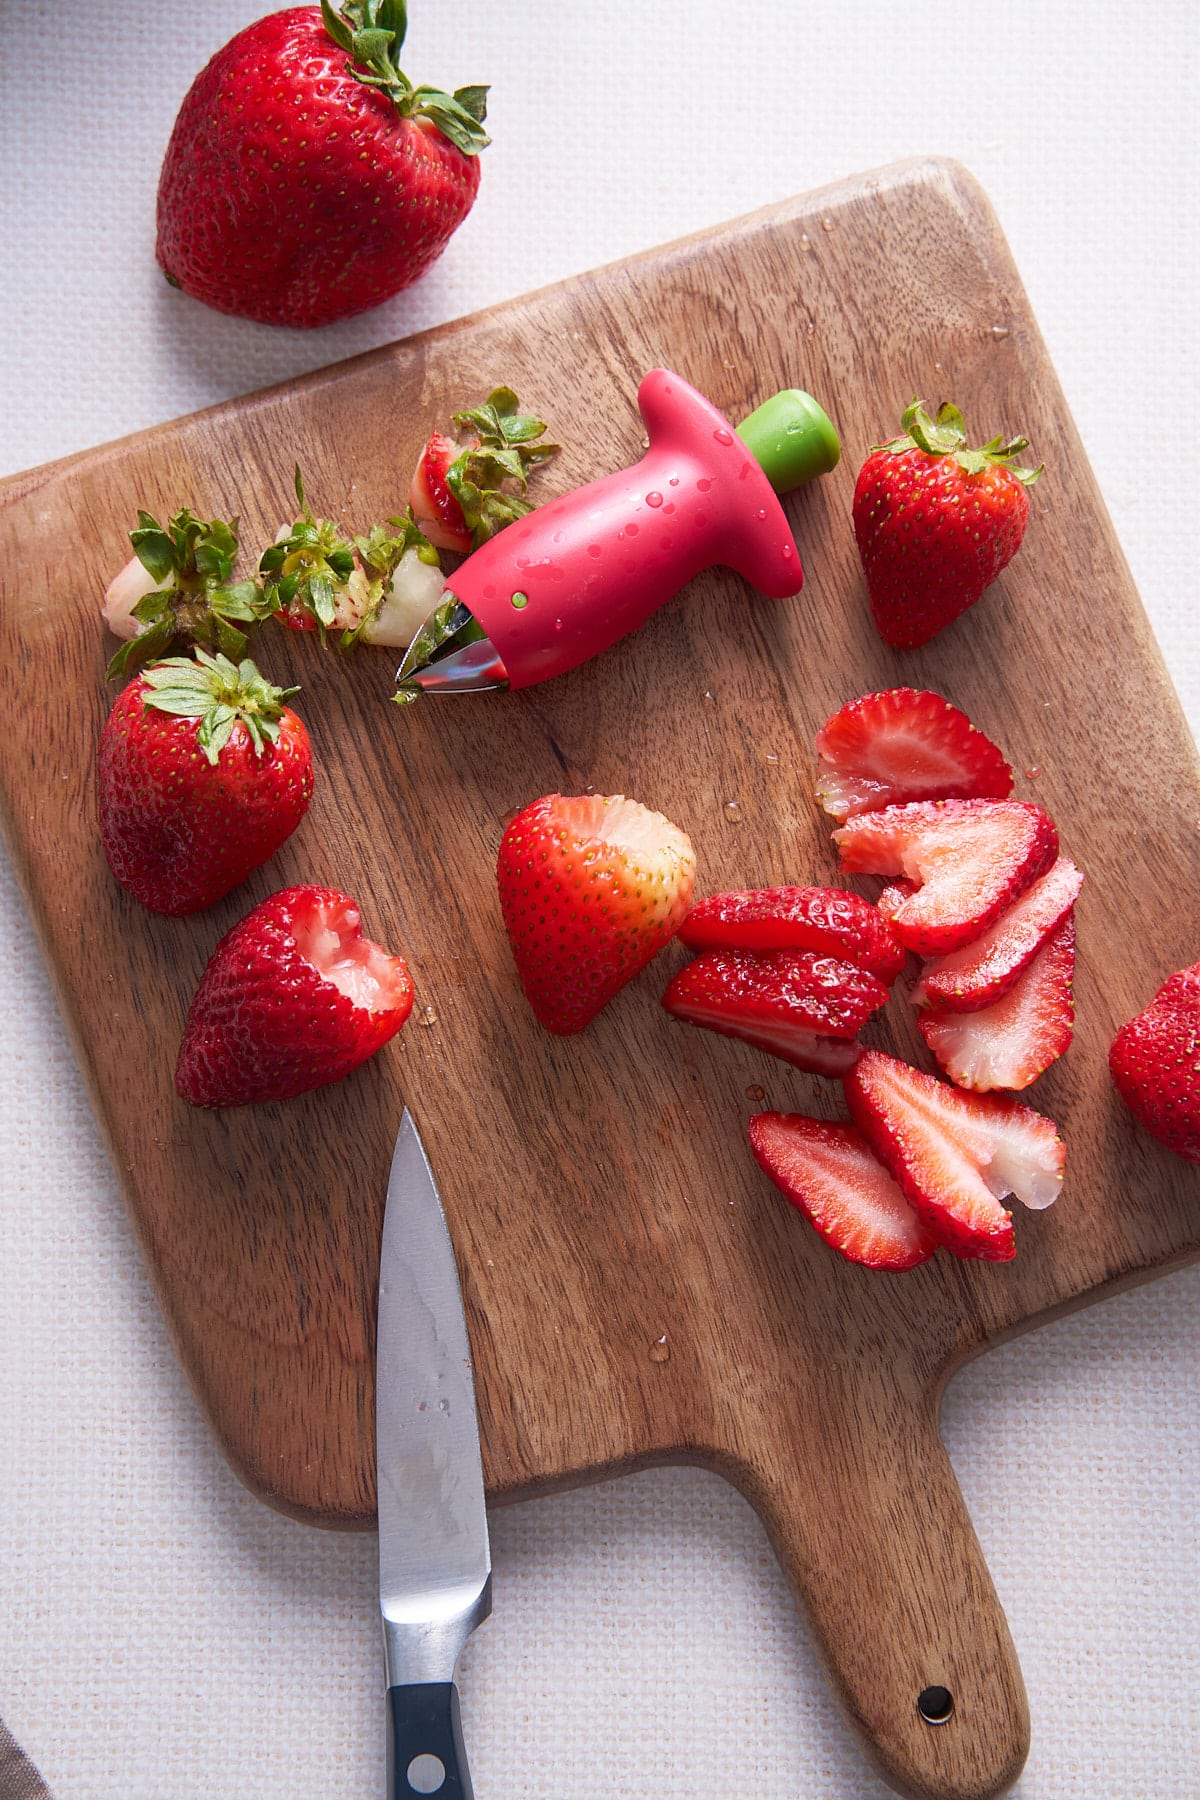
How to make it
Start by hulling your strawberries and removing the stem and core. I use a strawberry huller for best results, but you could also use a pairing knife.
After removing the stems and core, slice your strawberries into ¼-inch slices. You could also cut them in half for larger chunks in your compote.
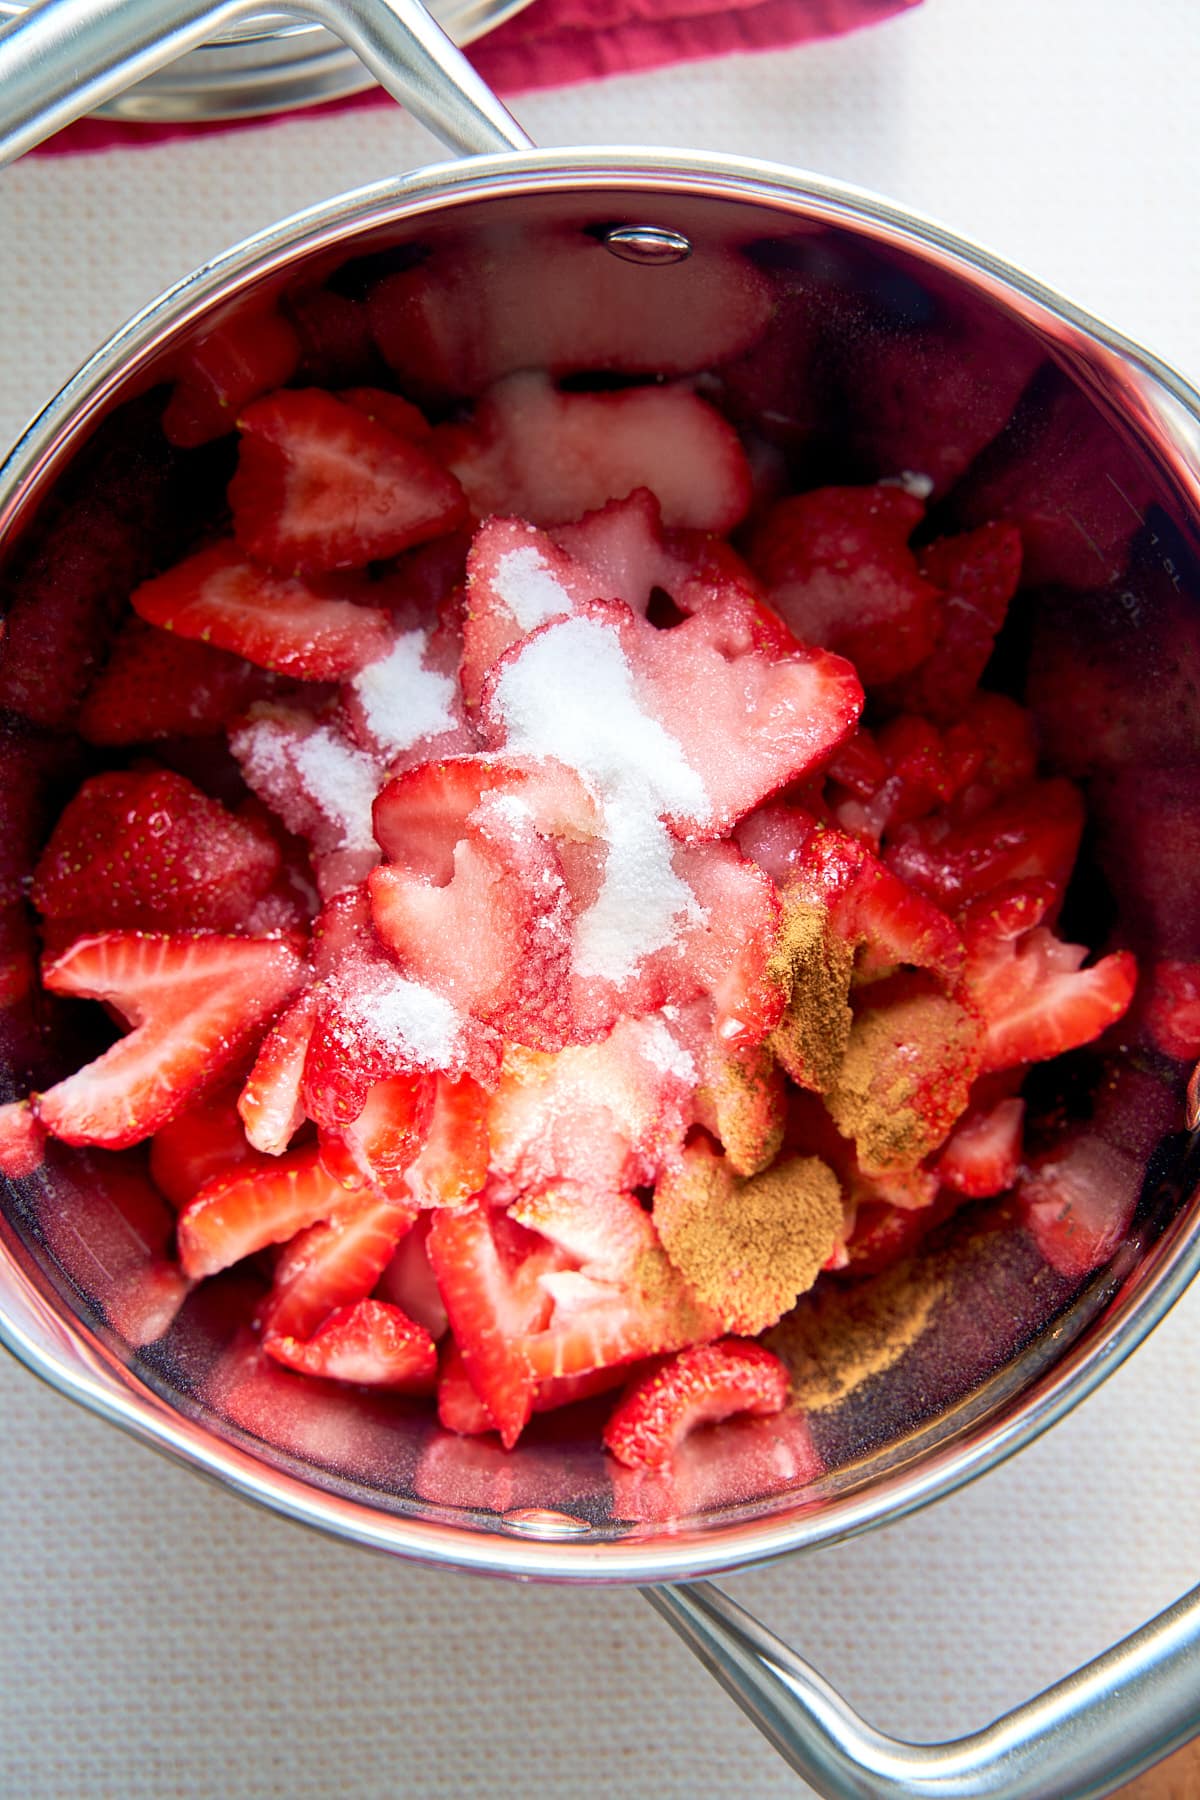
Combine the sliced strawberries, granulated sugar, lemon juice, and ground cinnamon in a medium saucepan.
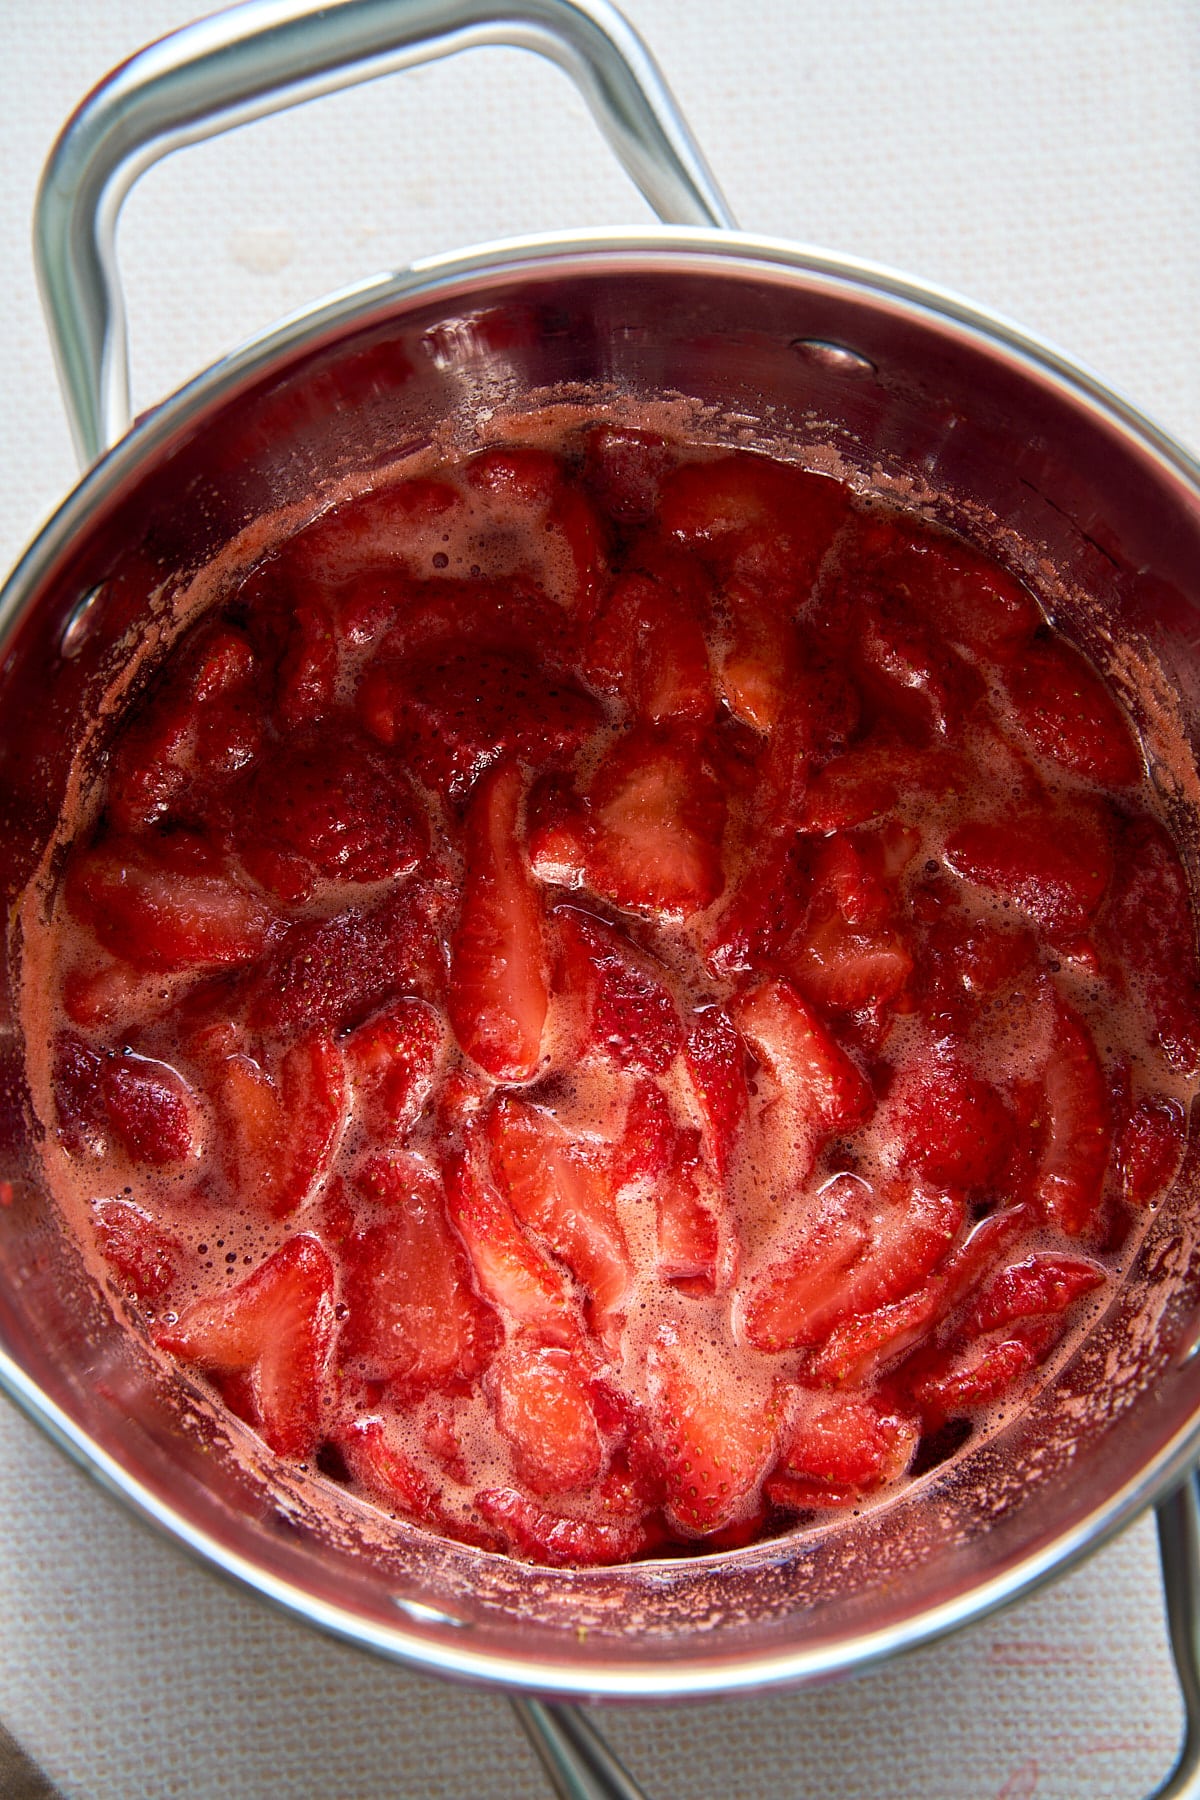
Place the saucepan over medium heat and bring the mixture to a simmer. Lower the heat to medium-low and stir occasionally. Cook for 10-15 minutes until the strawberries break down and the sauce thickens.
In a separate container, mix one tablespoon of cornstarch with one tablespoon of water to make a cornstarch slurry. Add this to the compote and let it simmer for 20-30 seconds. Remove from the heat and set aside to cool.
You can store the compote in the refrigerator, in an airtight container, for up to a week or freeze it for up to 3 months.
How to use it
Strawberry compote is a great fruit topping for cheesecake, pancakes, waffles, and more. I like to add it to a yogurt and granola parfait. You can also add it to sparkling water for a delicious and refreshing drink.
How to store it
Store the compote in an airtight container in the refrigerator for up to 2 weeks. You can also freeze the compote by placing it in an airtight container and freezing it for up to 3 months. If using from frozen, make sure to defrost it before use.
Variations
- If you prefer a slightly thinner compote, skip the cornstarch slurry. The compote will naturally thicken as it cools.
- Infuse with a sprig of fresh mint, basil, or thyme for an unexpected herbal note.
- Use frozen strawberries if you don't have fresh ones. They're a convenient and budget-friendly option that still packs plenty of flavor and nutrients. Partially thaw or use frozen berries, adjust sugar, and simmering time for a tasty compote.
Tanya's Top Tip
Taste the compote and adjust the amount of sugar to your preference. The sweetness of your compote will depend on the sweetness of your berries. I always start with 4 Tablespoons of granulated sugar and add more if I feel it's needed.
Also, keep in mind that you may want to consider what you're topping the compote on to determine how sweet you will like it. If you're using compote as a topping for dessert, like ice cream or cake, stick with the 4 Tablespoons or less. This will prevent the dessert from becoming overly sweet.
I hope you love this strawberry compote as much as we do. Looking for more fresh strawberry recipes? Try these out:

Simple Strawberry Compote Recipe
Ingredients
- 1 lb strawberries hulls removed, sliced into ¼ of an inch
- 4 Tablespoons granulated white sugar
- 3 Tablespoons fresh lemon juice
- Pinch ground cinnamon
- 1 Tablespoon each cornstarch and water for a cornstarch slurry
Instructions
- Combine the sliced strawberries, granulated sugar, lemon juice, and ground cinnamon in a medium saucepan.
- Place the saucepan over medium heat and bring the mixture to a simmer. Lower the heat to medium-low and stir occasionally. Cook for 10-15 minutes until the strawberries break down and the sauce thickens.
- Mix 1 tablespoon of cornstarch with 1 tablespoon of water in a separate container to make a cornstarch slurry. Add this to the compote and let simmer for 20-30 seconds. Remove from the heat and set aside to cool.
Notes
- You can store the compote in the refrigerator for up to a week or freeze it for up to 3 months.
- Skip the cornstarch slurry if you prefer a slightly thinner compote. The compote will naturally thicken as it cools.