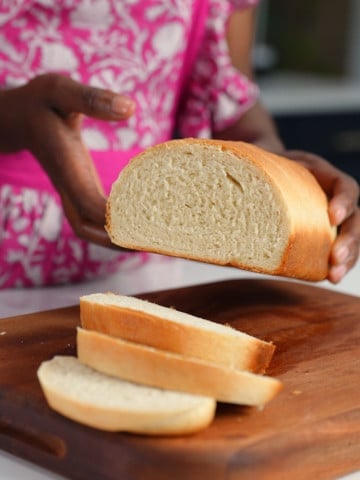
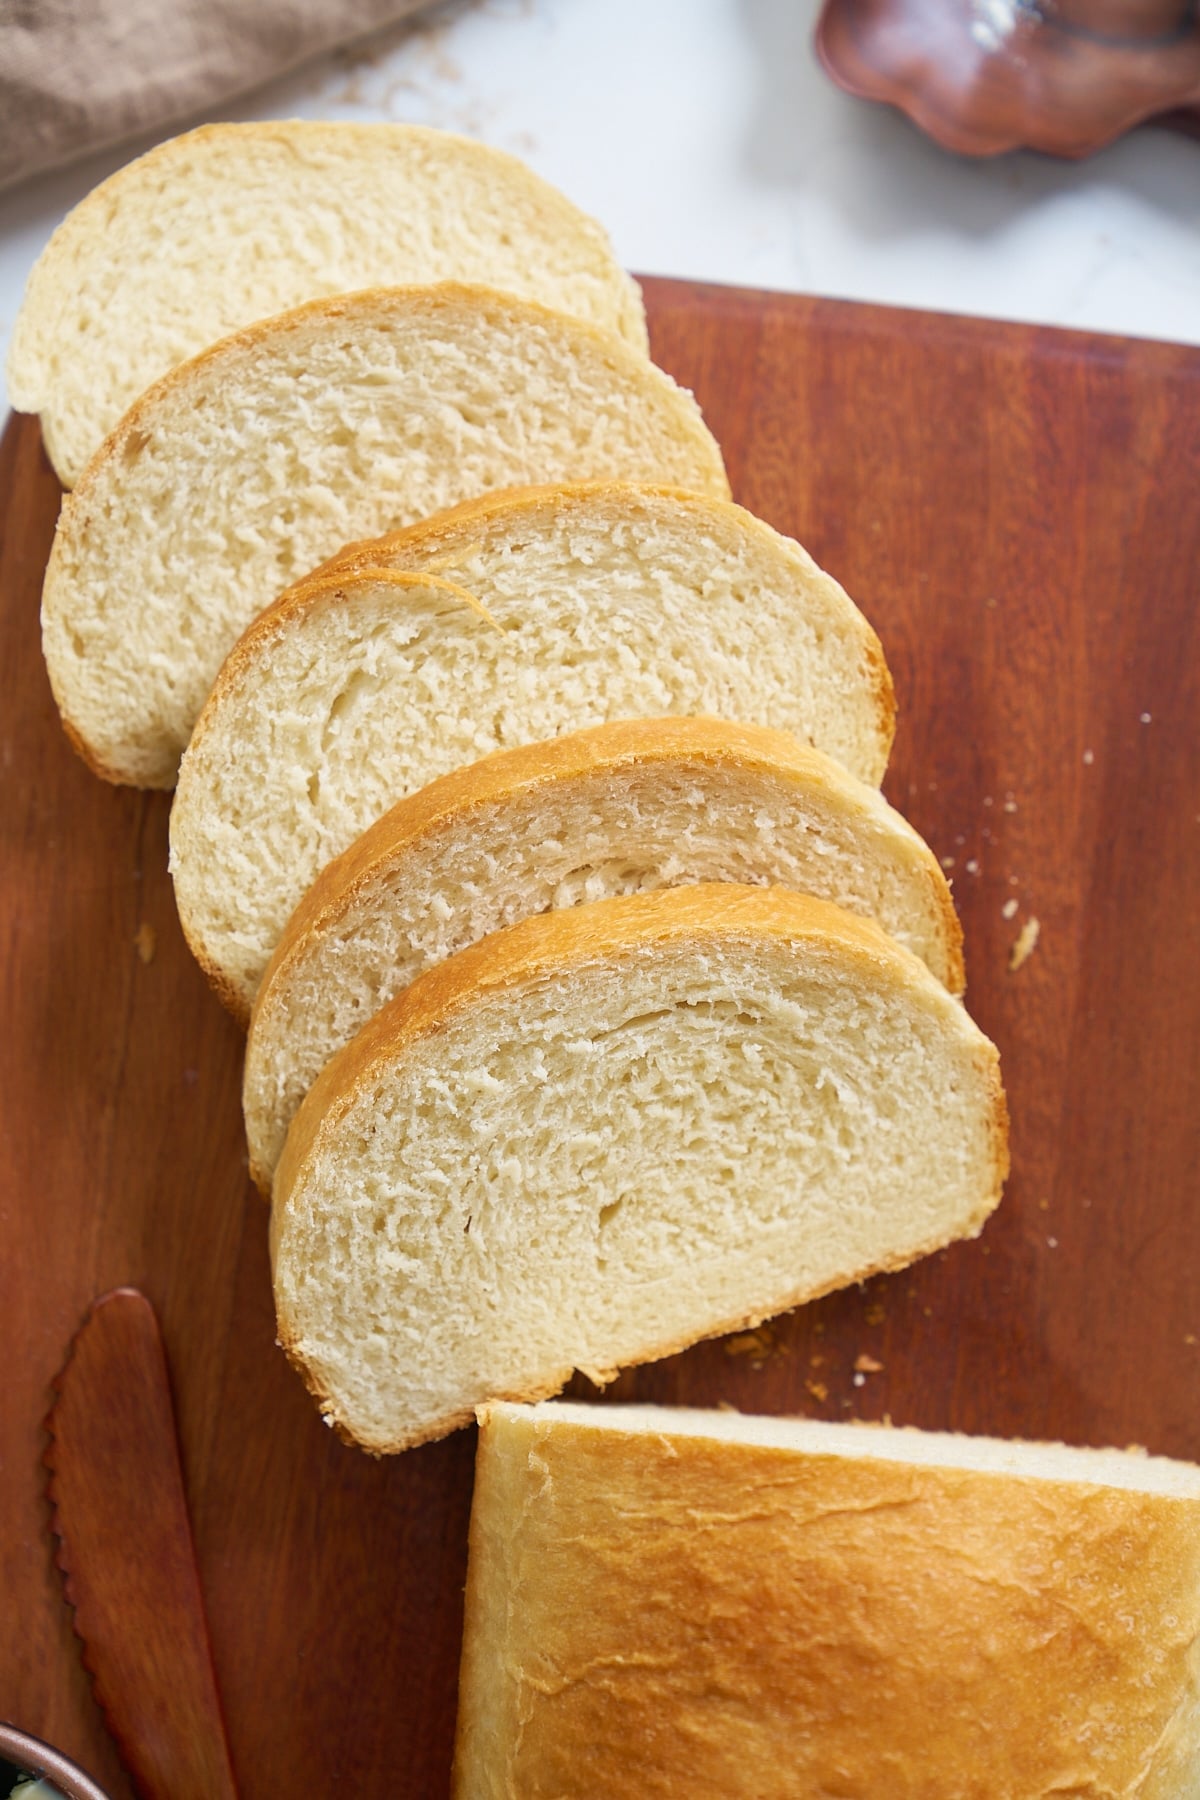
Jamaican hard dough bread, also called hardo bread, is dense, tight-crumbed, and perfect for slathering with butter. It's a Caribbean staple.
You’ll find the full recipe with ingredient amounts and instructions in the recipe card at the bottom of this post. Be sure to check out the blog post itself for extra tips and tricks!

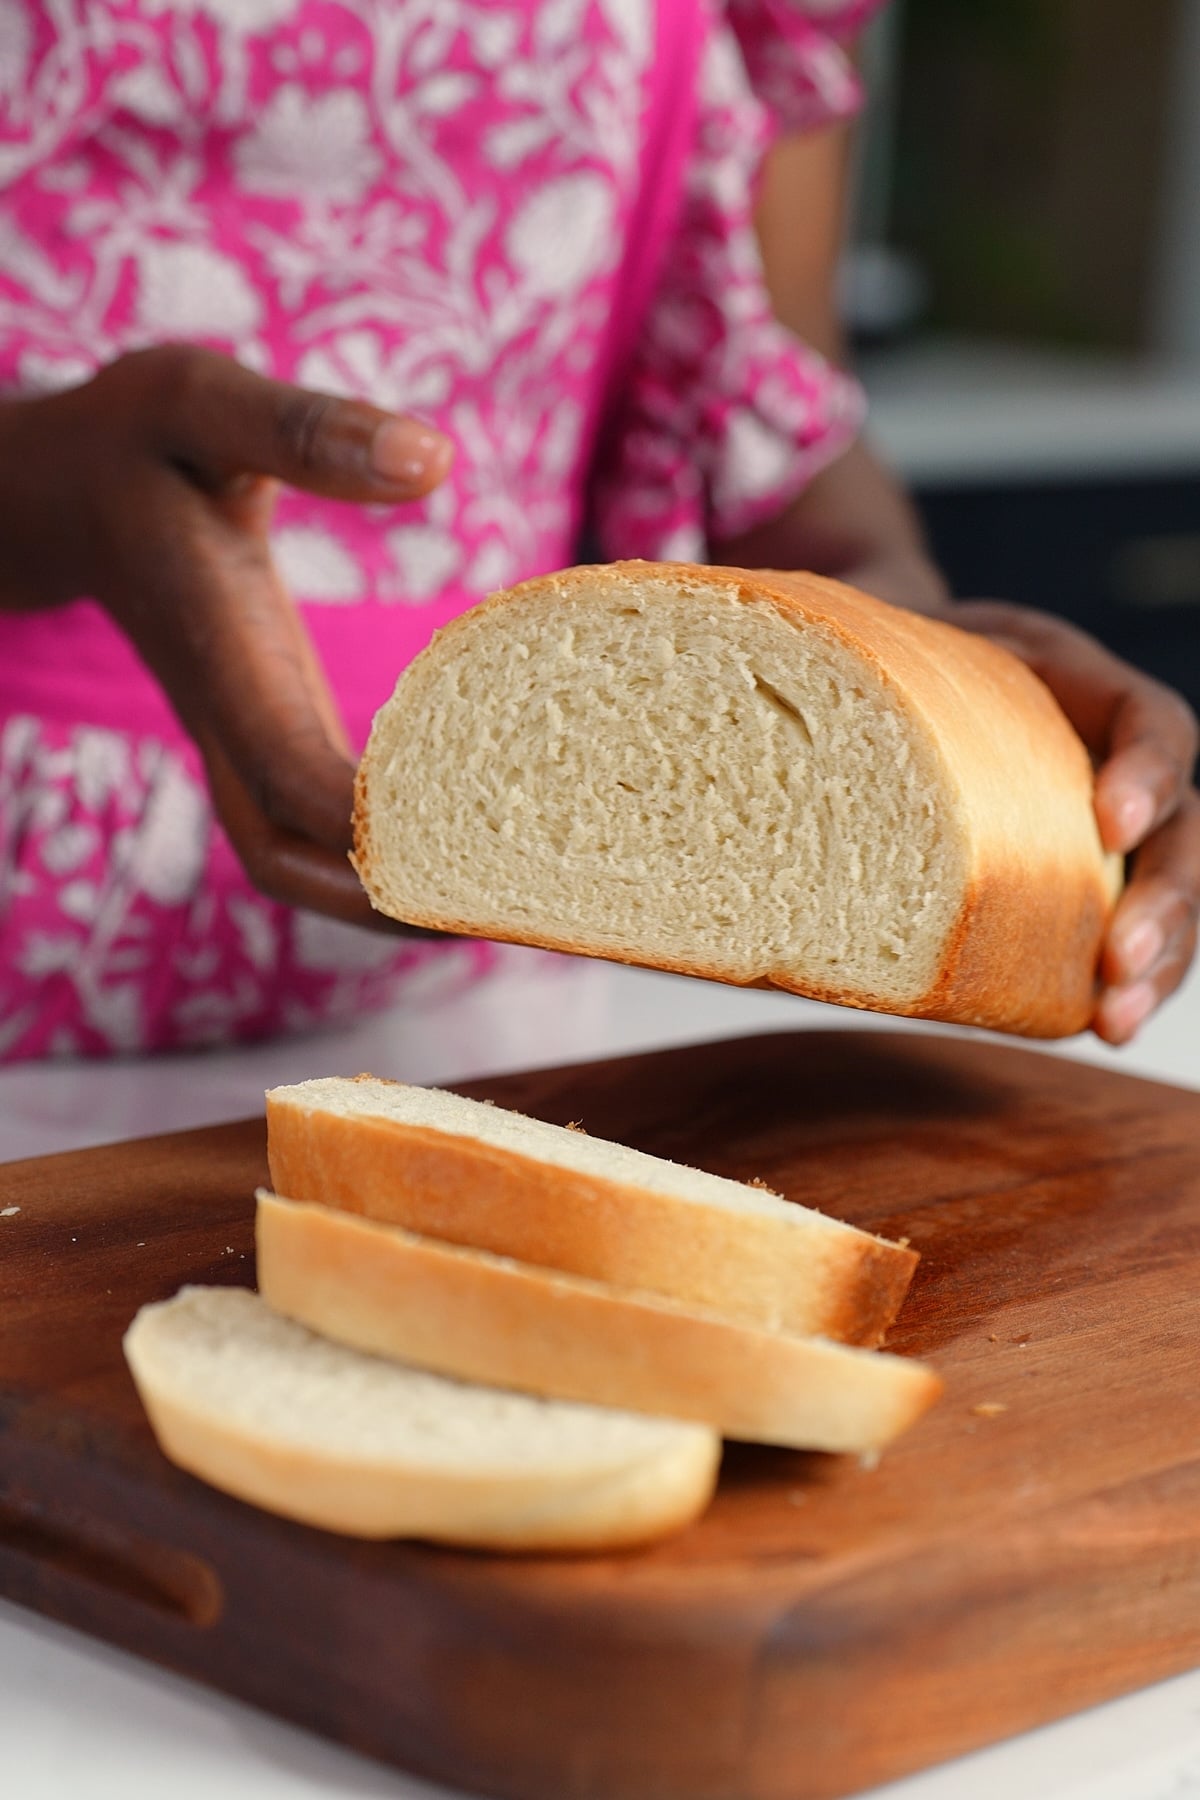
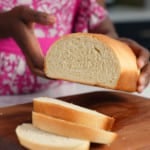
Growing up, hard dough bread was always in our house. We never baked it ourselves back then; it was a ritual to get it fresh from the local bakery, always bringing home a single, heavy loaf that we’d have to carefully slice up ourselves at the counter.
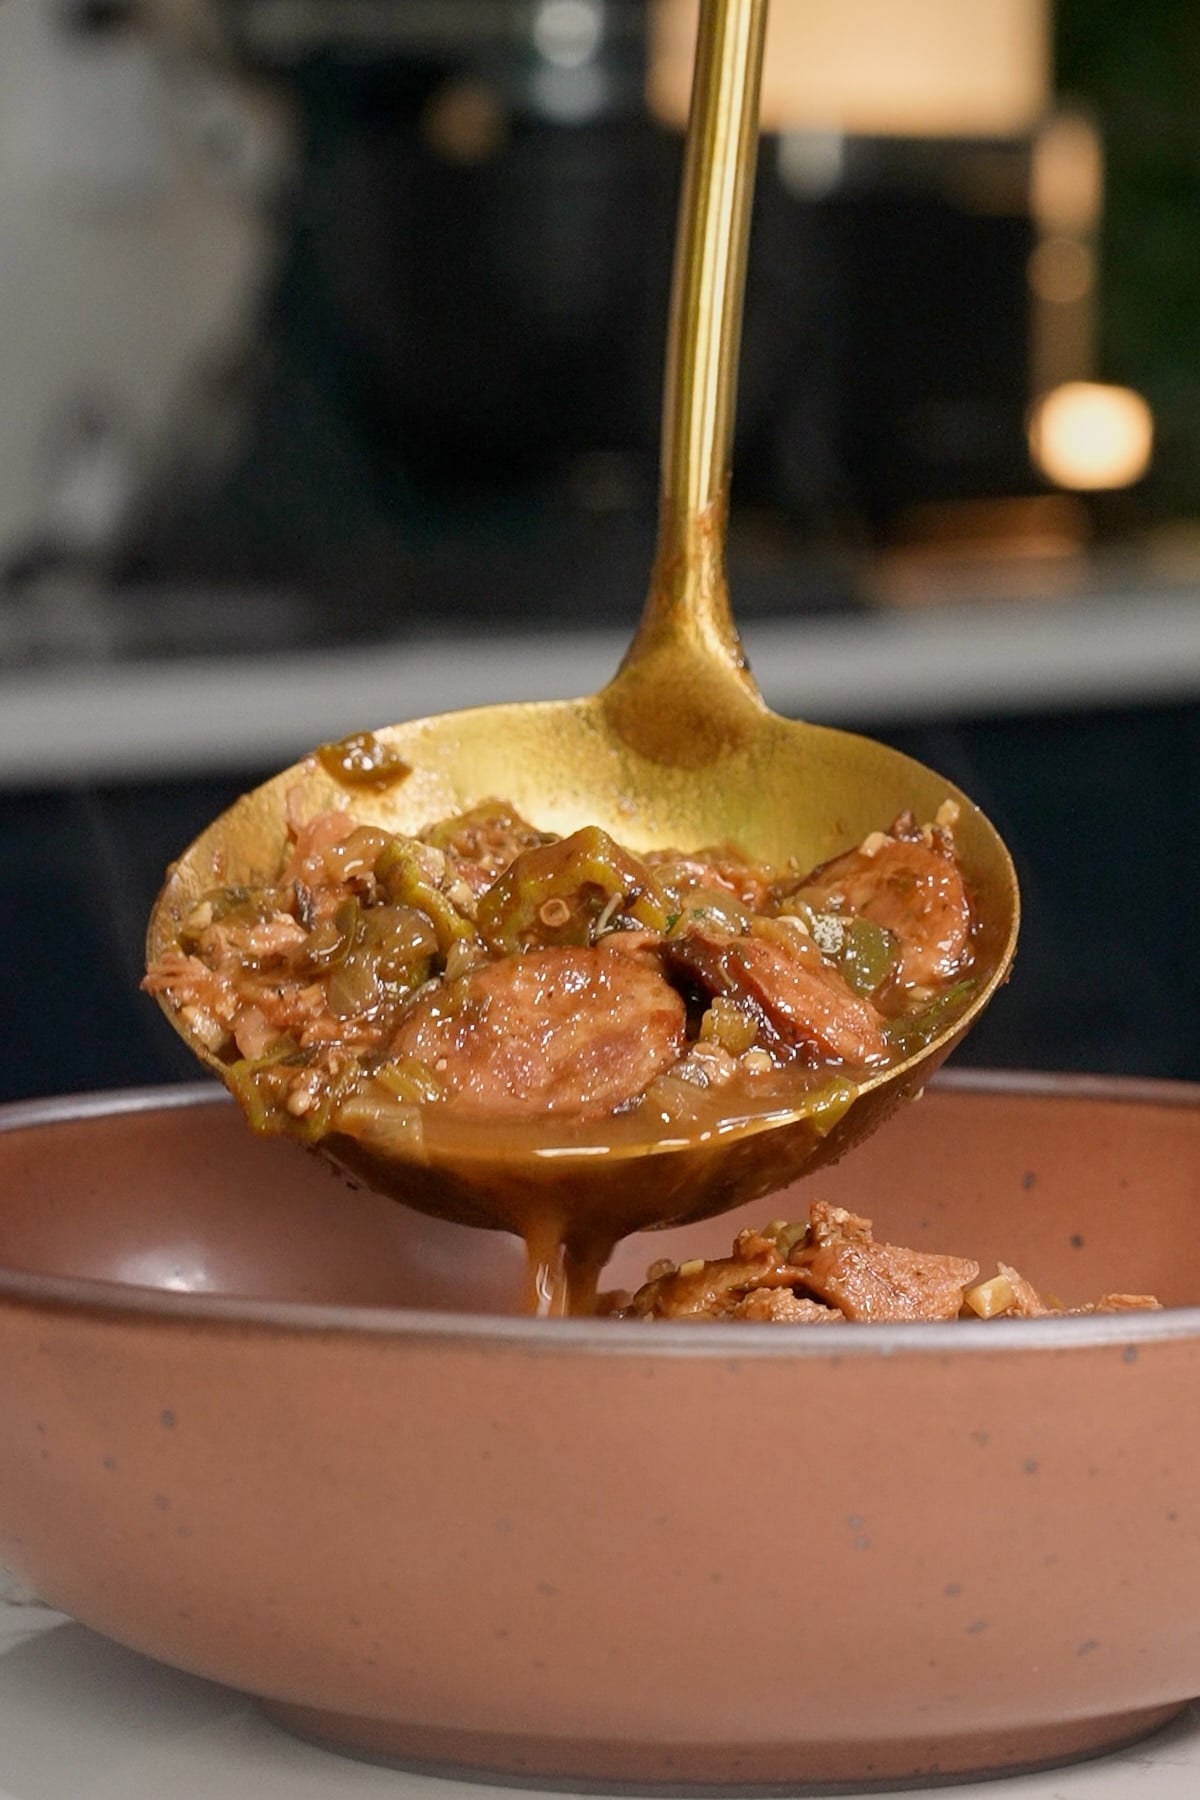
If you've never had true hard dough bread, you should know it is much denser than regular sandwich bread. Because it has that tight, sturdy crumb, it is absolutely perfect for slathering with plenty of butter, even when it's completely untoasted, and nothing beats using a thick slice to soak up every last drop of rich curry or brown stew gravy from your plate.
Happy Baking,
Tanya
Hard Dough Bread at a Glance
- Prep Time: 20 minutes
- Bake Time: 30 minutes
- Additional Time (Rising/Cooling): 2 hours
- Servings: 1 large loaf
- What This Is Good For: Slathering with room-temperature butter, making robust breakfast sandwiches, or wiping your plate clean of savory stews and gravies.
A Quick Look at the Ingredients
Ingredient amounts and full recipe instructions are on the printable recipe card at the bottom of the post.
- Bread Flour: Bread flour is essential for this recipe because its higher protein content develops the strong gluten network that gives the loaf its traditional heavy, chewy texture. If you don't have bread flour, you can use all-purpose flour. However, because it has less protein, your loaf will turn out noticeably lighter and softer, moving away from that classic, tight, hard dough style. But it'll still be delicious.
- Instant Yeast & Sugar: A single packet of instant yeast gets things moving, while a couple of tablespoons of granulated sugar add just a hint of that subtle background sweetness the bread is famous for.
- Unsalted Butter: Use softened butter in the dough, so it incorporates smoothly without leaving large streaks or lumps. We also reserve a tablespoon of butter to brush over the hot crust right out of the oven for that classic bakery finish.
- Warm Water: You want this comfortably warm, not hot. If it’s too hot, you’ll kill the yeast, and if it’s too cold, you’ll be waiting all day for that bread to rise. Getting the temperature right from the start means the yeast can just do its thing.
How to make Hard Dough Bread
Mix the Dry Ingredients and Hydrate
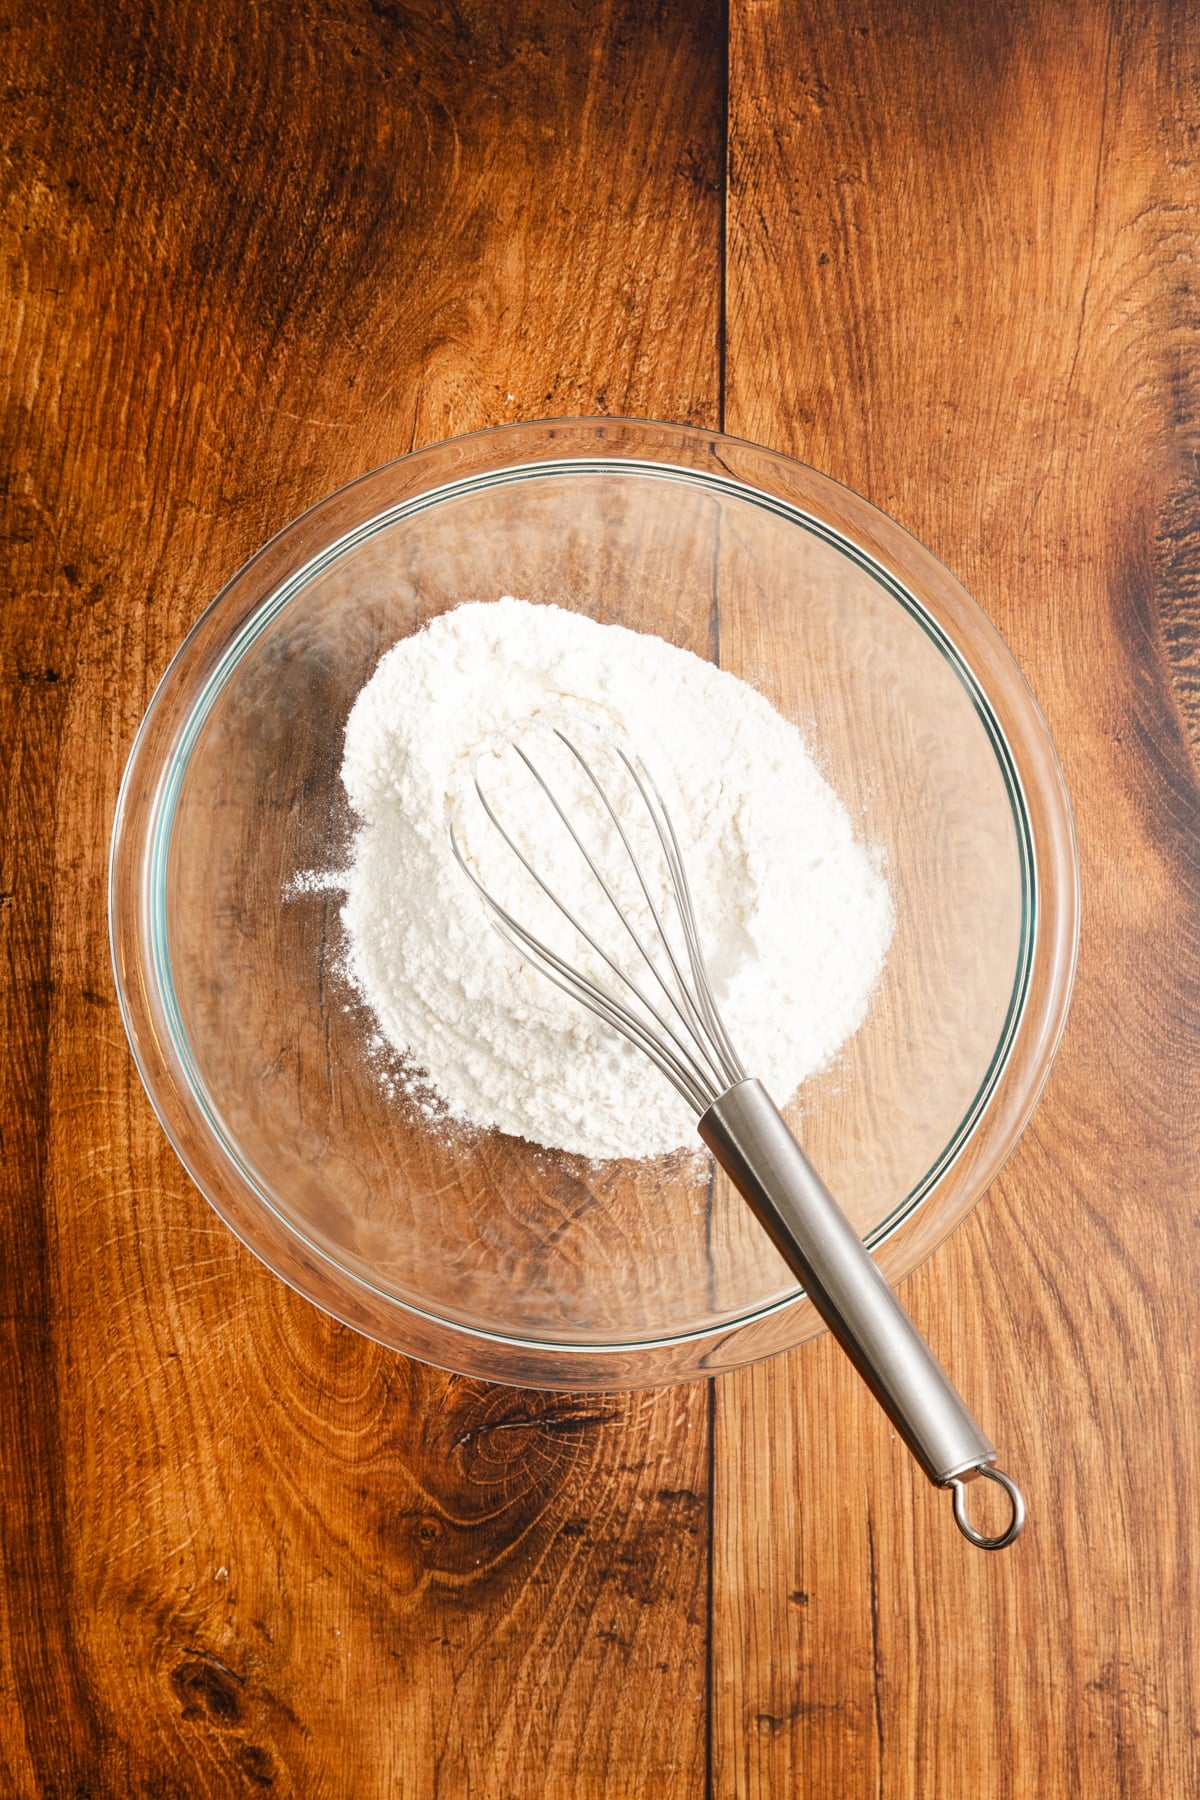
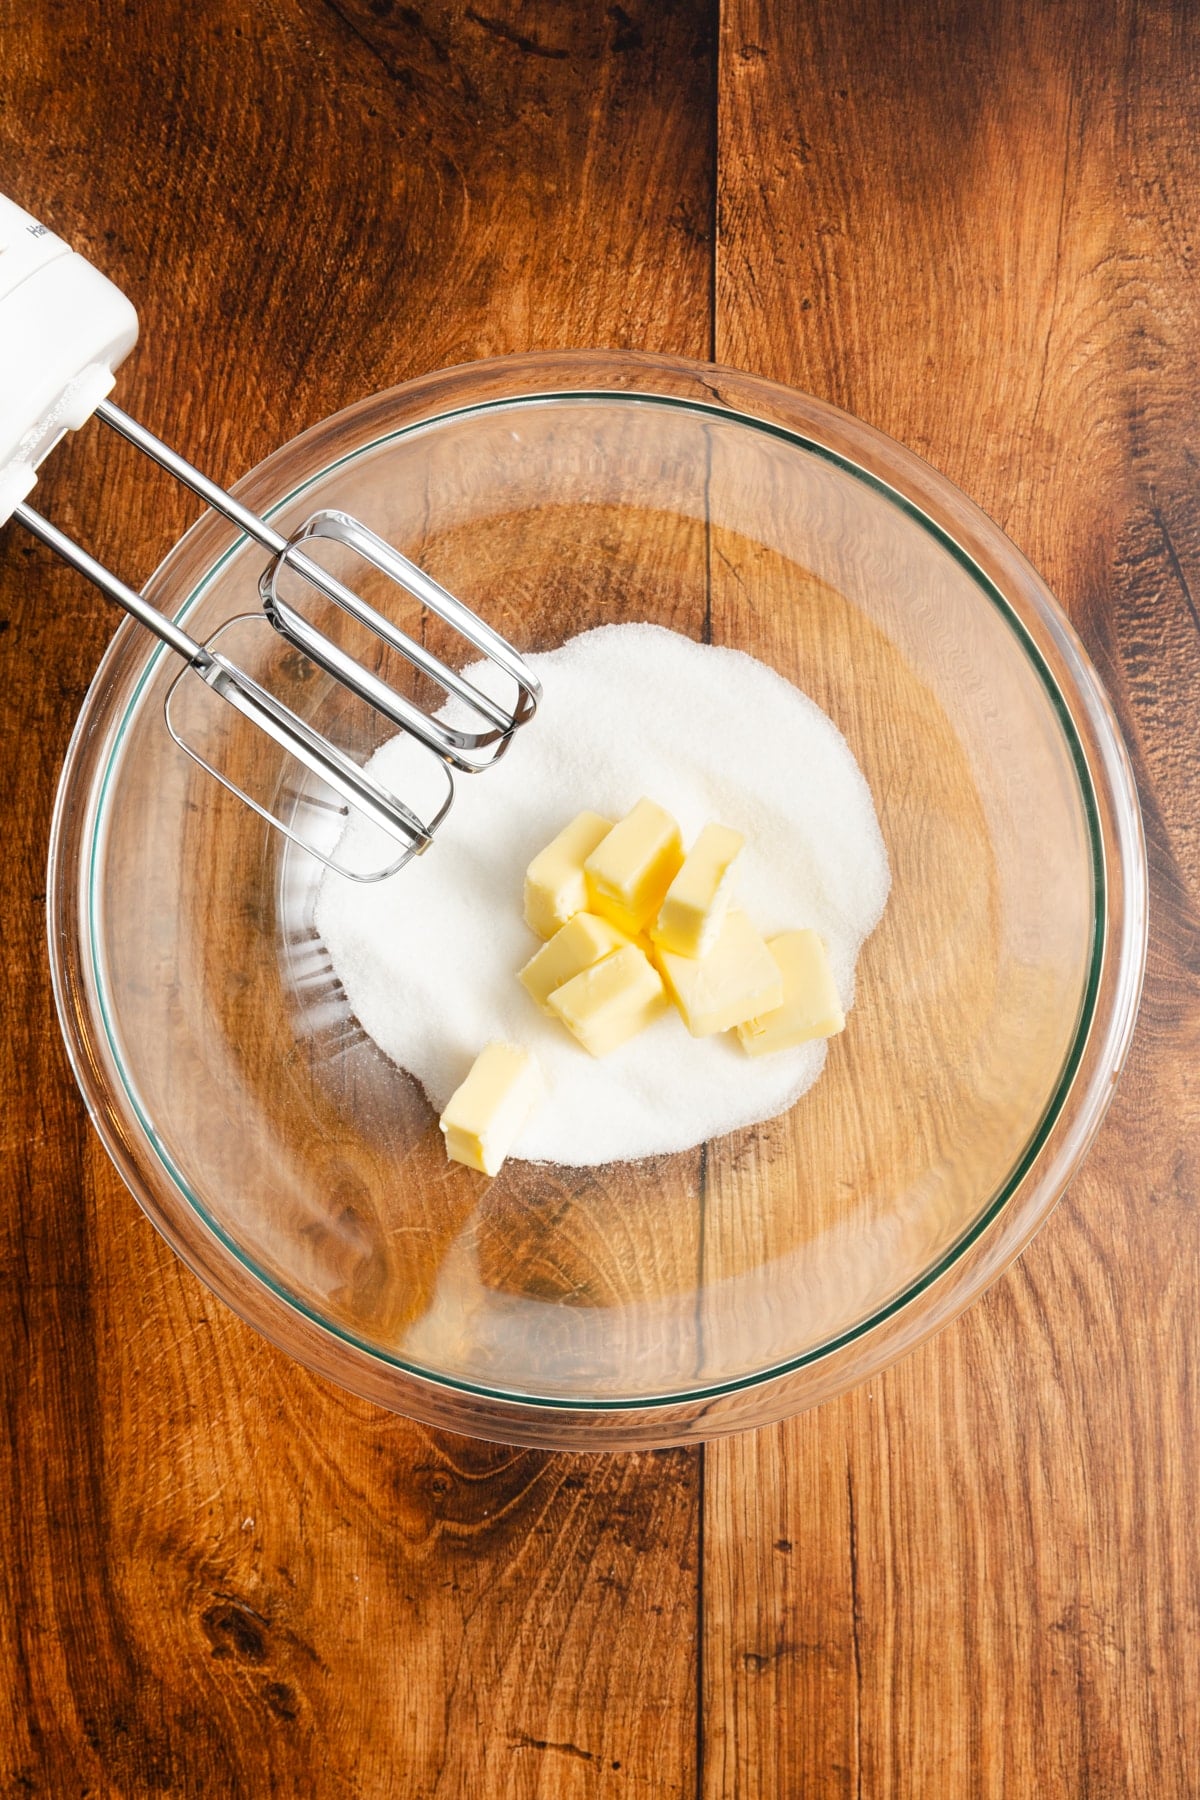
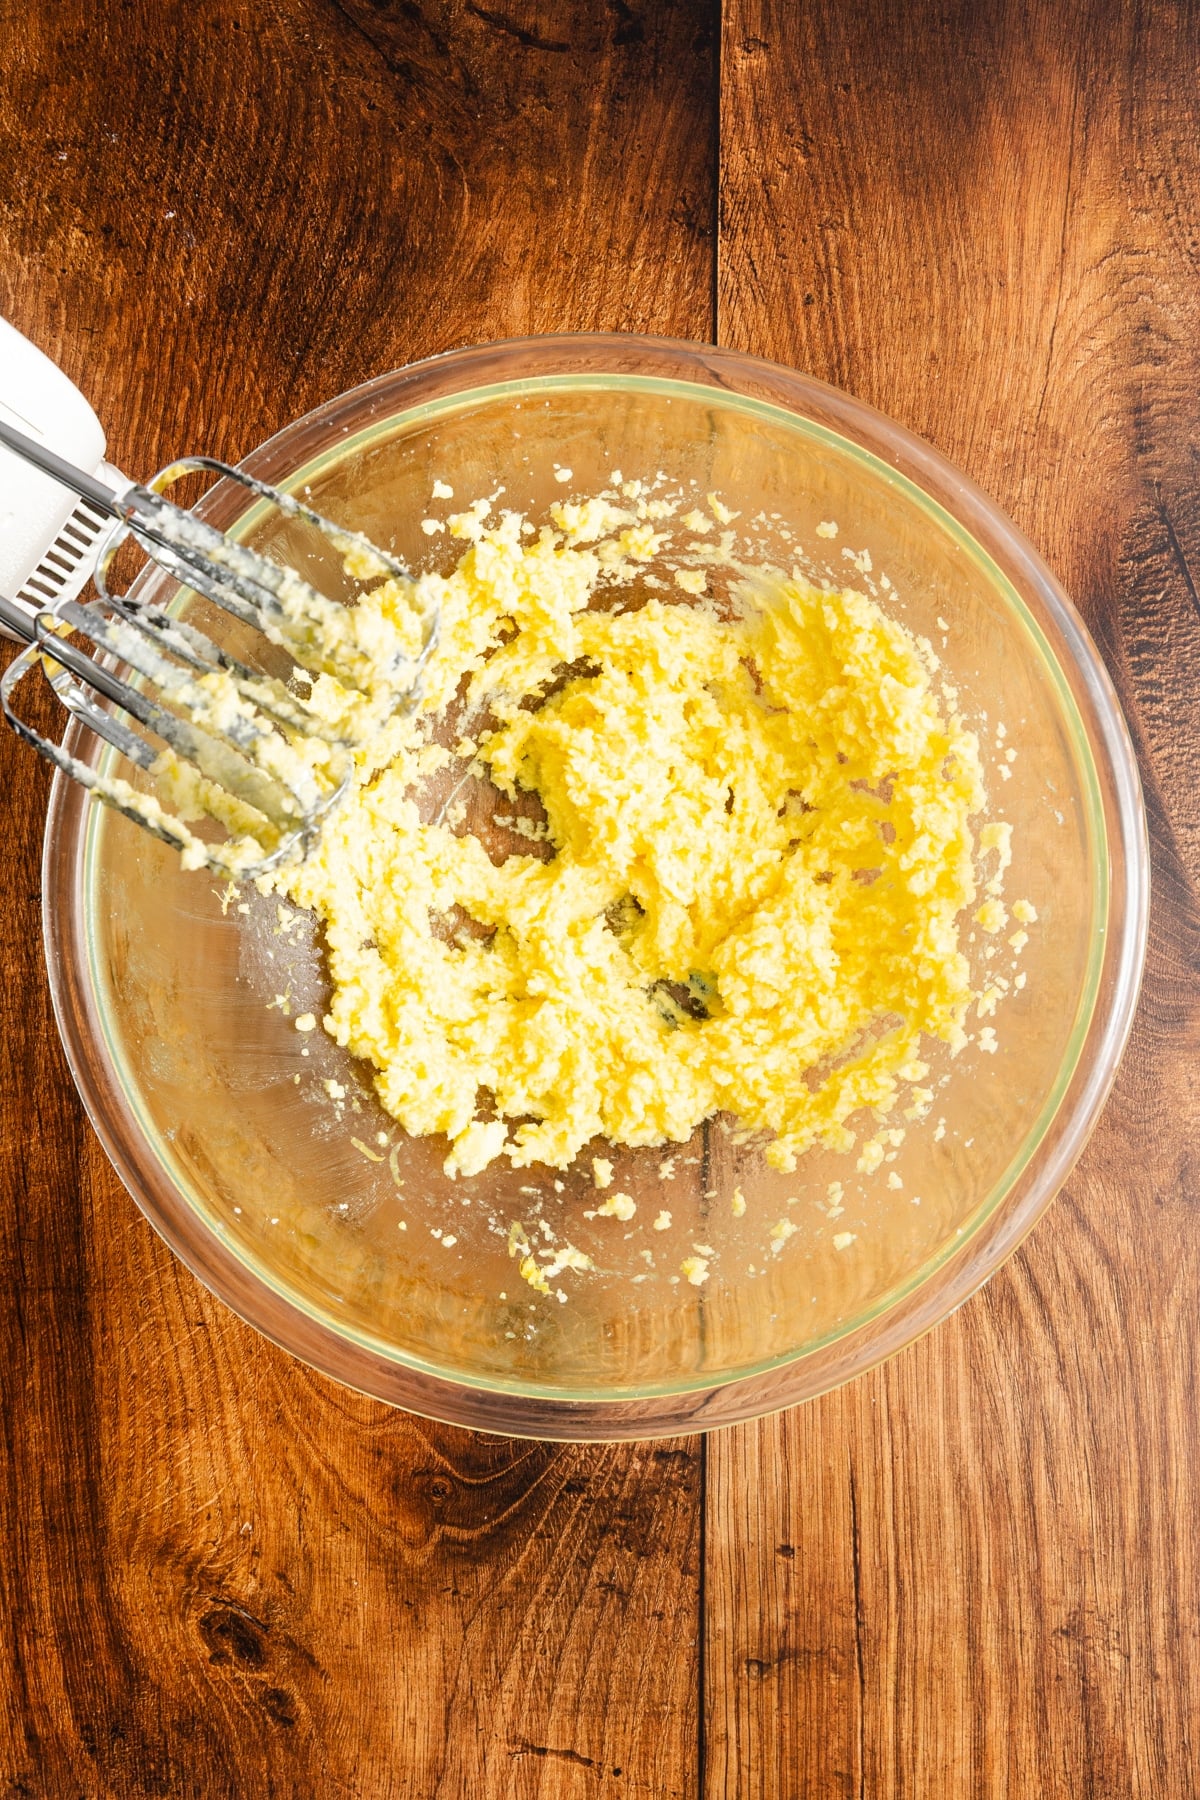
In a large mixing bowl, combine the bread flour, granulated sugar, salt, and instant yeast. Add the 2 tablespoons of softened unsalted butter. Use a wooden spoon to work the butter directly into the dry flour mixture, stirring and pressing it against the sides of the bowl until it breaks down into small, even bits and the flour looks slightly clumpy.
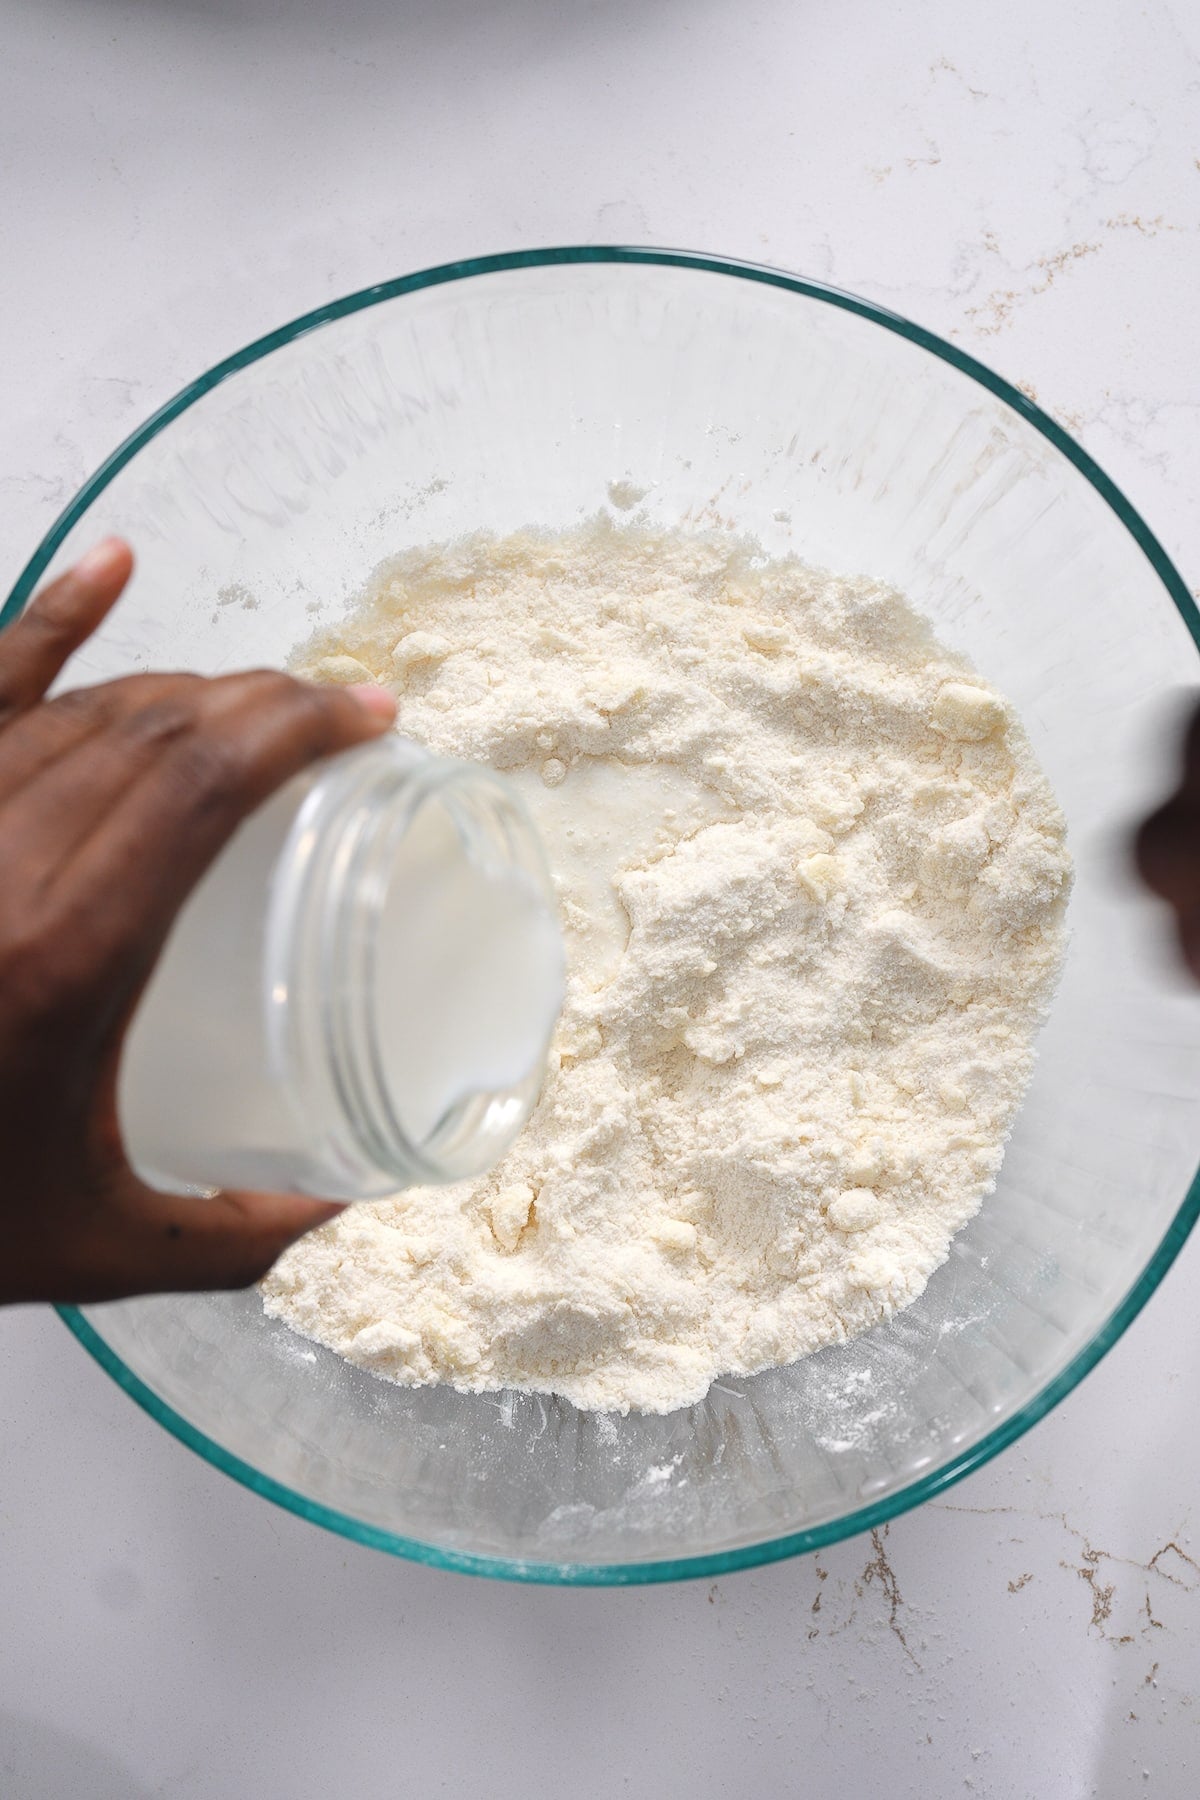
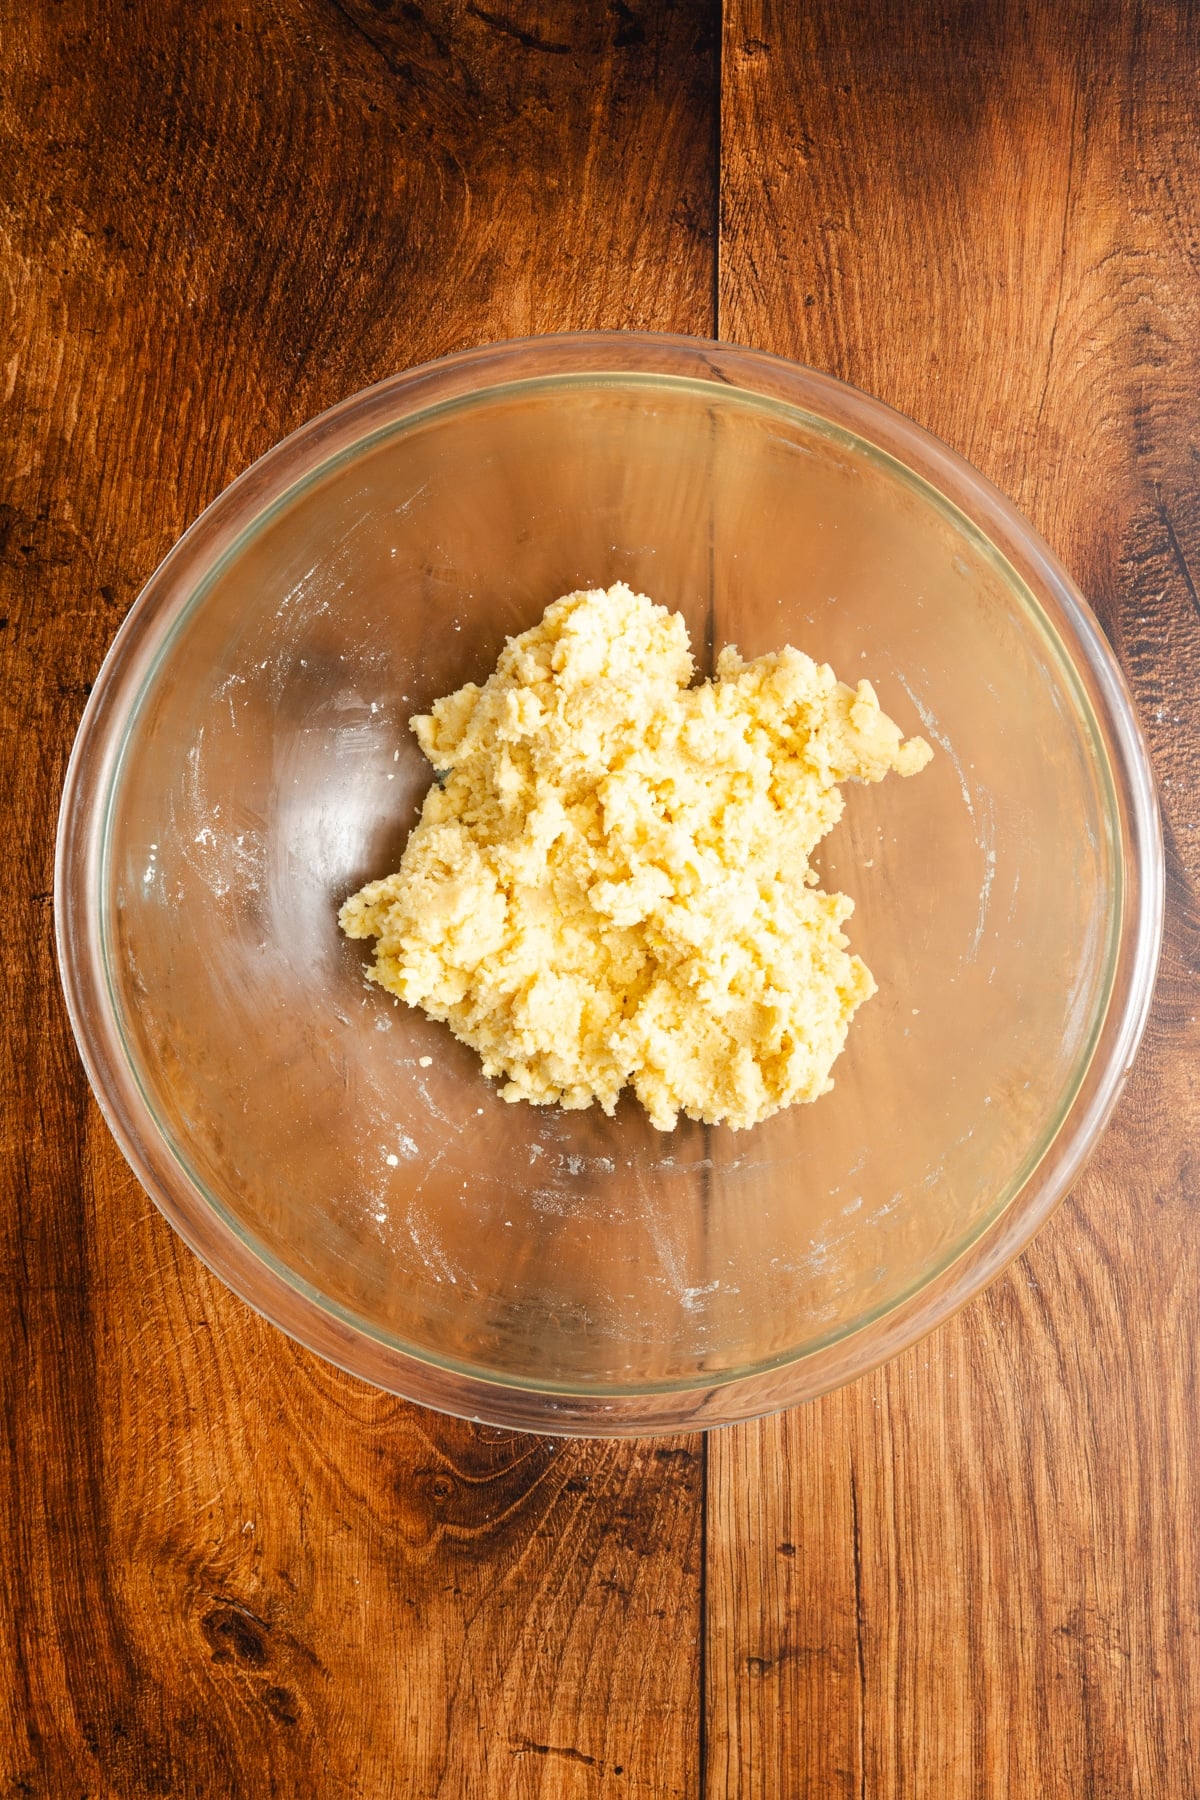
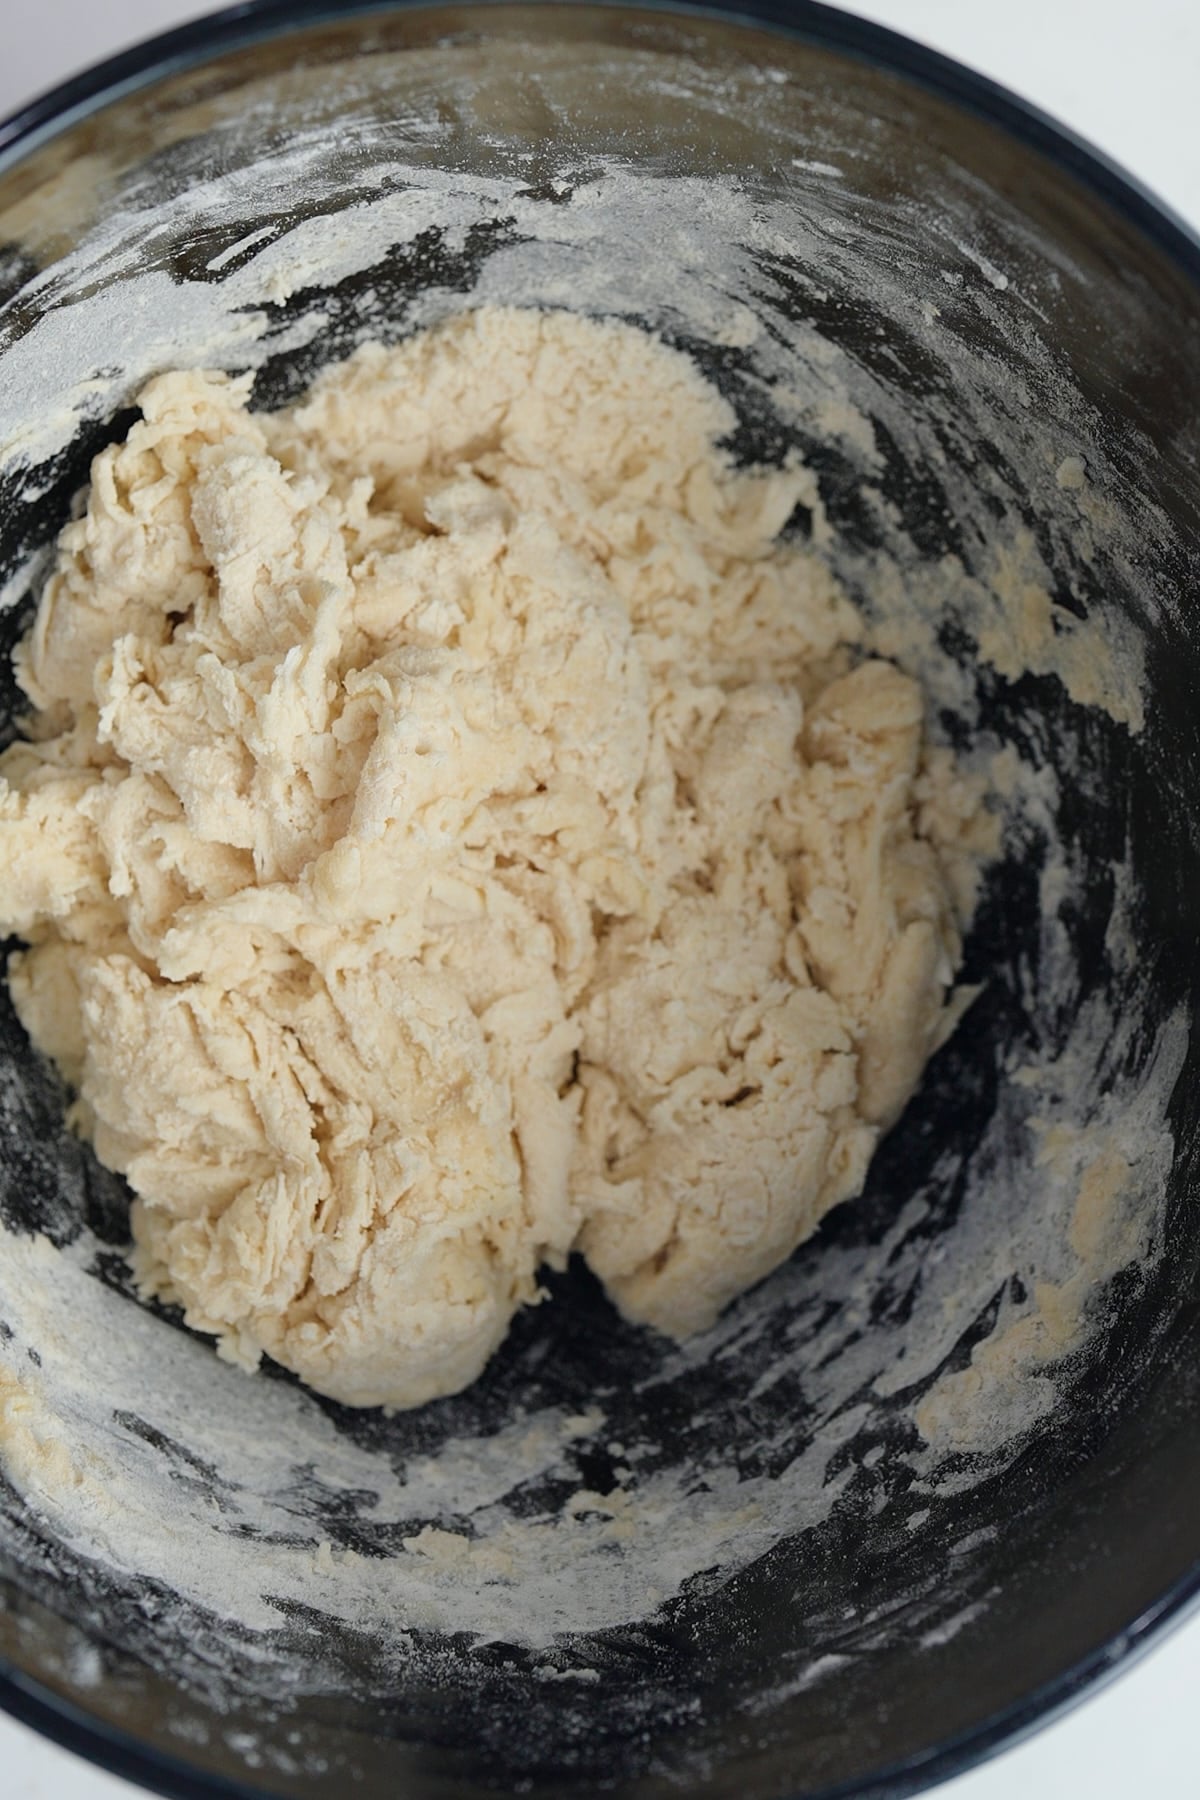
Pour in the water and stir with your wooden spoon until a shaggy dough forms and no dry patches of flour remain. The dough will still look shaggy and unformed before it goes into the mixer.
Knead Until Supple and Smooth
You can knead the dough by hand or with a stand mixer. A stand mixer is my preferred method, but with a strong arm and patience, you can knead it by hand.
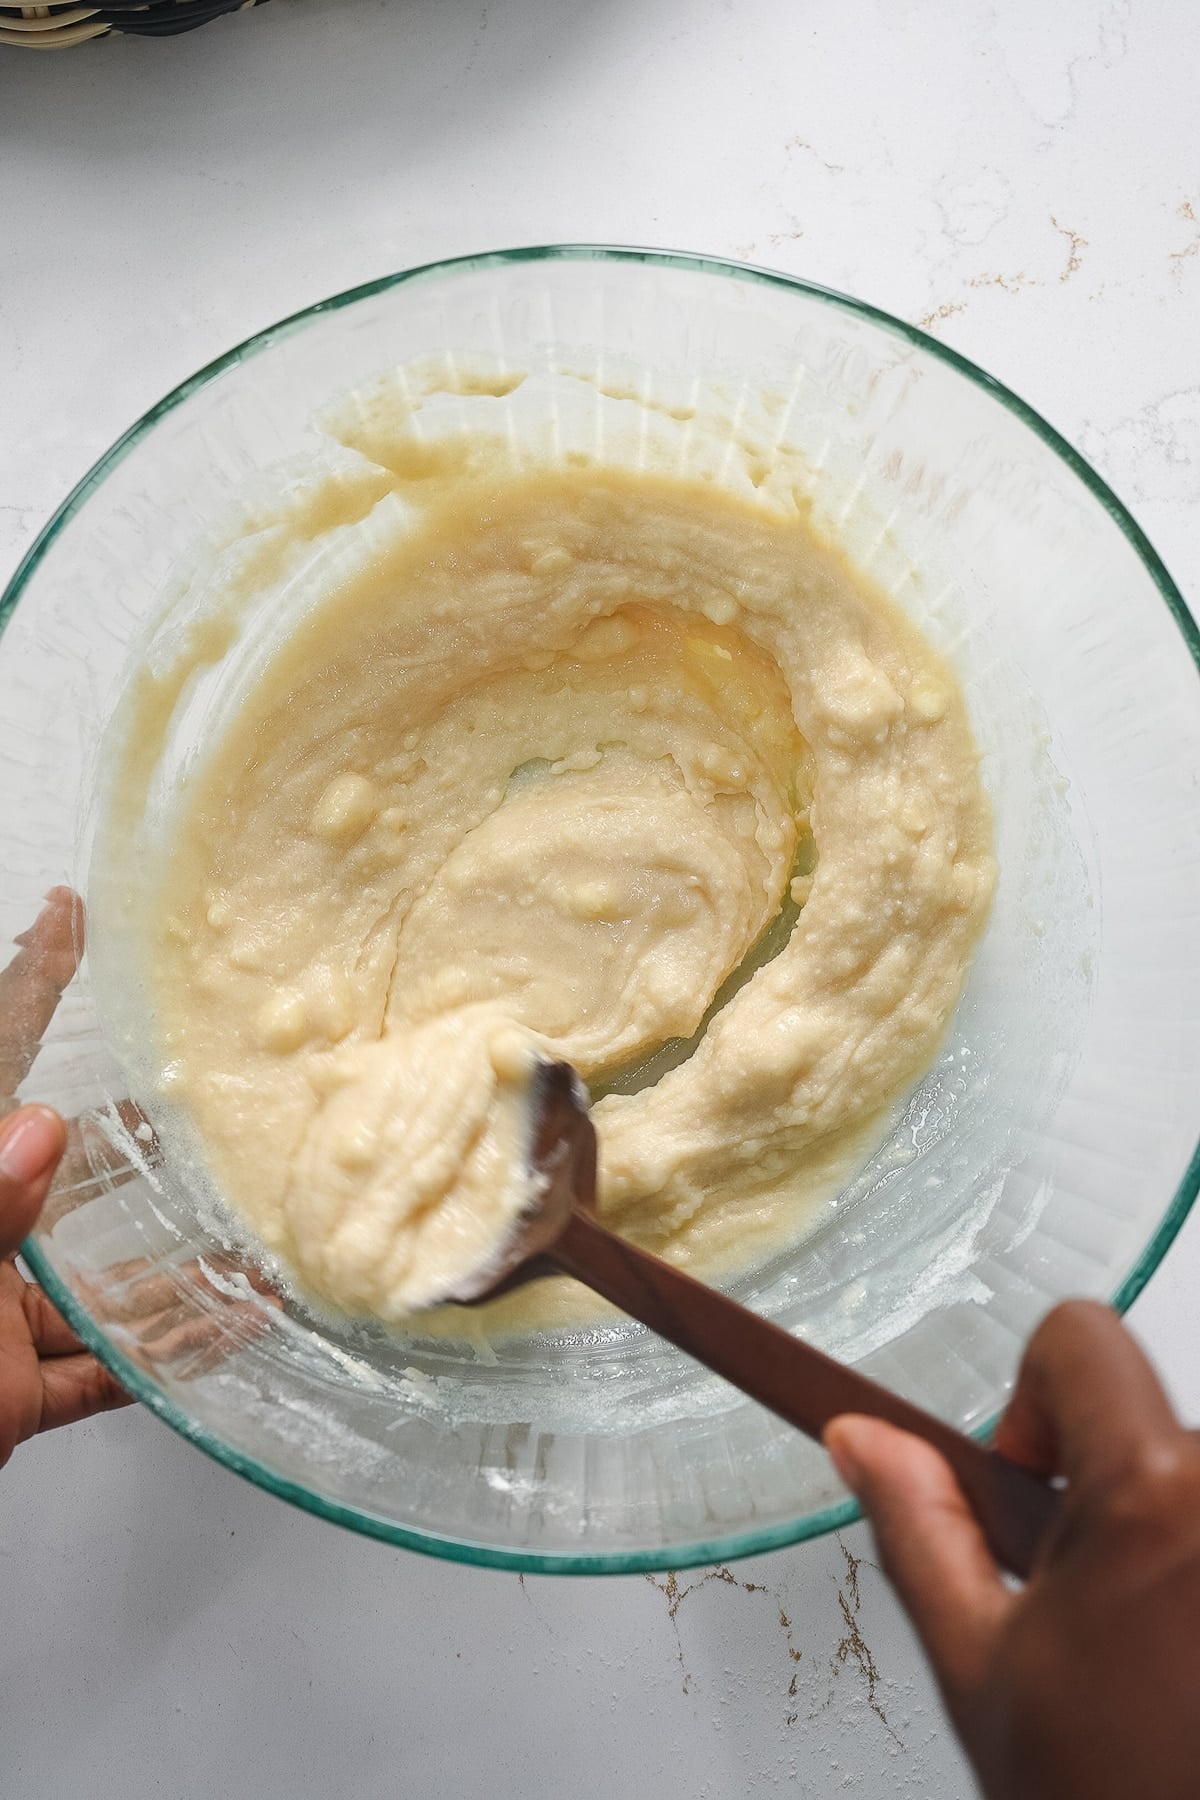
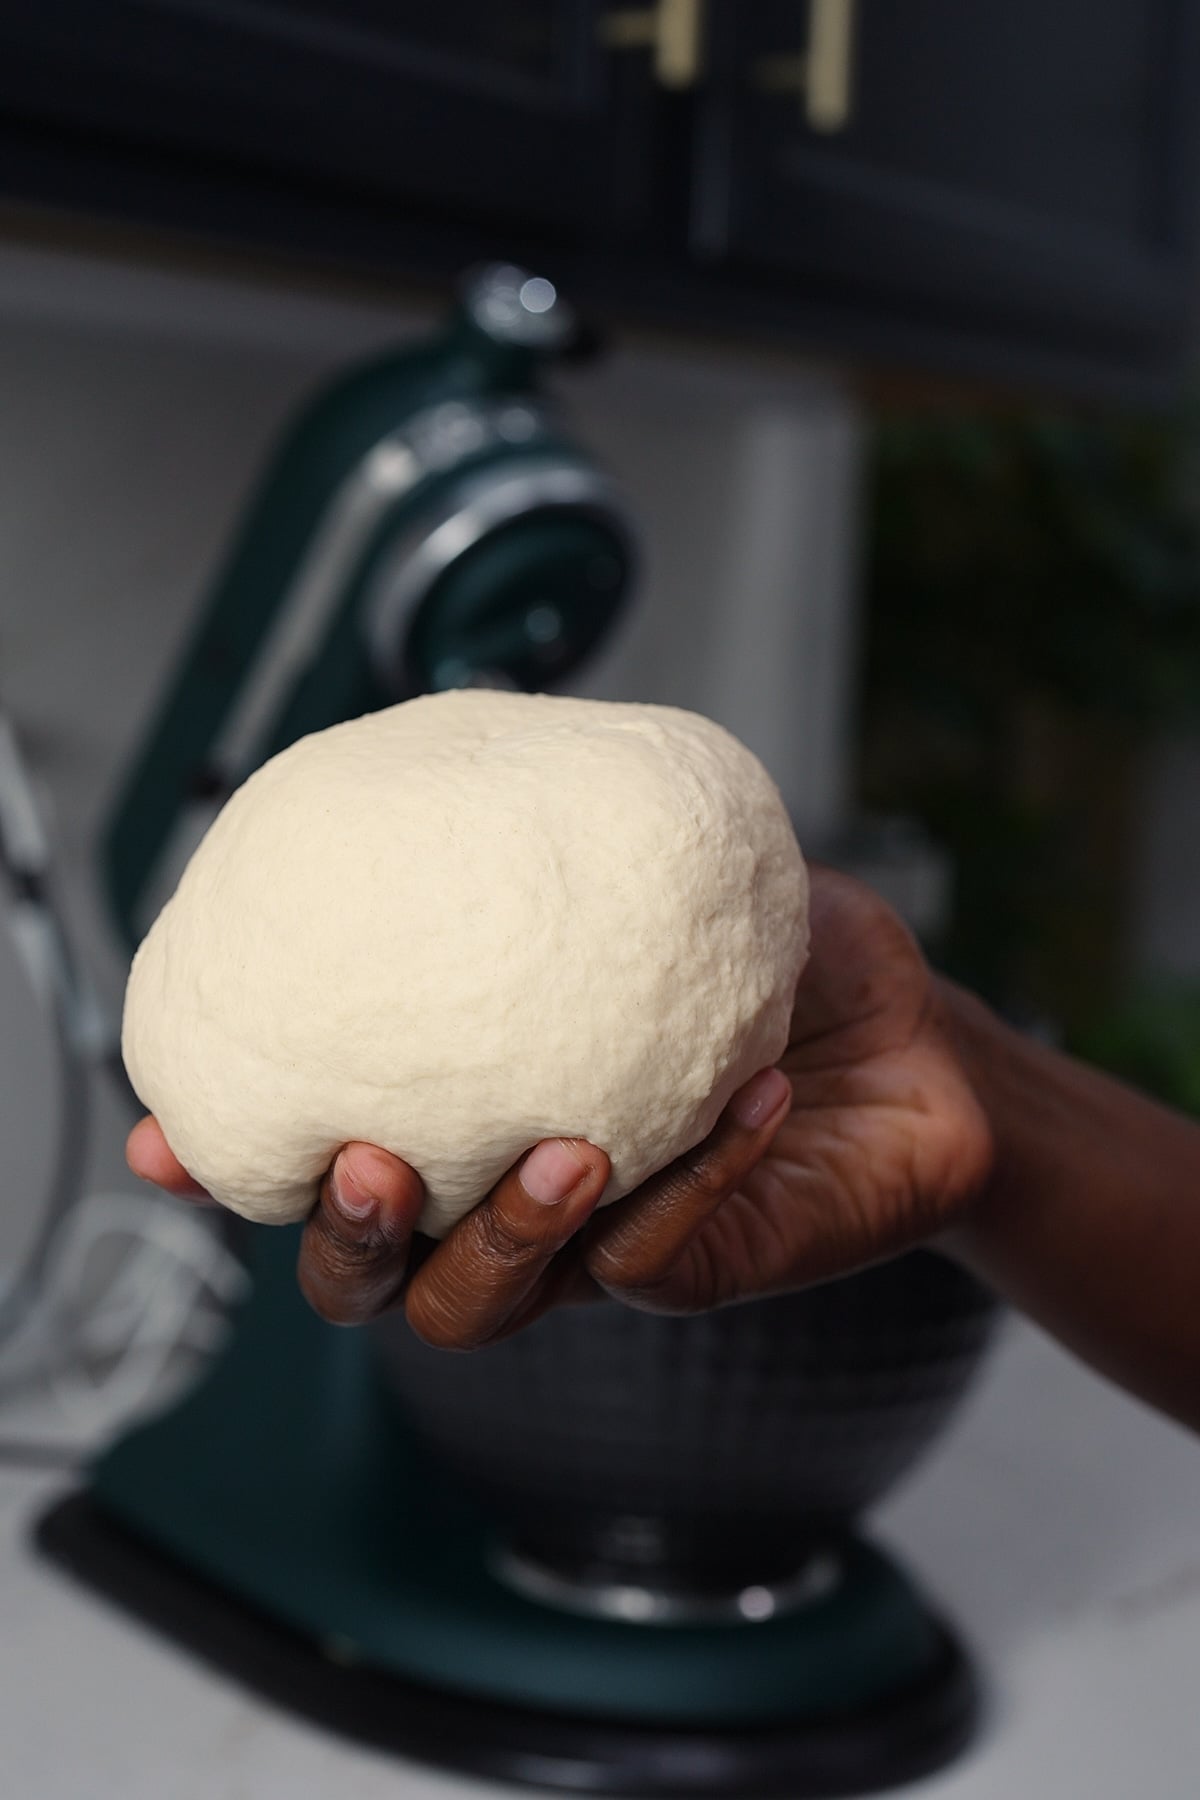
To Use a Stand Mixer: Transfer the shaggy dough to a mixer bowl fitted with a dough hook. Mix on low speed for 6 to 8 minutes until the dough pulls away from the sides and forms a smooth, cohesive ball.
To Knead by Hand: Turn the shaggy dough out onto a lightly floured surface and knead vigorously for 8 to 10 minutes until it forms a smooth, elastic ball that is supple and offers resistance when pressed.
The First Rise
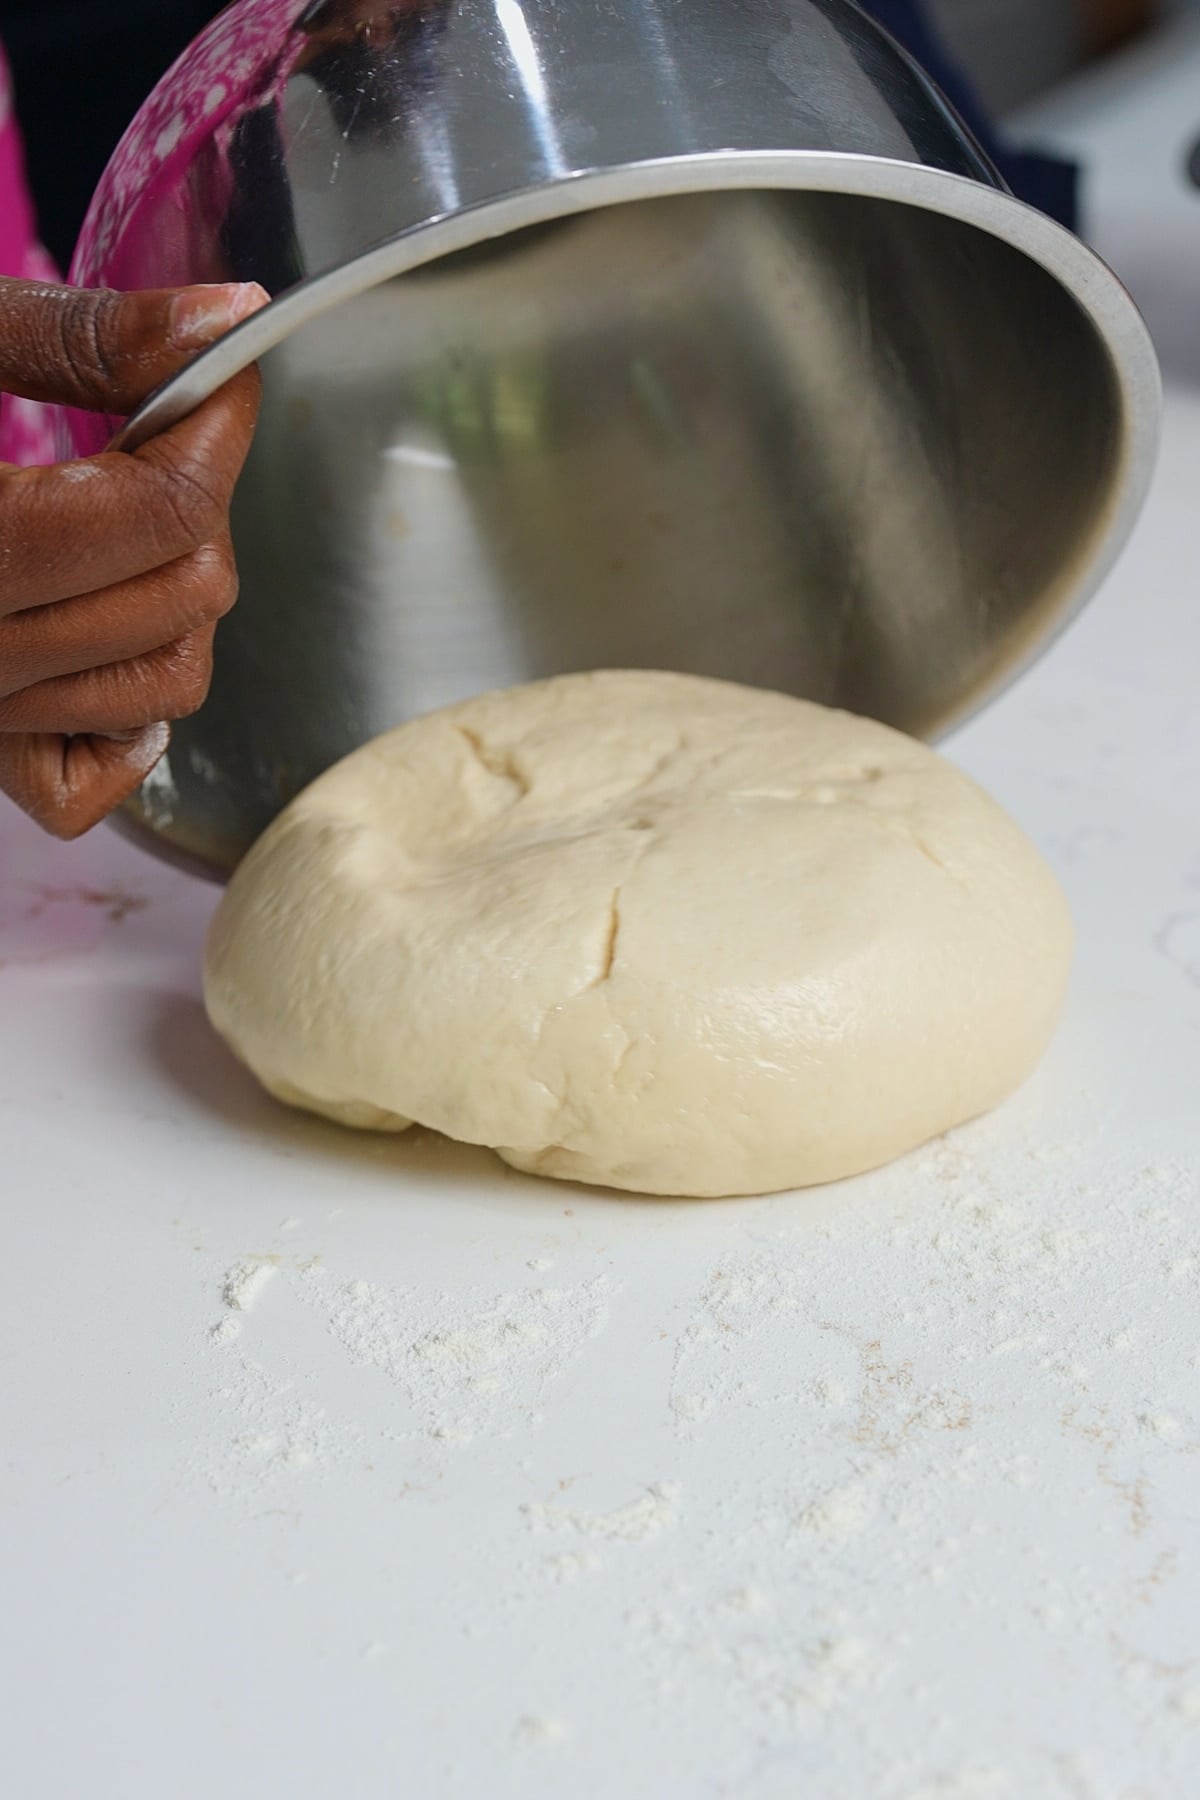
Place the dough ball into a lightly oiled bowl, turning it over once to ensure the top is coated. Cover the bowl with a clean kitchen towel or plastic wrap and let it rise at warm room temperature until it is close to doubled in size, about 1 to 1 ½ hours. Gently deflate the risen dough and turn it back out onto a lightly floured surface.
Roll and Shape Tightly
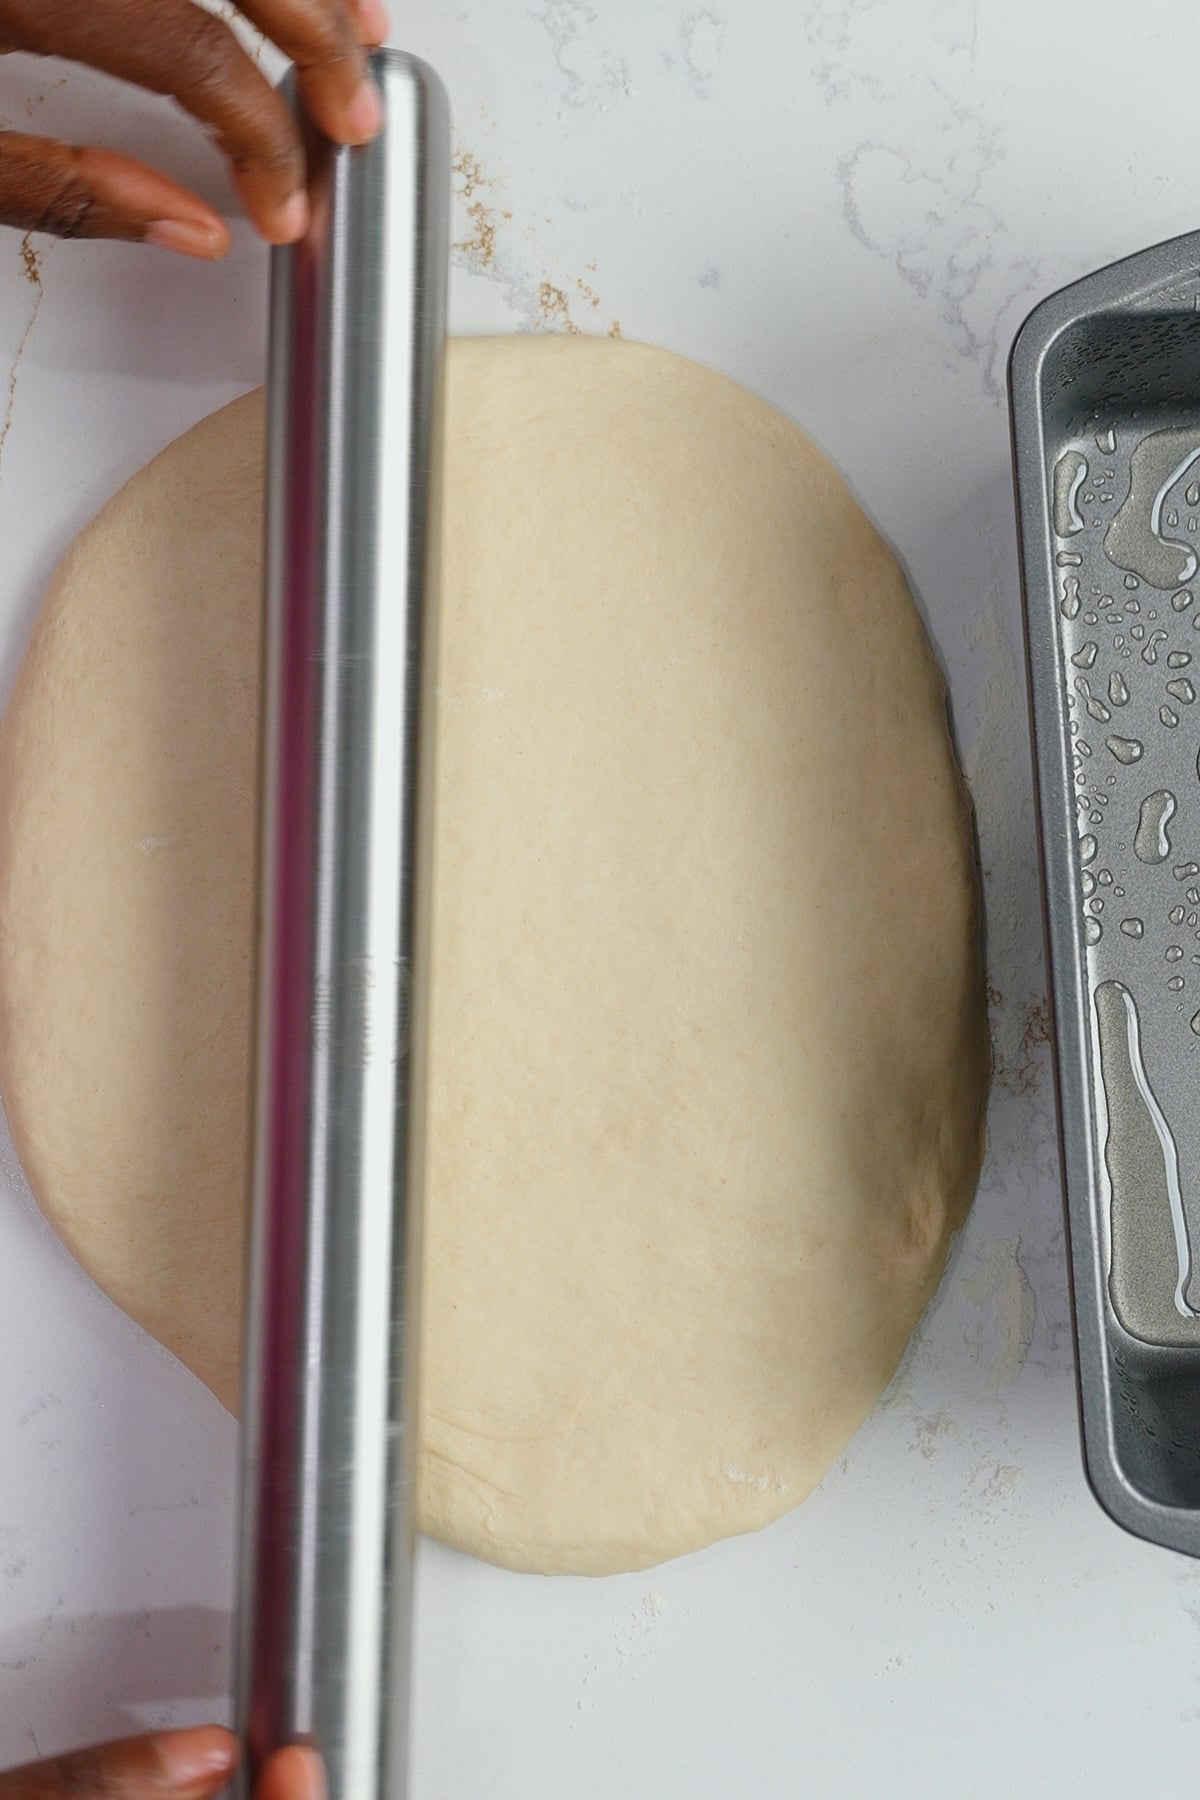
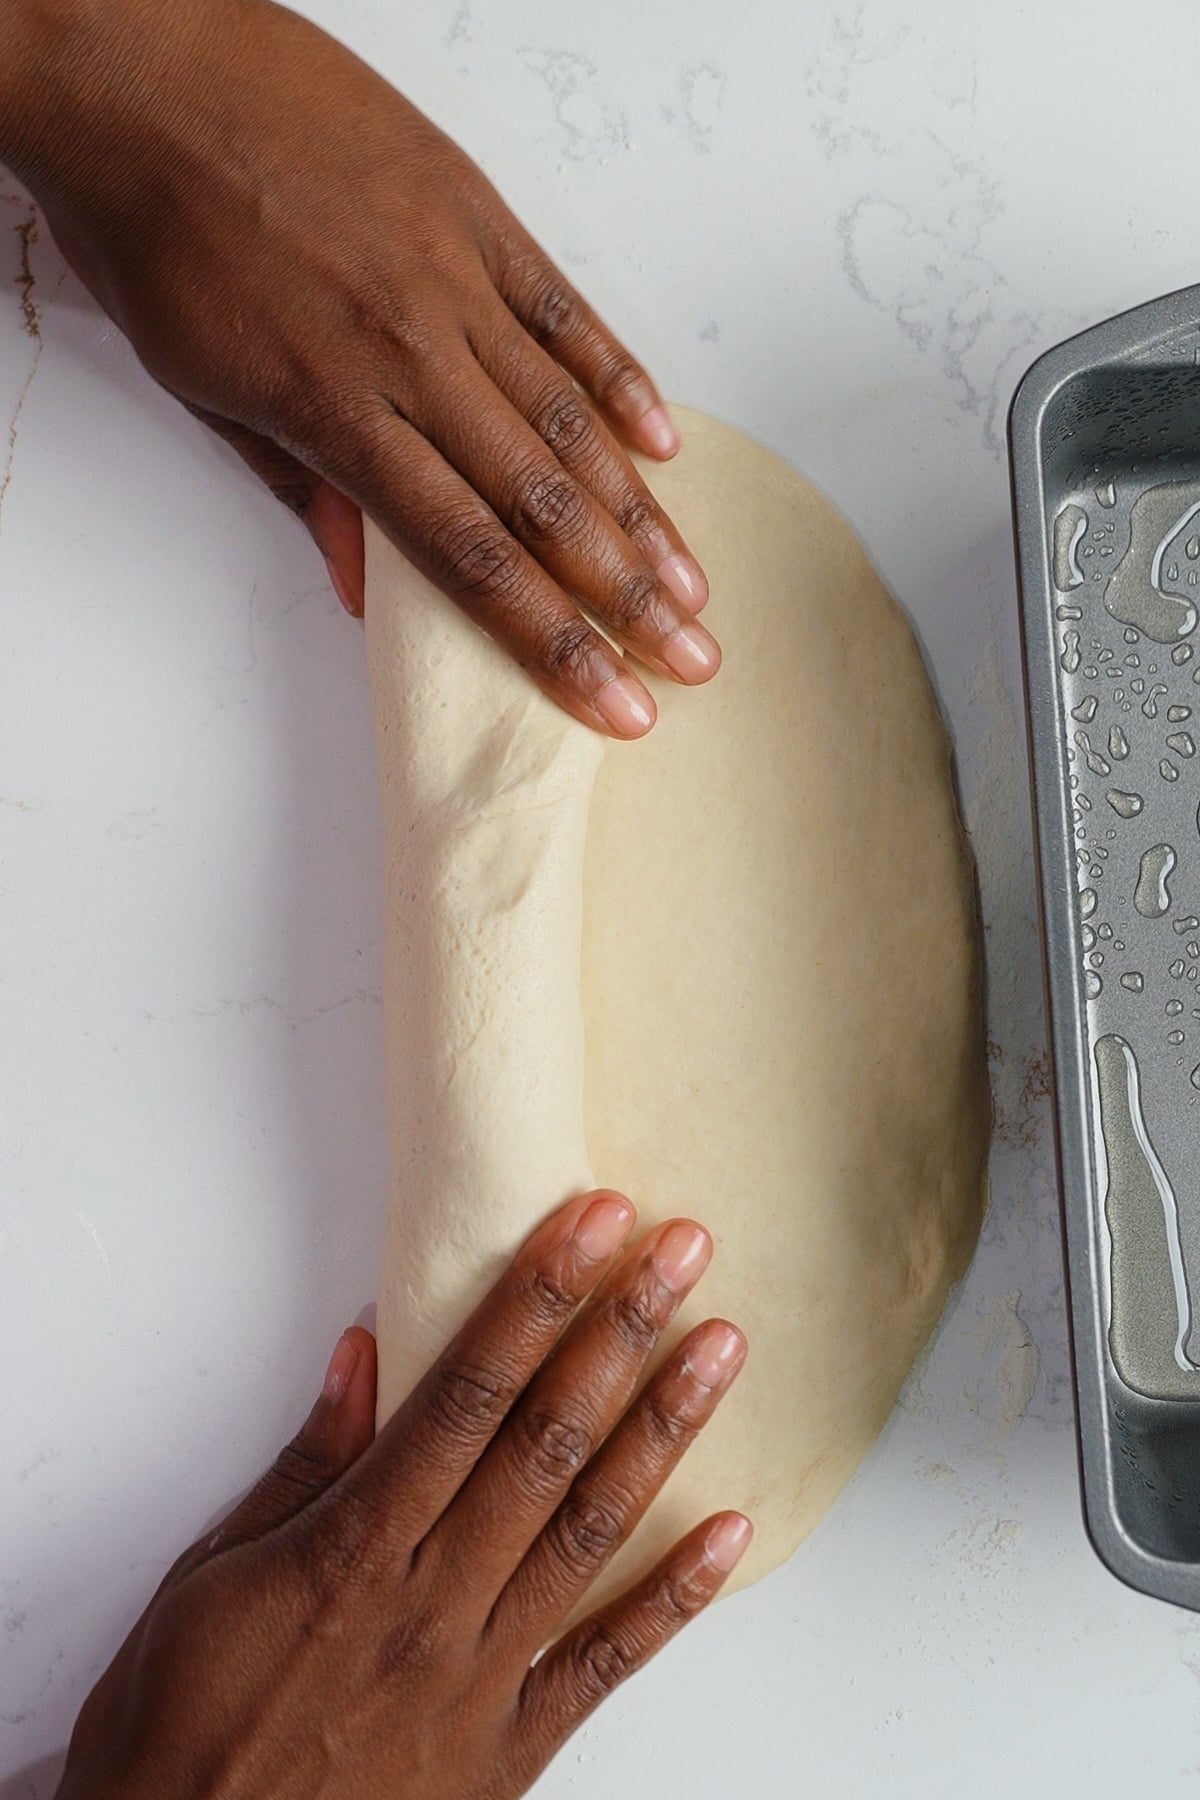
Using a rolling pin or your hands, pat and roll the dough into a neat rectangle. To get that classic, tight, hard dough crumb, roll the dough up as tightly as possible from the long side into a snug, dense log. Pinch the long seam and both ends firmly closed to keep the shape taut.
The Second Rise
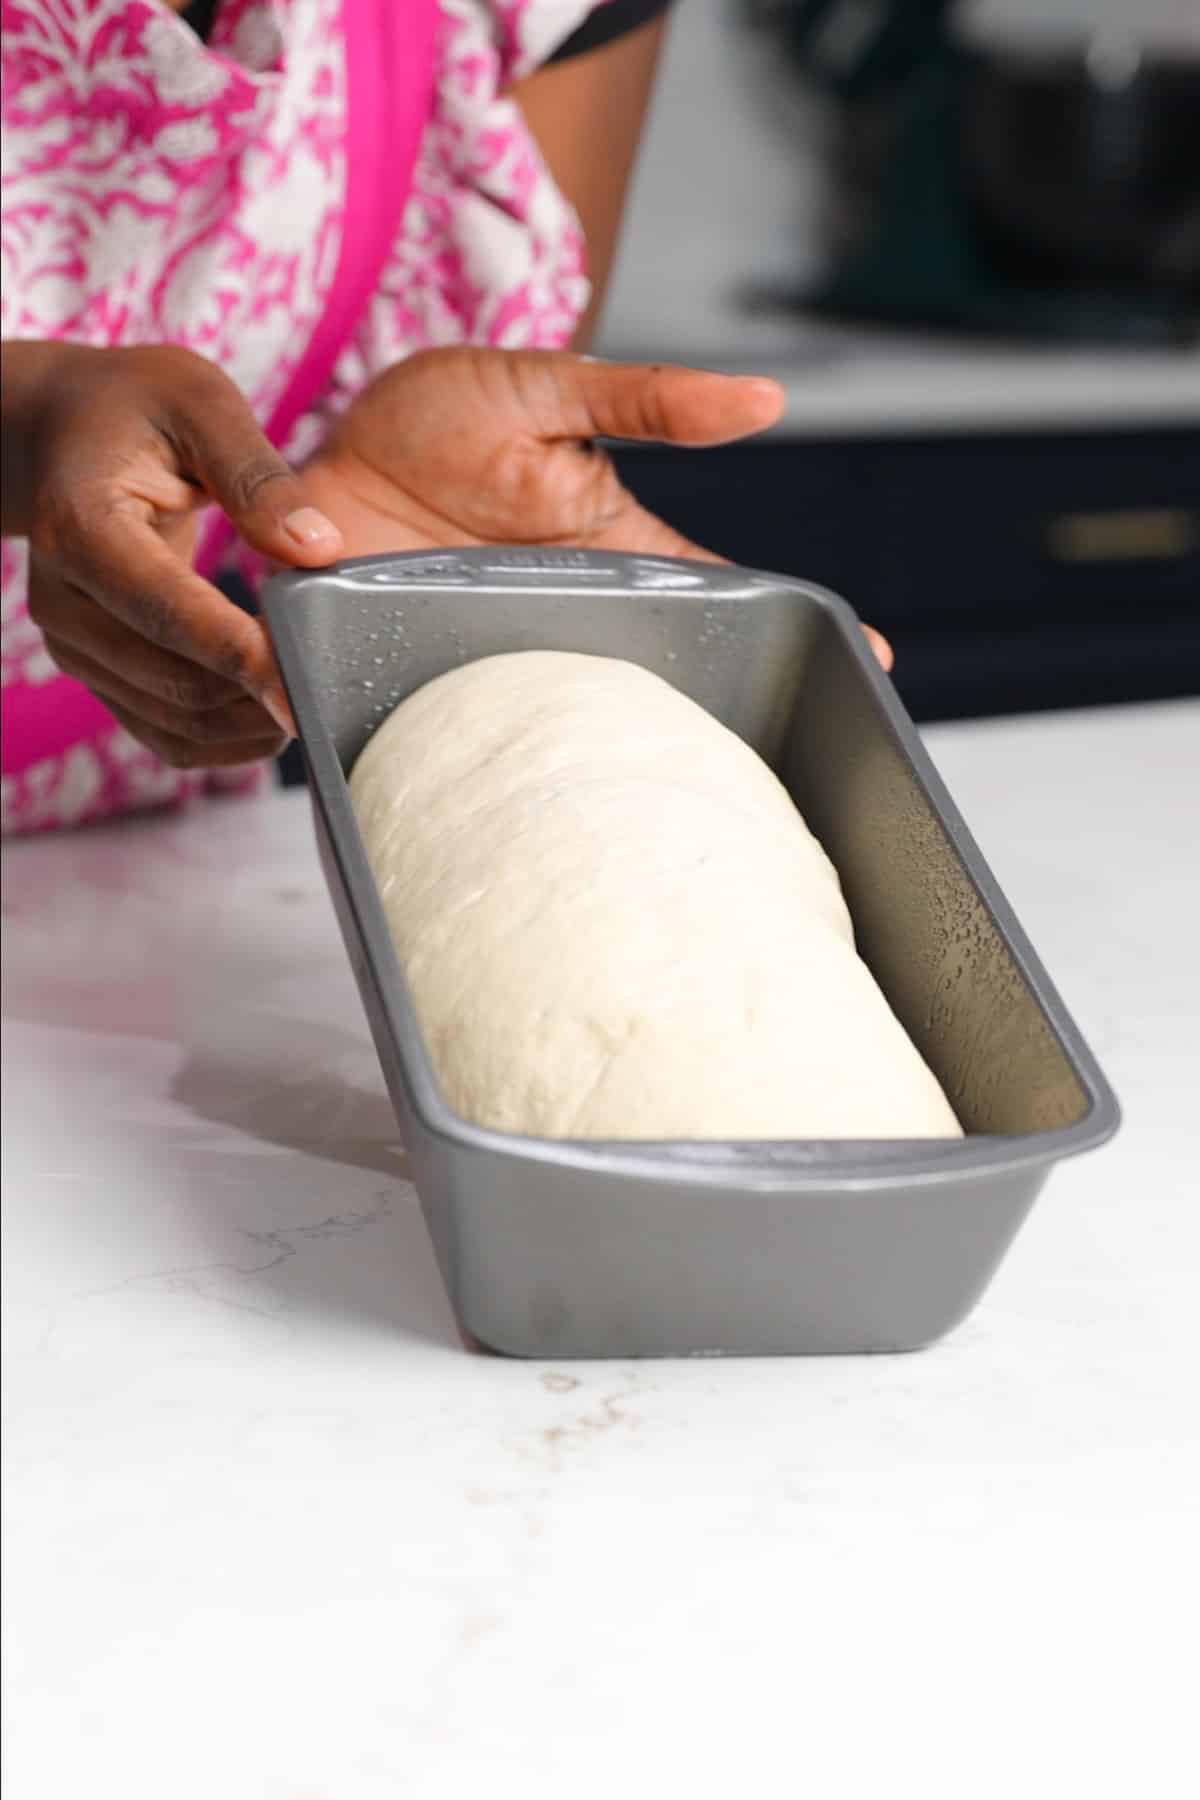
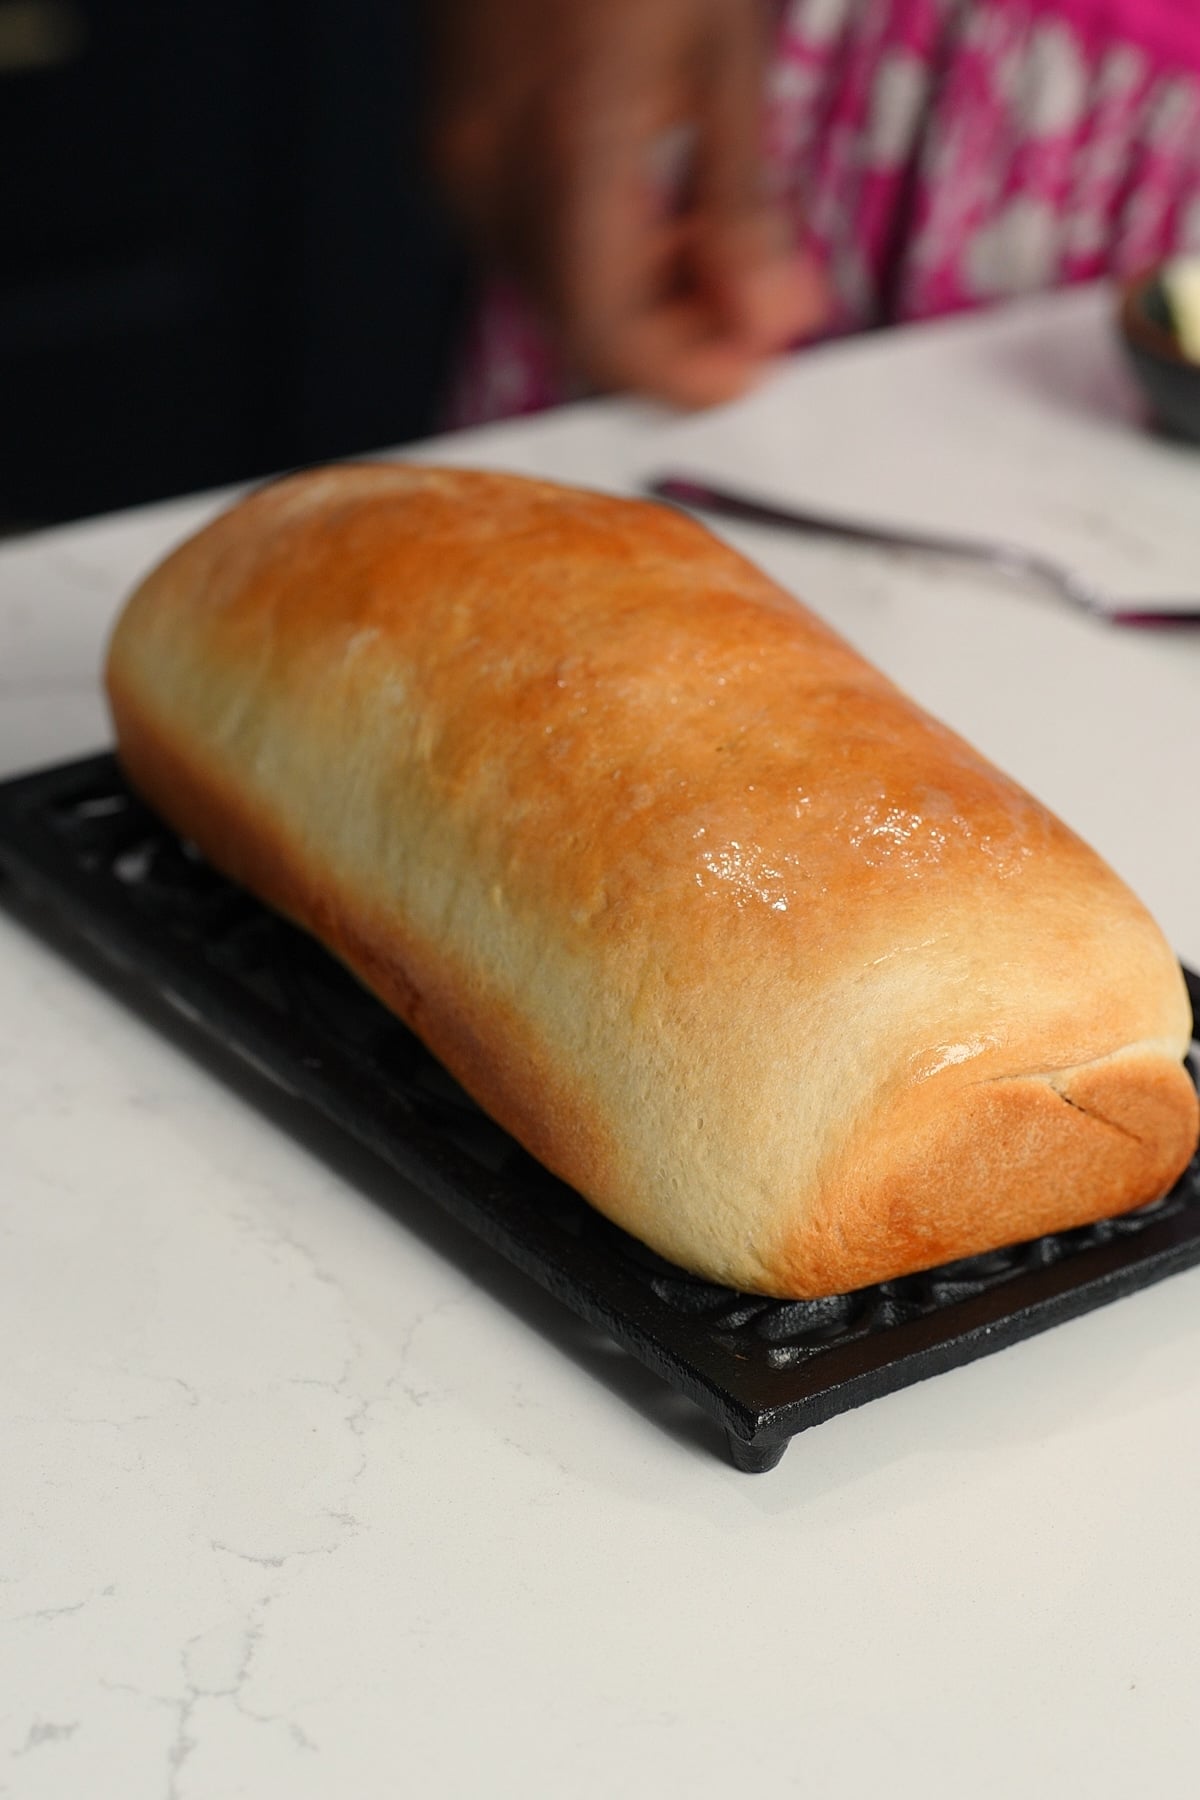
Place the shaped log seam-side down into a greased 9x5-inch loaf pan. Cover it lightly and let it rise a second time, about 45 to 75 minutes. Because this bread is so heavy and dense, do not expect it to crown high above the pan. You are ready to bake when the dough fills out the corners of the pan, rises just to or slightly below the rim, and springs back slowly when poked gently.

Bake Until Golden
Preheat your oven to 350°F (175°C). Bake the loaf for 30 to 35 minutes until the top is a beautiful pale golden color. If the top is browning too quickly during the last few minutes, tent it loosely with aluminum foil. Bread should reach an internal temperature of 190°F to 200°F (88°C to 93°C).
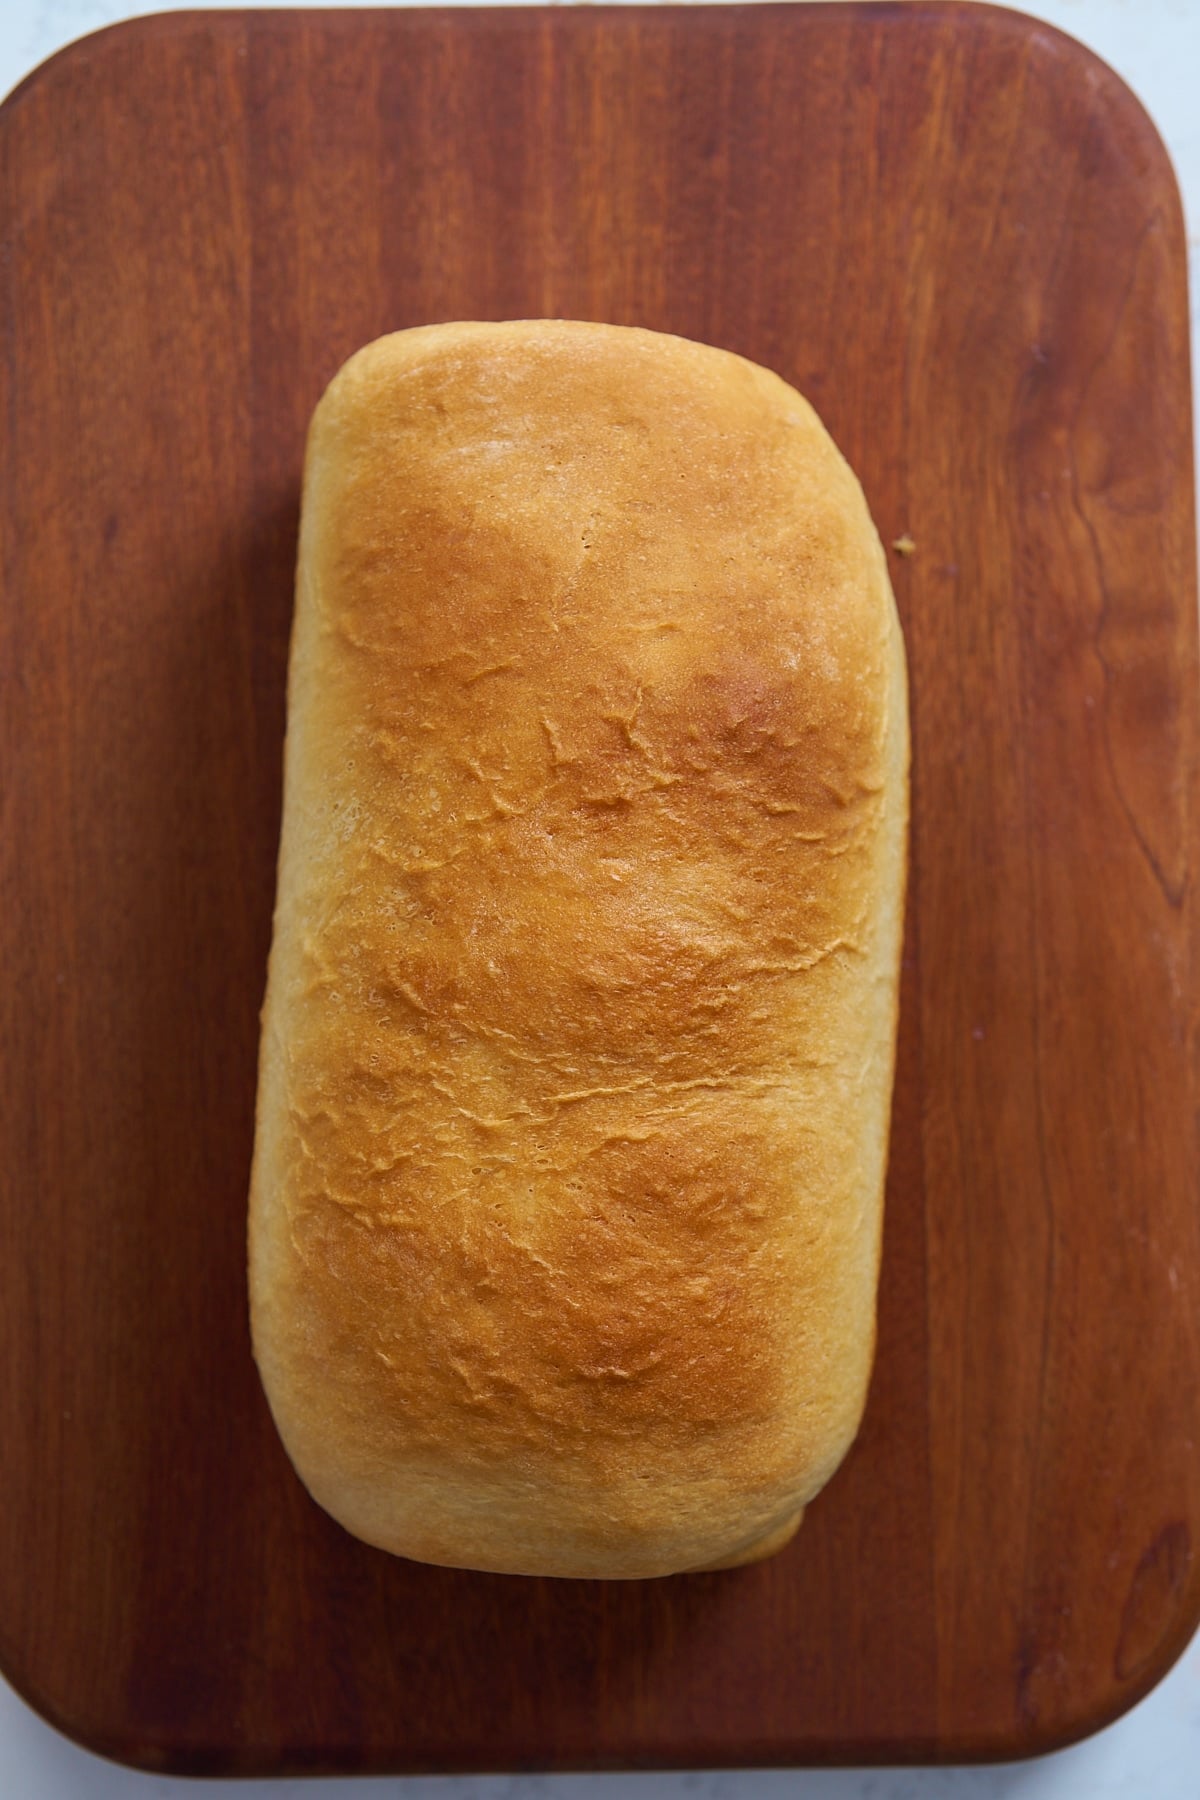
Butter the Crust and Cool Completely
Remove the hot loaf from the oven and immediately take it out of the pan, placing it onto a wire cooling rack. While it is piping hot, take the remaining 1 tablespoon of butter and brush it generously over the top and sides of the loaf. Let the bread cool completely on the rack before slicing so the dense crumb has time to set properly without getting gummy.
Tanya's Top Baker Tips for Perfect Hard Dough Bread
- Use bread flour for the best results. Bread flour has a higher protein content, which results in a tighter crumb. If using all-purpose flour, keep in mind that you may need to use a little less water, as bread flour absorbs more liquid.
- Traditional doneness cues include an evenly golden-brown crust and a hollow sound when the bottom is tapped.
How to Store Hard Dough Bread
Hard dough bread keeps well thanks to its fat and sugar content, but proper storage is key to maintaining that perfect, dense texture. One classic trick my mom taught me: keep the end crusts attached to the loaf as you slice it. Leaving those ends pushed tightly against the cut side of the bread blocks the airflow and keeps the inside soft. If you throw those ends away, the exposed bread will turn rock-hard.
On the Counter: Wrap the cooled loaf tightly in plastic wrap or a bread bag and store at room temperature for 3 to 4 days away from direct sunlight.
In the Freezer: Wrap tightly in plastic, then in aluminum foil or a freezer bag, and freeze for up to 2 to 3 months.
To Thaw: Defrost at room temperature, right inside the wrapping, to keep it from drying out, then toast or warm the slices in the oven to refresh them.
FAQ
Hard dough bread is a Caribbean loaf known for its firm dough, dense texture, and tight crumb. The name refers to its sturdier structure compared with softer sandwich breads.
I hope you enjoy this hard dough bread recipe as much as we do. For more Jamaican baked goods, check these out.
Hard Dough Bread Recipe
Equipment
Ingredients
- 3 cups bread flour 420 grams
- 1 ⅛ cup warm water this equals 1 cup + 2 tablespoons of water
- 1 packet instant yeast 2 ¼ teaspoons or 7 grams
- 2 tablespoons granulated sugar
- 2 teaspoons salt
- 3 tablespoons unsalted butter divided
Instructions
- In a large mixing bowl, combine the bread flour, granulated sugar, salt, and instant yeast. Add the 2 tablespoons of softened unsalted butter. Use a wooden spoon to work the butter directly into the dry flour mixture, stirring and pressing it against the sides of the bowl until it breaks down into small, even bits and the flour looks slightly clumpy.
- Pour in the water and stir with your wooden spoon until a shaggy dough forms and no dry patches of flour remain. The dough will still look shaggy and unformed before it goes into the mixer.
- To Use a Stand Mixer: Transfer the shaggy dough to a mixer bowl fitted with a dough hook. Mix on low speed for 6 to 8 minutes until the dough pulls away from the sides and forms a smooth, cohesive ball that holds its shape cleanly. To Knead by Hand: Turn the shaggy dough out onto a lightly floured surface and knead vigorously for 8 to 10 minutes until it forms a smooth, elastic ball that is supple and offers resistance when pressed.
- Shape the dough into a smooth ball and place it in a lightly oiled bowl, turning once to coat. Cover and let rise at warm room temperature until close to doubled in size, about 1 to 1 ½ hours. Gently deflate the risen dough and turn it back out onto a lightly floured surface.
- Using a rolling pin or your hands, pat and roll the dough into a neat rectangle. To get that classic, tight, hard dough crumb, roll the dough up as tightly as possible from the long side into a snug, dense log. Pinch the long seam and both ends firmly closed to keep the shape taut.
- Place the log seam-side down in a greased 9x5-inch loaf pan. Cover lightly and let rise a second time, about 45 to 75 minutes, until the dough fills out the pan, rises just to or slightly below the rim, and springs back slowly when gently pressed.
- Preheat your oven to 350°F (175°C). Bake the loaf for 30 to 35 minutes until pale golden and the loaf sounds hollow when tapped on the bottom. If the top browns too quickly, tent it loosely with aluminum foil. Bread should reach an internal temperature of 190°F to 200°F (88°C to 93°C).
- Remove the loaf from the pan immediately and place it on a wire cooling rack. While piping hot, brush the top and sides generously with the remaining 1 tablespoon of butter. Let the bread cool completely before slicing so the dense crumb sets properly.
Video
Notes
- If using all-purpose flour instead of bread flour, use a little less water to start, since all-purpose flour absorbs less liquid. The loaf will bake up softer and lighter, with a less chewy, less traditional hard dough texture, but it will still be delicious.
- Store the cooled, sliced loaf in an airtight bag at room temperature for 3-4 days. For longer storage, wrap the slices tightly and freeze them for up to 3 months; they can be pulled straight from the freezer and popped into the toaster.