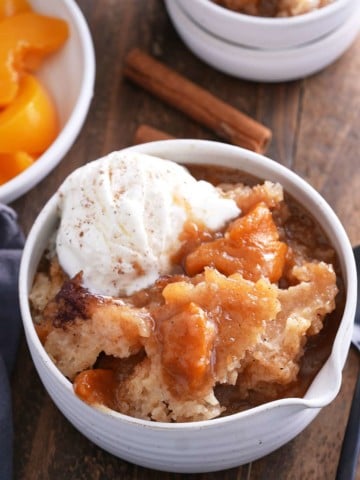
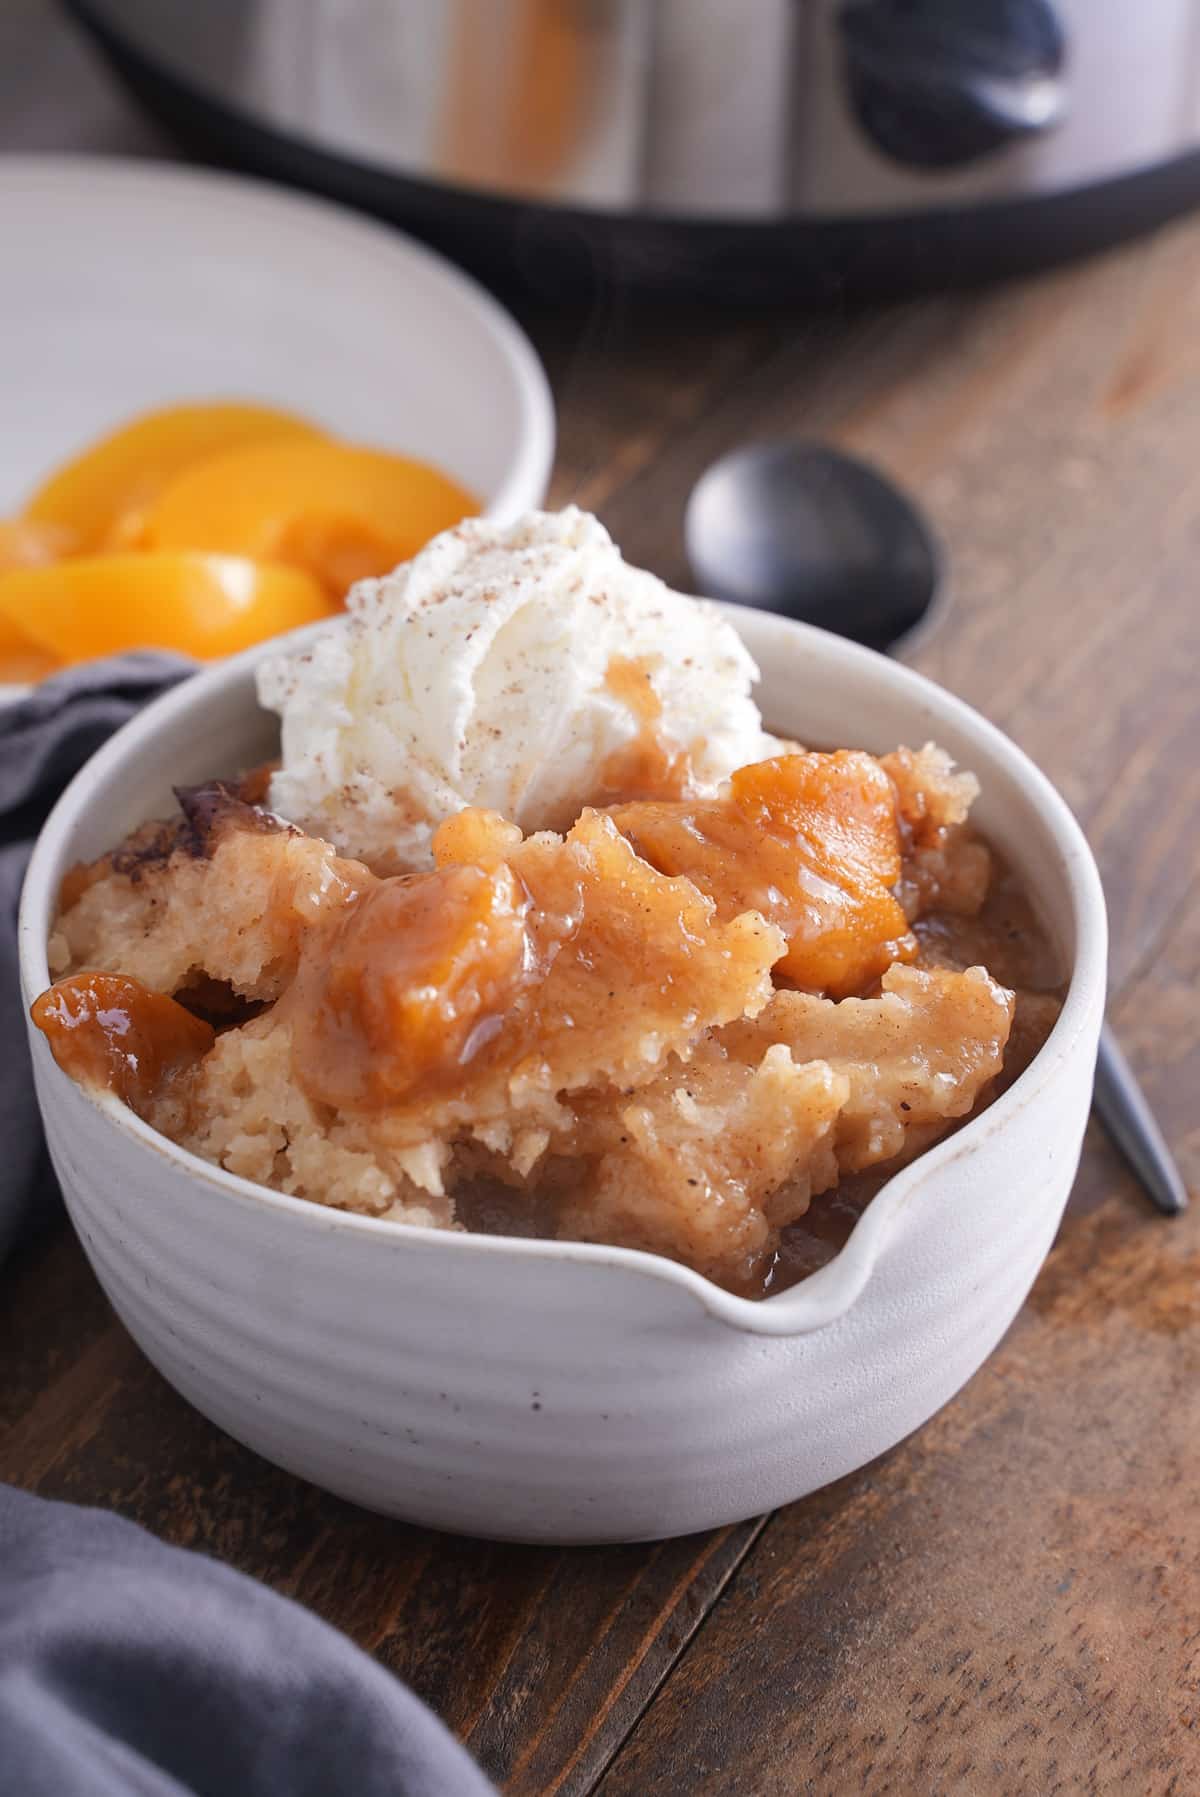
Enjoy the ease of making a dessert with my slow cooker peach cobbler. Rich in warm spices and flavor, tender canned peaches are covered in a buttery biscuit topping. A perfect dessert for any occasion and any season throughout the year.
This post contains affiliate links, please read my full disclaimer here.
The full recipe with ingredients/instructions is available on the recipe card at the bottom of the post. Important tips/tricks are also included in the blog post.
Slow cooker desserts are perfect for keeping your house cool in the summer, taking to family dinners and get-togethers, and filling your house with the smell of baked goods all day long. They're almost foolproof in that the slow cooker does most of the work.
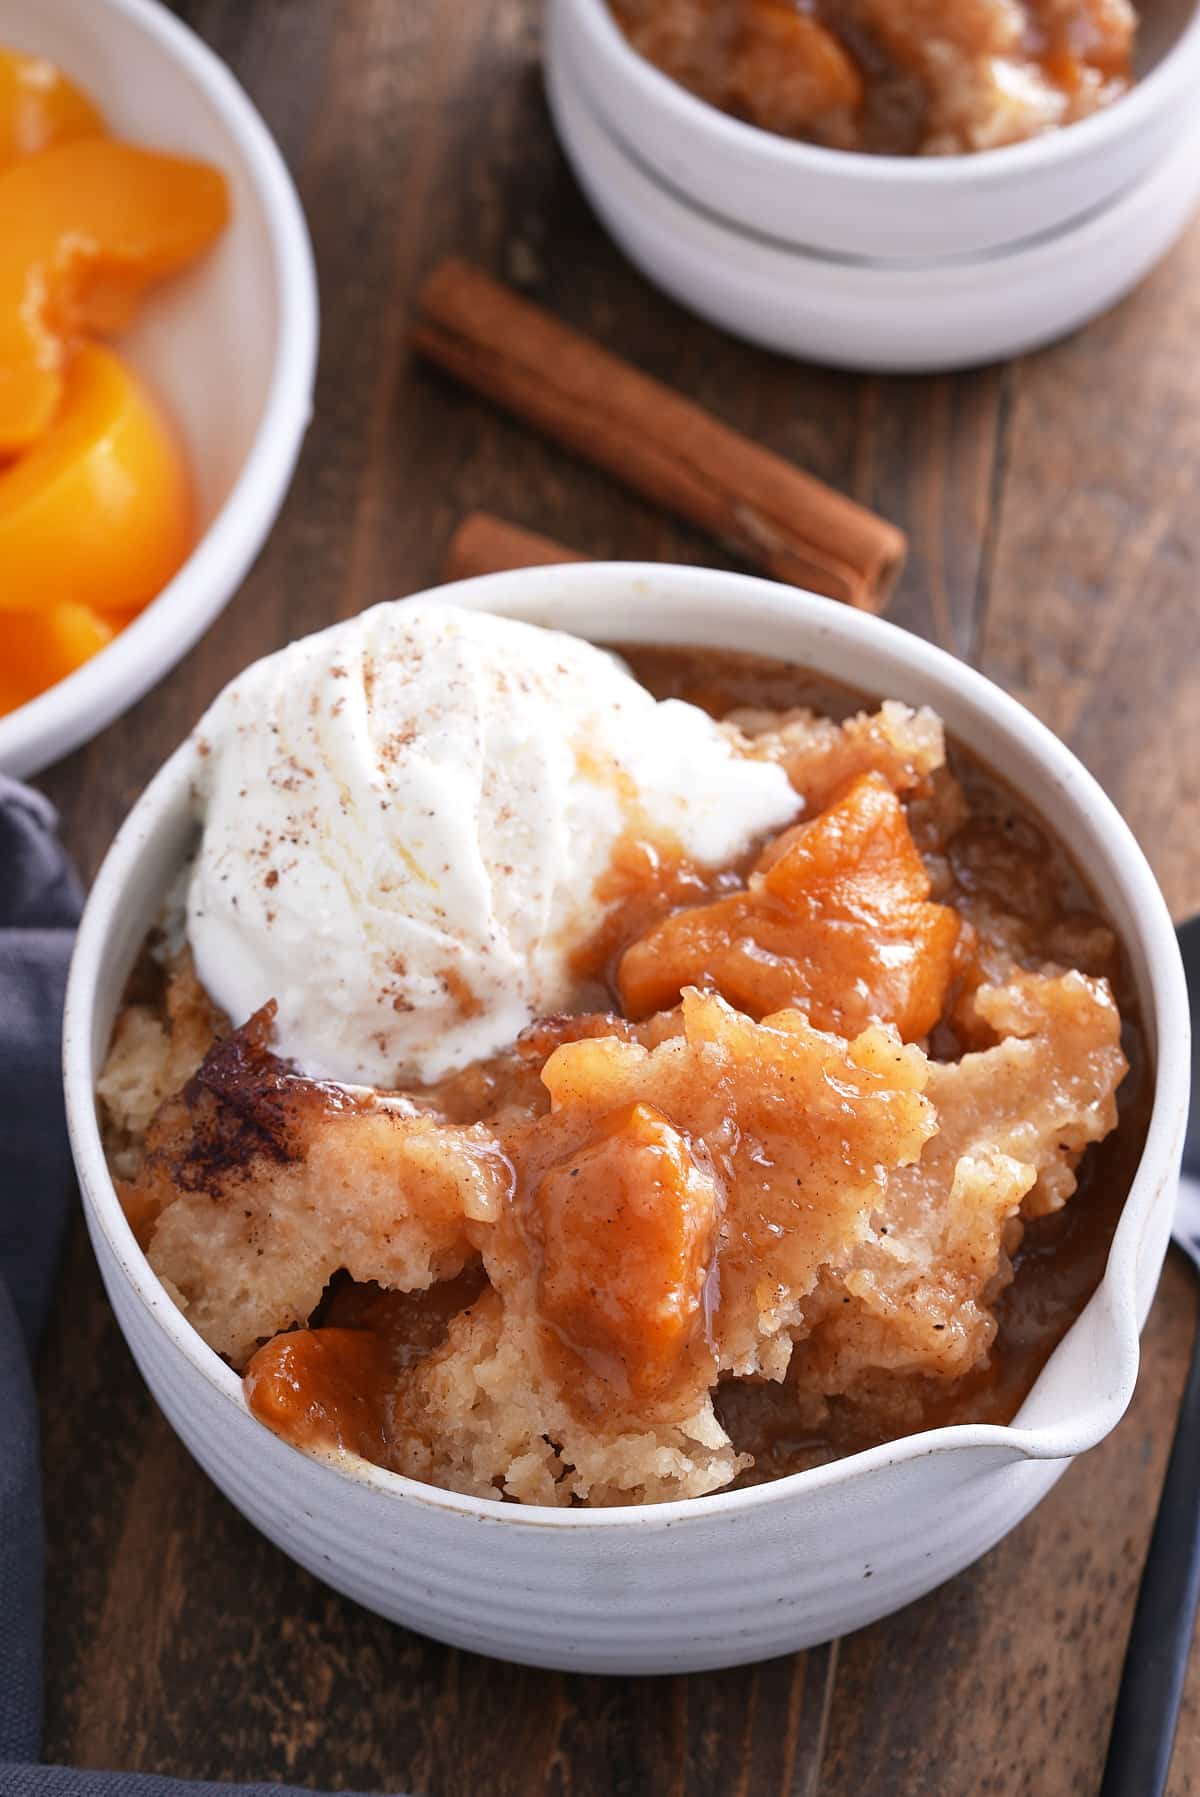
A good peach cobbler is delicious any time of the year. With the added cinnamon, nutmeg, and brown sugar my peach cobbler quickly becomes a rich decadence that no one would question if you served it for Thanksgiving or Christmas.
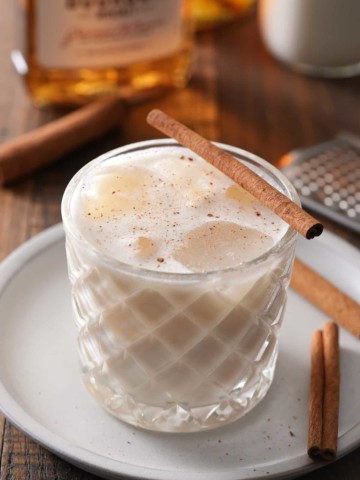
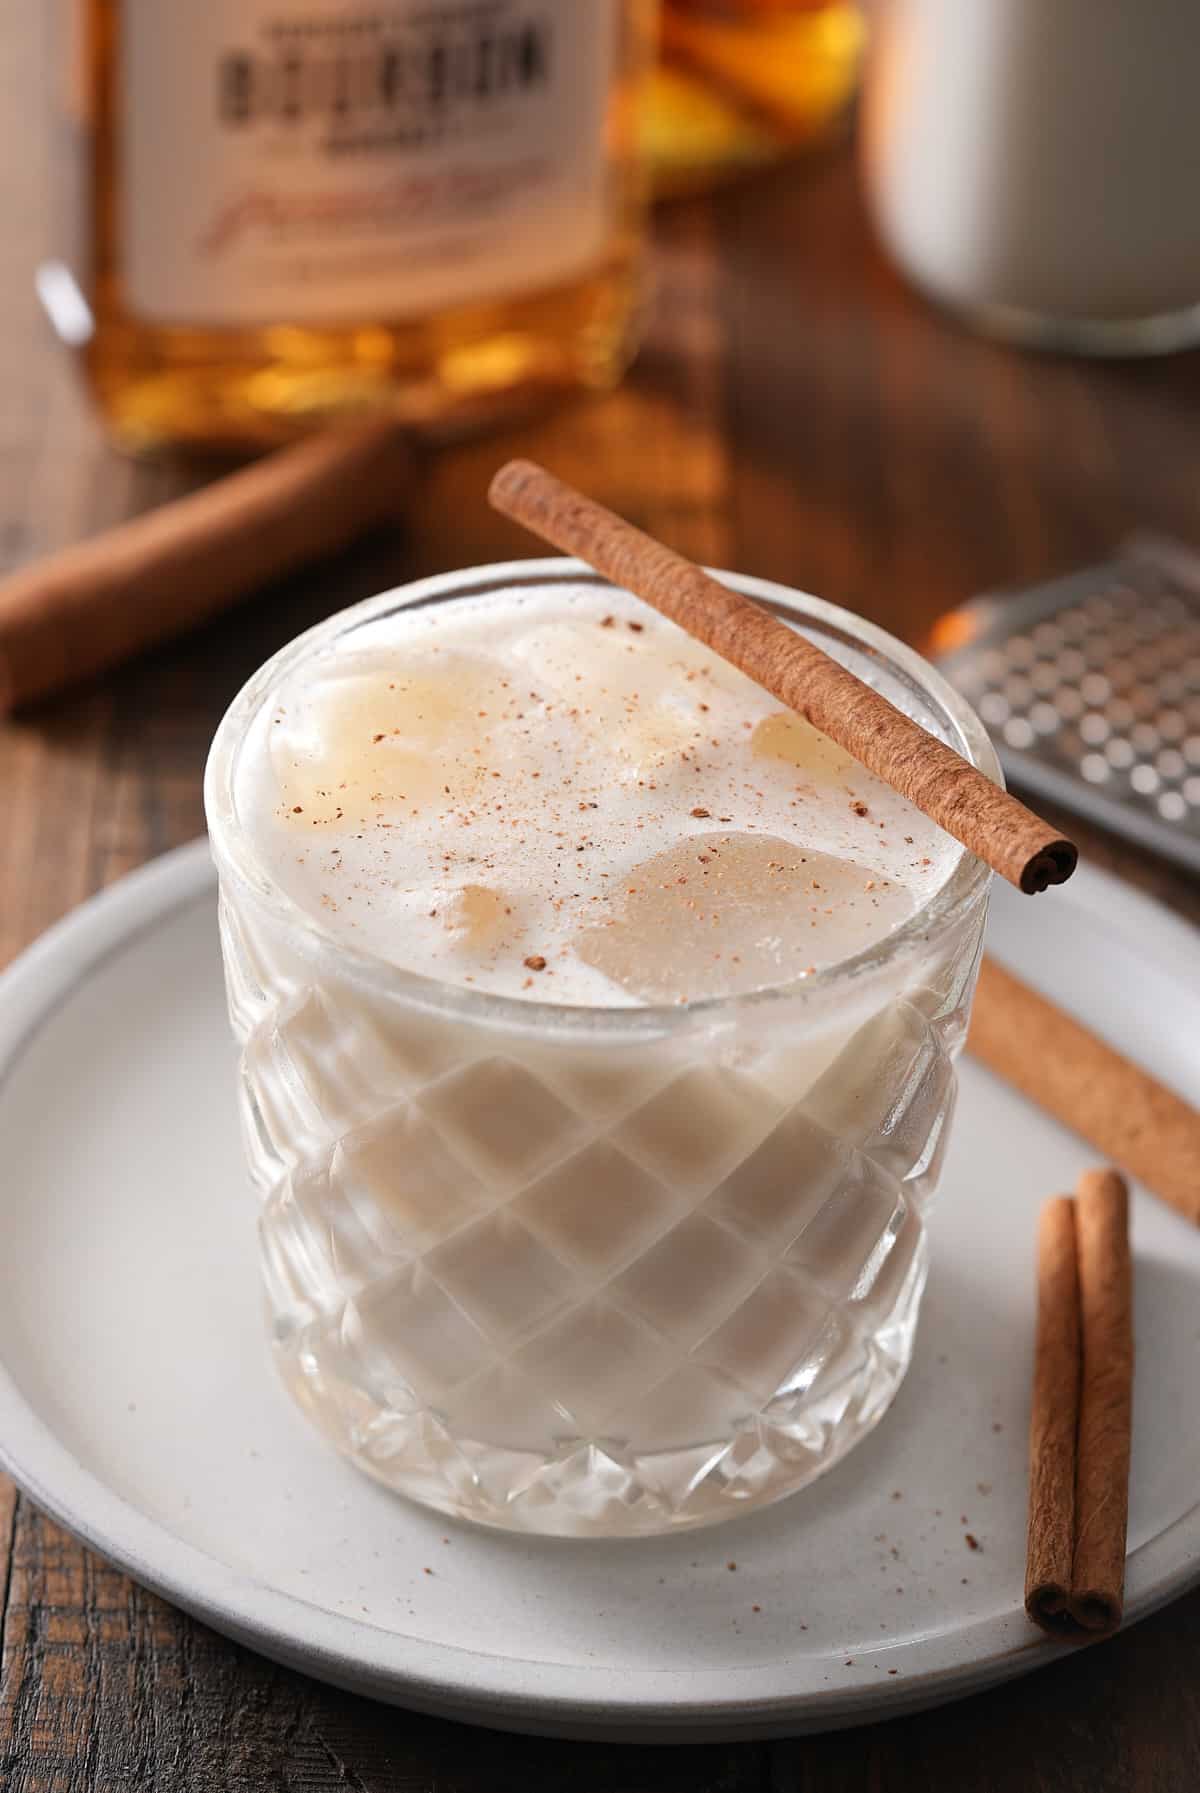
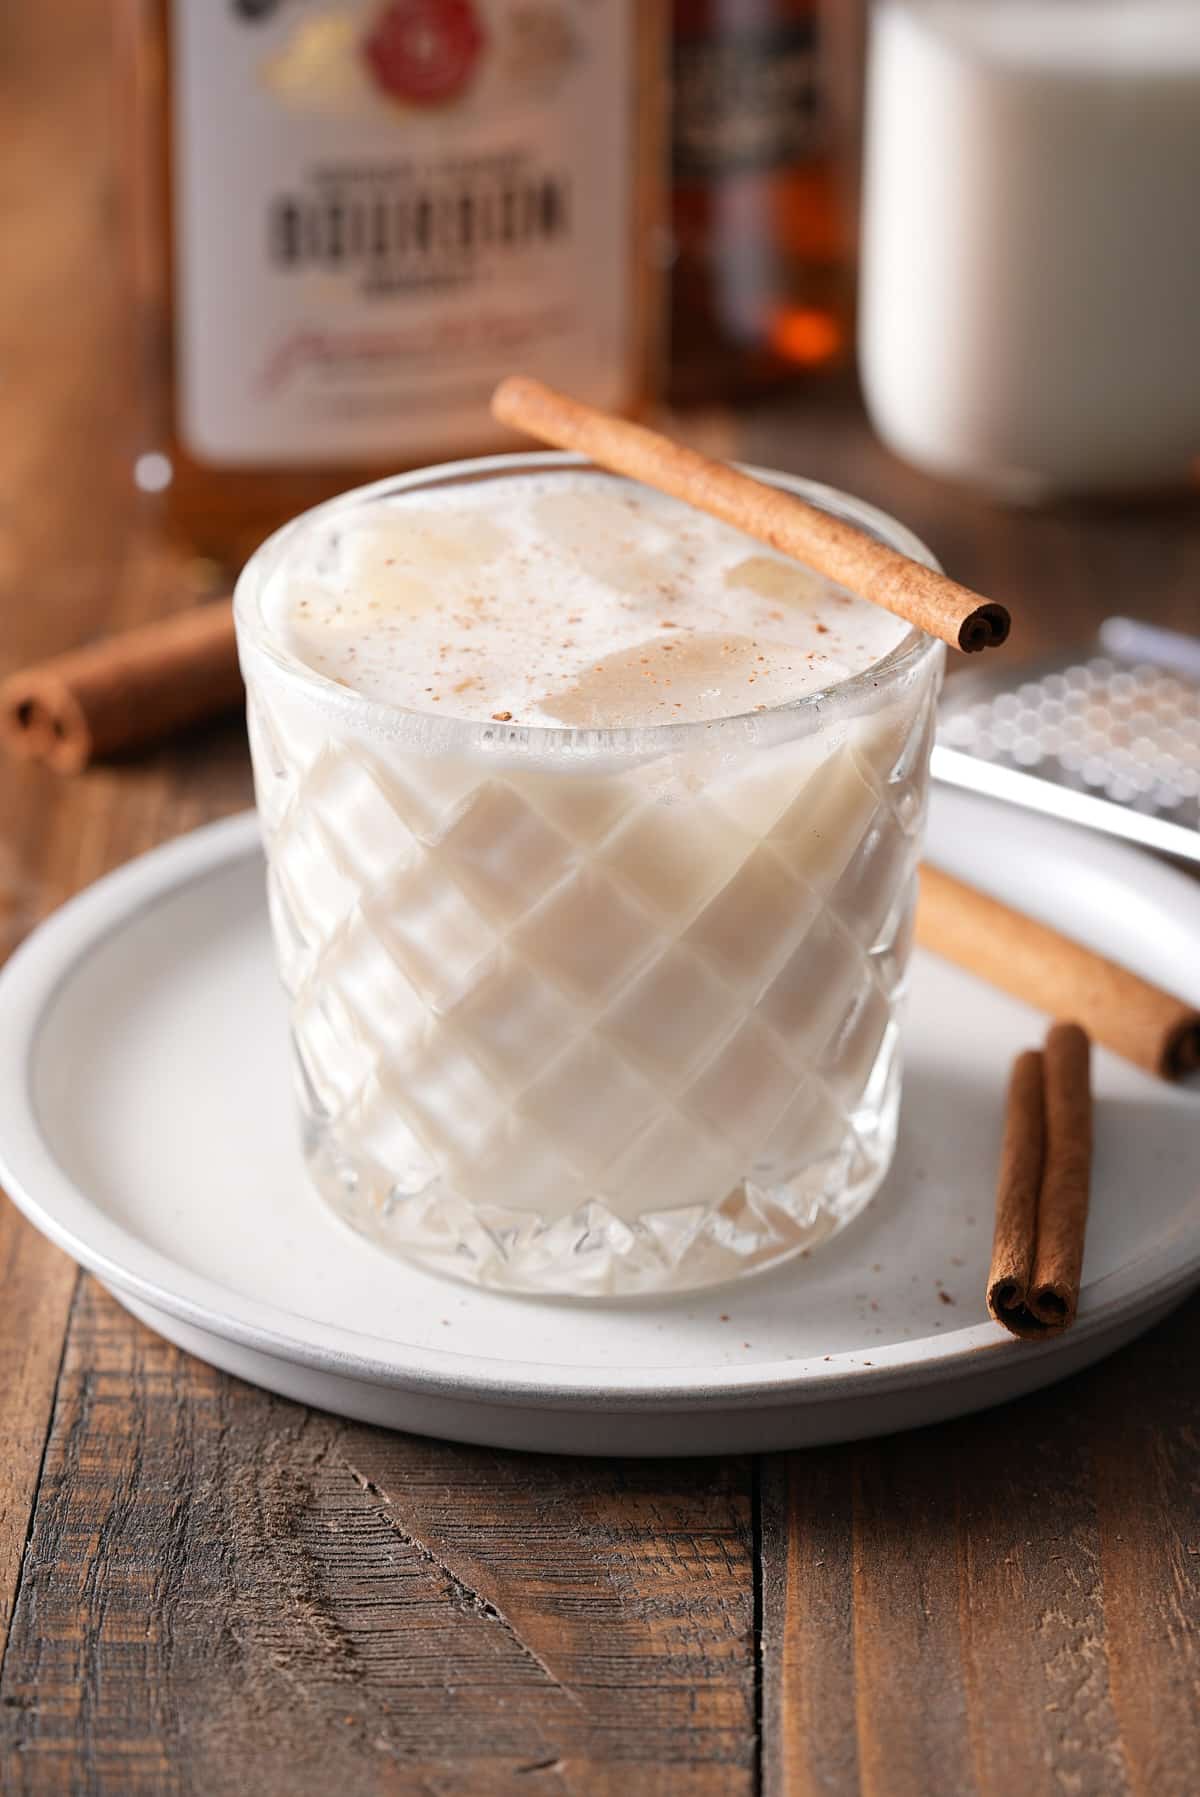
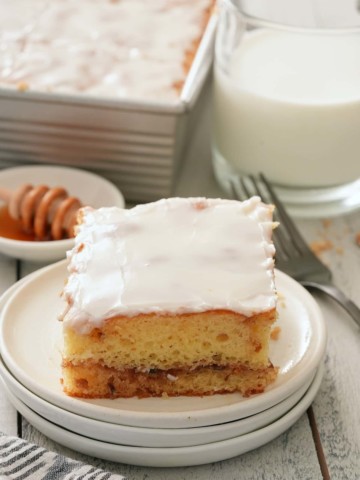
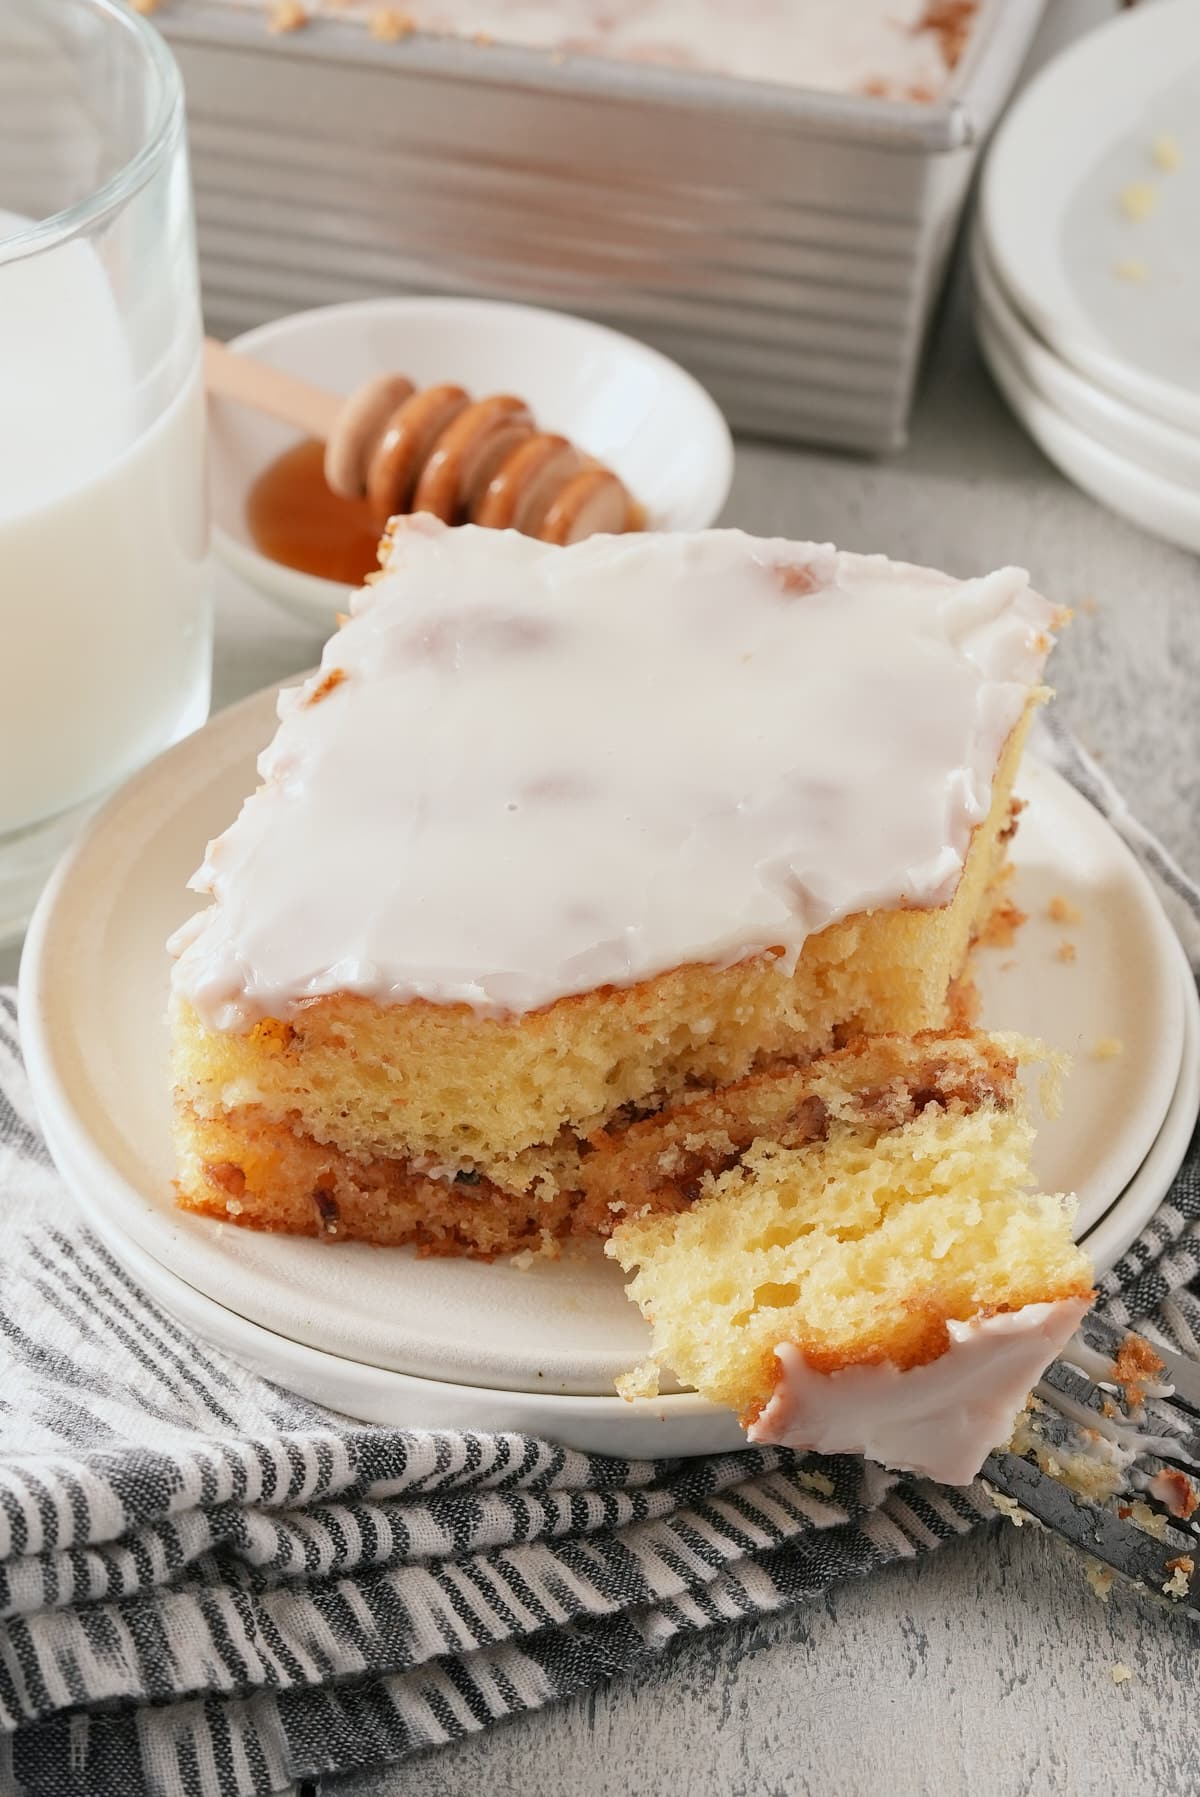
Enjoy peach cobbler in the summer with the freshness of newly ripened peaches and a generous scoop of ice cream. But for Fall, I like to rely on canned peaches. For another take on peach cobbler, try my Easy Southern Peach Cobbler Cake, then sip on a Peach Cobbler Cocktail!
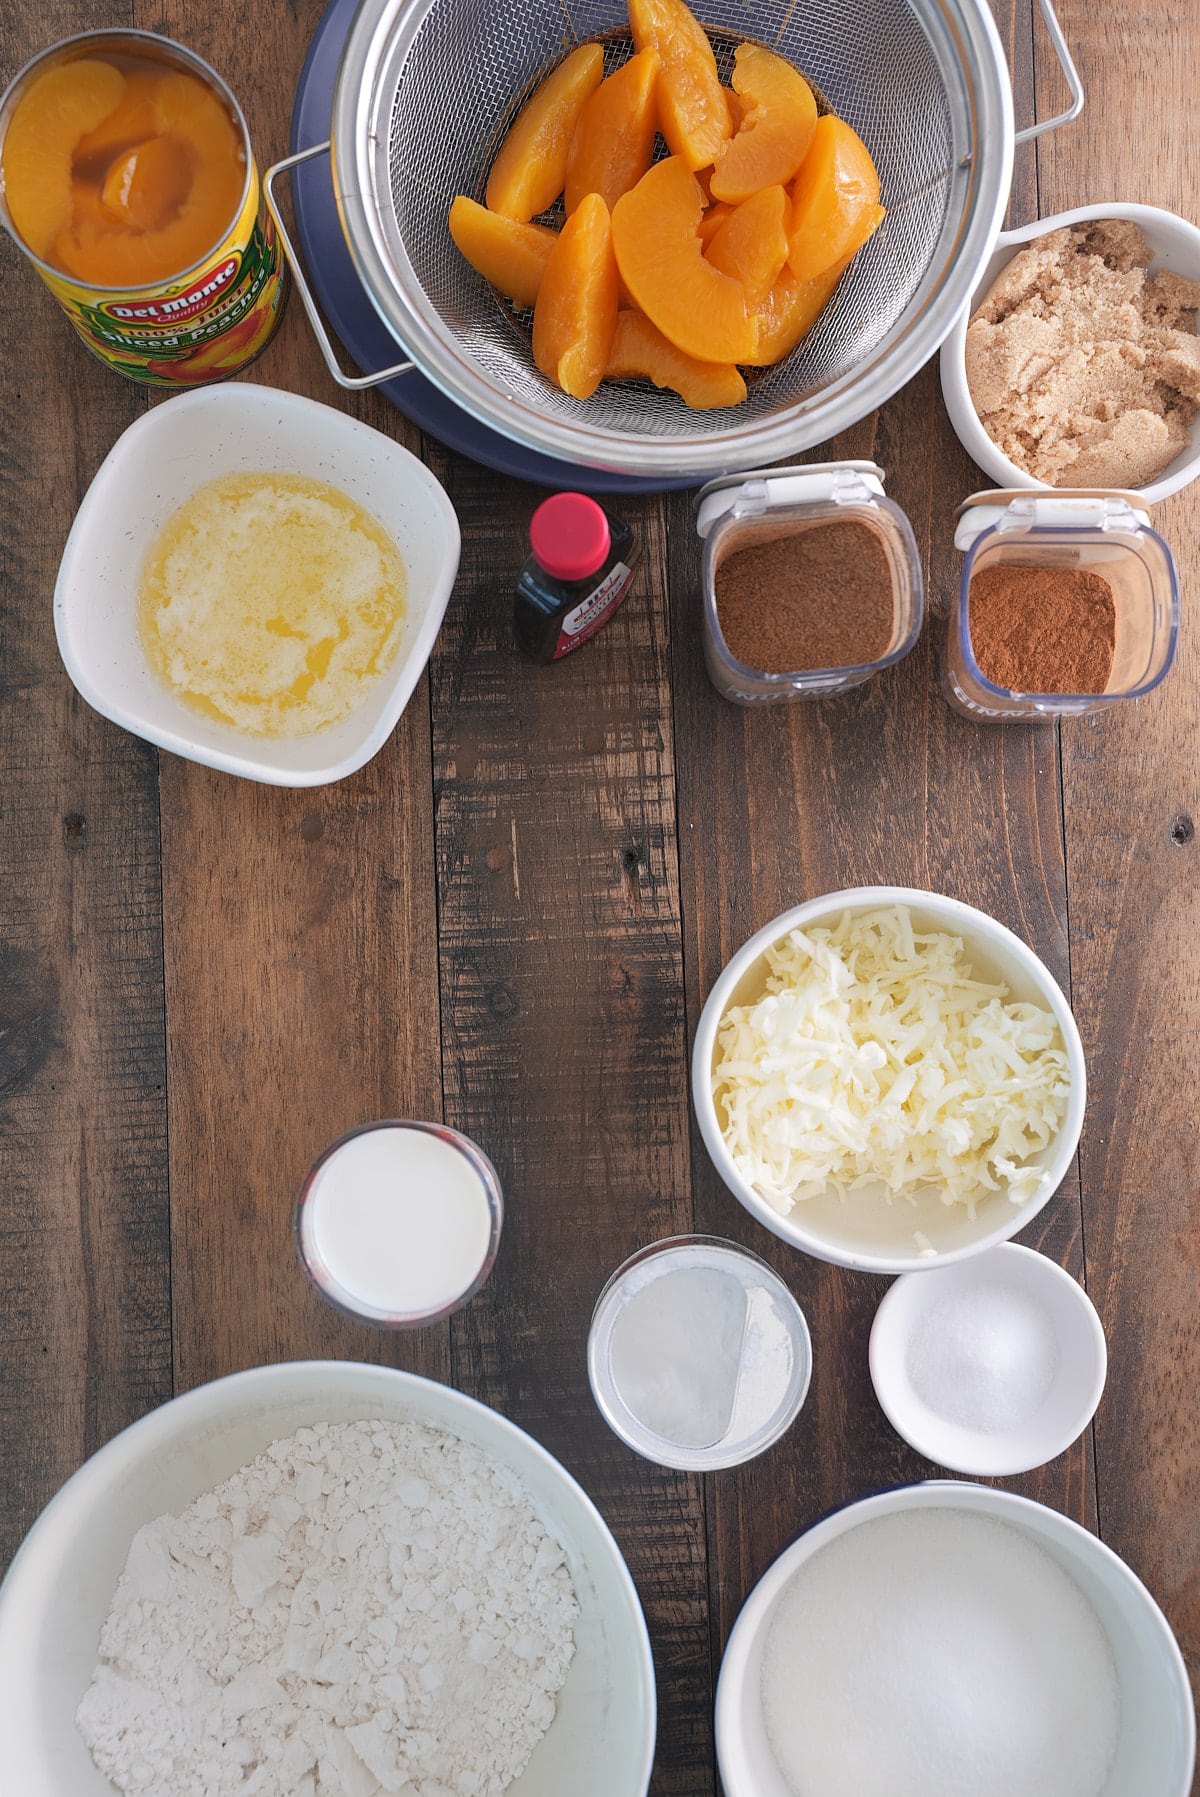
Ingredients
Peach Filling
- Unsalted butter - Adds a delicious richness and helps to thicken the sauce.
- Cans of peaches in fruit juice - Avoid canned peaches packed in syrup already, opt for 100% fruit juice.
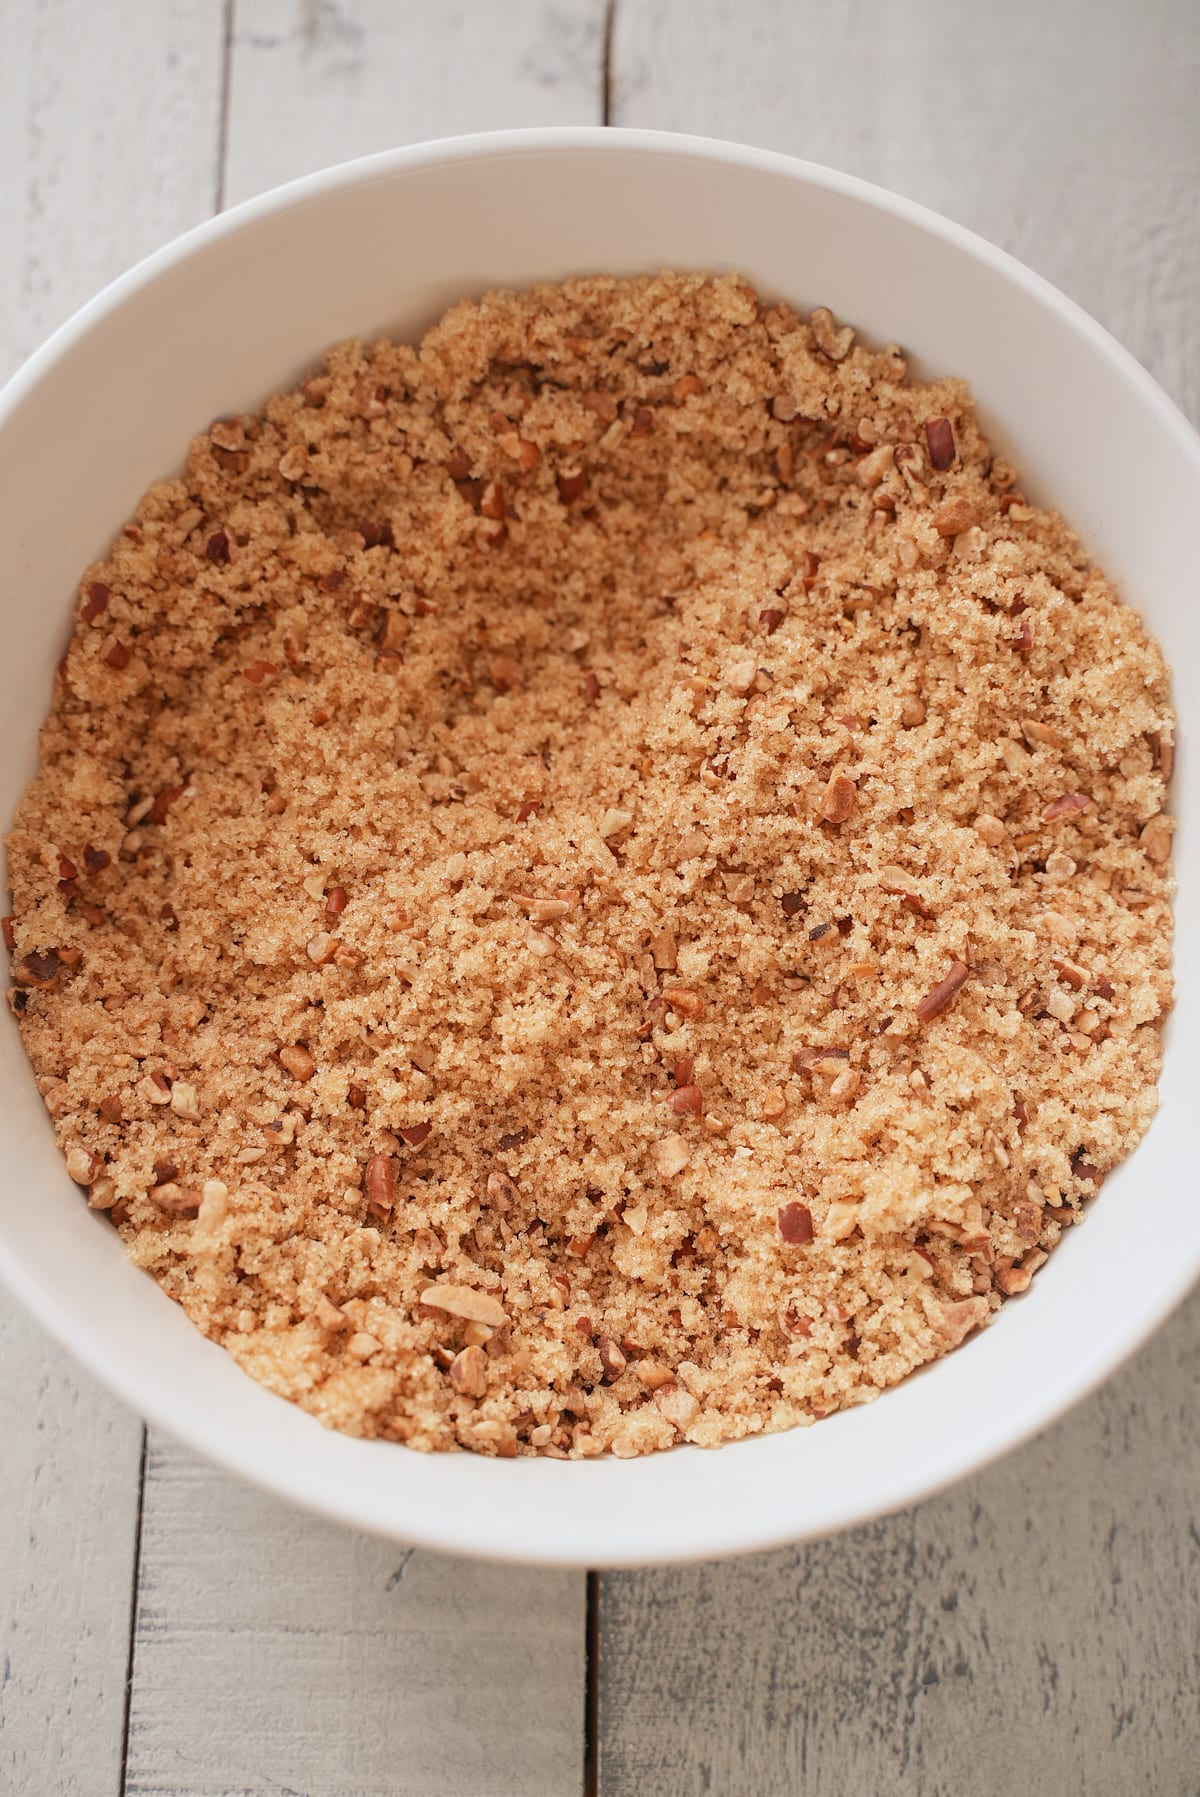
- Brown sugar - Helps to create that rich sweetness from the molasses.
- Vanilla extract - or even almond extract or a mixture of both adds another layer of flavor and aroma.
- Spices - Ground cinnamon and nutmeg give a warm and nutty flavor to this dessert.
- Salt - Salt is necessary for balancing out the sweetness and enhancing flavors.
Biscuit Topping
- Butter cold and grated - Cold or even frozen butter is ideal when creating light and fluffy biscuit batter.
- All-purpose flour - This is the primary dry ingredient for the topping, try whole wheat flour or your favorite gluten free blend as well.
- Granulated sugar - Adds sweetness to the biscuit topping.
- Baking powder - Acts as a leavening agent, helping the biscuit topping to rise and become fluffy.
- Salt - Salt helps to balance the sweetness
- Milk - Helps to act as a binding agent for the topping. Feel free to use dairy-free milk alternatives as well.
Tools needed for this recipe
- Slow Cooker
- Grater - Use this to help finely shred frozen butter.
How To Make Peach Cobbler In A Slow Cooker
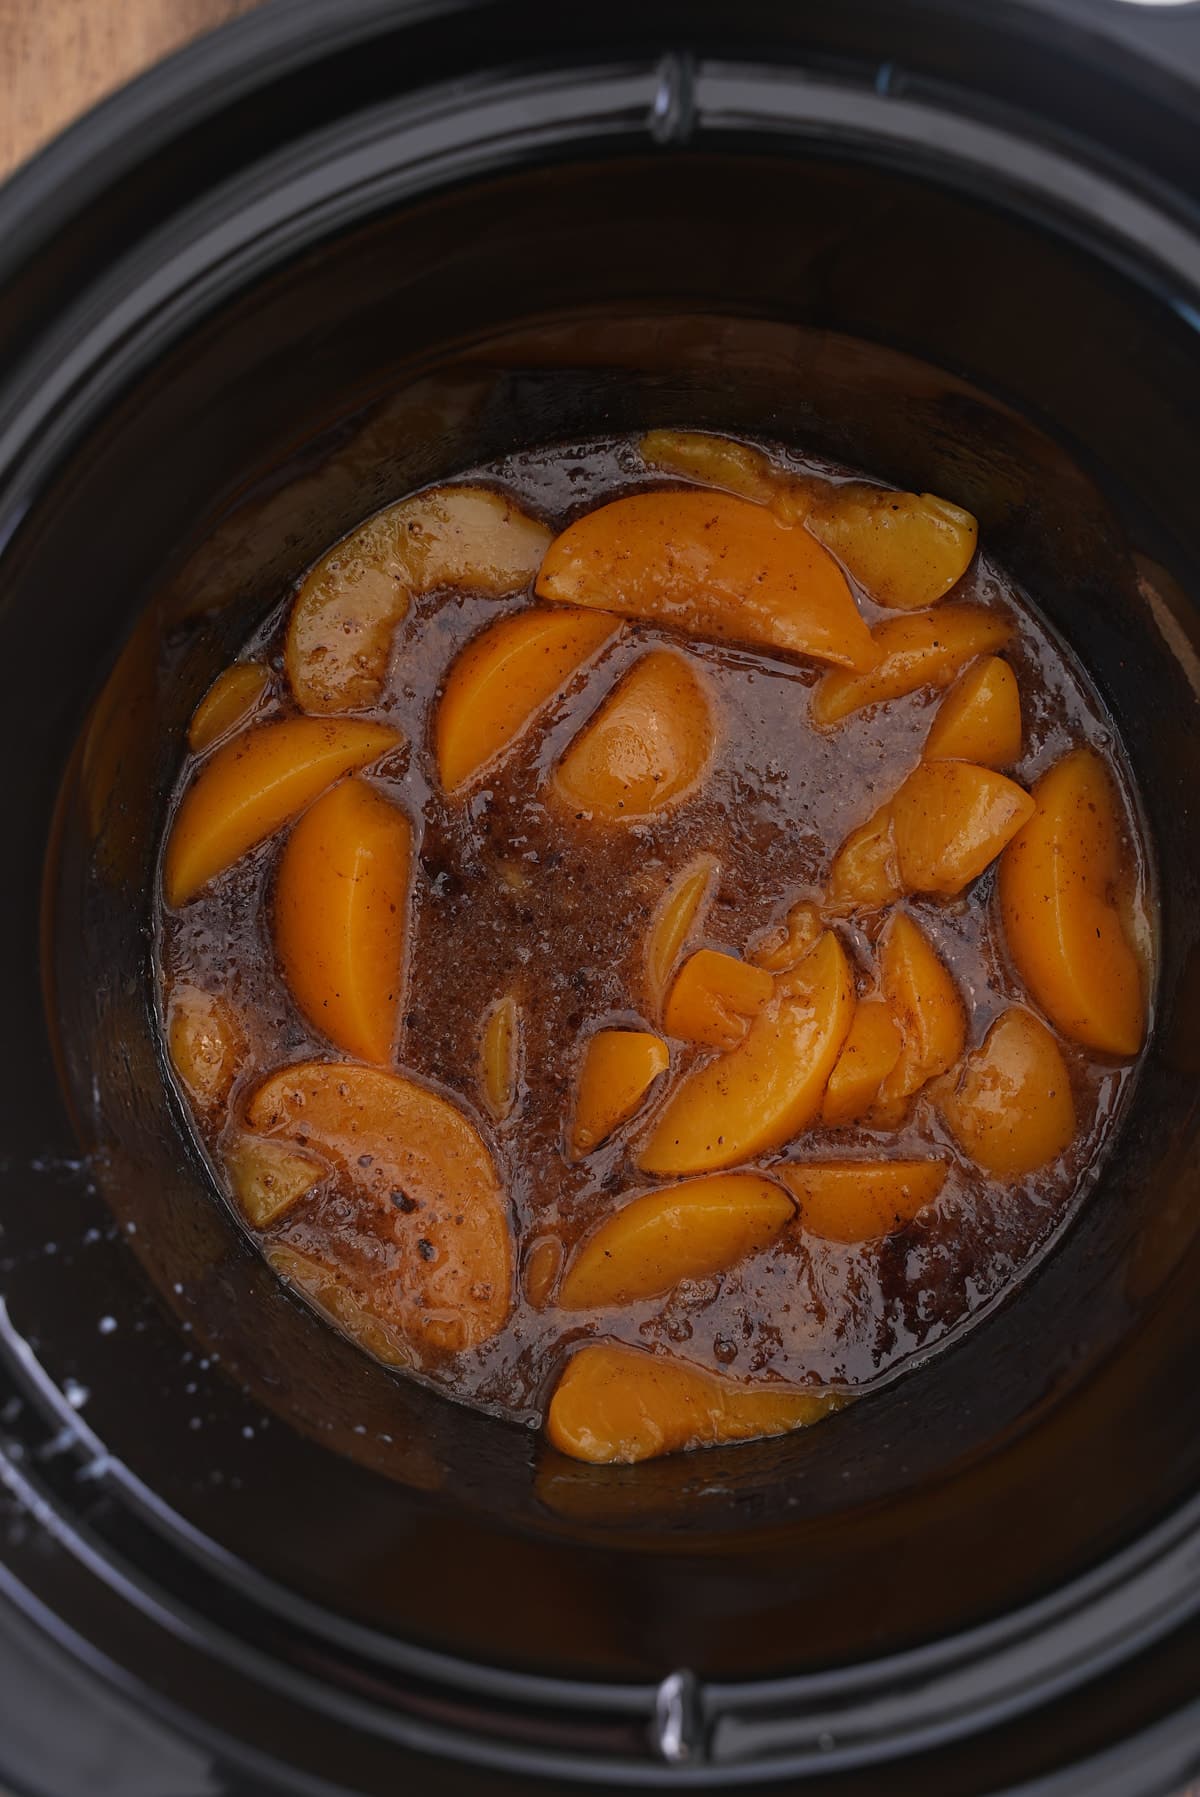
In a 4-quart slow cooker insert, add the melted butter, peaches, brown sugar, vanilla extract, cinnamon, nutmeg, and salt. Stir everything well to combine.
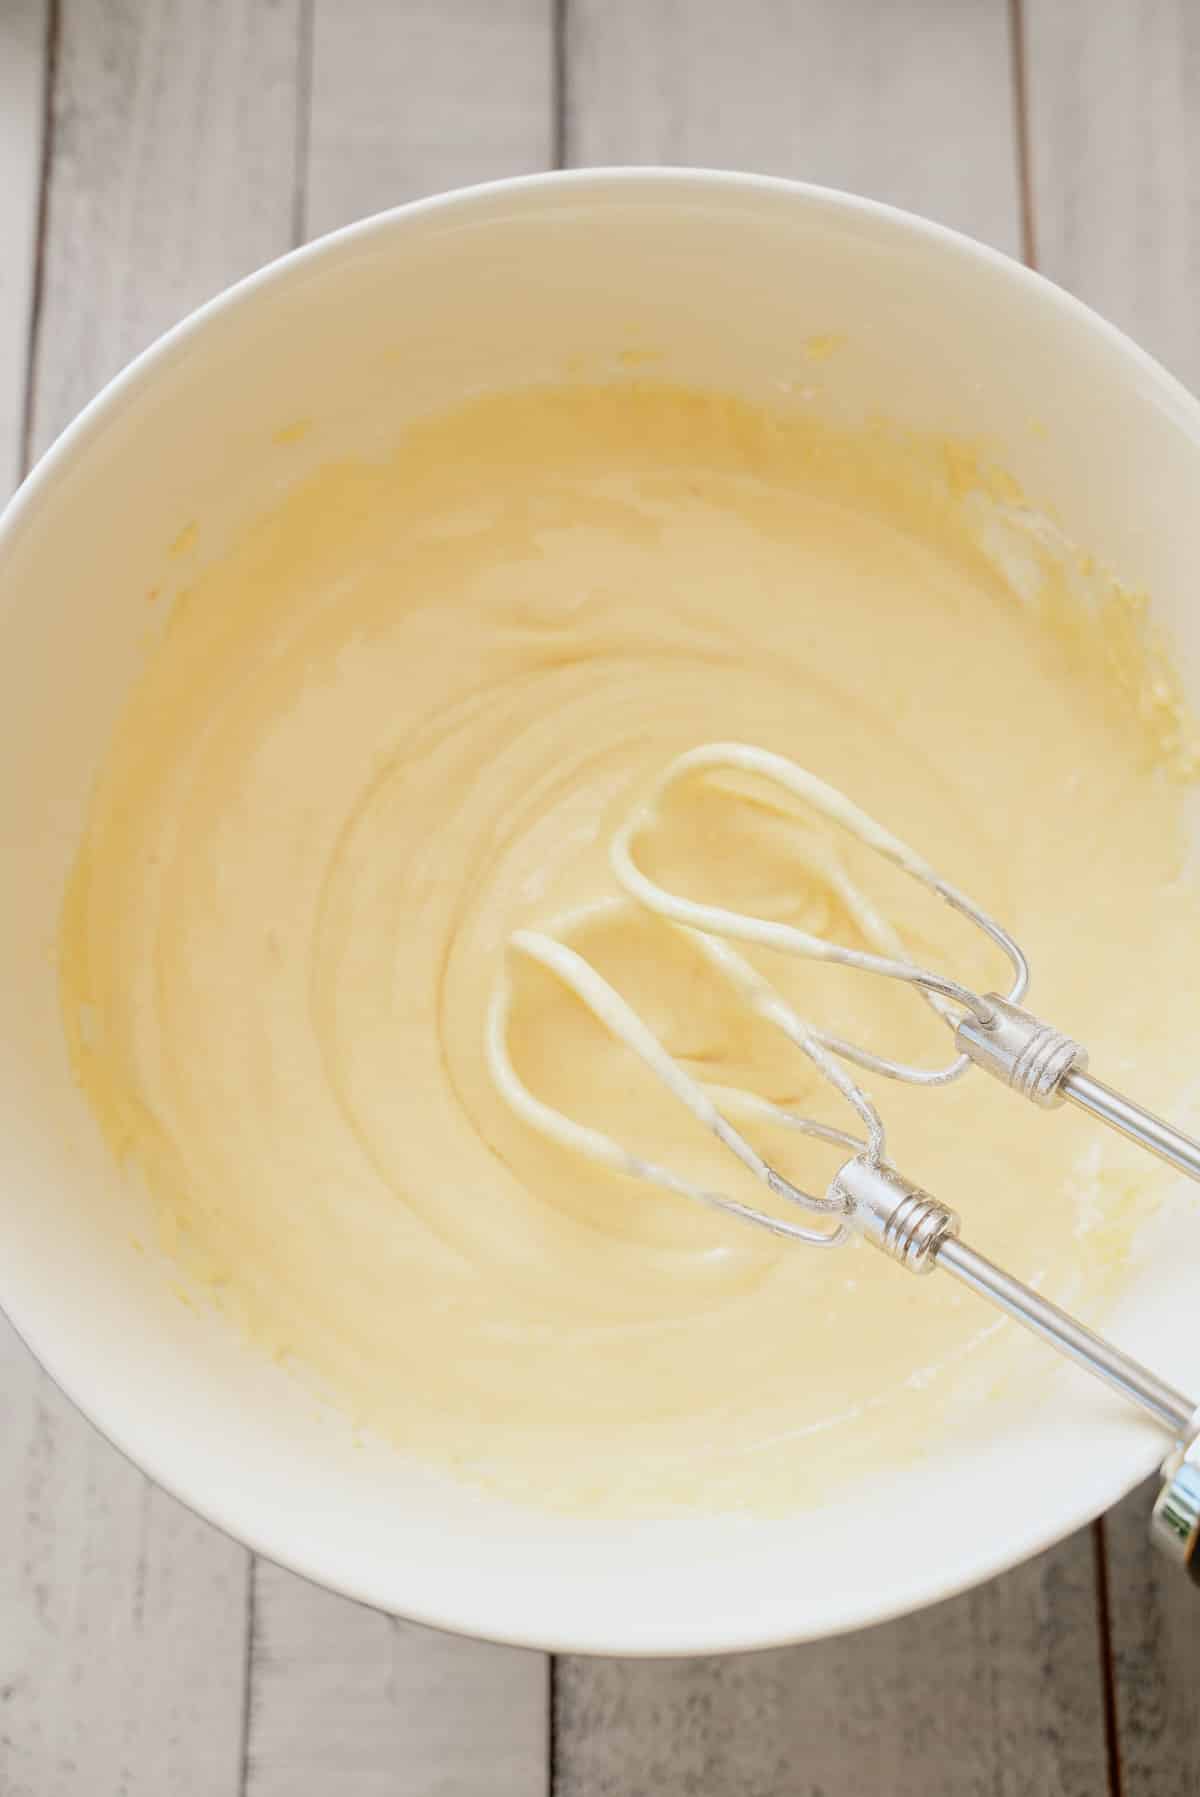
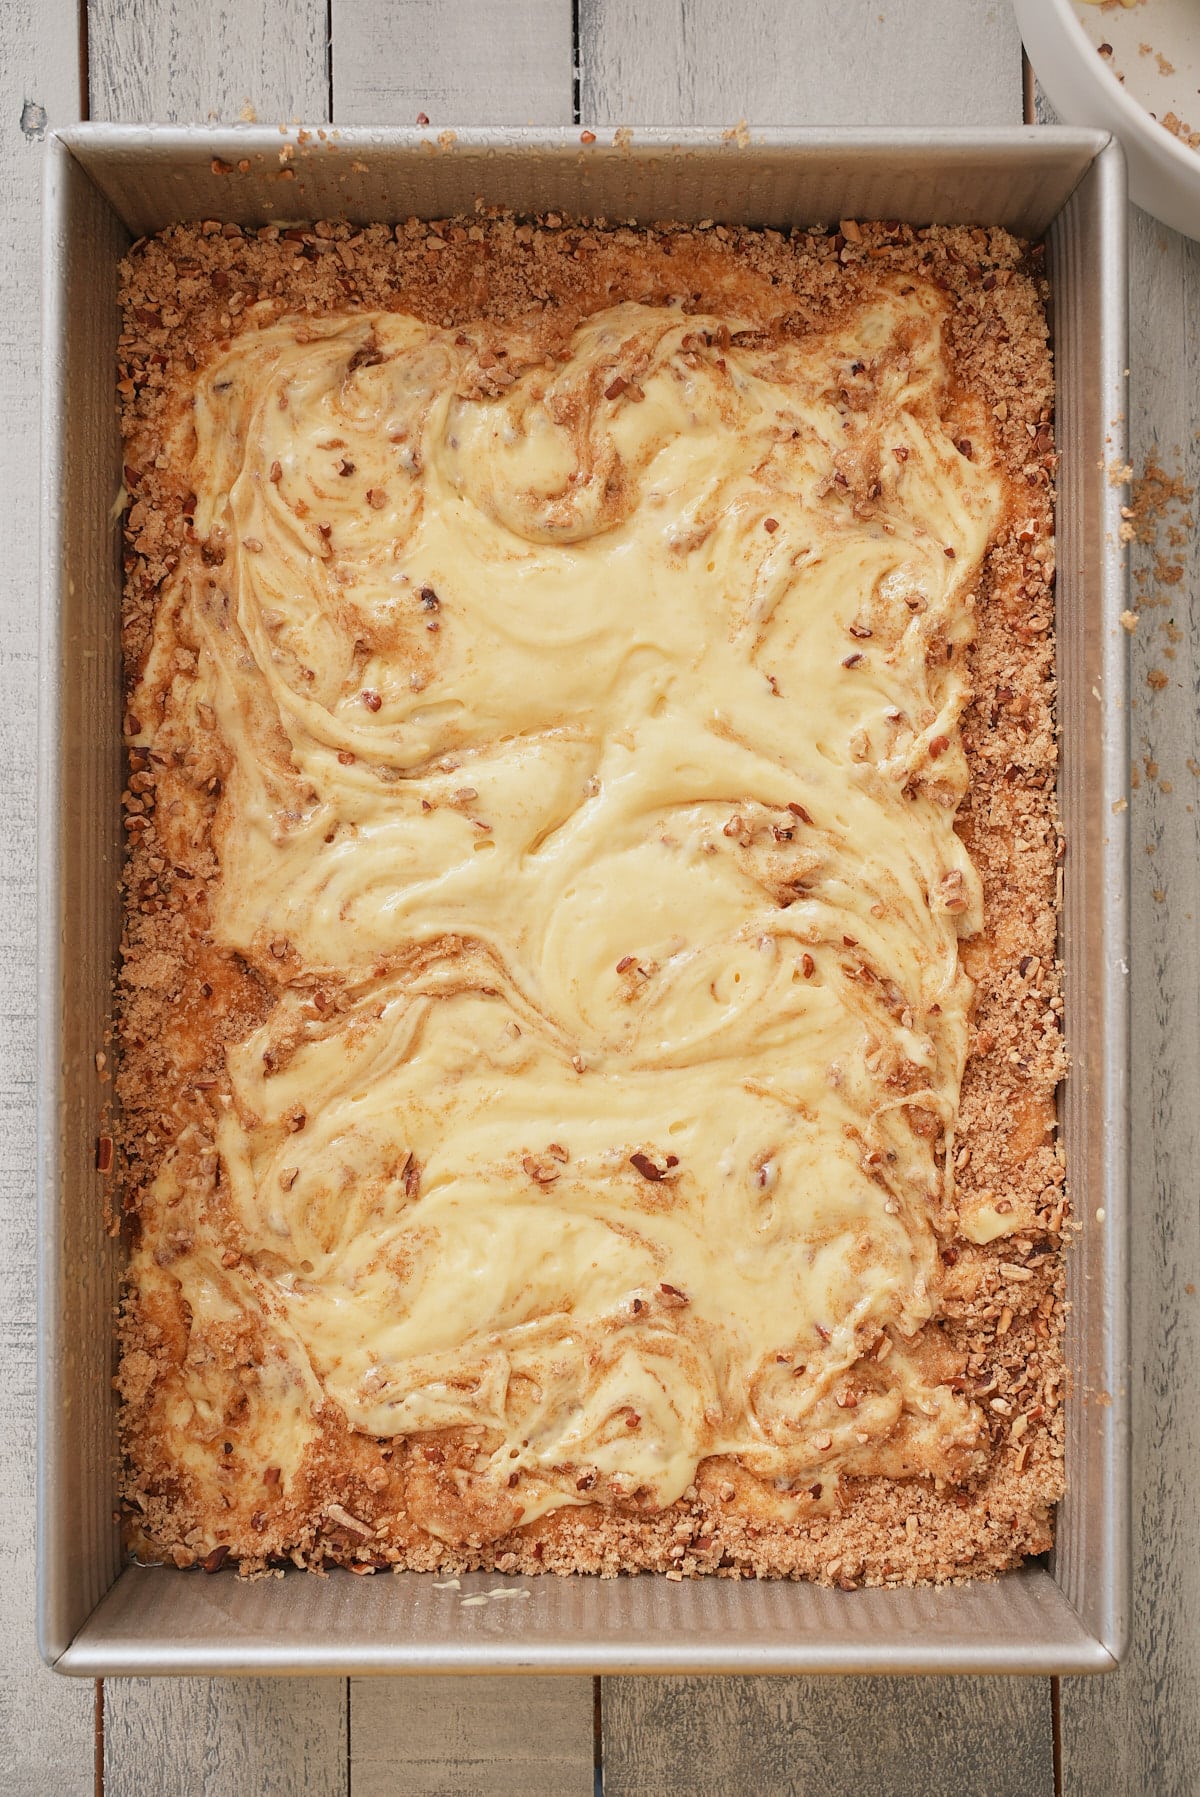
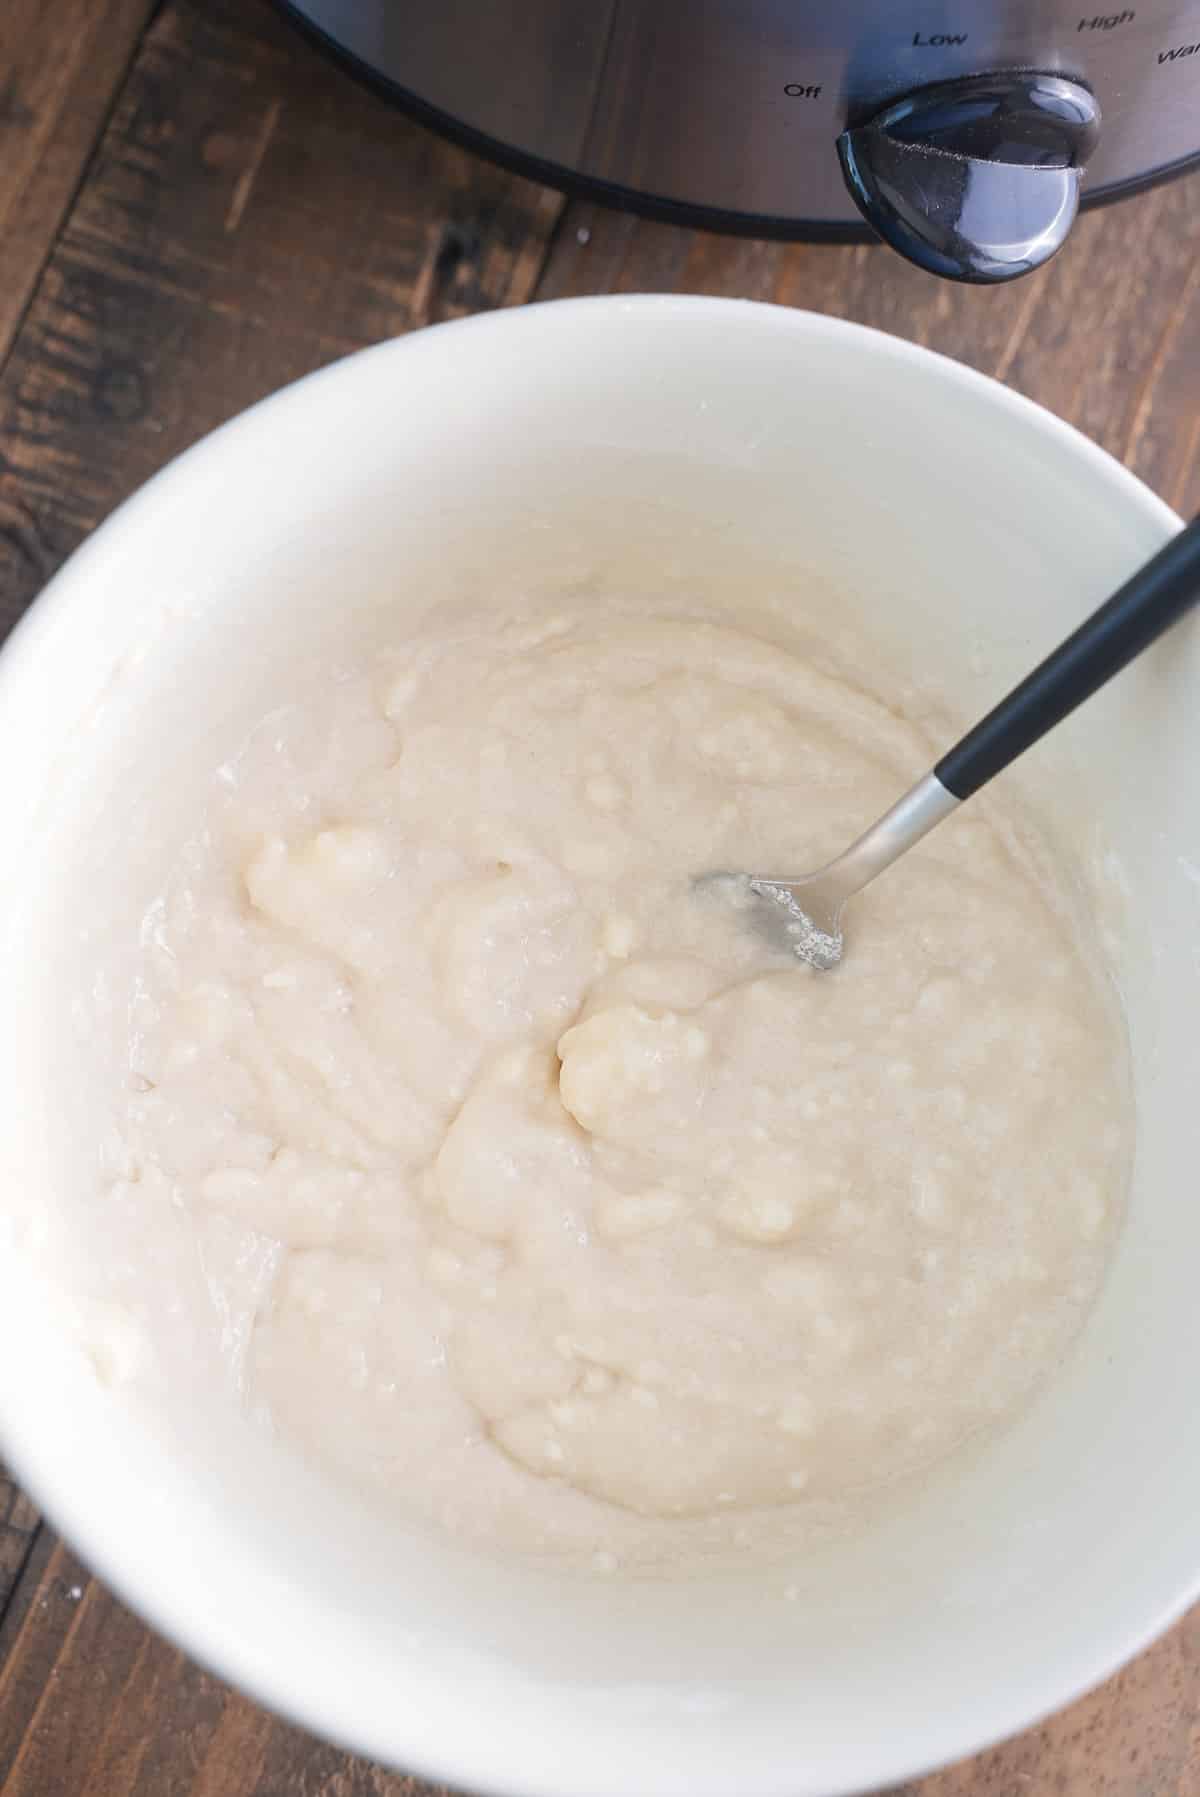
Combine the all-purpose flour, granulated sugar, baking powder, and salt in a large mixing bowl. Add the cold, grated butter and use a fork or a pastry cutter to work the butter into the flour mixture until it resembles coarse crumbs. Stir in the milk just until the mixture comes together to form a thick batter.
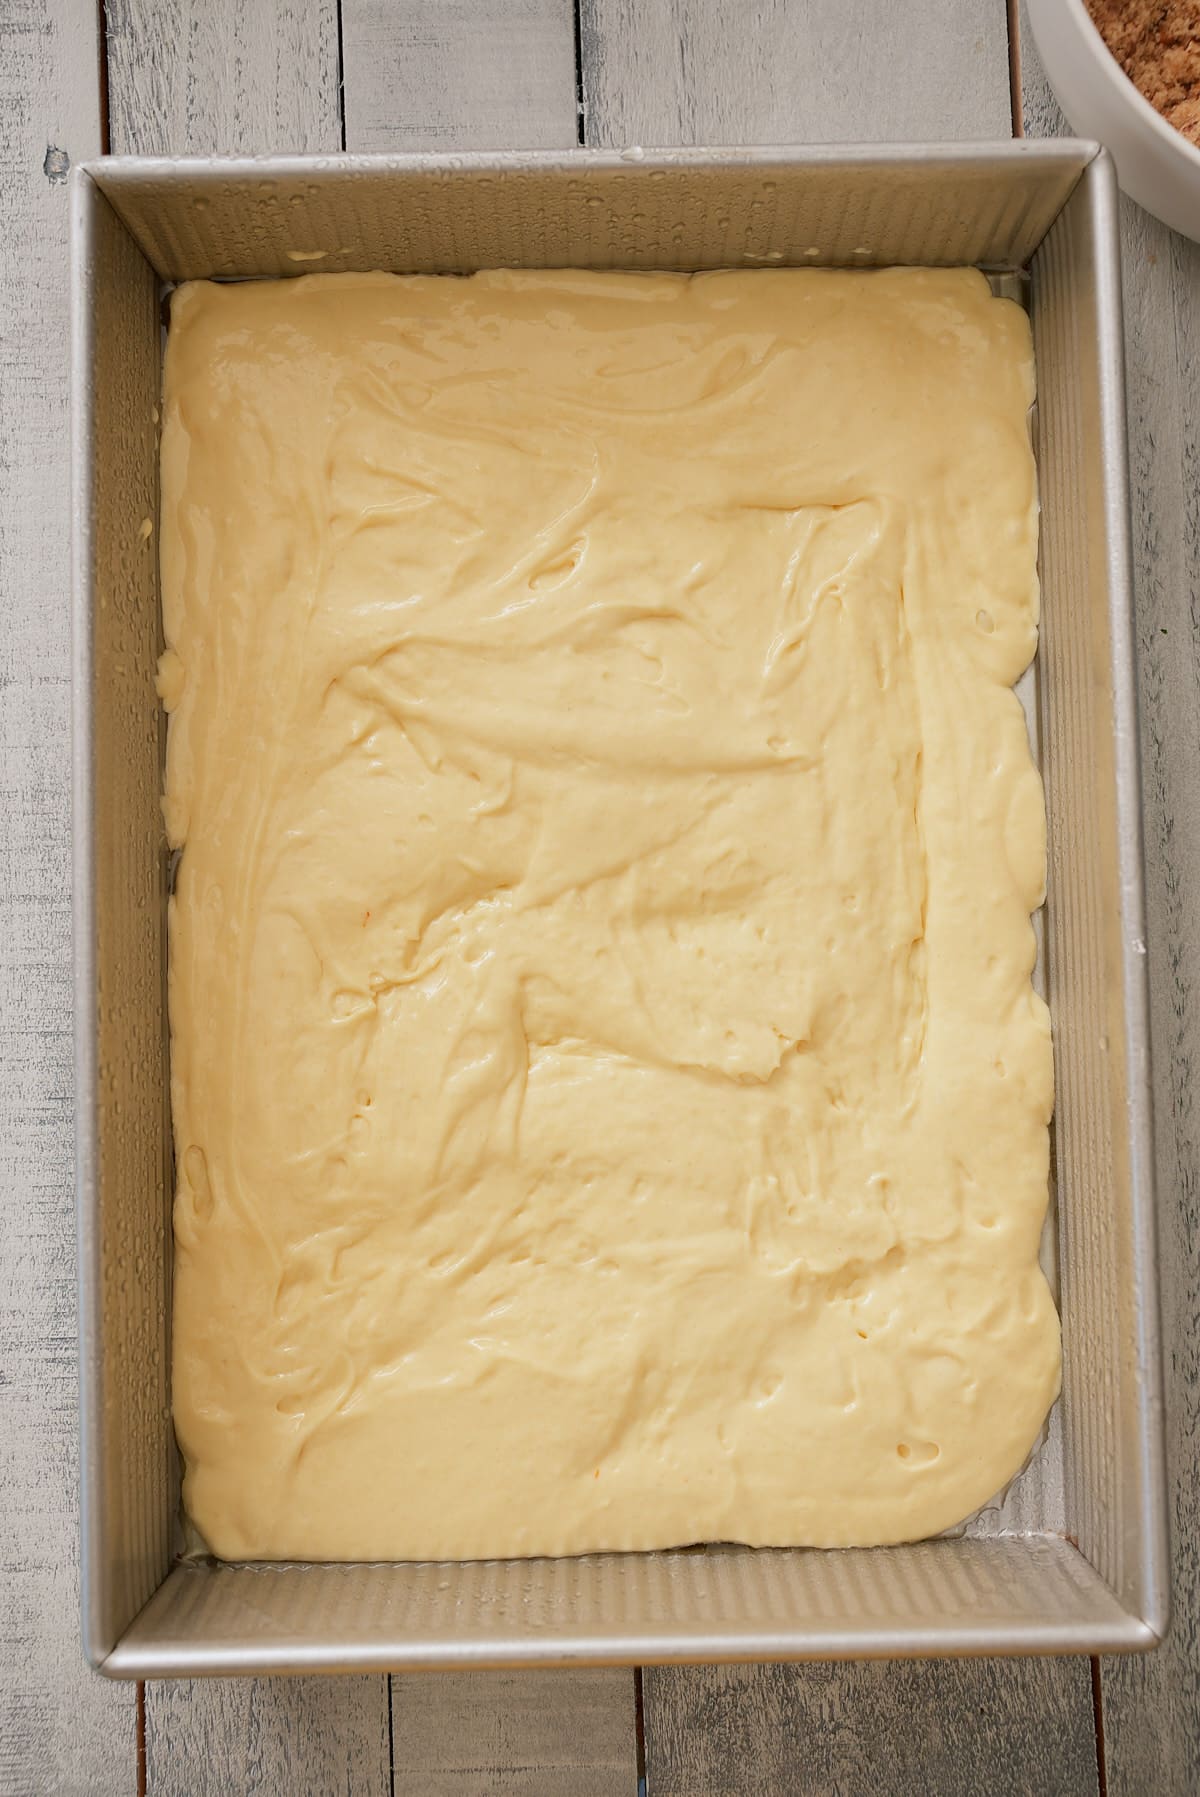
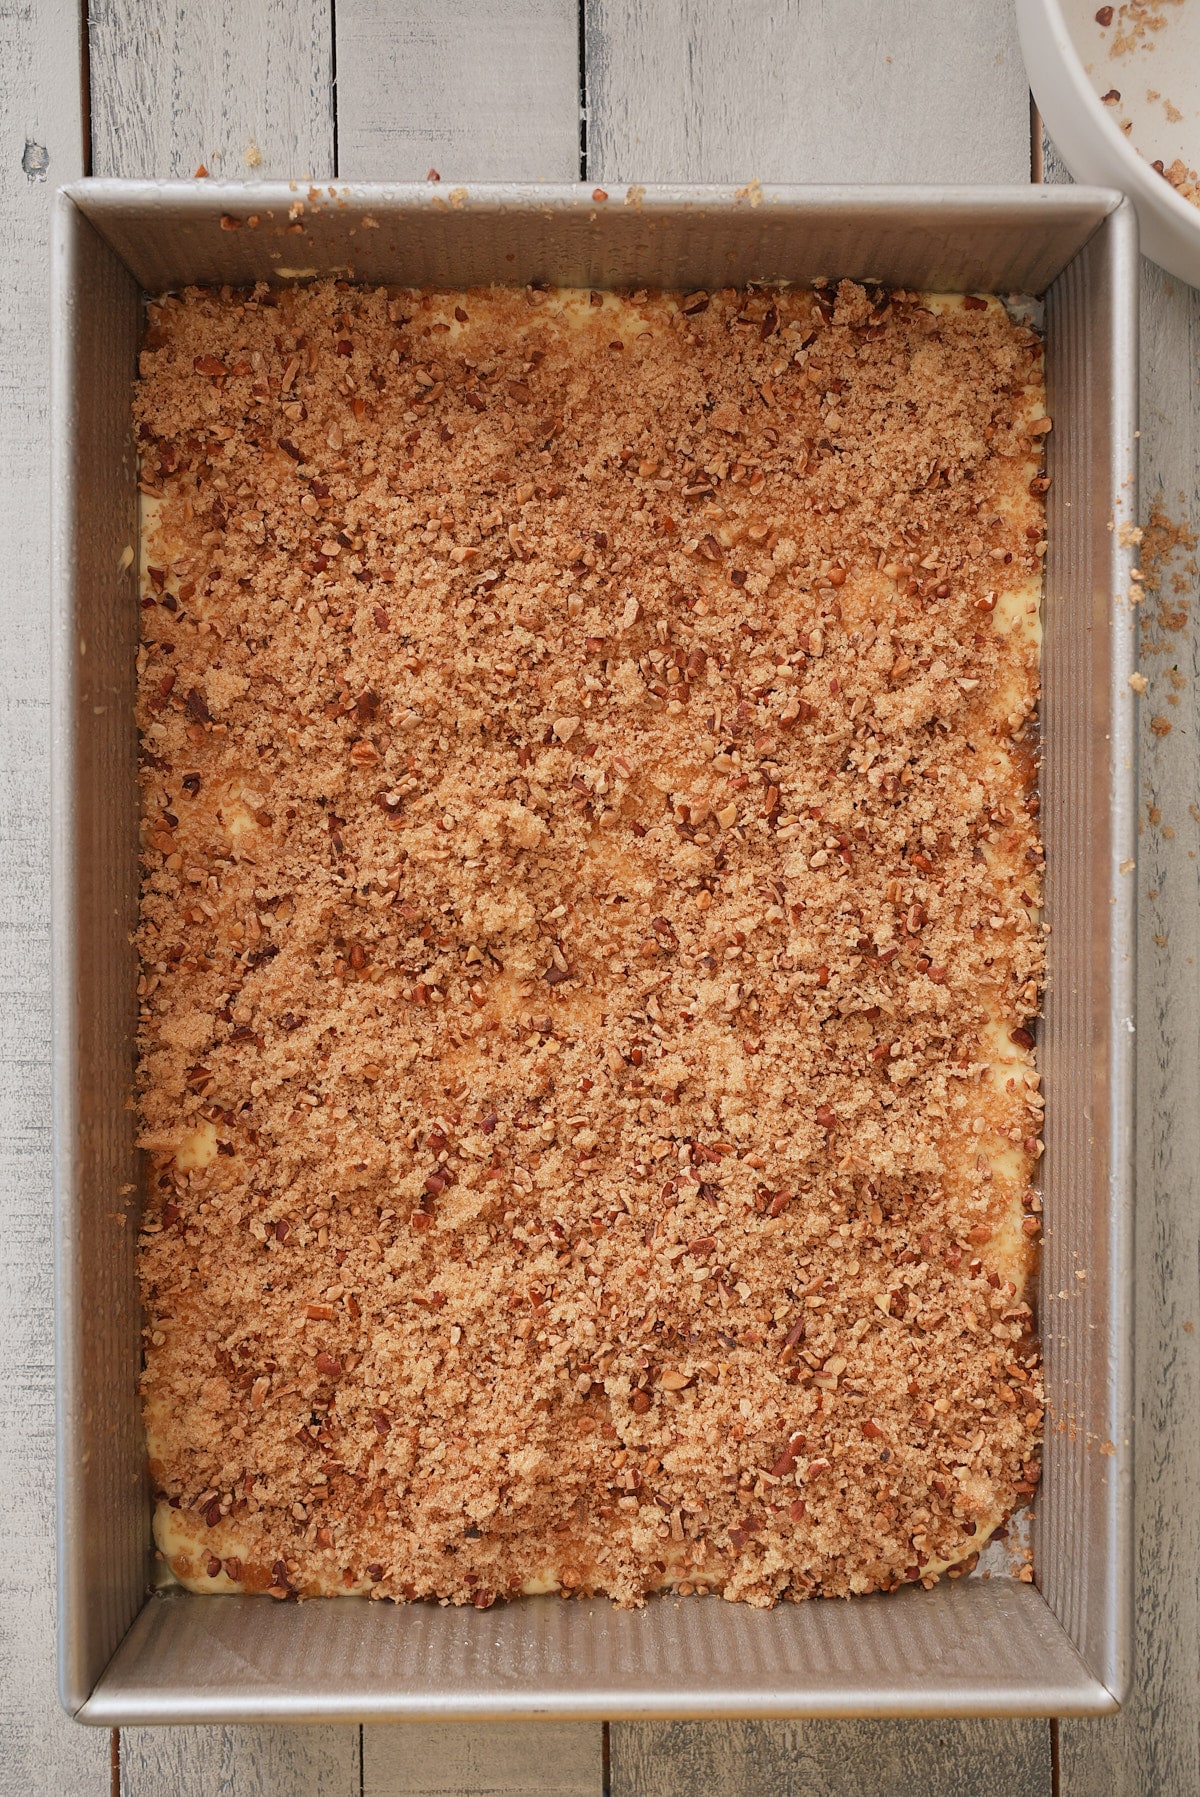
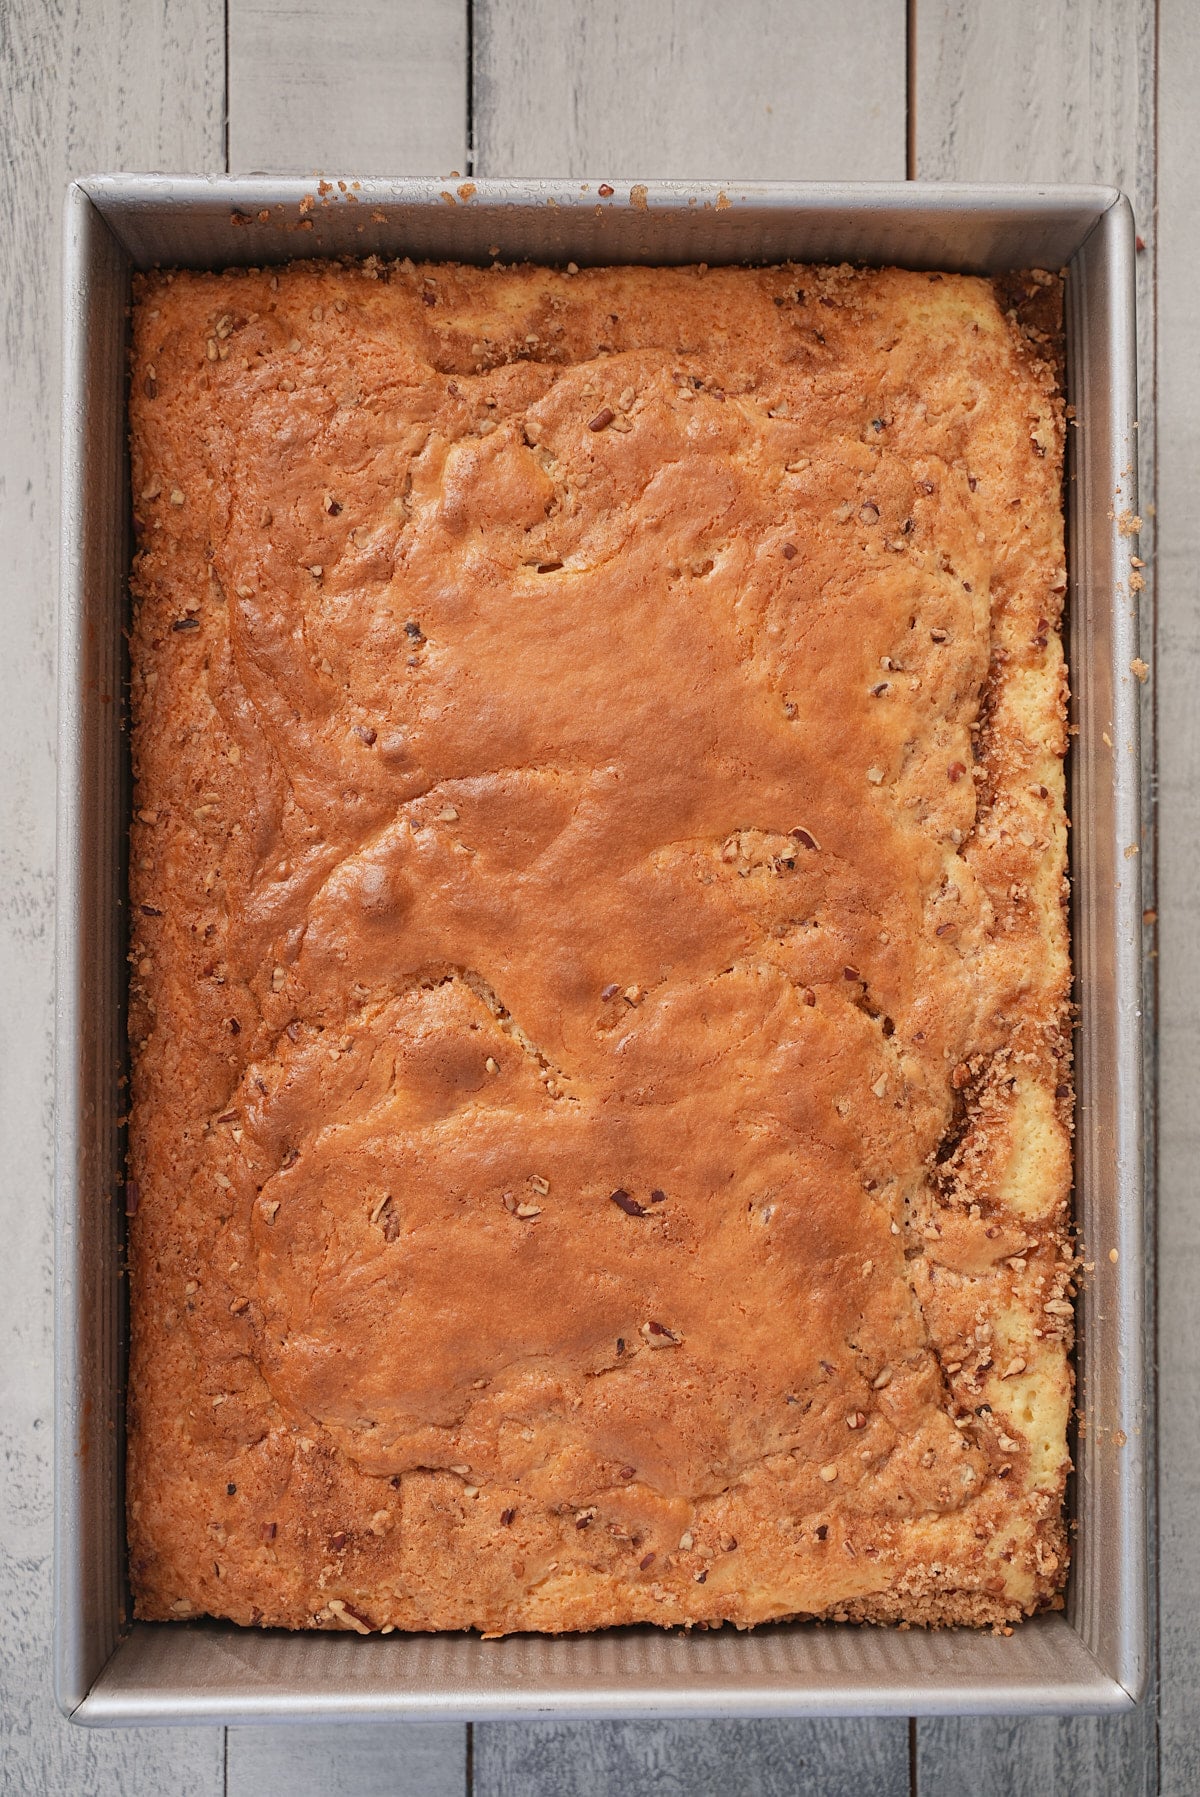
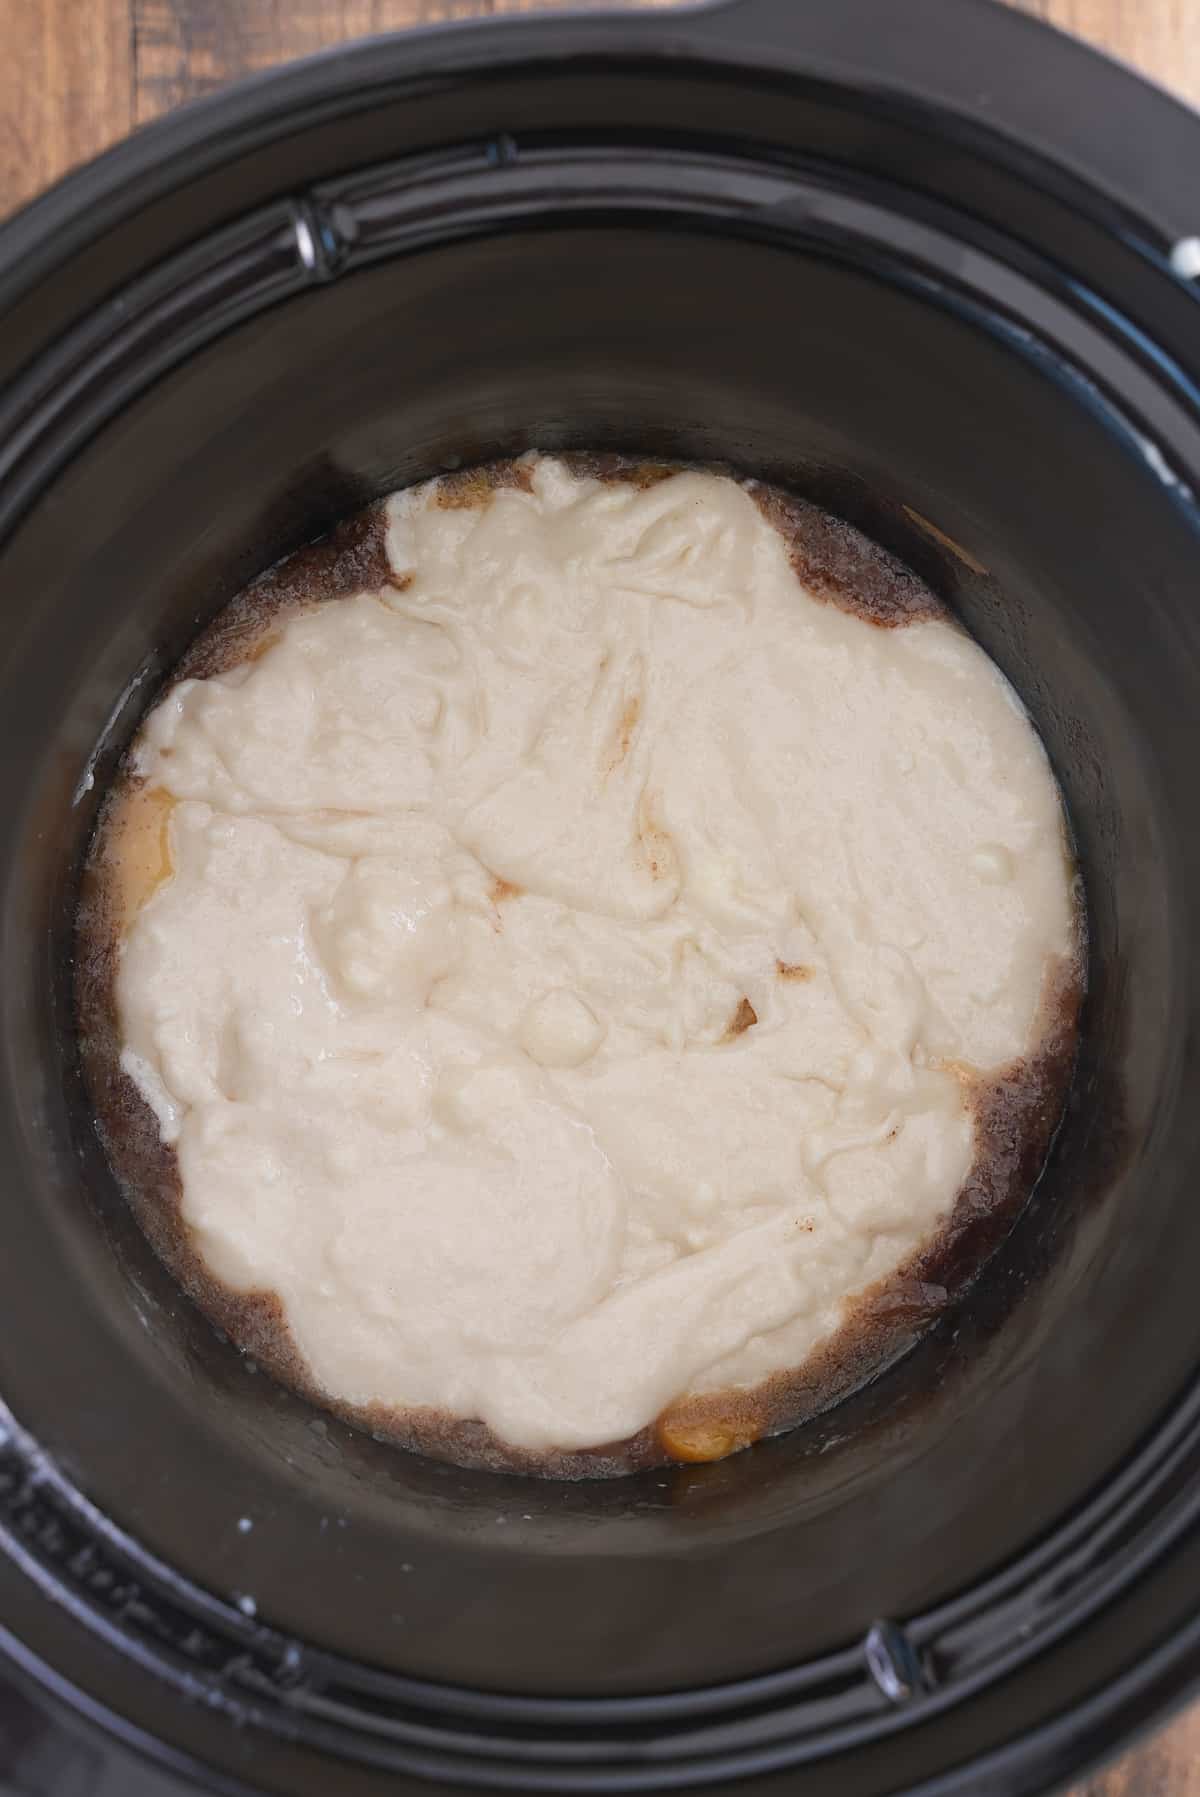
Drop spoonfuls of the biscuit topping over the peach mixture in the slow cooker, spreading it out as evenly as possible. Cover the slow cooker and cook on high for 3 to 4 hours or until the topping is set and cooked through. The topping should be firm and not gooey.
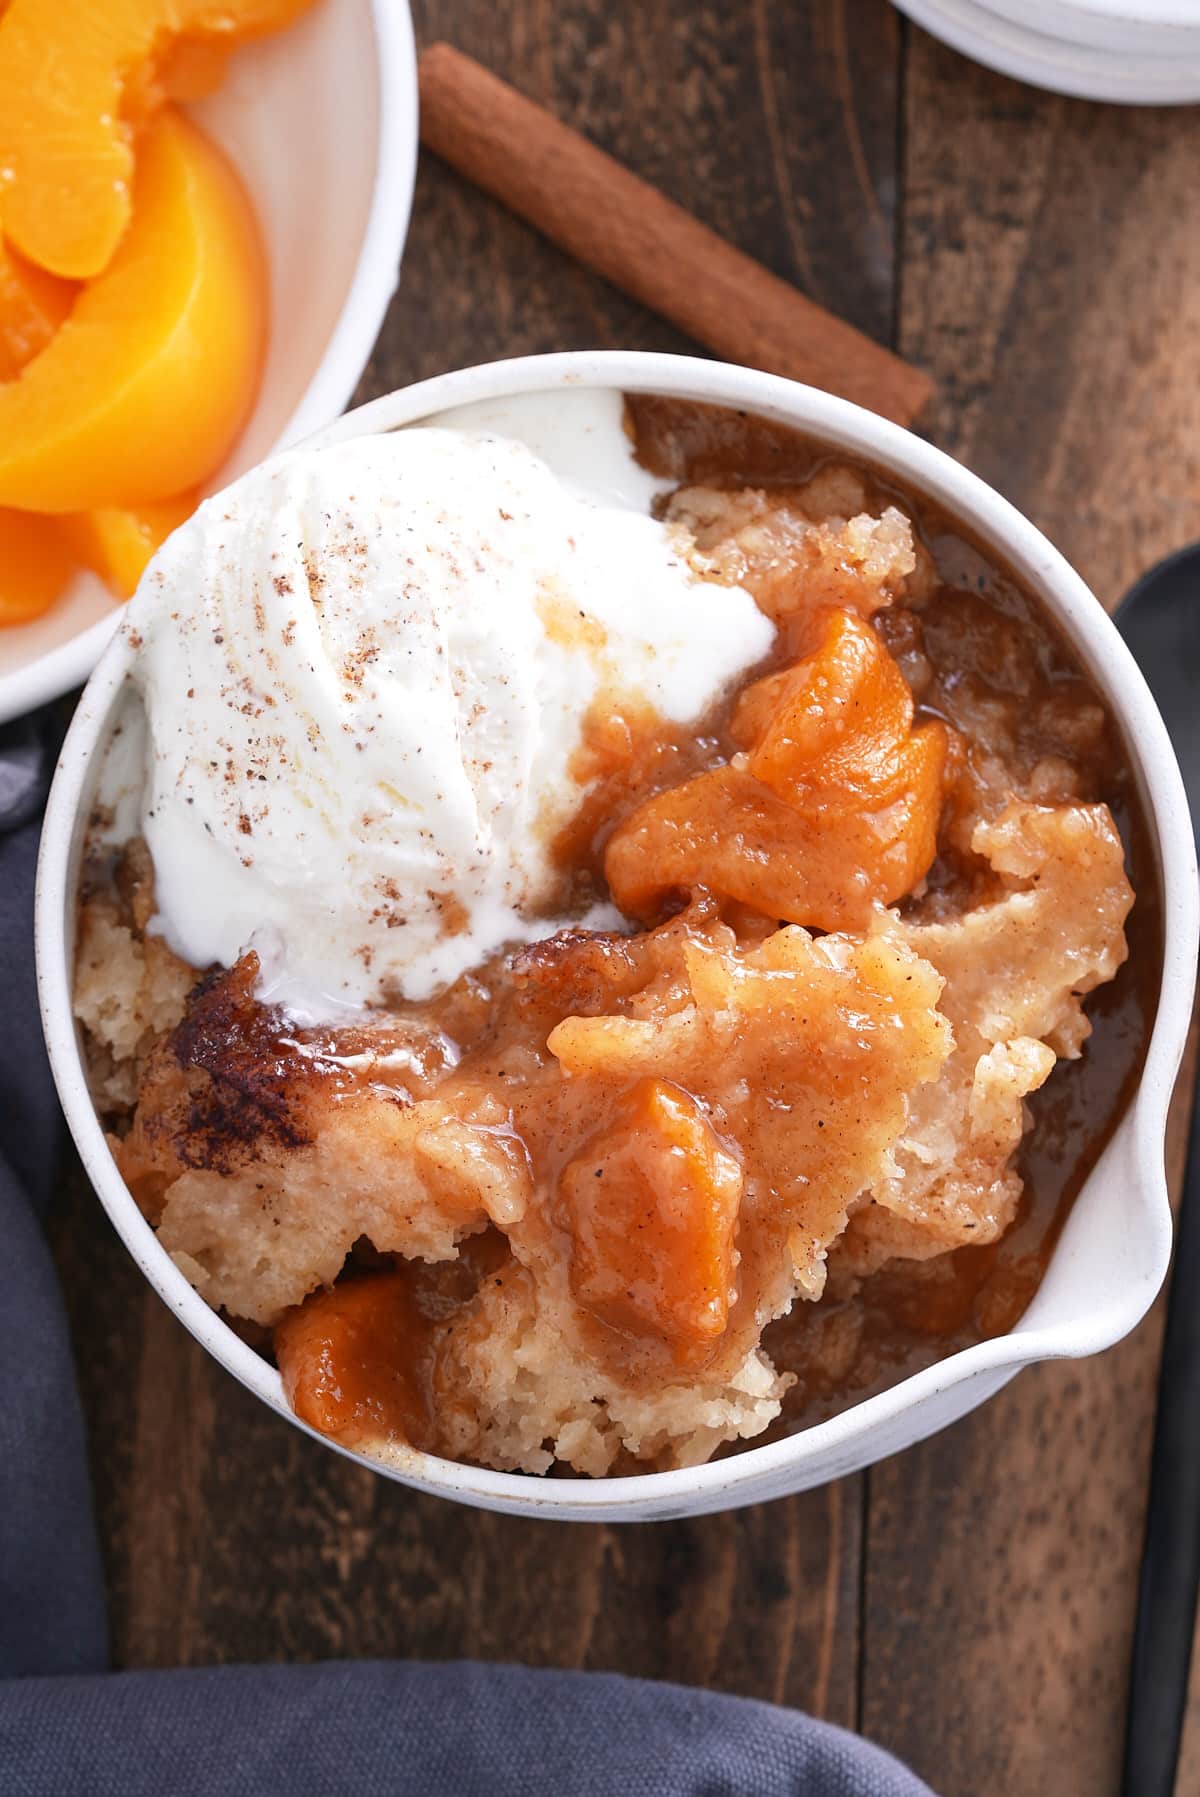
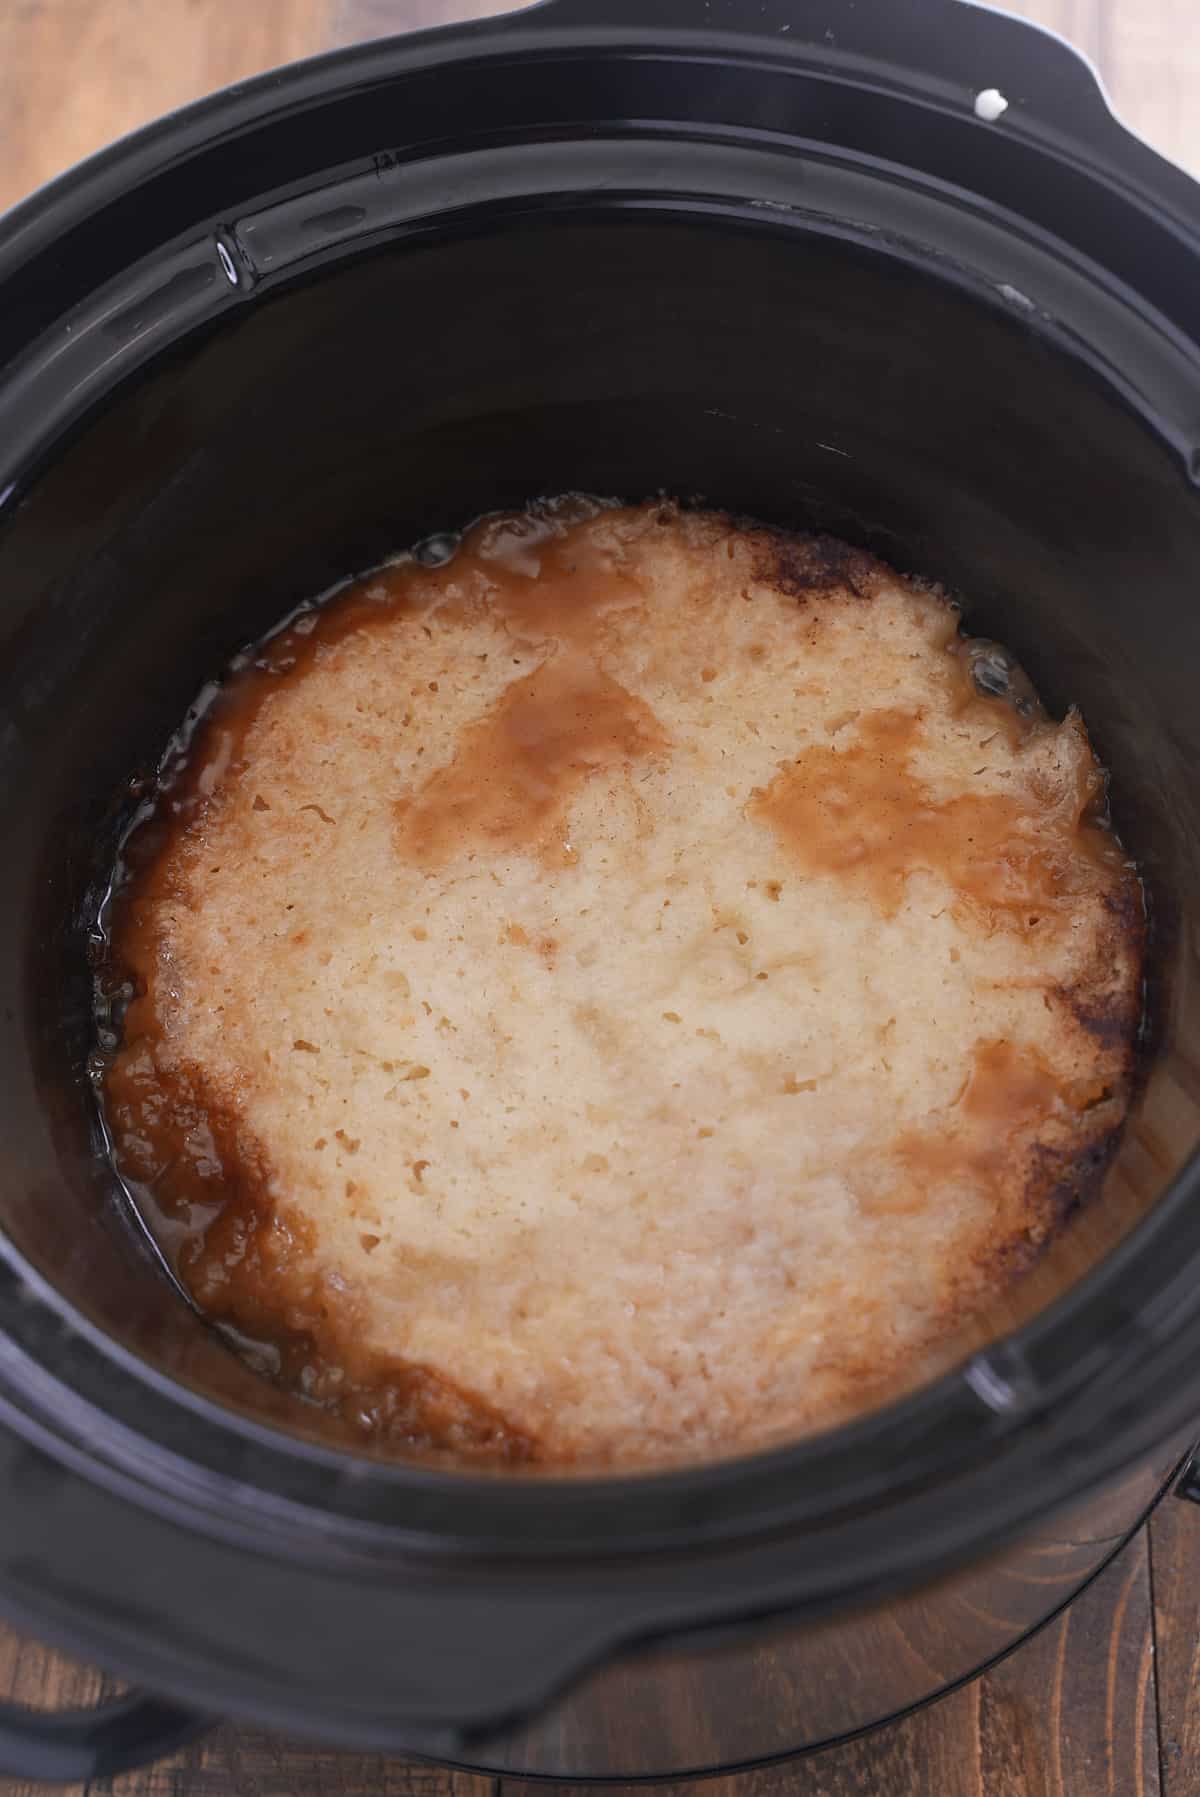
Once done, turn off the slow cooker and let it stand uncovered for 15-20 minutes to cool slightly before serving. Serve warm with a scoop of vanilla ice cream or a dollop of whipped cream, if desired.
How To Store Peach Cobbler
Once cooled, you can store leftover peach cobbler in an airtight container in the refrigerator for up to 4-5 days.
Freezing peach cobbler is another great option for storing beyond 4-5 days. Once cooled, store in a freezer safe airtight container for up to 3 months. Thaw frozen cobbler in the fridge overnight before enjoying.
Recipe Variations
- Fresh Peaches: Substitute canned peaches with fresh peaches when they are in season. Use approximately 4 to 5 cups of sliced fresh peaches and add an extra ½ cup of fruit juice or water.
- Different Fruits: You can try this recipe with different fruits like berries, apples, or mixed fruit to create varied flavors of cobbler. Adding complementary fruits to the peach cobbler as well can create a delicious but varied flavor profile as well.
- Spices and Flavorings: Experiment with different spices like cardamom or ginger, and flavorings like almond extract to give a unique twist to the classic recipe.
- Gluten-Free or Vegan: For specific dietary needs, substitute all-purpose flour with a gluten-free flour blend and use plant-based milk and butter.
Expert Tips and Tricks
- To achieve the perfect biscuit texture, make sure to only stir in the milk until the mixture just comes together. Overmixing can lead to a dense, rather than fluffy, topping.
- Keep an eye on the slow cooker during the last hour of cooking. The topping should be firm and not gooey; overcooking can dry it out, while undercooking may leave it soggy.
FAQ's
Yes! Frozen peaches are a great substitution for canned peaches. However, because of their frozen nature, you'll want to add some extra cooking time to ensure the peaches are tender before serving.
Warm peach cobbler pairs great with a scoop of cool vanilla ice cream, whipped cream, or a drizzle of caramel sauce.
Looking for more dessert recipes? Try these out:
- Instant Pot Red Velvet Cheesecake
- Pumpkin Pie Oatmeal
- Instant Pot Chocolate Cake Bites
- Southern Peach Cobbler
If you have tried this recipe or any other recipe on my blog, please rate it and let me know how it turned out in the comments below!

Slow Cooker Peach Cobbler
Equipment
Ingredients
Peach Filling
- 3 tablespoons unsalted butter melted
- 2 15 oz cans of peaches in fruit juice (one drained, one undrained)
- ⅓ cup brown sugar packed
- 1 ½ teaspoons vanilla extract
- ½ teaspoon ground cinnamon
- ¼ teaspoon ground nutmeg
- ⅛ teaspoon salt
Biscuit Topping
- ¼ cup butter cold and grated
- 1 cup all-purpose flour
- 1 cup granulated sugar
- 2 teaspoons baking powder
- ½ teaspoon salt
- ½ cup milk
Instructions
- In a 4-quart slow cooker insert, add the melted butter, peaches, brown sugar, vanilla extract, cinnamon, nutmeg, and salt. Stir everything well to combine.
- Combine the all-purpose flour, granulated sugar, baking powder, and salt in a large mixing bowl. Add the cold, grated butter and use a fork or a pastry cutter to work the butter into the flour mixture until it resembles coarse crumbs. Stir in the milk just until the mixture comes together to form a thick batter.
- Drop spoonfuls of the biscuit topping over the peach mixture in the slow
- cooker, spreading it out as evenly as possible. Cover the slow cooker and cook on high for 3 to 4 hours or until the topping is set and cooked through. The topping should be firm and not gooey.
- Once done, turn off the slow cooker and let it stand uncovered for 15-20 minutes to
- Cool slightly before serving. Serve warm with a scoop of vanilla ice cream or a dollop of whipped cream, if desired.
Notes
- To achieve the perfect biscuit texture, make sure to only stir in the milk until the mixture just comes together. Overmixing can lead to a dense, rather than fluffy, topping.
- Keep an eye on the slow cooker during the last hour of cooking. The topping should be firm and not gooey; overcooking can dry it out, while undercooking may leave it soggy.