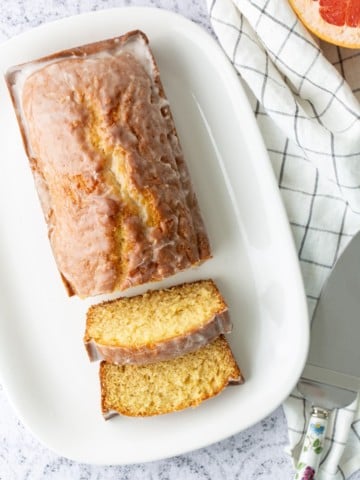
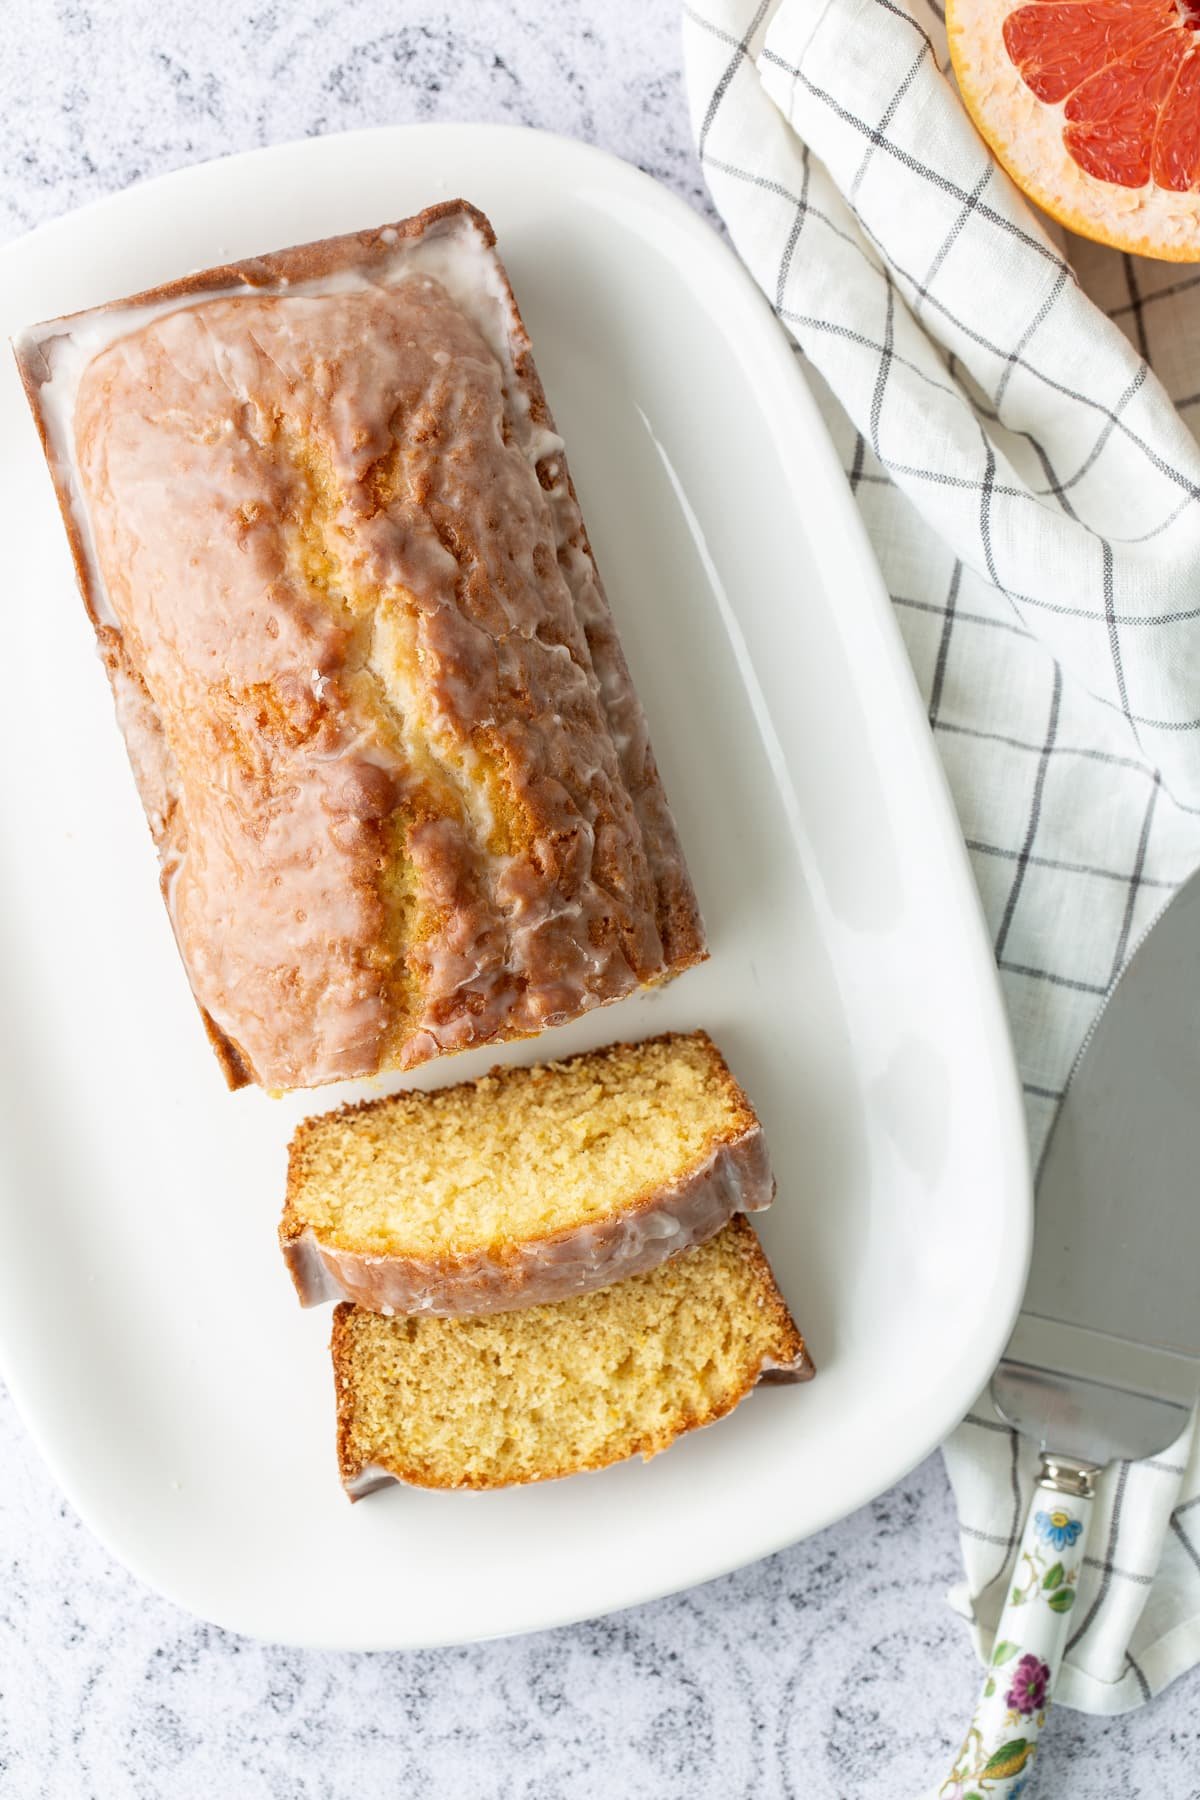
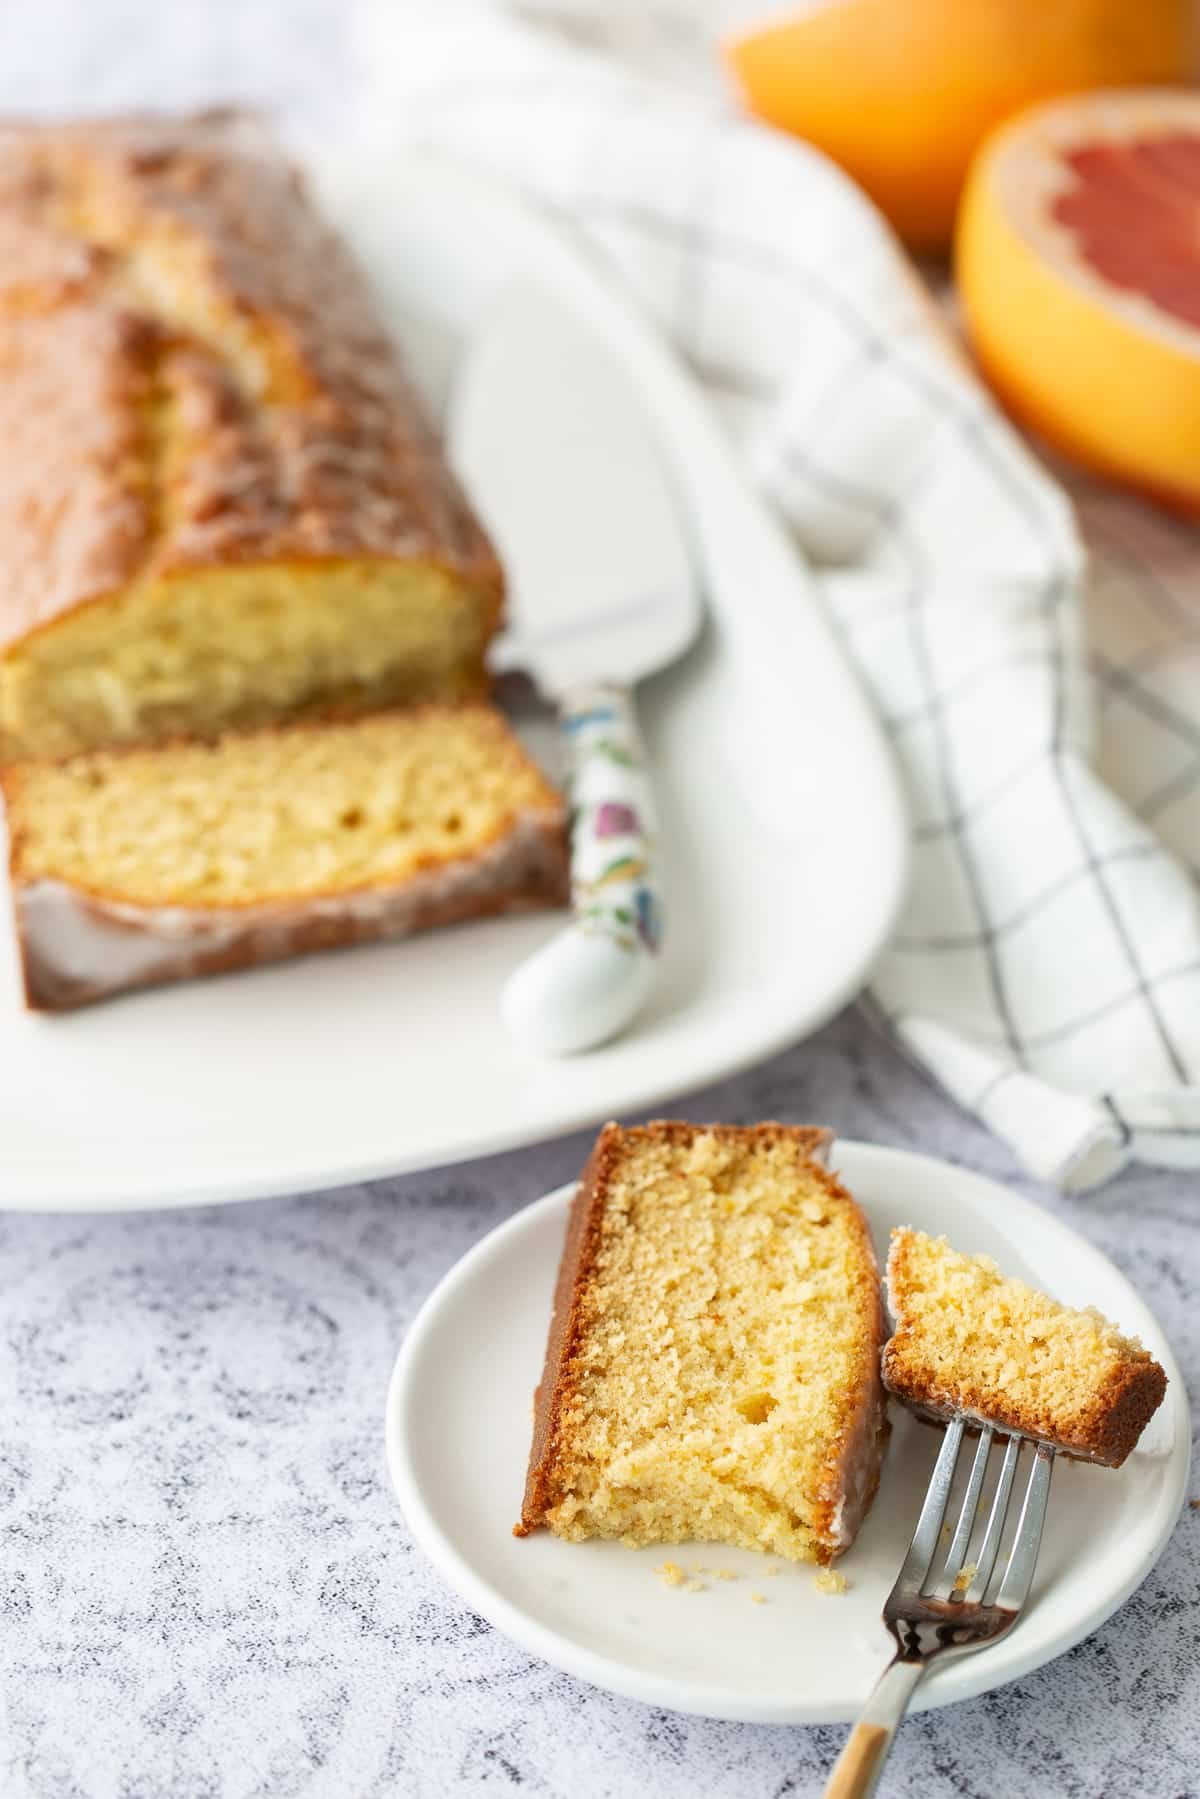
This grapefruit cake is sweet and has a little bit of tang. Glazed with a fresh grapefruit-flavored sugar glaze, it's the perfect treat for any day.
This post contains affiliate links, please read my full disclaimer here.
You’ll find the full recipe with ingredient amounts and instructions in the recipe card at the bottom of this post. Be sure to check out the blog post itself for extra tips and tricks!
“Grapefruit cake? Really?” Grapefruit cake? Really?'
That was my husband's initial reaction when I mentioned I would be making this recipe. I suppose he didn’t have much faith in me after my last failed attempt at baking with grapefruit.
But this cake was a success.
I’ve made this grapefruit cake a few times in my household, and it is always a winner. The thing that puts the cake over the top is the glaze.
Feel free to make the cake without it if you would like less sugar, but….I mean, who doesn’t love glaze? Look at it oooze. Never mind, don’t skip the glaze…it’s a must!
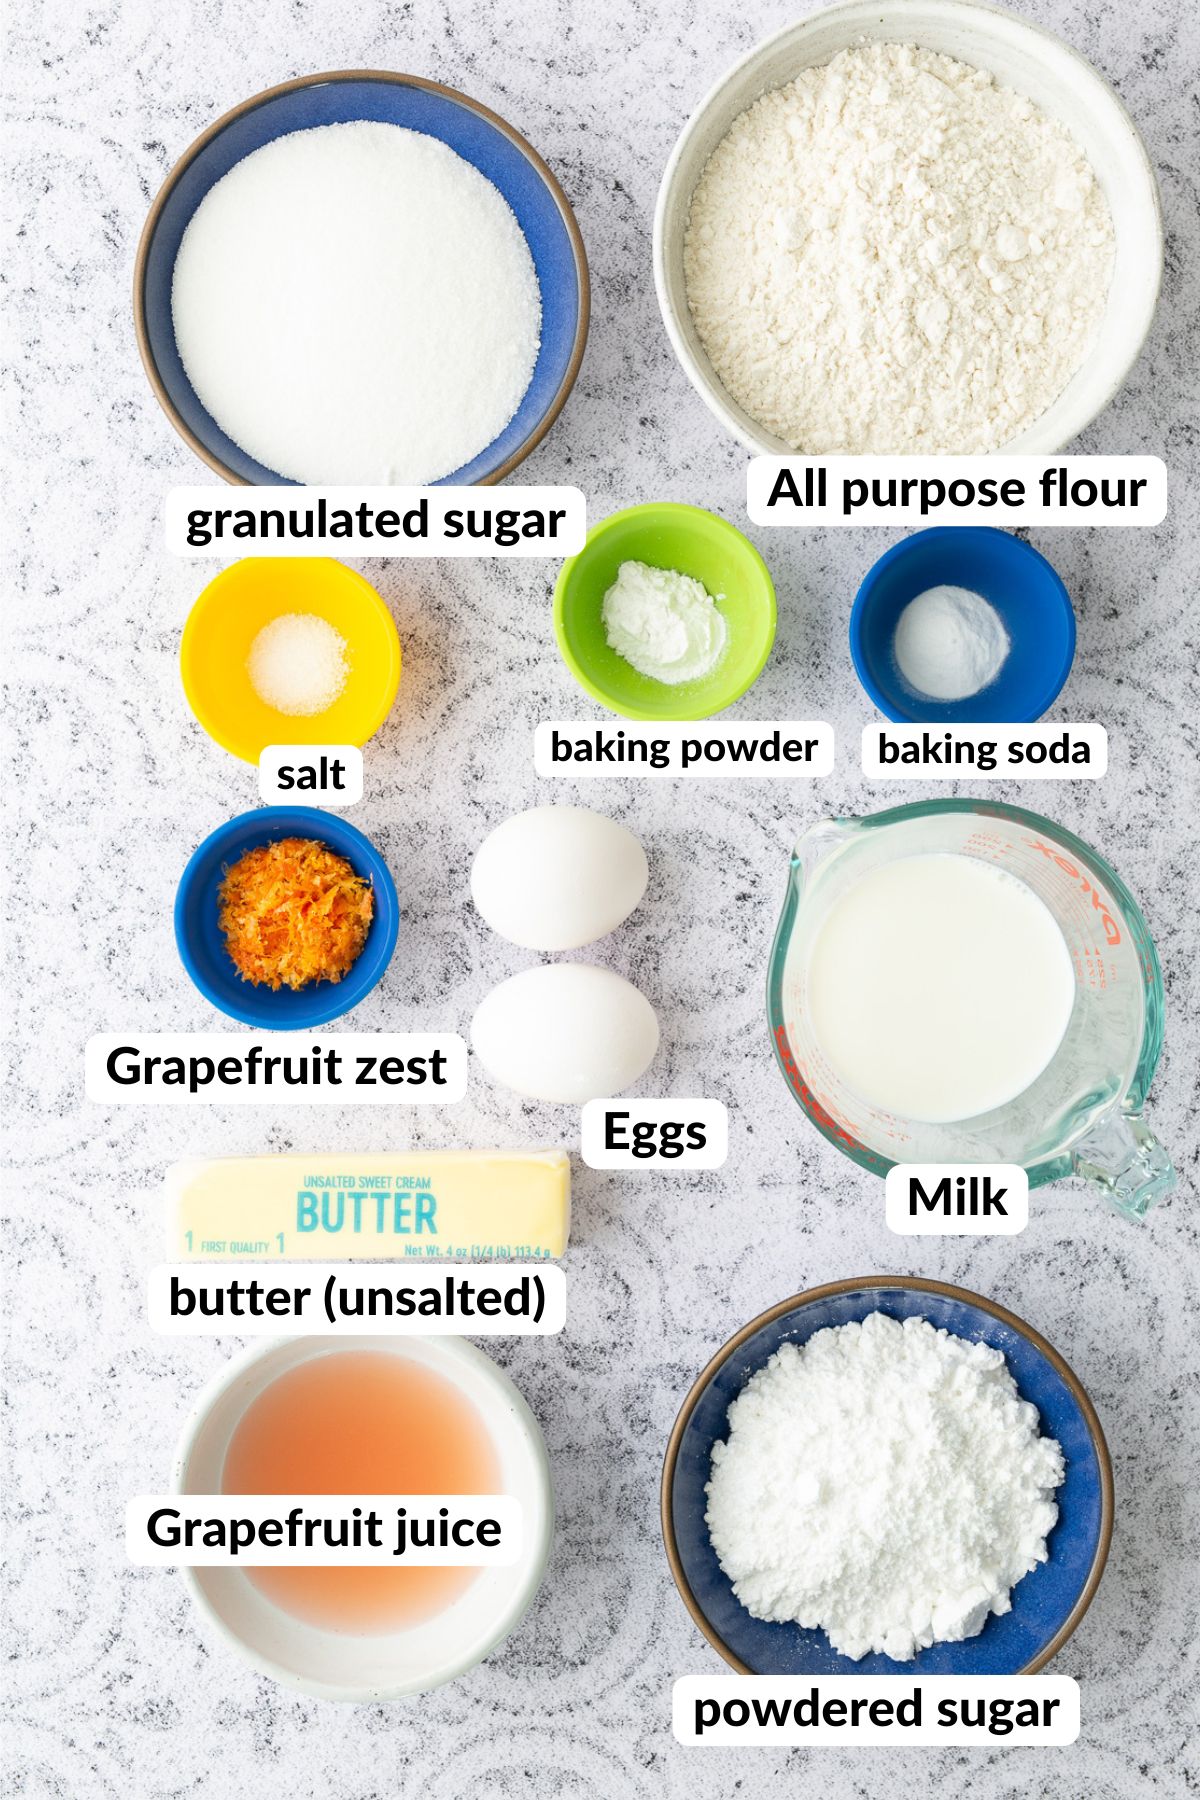
A Quick Look at the Ingredients
Ingredient amounts and full recipe instructions are on the printable recipe card at the bottom of the post.
For the Cake:
all-purpose flour, baking powder, baking soda, salt, unsalted butter, granulated sugar, eggs, grapefruit zest, freshly squeezed grapefruit juice, sour cream or plain Greek yogurt, vanilla extract
For the Glaze:
powdered sugar, freshly squeezed grapefruit juice
Tools You’ll Need
- Loaf pan
- Mixing bowls (large and medium)
- Electric mixer or whisk
- Measuring cups and spoons
- Rubber spatula
- Cooling rack
- Zester or microplane
- Toothpick (for testing doneness)
How to Make a Fresh Grapefruit Cake from Scratch
Preheat your oven to 325°F. Grease a loaf pan and set it aside.
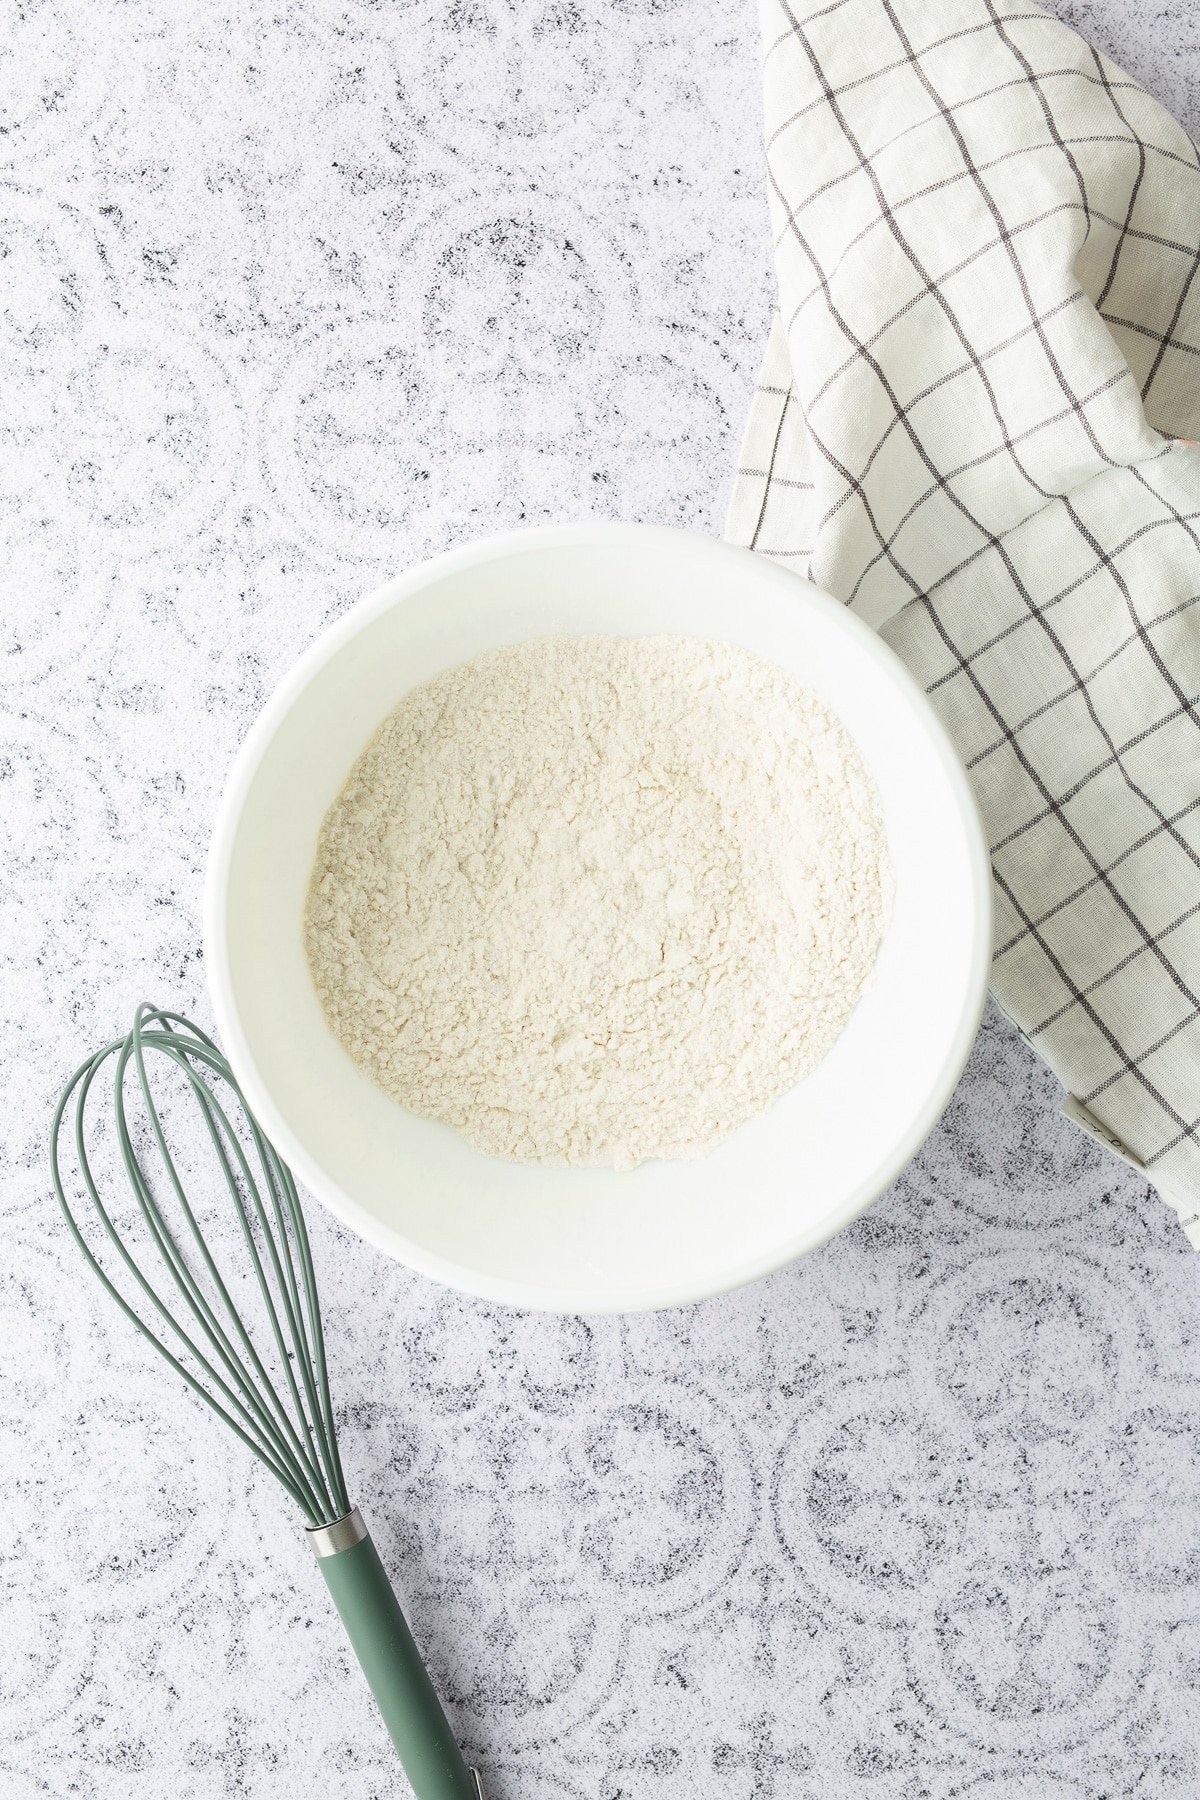
In a medium bowl, combine the flour, baking powder, baking soda, and salt. Set this mixture aside. In a mixing bowl, beat the butter and sugar together until well combined. Add the eggs, one at a time, and continue beating until fully mixed.
Gradually add the flour mixture and milk alternately to the mixing bowl, beginning and ending with the flour mixture. Mix until just combined.
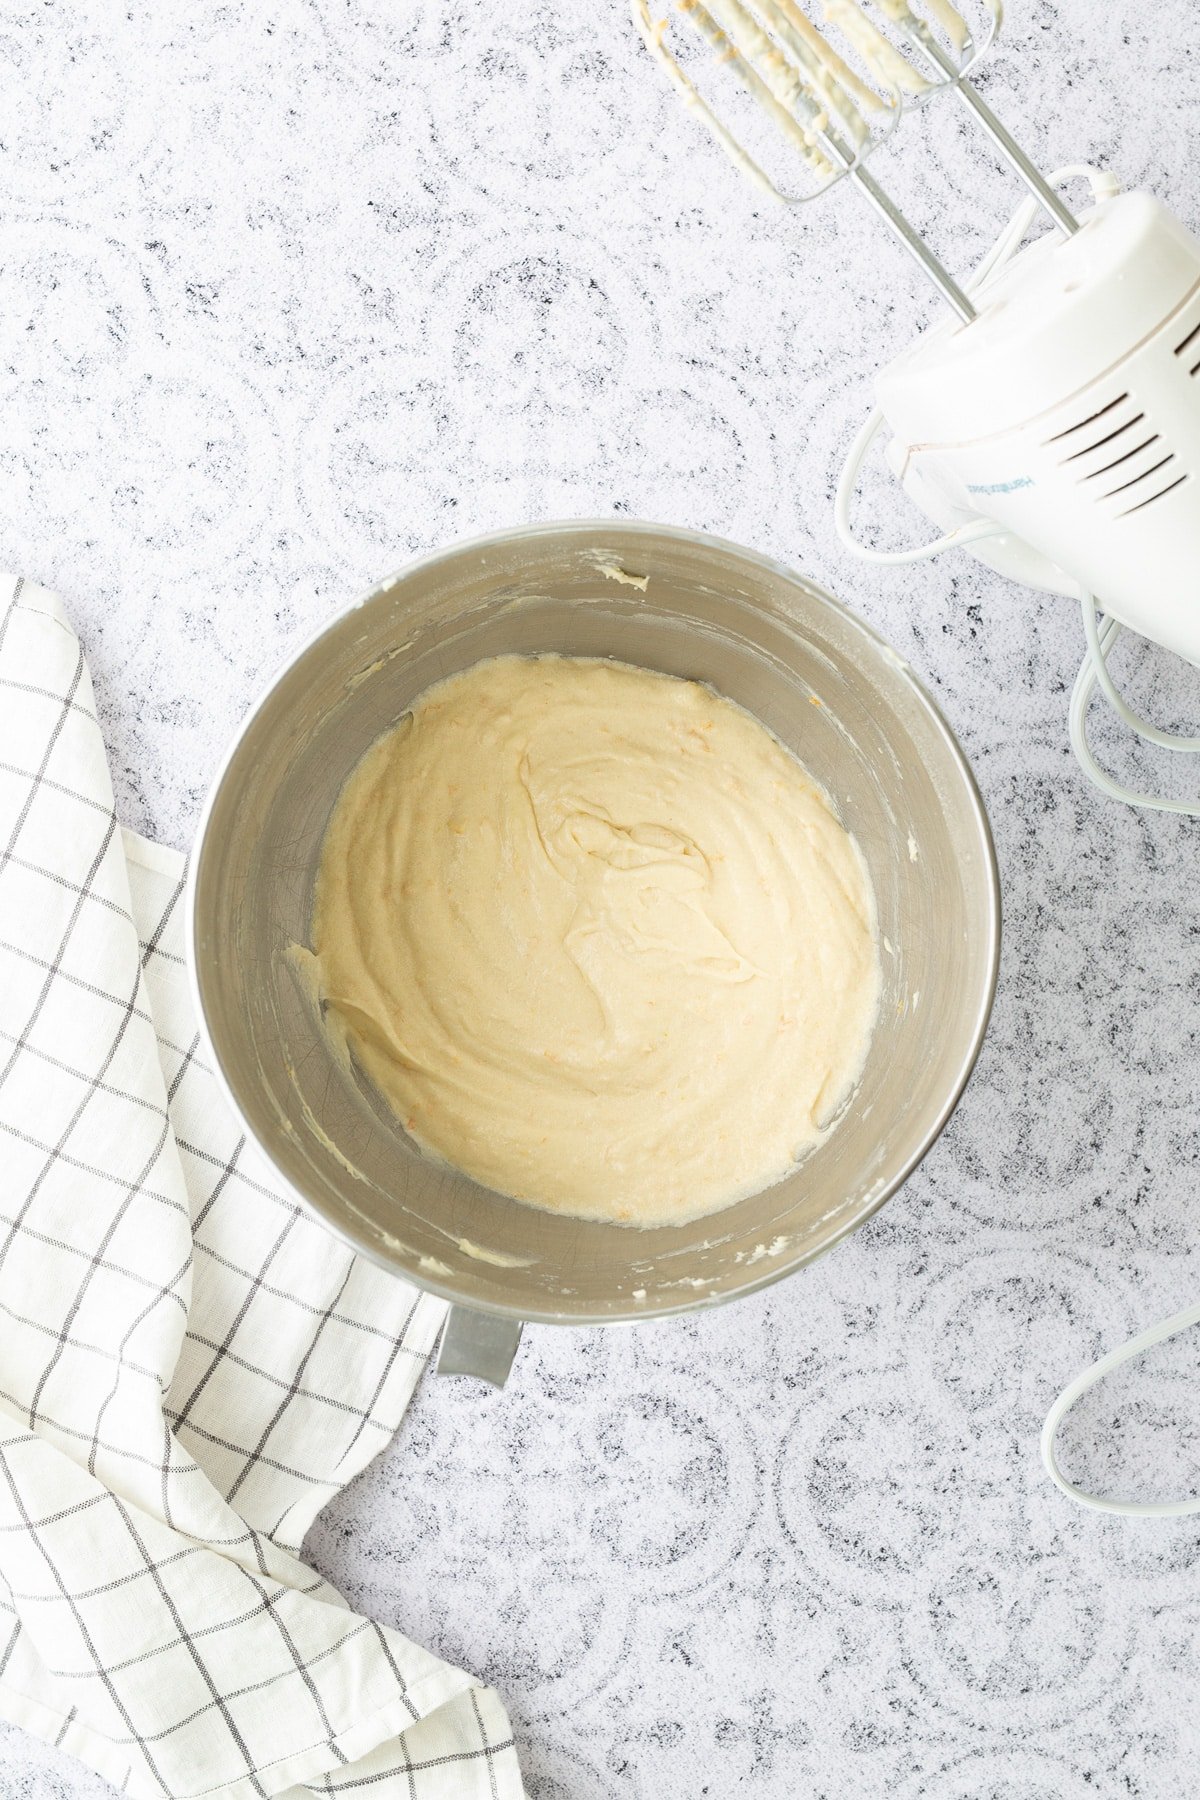
Stir in the grapefruit zest and ¼ cup of freshly squeezed grapefruit juice. Mix until the batter is smooth and everything is well combined.
Pour the batter into the prepared loaf pan, spreading it evenly. Bake in the preheated oven until the top is golden brown and a toothpick inserted in the center comes out clean, about 1 hour.

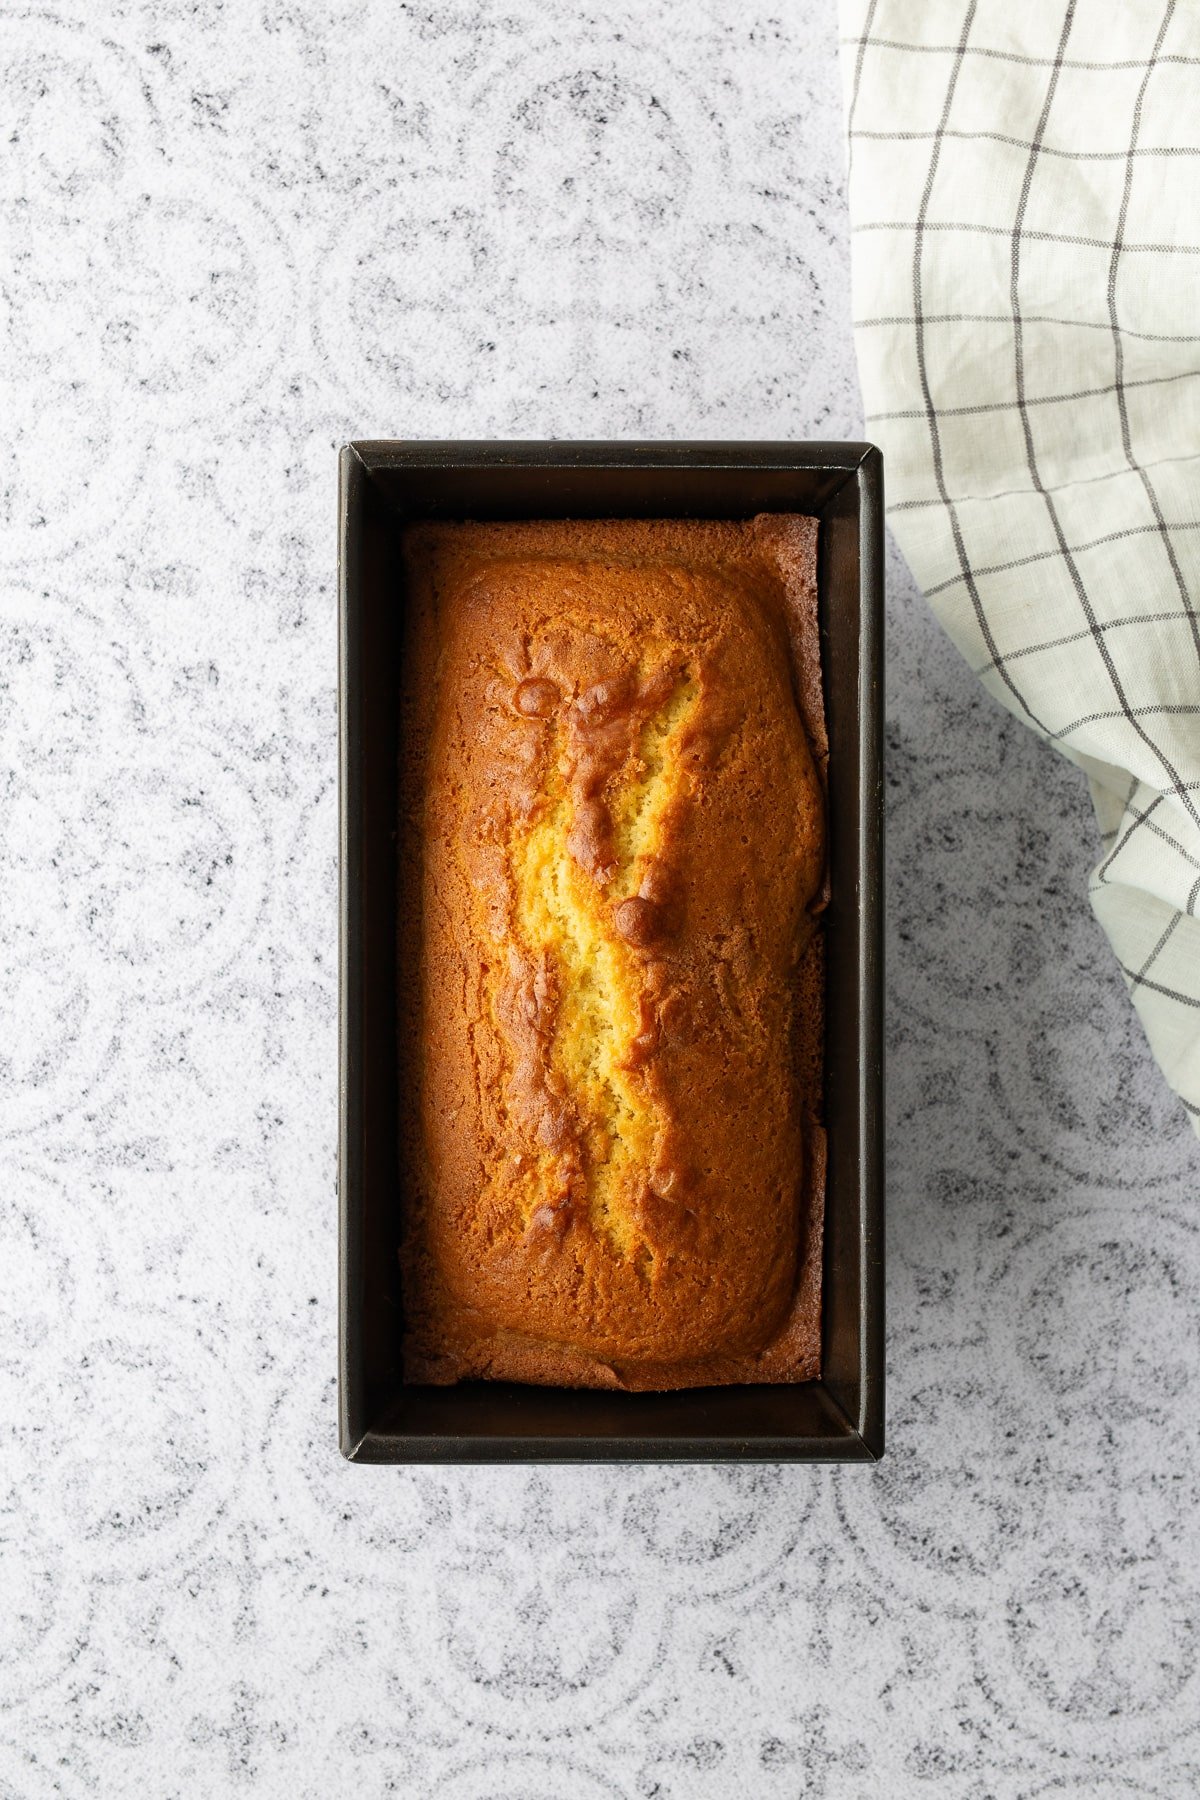
Allow the cake to cool in the pan for about 5 minutes. Carefully remove it from the pan and place it on a cooling rack to cool completely.
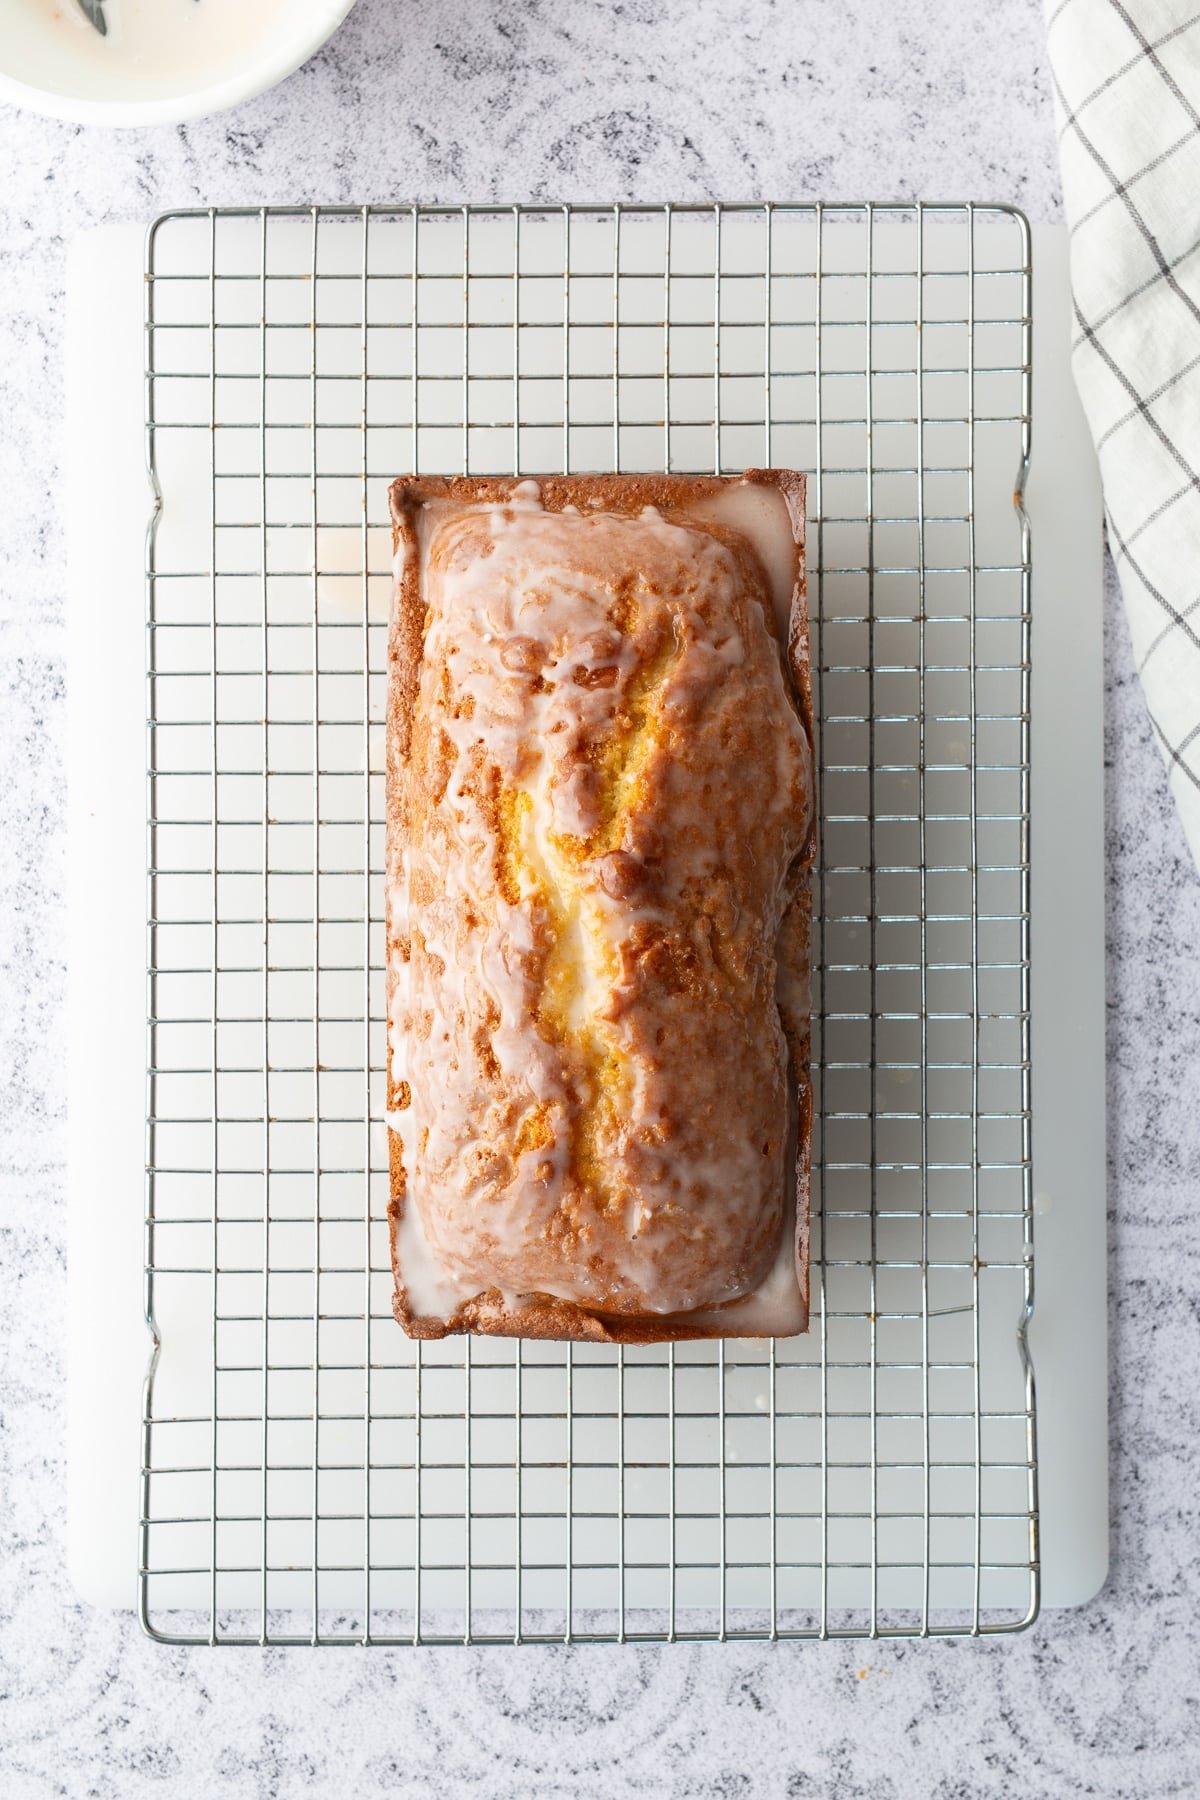
To make the glaze, combine the powdered sugar with 3 tablespoons of grapefruit juice. Stir until the glaze reaches your desired consistency. If the glaze is too runny, you can add more powdered sugar, but no more than ¾ cup.
Once the cake has cooled, pour the glaze over the top. Slice, serve, and enjoy! 😊

This cake does take about an hour to bake so it's the perfect cake to make on the weekend and eat throughout the week. That's if it last that long.
Why Bake This Cake in a Loaf Pan?
Using a loaf pan makes it easier to slice and serve the cake. You can enjoy it for breakfast, as a snack, or for dessert. Plus, its compact size makes it perfect for gifting or sharing without being overwhelming.
If you don’t have a loaf pan handy, you could use a square or round pan, but the loaf shape is a classic choice that makes this cake stand out!
Storing and Serving Suggestions
To store the grapefruit cake, allow it to cool completely before wrapping it tightly in plastic wrap or placing it in an airtight container. You can keep the cake at room temperature for up to 2 days or refrigerate it for up to 5 days to maintain freshness. You can also freeze it for up to 3 months.
This cake is tasty on its own. However, you can make it even better. Try adding a dollop of whipped cream, a scoop of vanilla ice cream, or a sprinkle of powdered sugar. These toppings give it a light and elegant finish.
Serve it with a cup of coffee, tea, or even a glass of grapefruit juice to complement its tangy, citrusy flavor!
I hope you love this Cake recipe as much as we do. Looking for more dessert recipes? Try these out:
- Simple and Easy Pumpkin Cake Recipe
- The Best Red Velvet Cupcakes
- Mini Rum Carrot Cakes
- Chocolate Cola Cake
- The Best Banana Bread Recipe
Here's a video of me baking this cake from start to finish. It's an oldie, but a goodie.
If you have tried this or any other recipe on my blog, please rate it and let me know how it turned out in the comments below!

Fresh Grapefruit Cake Recipe
Ingredients
For the Cake
- 1 ¾ cups All-Purpose flour
- 1 teaspoon baking powder
- ½ teaspoon baking soda
- ¼ teaspoon salt
- 8 Tablespoons unsalted butter softened
- ¾ cup white granulated sugar
- 2 large eggs
- ½ cup milk
- 2 Tablespoons Grapefruit zest
- ¼ cup Fresh grapefruit juice
For the Glaze
- ½ - ¾ cup powdered sugar
- 3 Tablespoons grapefruit juice
Instructions
- Preheat oven to 325 degrees. Grease a loaf pan and set aside.
- Combine flour, baking powder, baking soda, and salt in a medium bowl. Set aside.
- Beat butter and sugar in mixing bowl until well combined. Add eggs and beat in eggs until combined.
- Add flour mixture and milk alternatively to mixing bowl. Mix until combined.
- Add grapefruit zest and ¼ cup grapefruit juice. Mix until combined.
- Pour batter into greased loaf pan. Bake until top is golden brown and toothpick inserted in middle comes out clean, about 1 hour.
- Allow bread to cool in pan for about 5 minutes. Then remove and set on a cooling rack.
- Prepare glaze by combining powdered sugar and 3 tablespoons grapefruit juice. Stir until desired consistency. If glaze is too runny, add more sugar but no more than ¾ cup
- Pour glaze over bread. Serve and Enjoy 🙂
Notes
- For the best flavor, use freshly squeezed grapefruit juice and zest from a fresh grapefruit.
Nutrition
*Recipe adapted from Easy Everyday Cooking Cards, Grapefruit Breakfast Bread.
This post was originally published July 13, 2016. It has been updated with new information and photos.