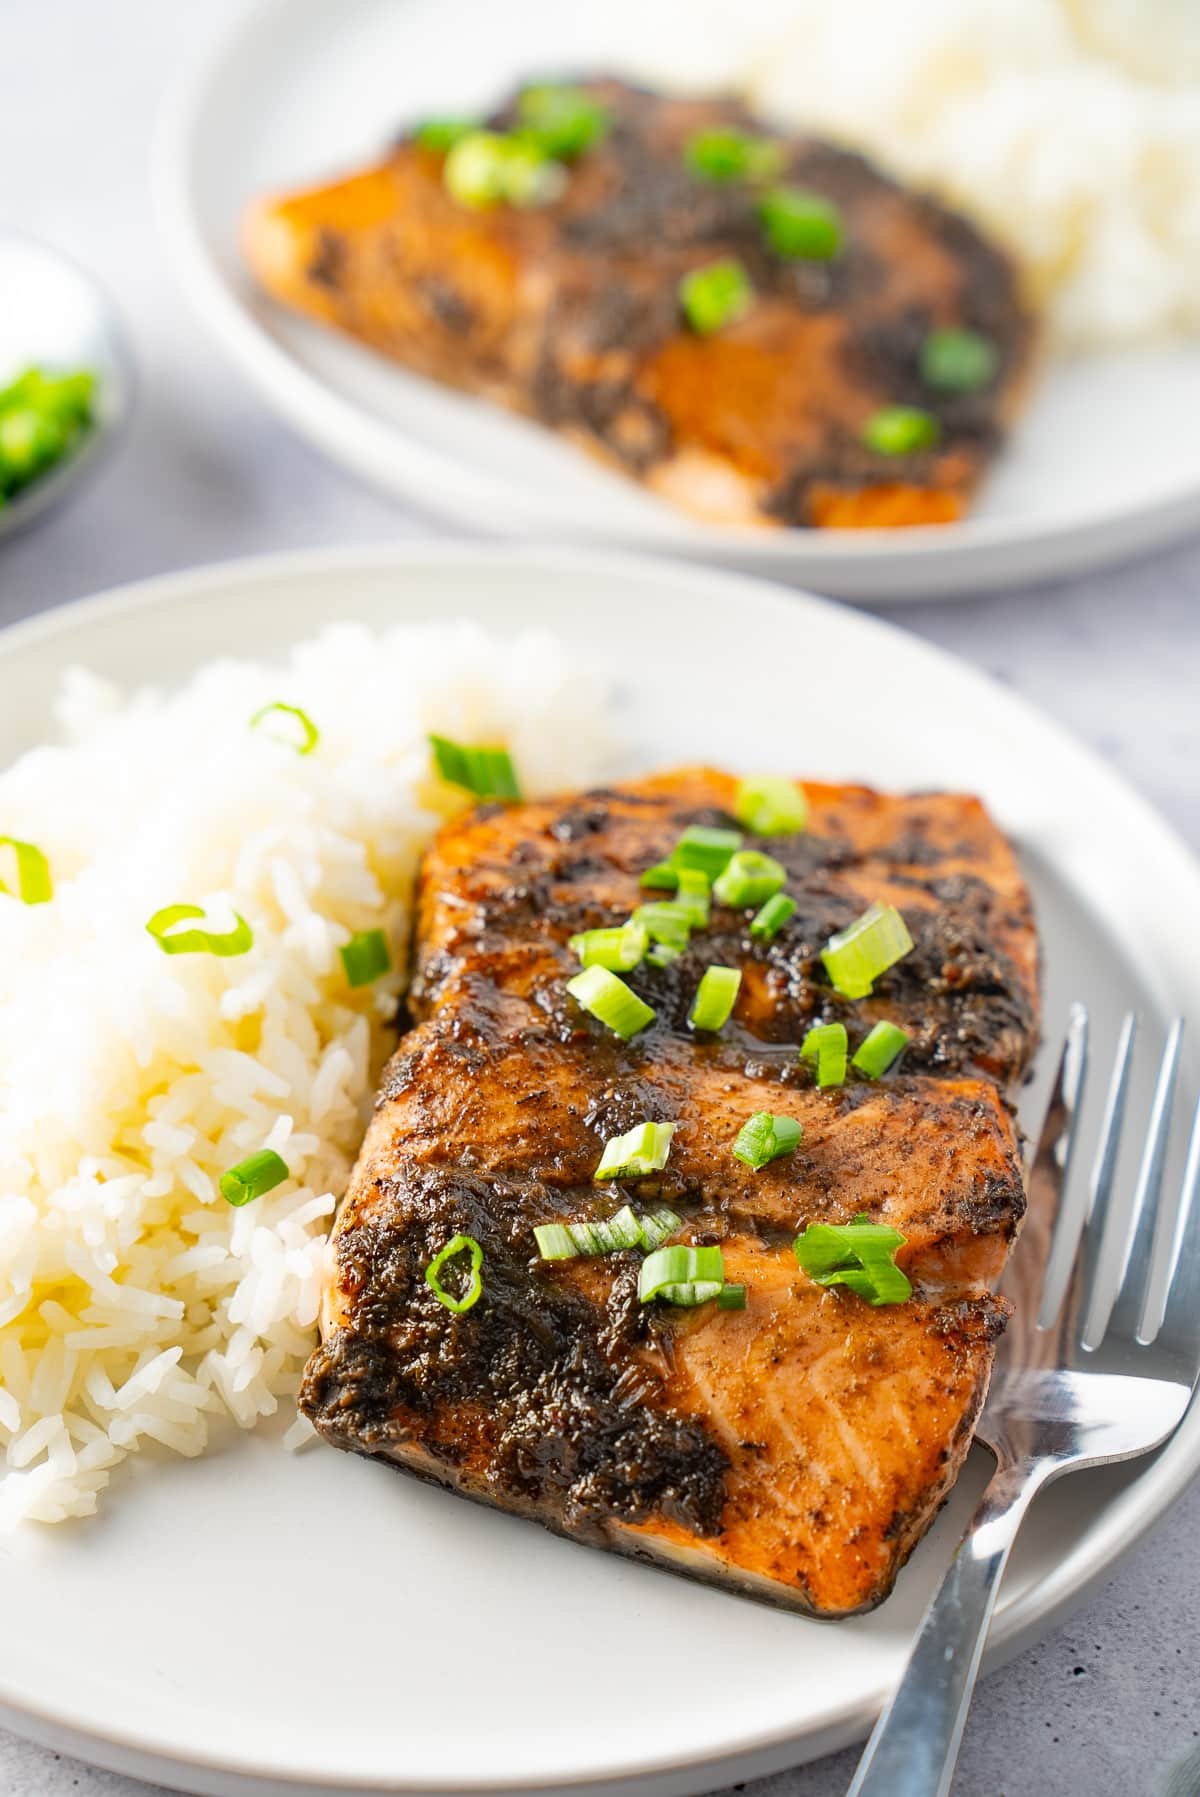
This Jerk Salmon recipe is perfectly seasoned with a jerk spice marinade and topped with a honey and lime juice glaze. It's ready in about 15 minutes and perfect for days you want an easy, flavorful entrée.
Jerk flavors have always been a staple in my life, and combining them with salmon is a match made in heaven. I still love that bold, smoky spice with just the right amount of heat—it always hits the spot. What's even better is how quick and easy this dish is to prepare.
Instead of grilling or pan-frying, I use the broiler because it's easy and the salmon cooks quickly while staying juicy and tender inside. It's my favorite method when I want to enjoy big flavors without spending too much time in the kitchen.
And the best part? The honey and lime juice glaze adds just the right amount of sweetness to balance the spice perfectly.
If you like this Jamaican Jerk Salmon recipe, then you'll love this Teriyaki salmon.
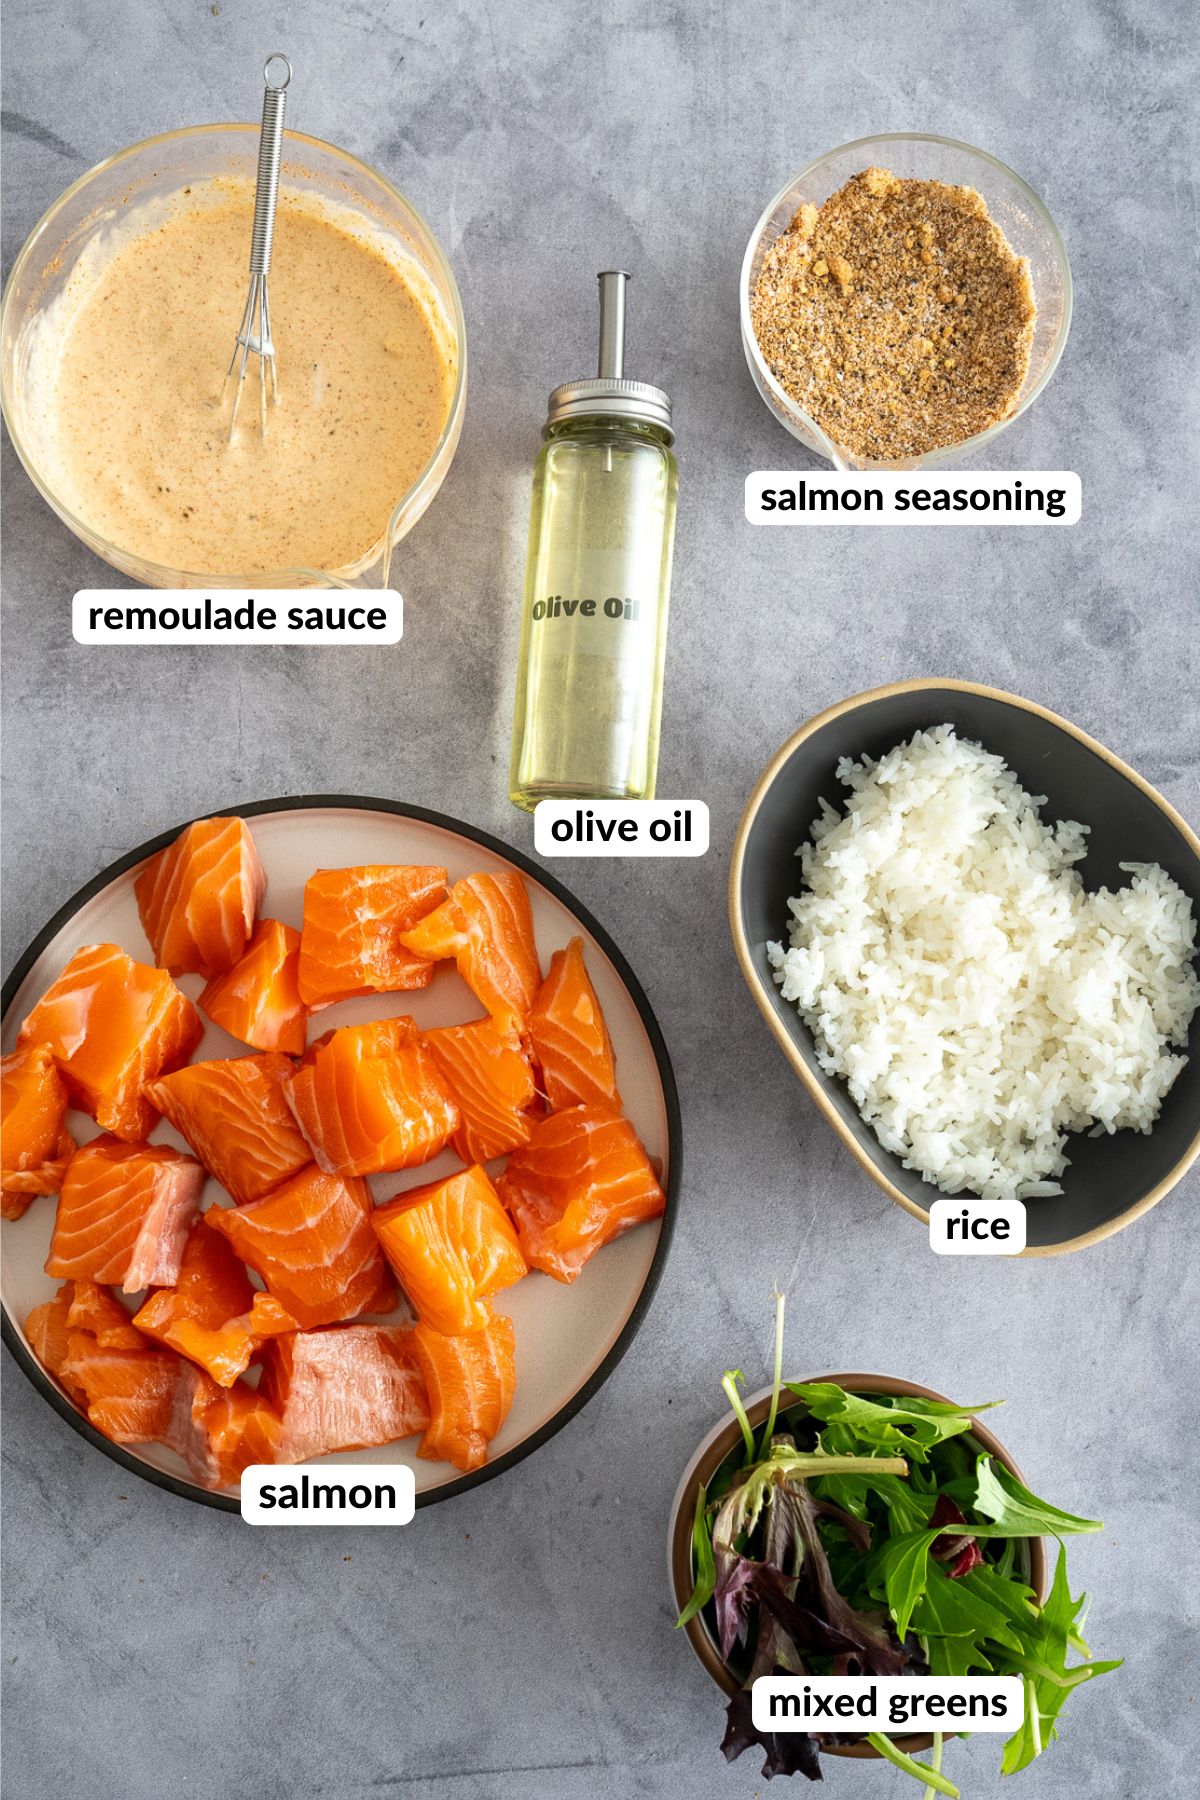
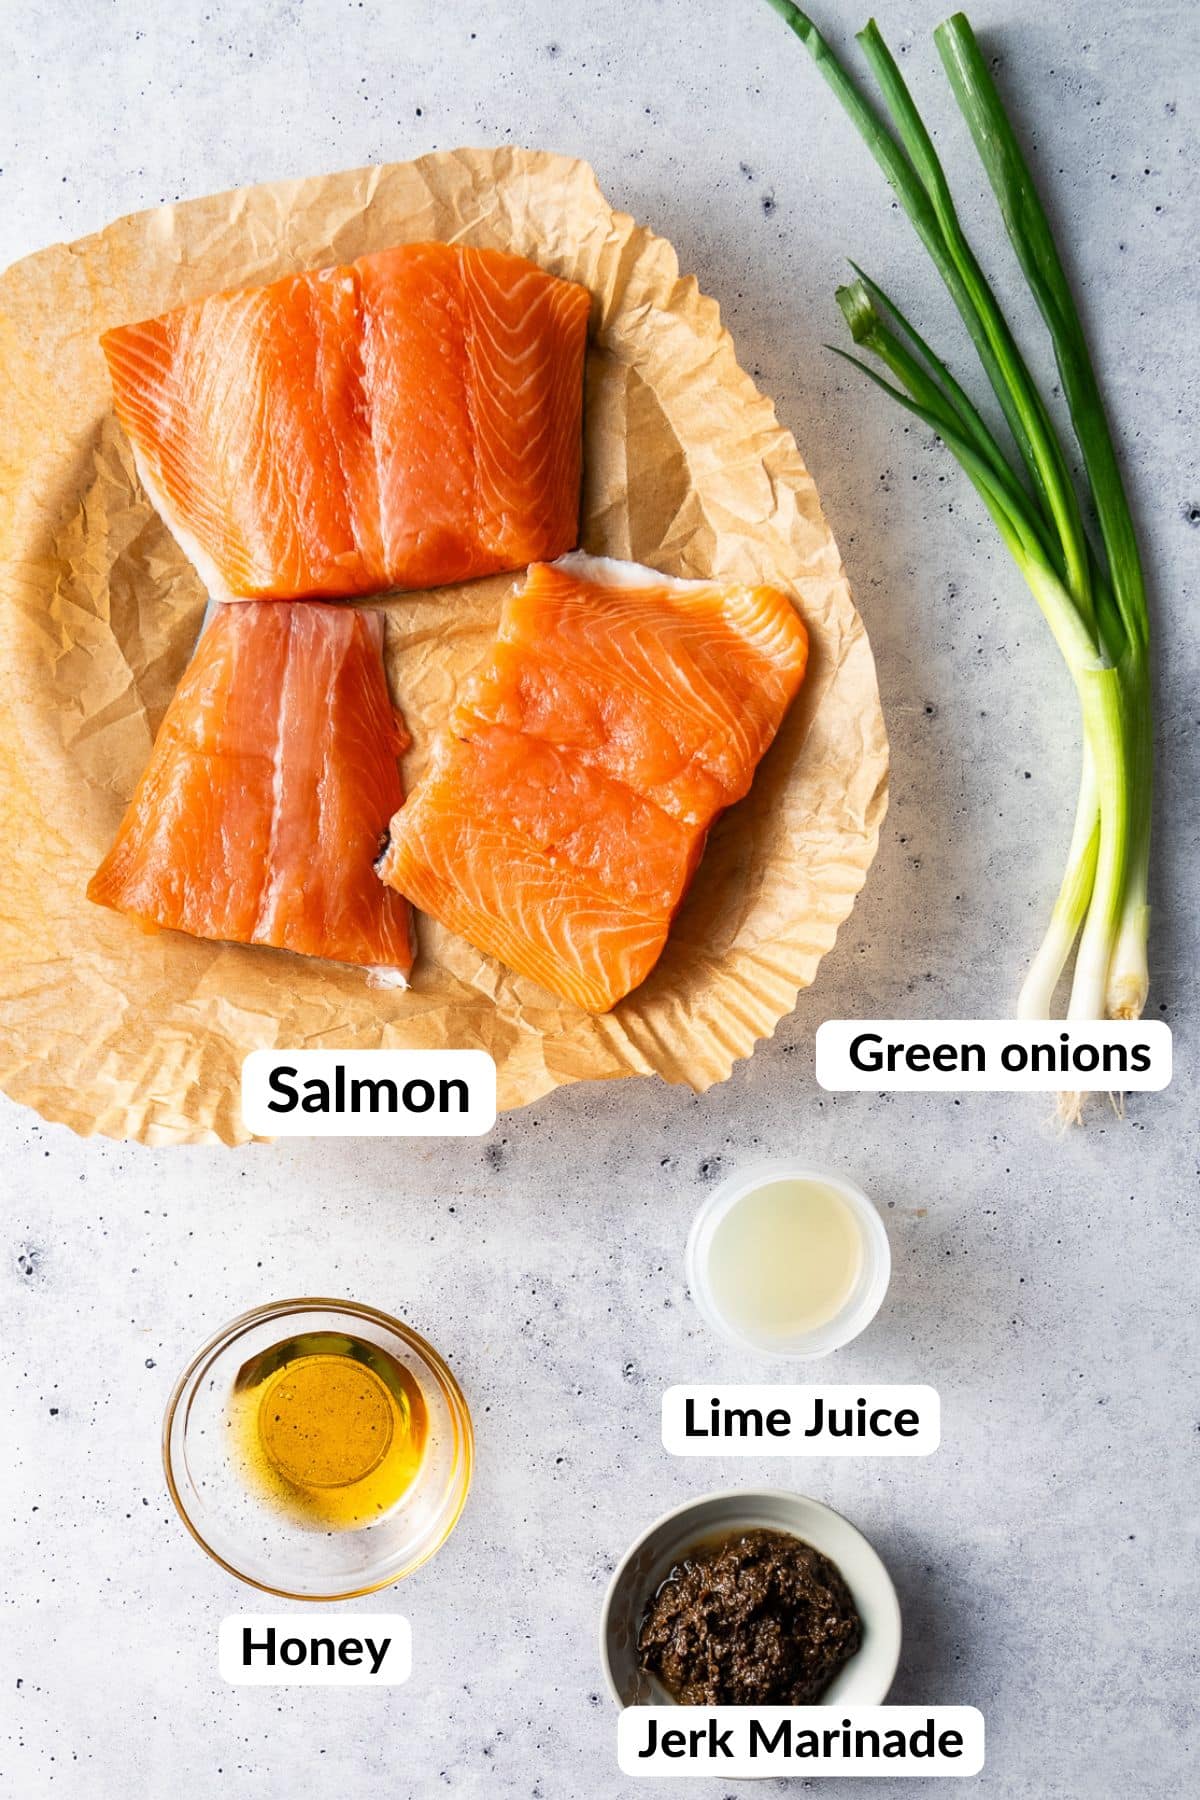
A Quick Look at The Ingredients
Ingredient amounts and full recipe instructions are on the printable recipe card at the bottom of the post.
- Salmon Fillets -I usually buy a large fillet and slice it into four equal pieces.
- Jerk Marinade - a wet marinade works best. You can use homemade or storebought.
- Honey and Lime Juice - These ingredients make the glaze that pairs well with the jerk seasoning and salmon.
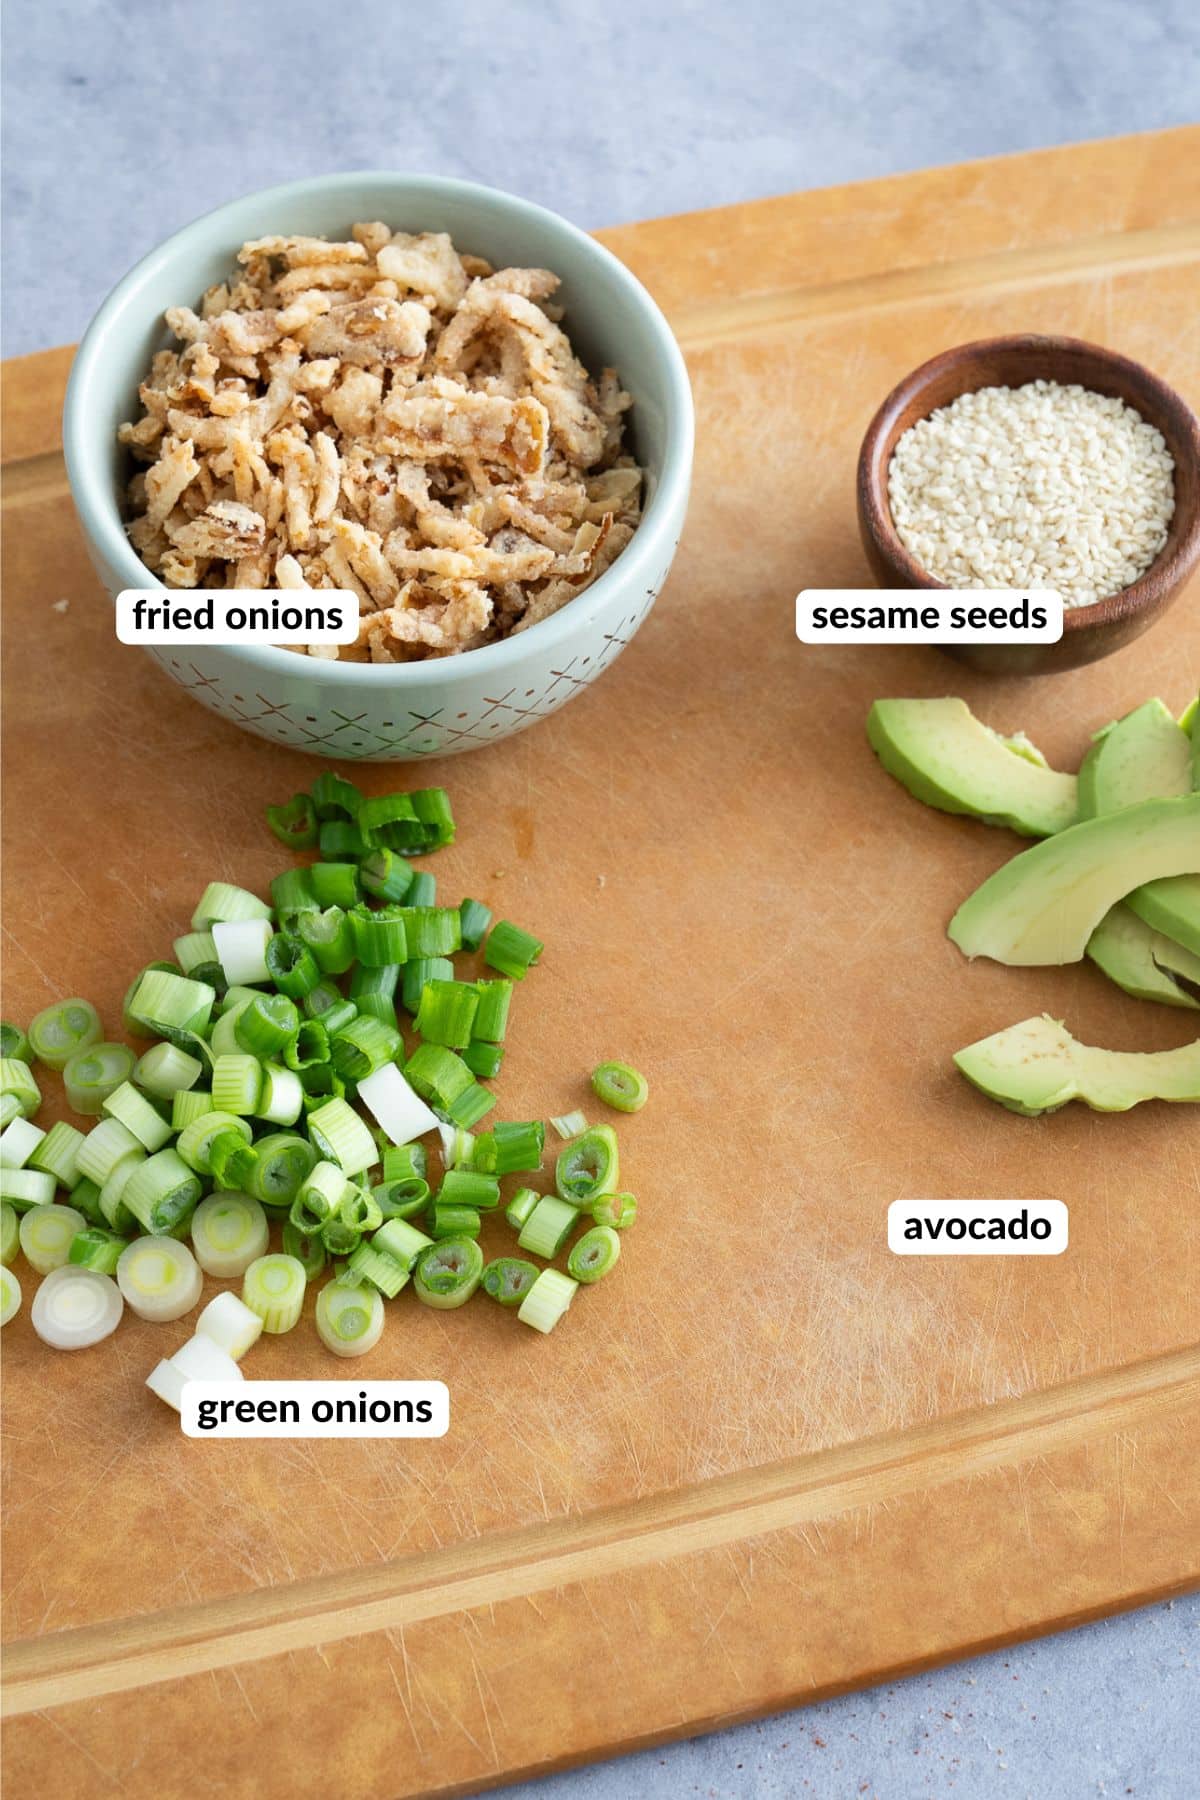
- Green onion - used as a garnish but also really makes this salmon taste amazing.
Essential Tools Needed
- Baking sheet
- Aluminum foil or parchment paper
- Small bowl for mixing marinade and brush
How to make Jamaican Jerk Salmon
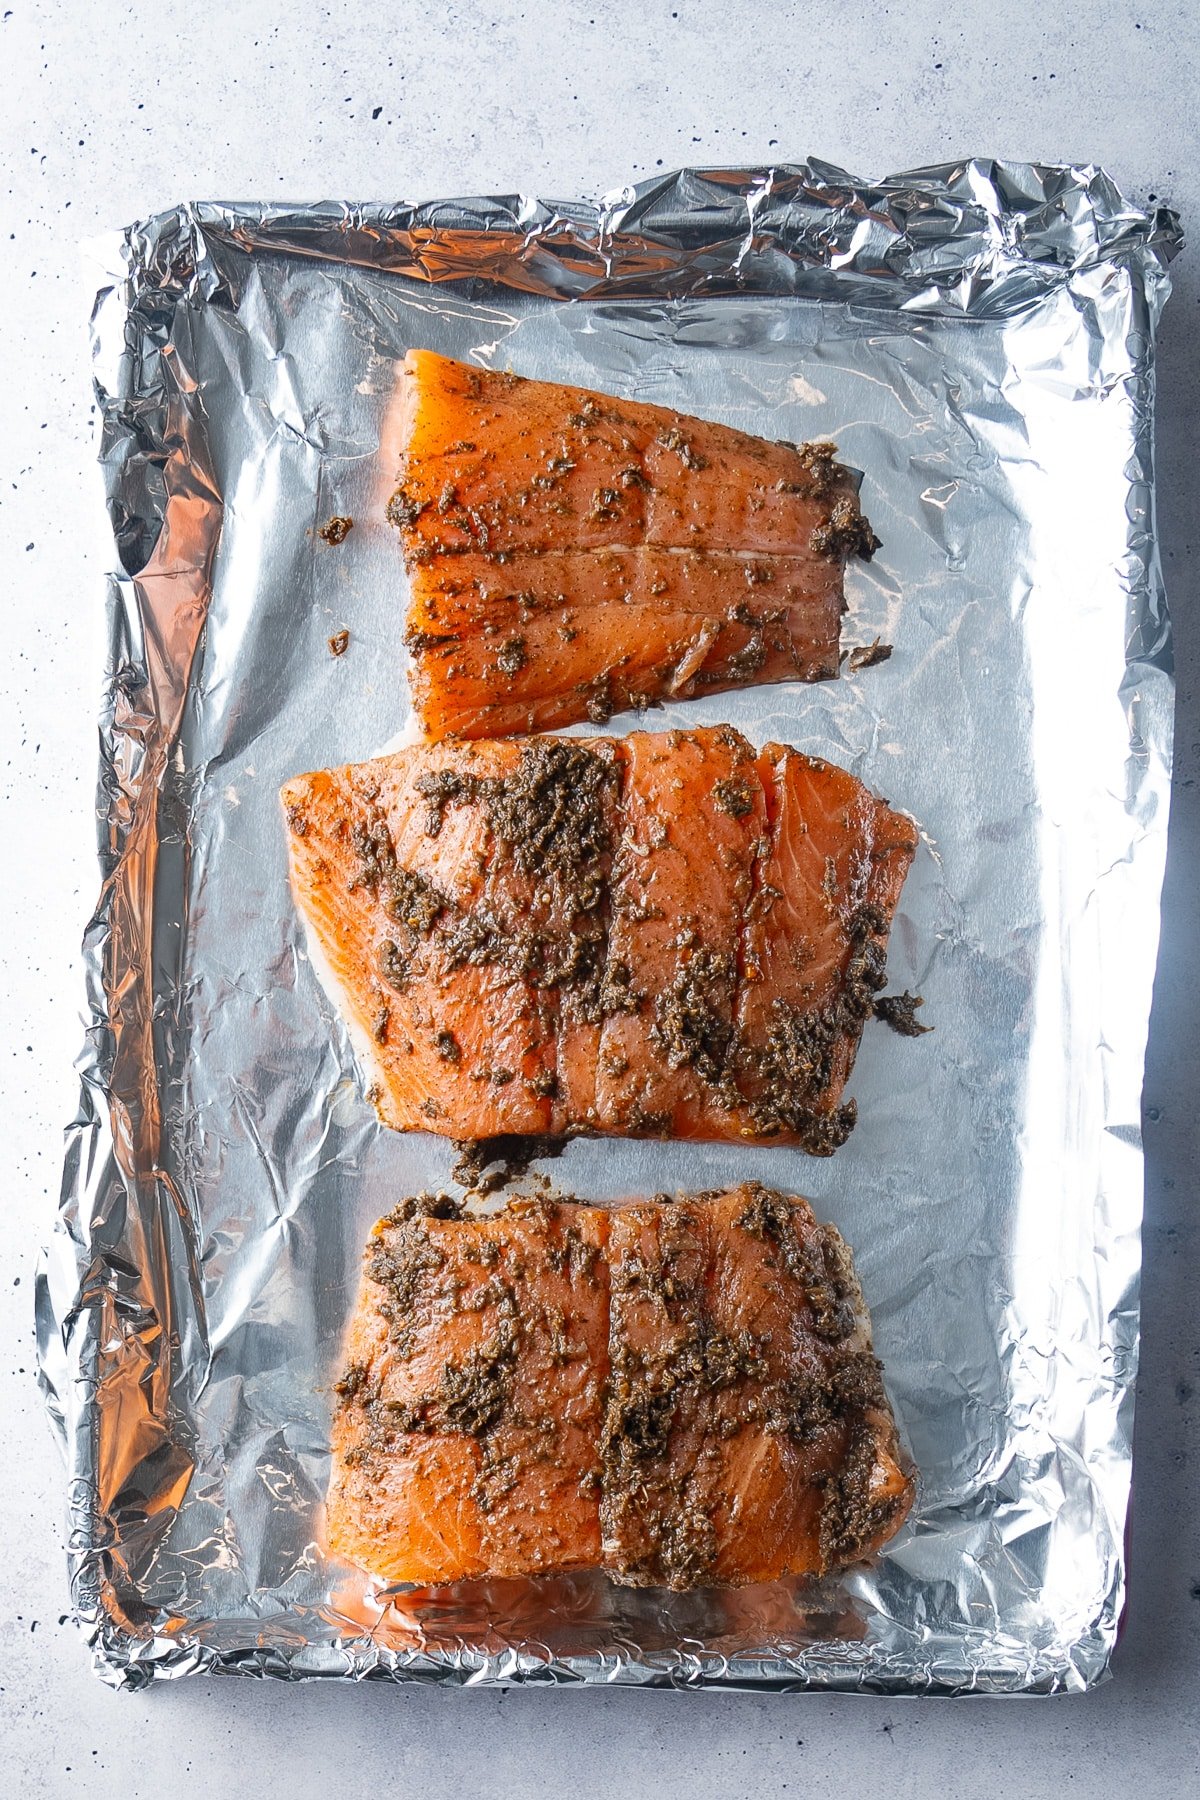
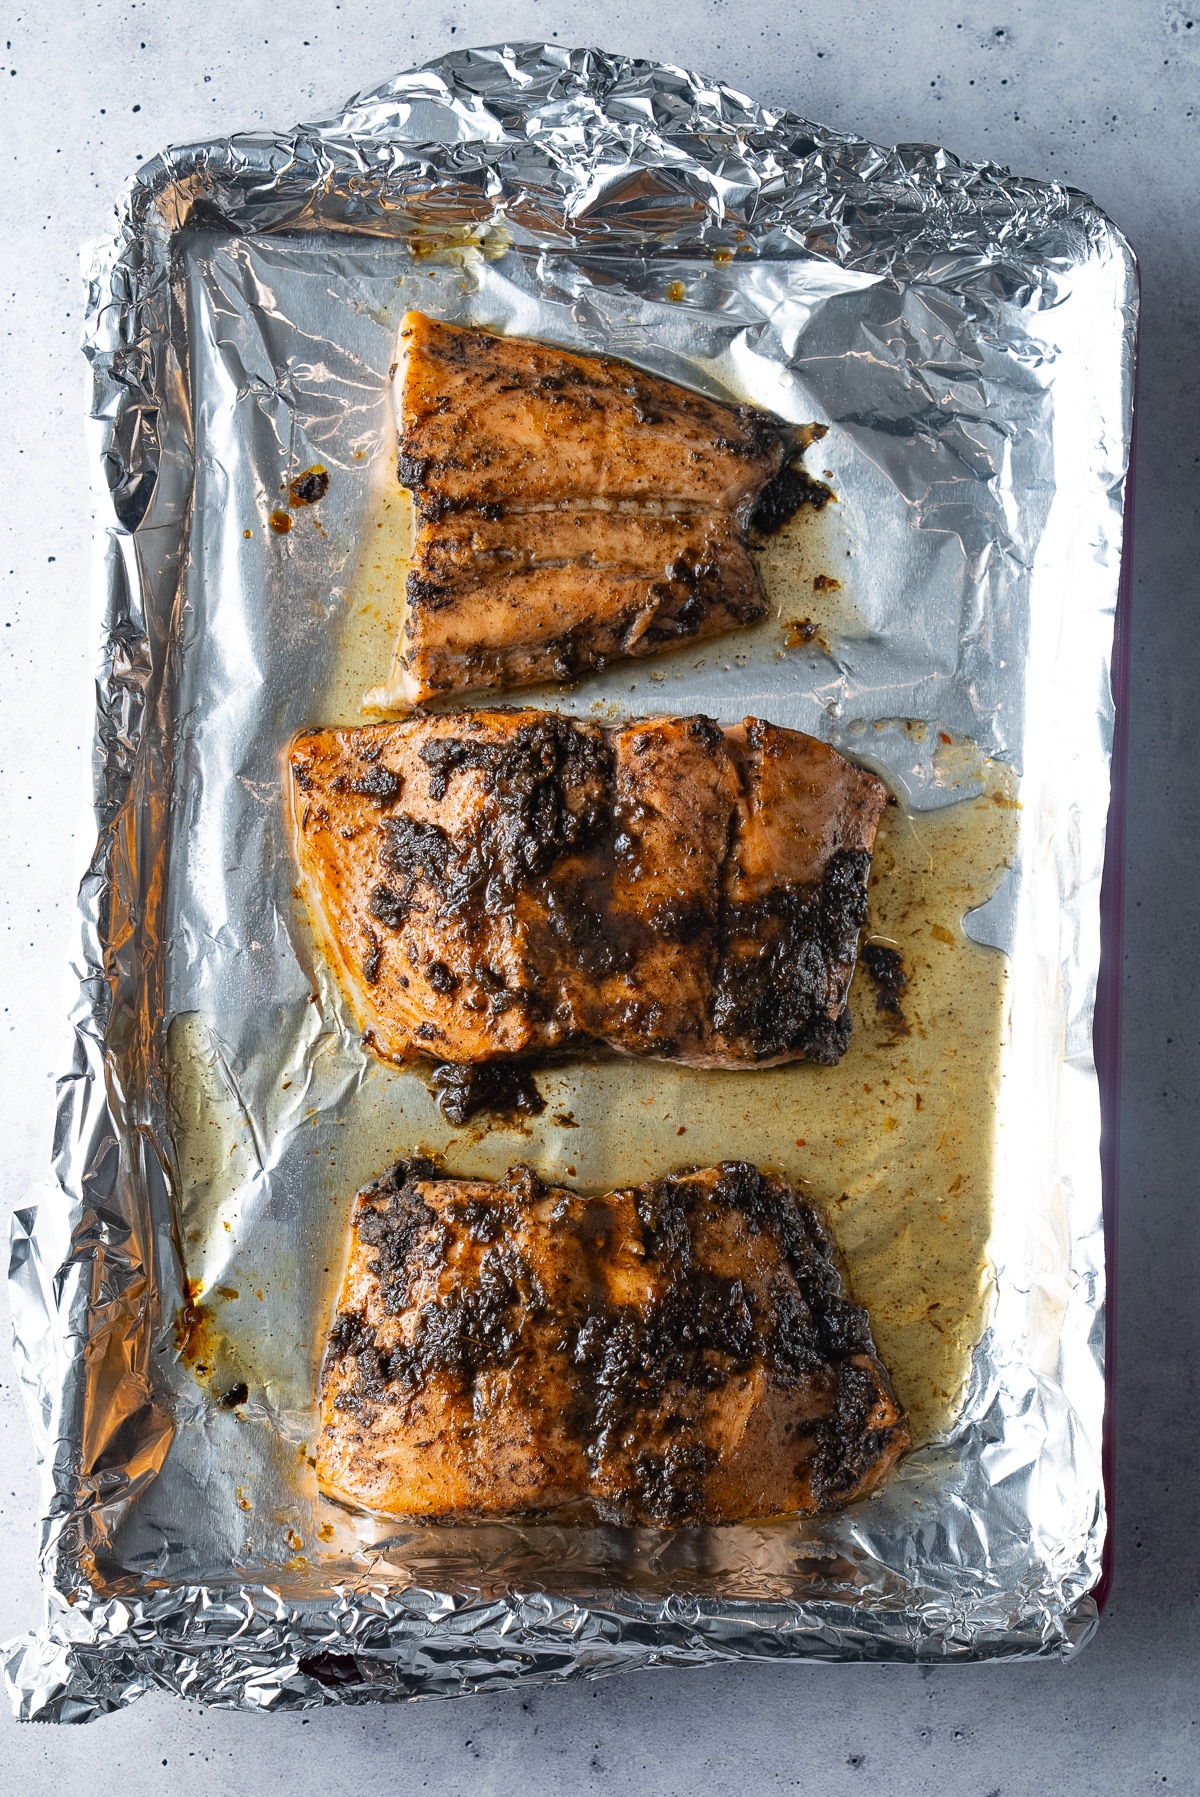
Step 1: Prepare the Baking Sheet: Line a baking sheet with aluminum foil and lightly grease it to prevent sticking. Place the filets skin down on the baking sheet.
Step 2: Marinate the Salmon: Pat the salmon dry with a paper towel. Evenly coat the salmon filets with the wet jerk marinade. Let the salmon marinate for at least 10 minutes.
Step 3: Preheat the Broiler: Set your oven to broil on high. Position the oven rack about 6 inches from the heating element.
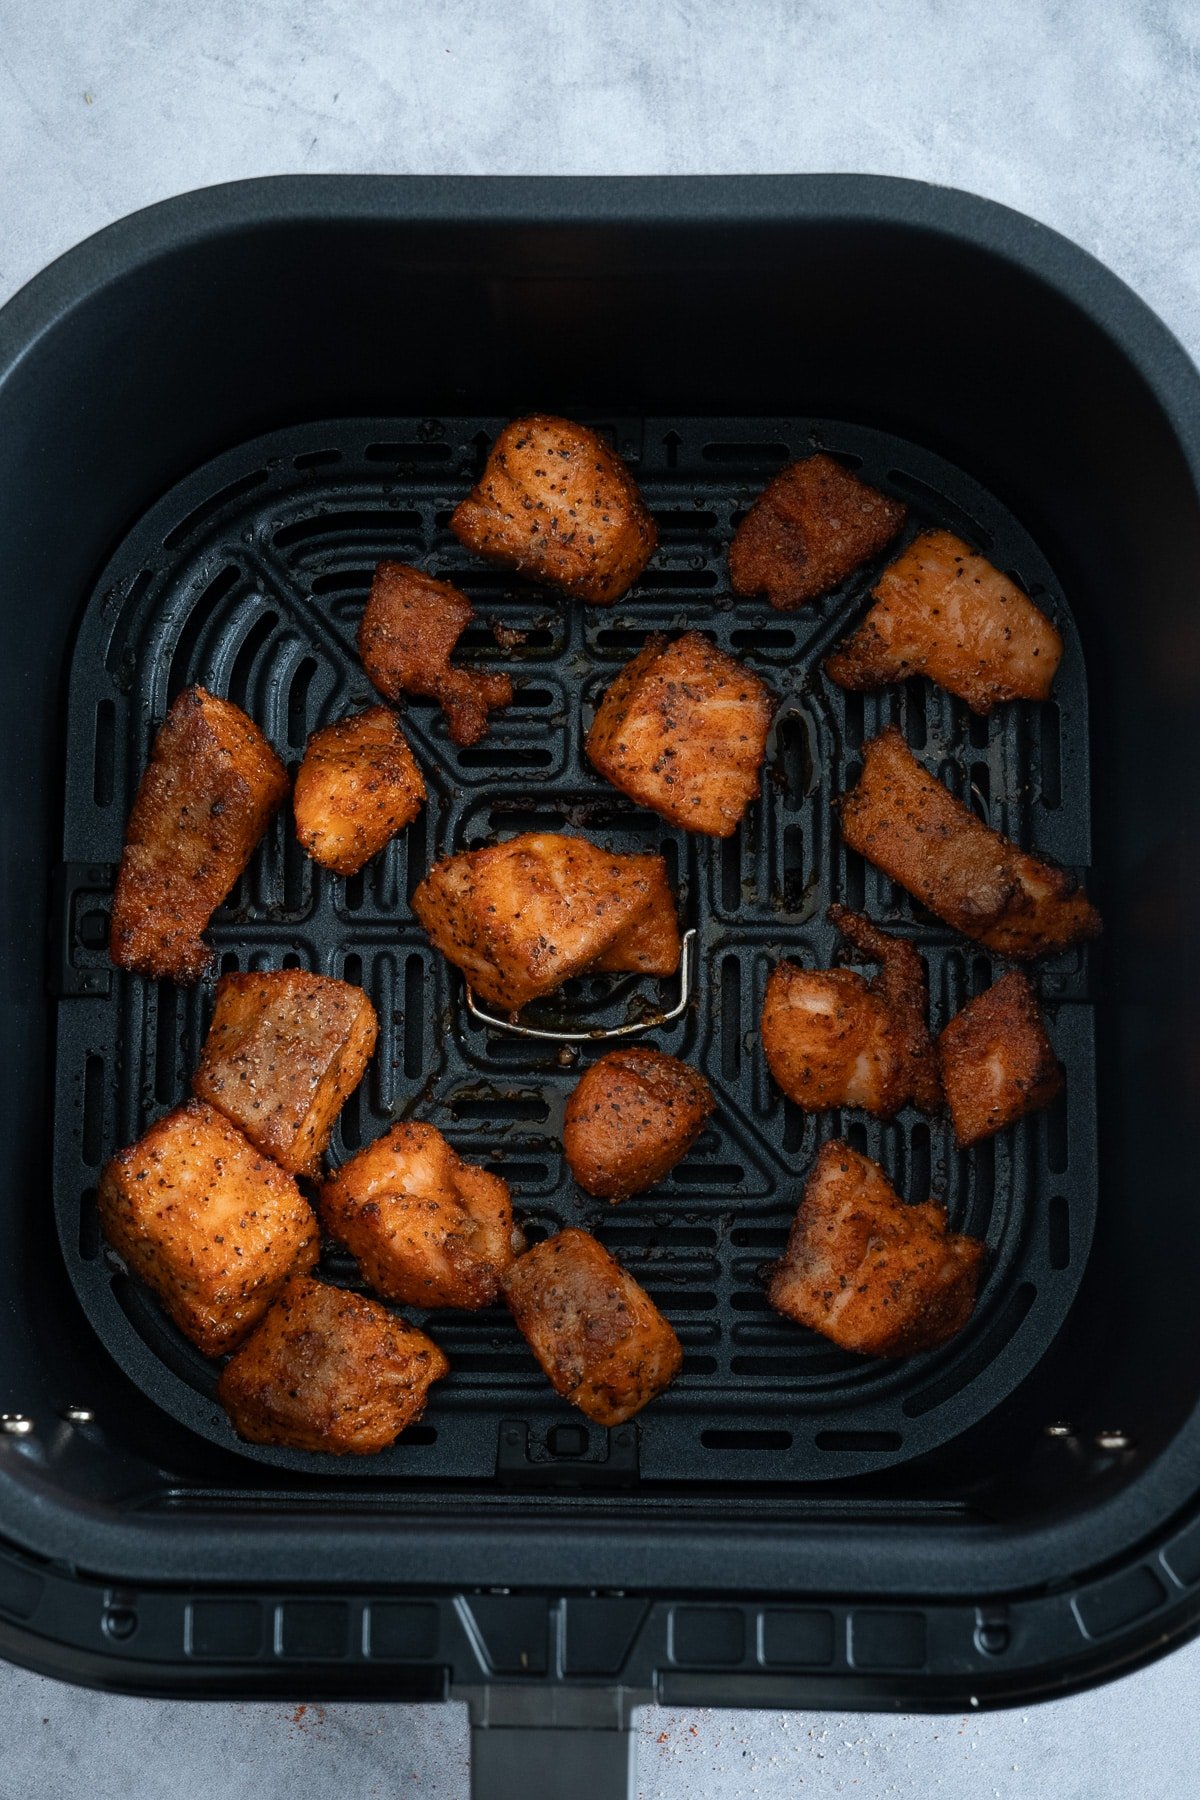
Step 4: Broil the Salmon: Place the baking sheet under the preheated broiler. Broil the salmon for approximately 4-8 minutes, depending on the thickness of the fillets, until the salmon is almost cooked through and has a nice color on top.
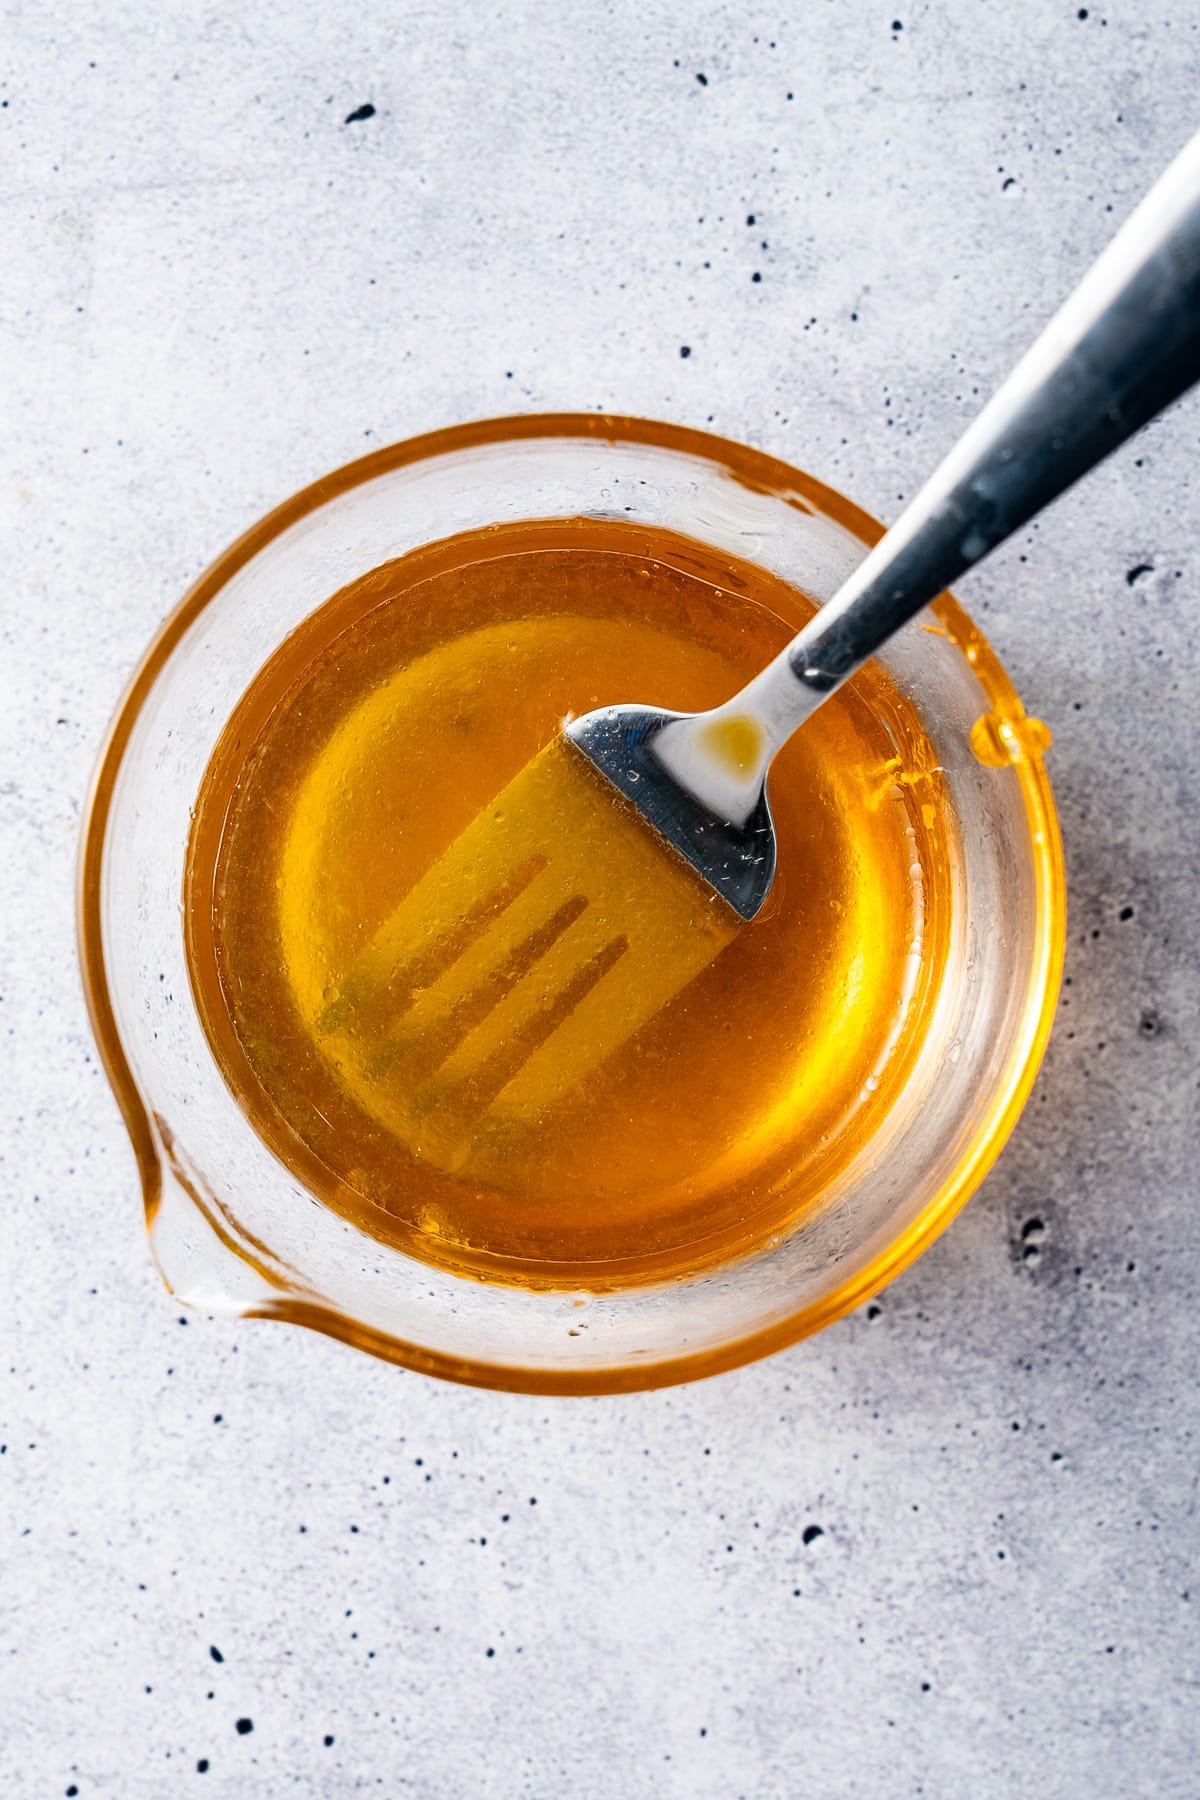
Step 5: Prepare the Citrus Glaze: While the salmon is broiling, in a small bowl, whisk together the lime juice and honey until well combined. Remove the salmon from the oven. Brush the lime-honey glaze generously over the top of each fillet.
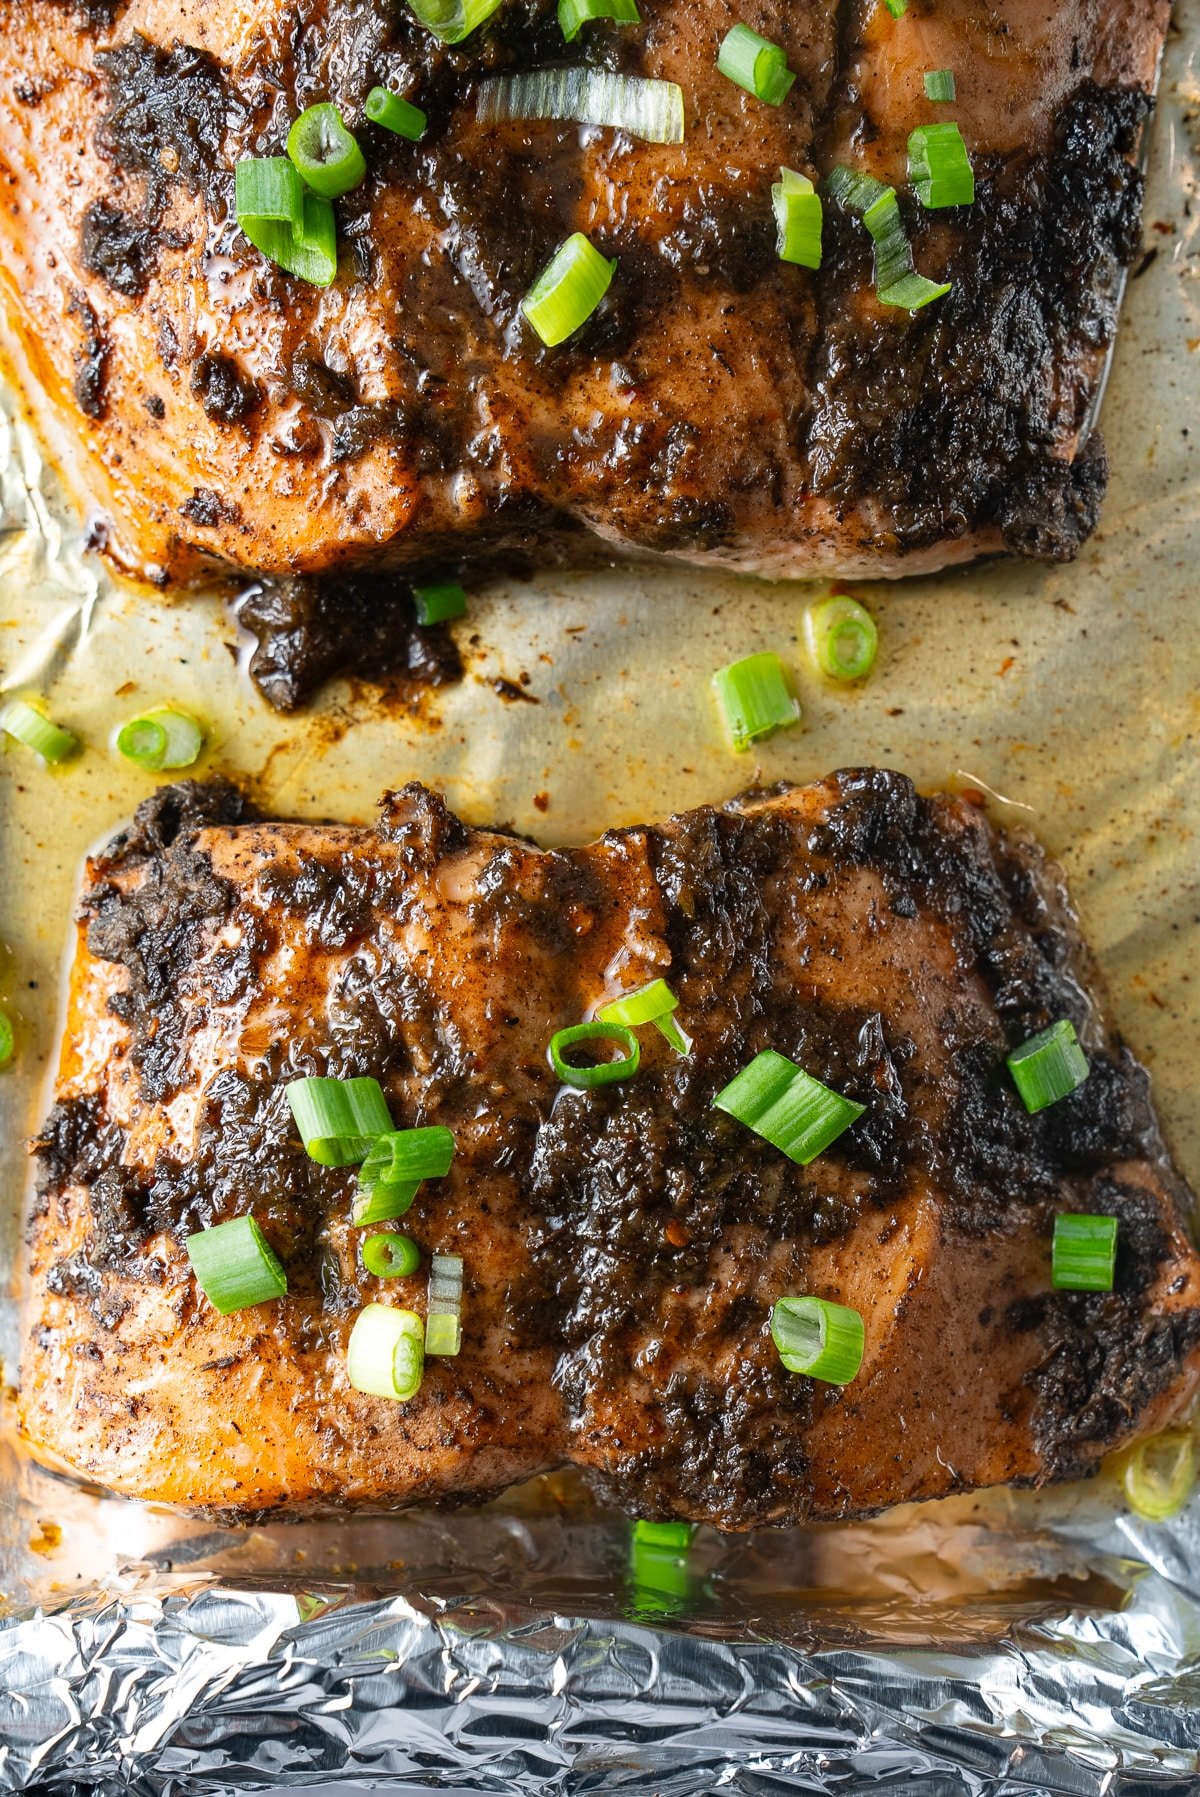
Step 6: Caramelize the Glaze: Return the glazed salmon to the broiler for an additional 1–2 minutes, keeping a close eye to prevent burning, until the glaze is bubbly and slightly caramelized. Remove from the oven.
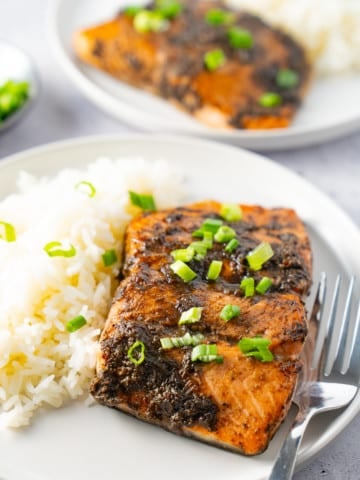
Step 7: Garnish and serve: Top the salmon with sliced green onion. Serve and enjoy.
Tips for Perfectly Cooked Salmon
- Check the salmon every minute after the first three minutes of broiling. Remember, the amount of time the salmon needs to cook depends on its thickness.
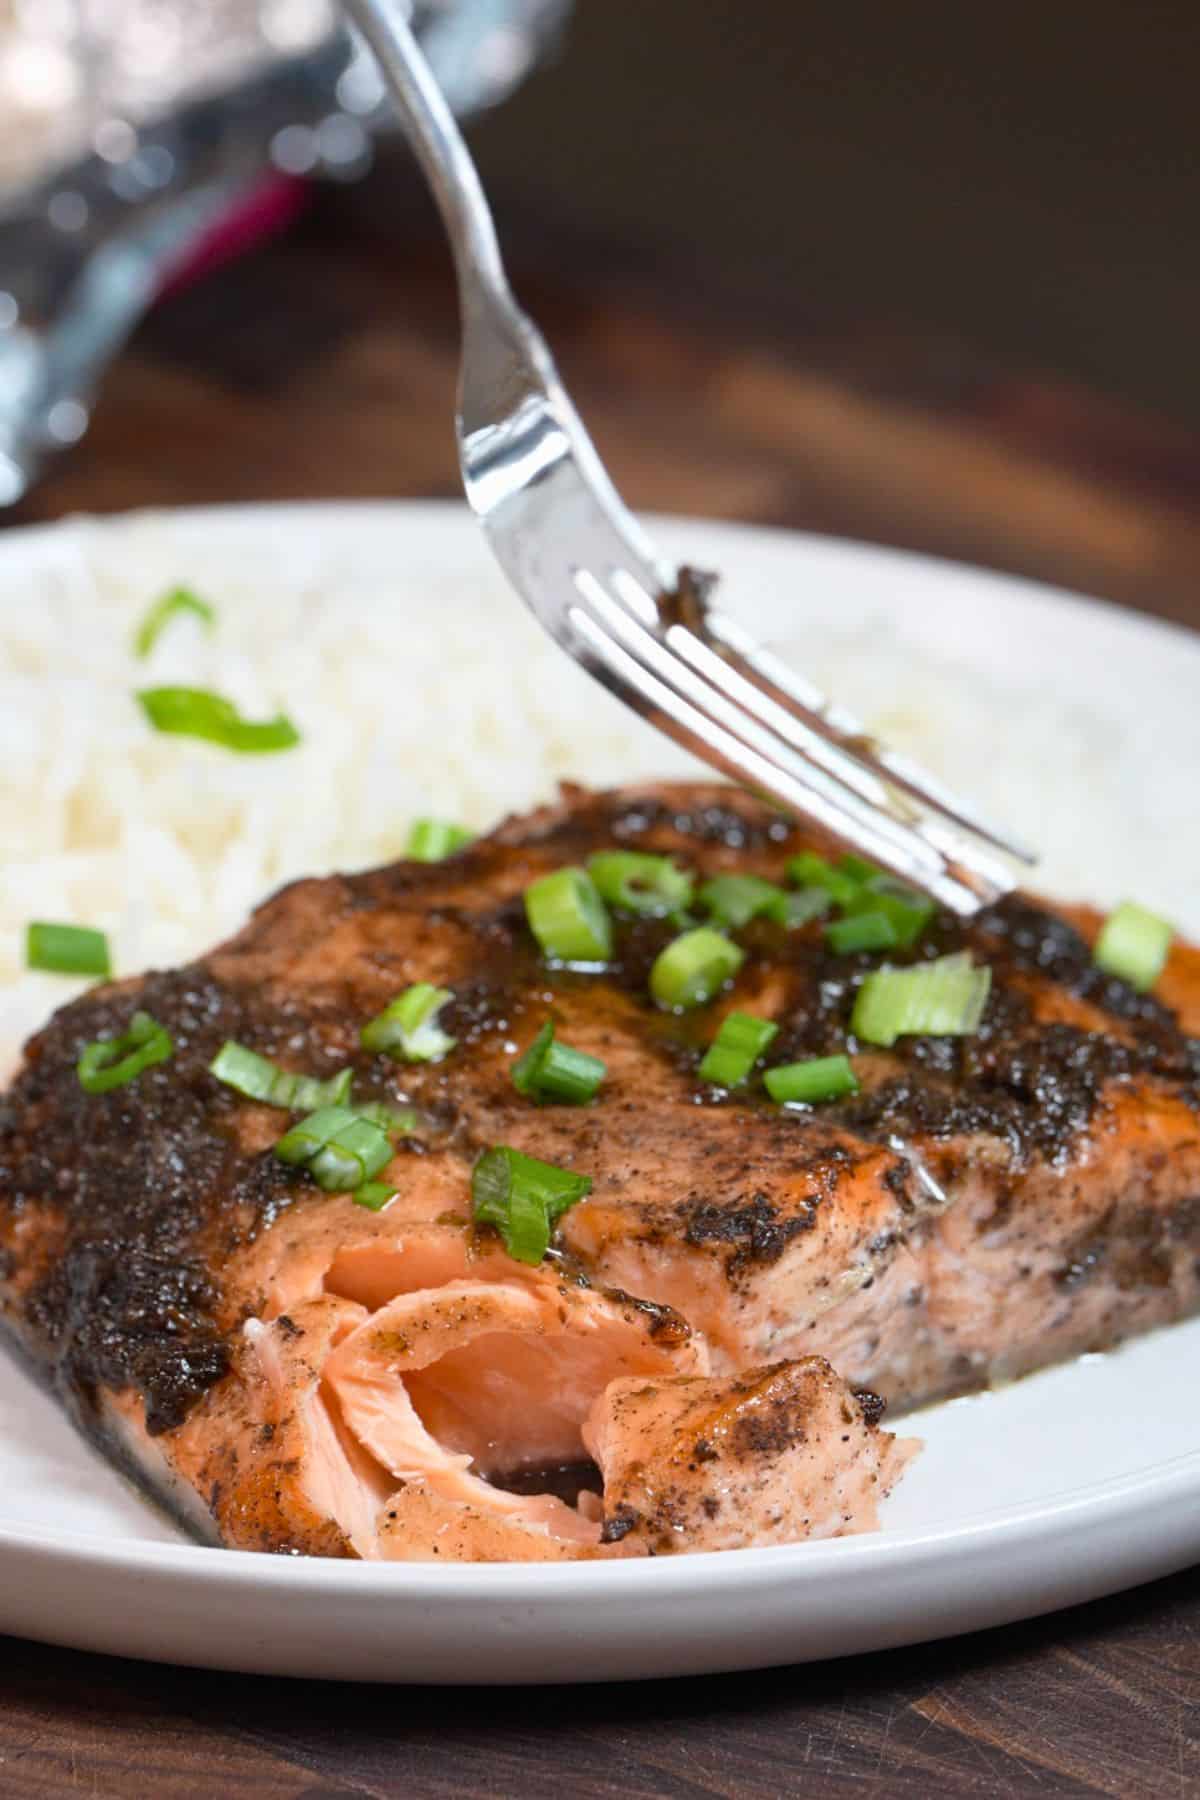
- You can tell the salmon is cooked when it flakes apart easily and appears opaque in the thickest part.
- You can remove the skin by running a metal spatula between the skin and flesh.
Tanya's Tips for the Best Jerk Salmon
- Use fresh lime juice for the best flavor—bottled juice won’t have the same zing.
- Adjust the heat level by using less jerk seasoning or omitting the Scotch bonnet pepper.
Make Ahead and Storage Instructions
Make Ahead:
- You can season the salmon up to 24 hours in advance and store it in the fridge.
- The honey-lime glaze can also be made ahead and reheated before serving.
Storage:
- Store leftover salmon in an airtight container in the refrigerator for up to 3 days.
Reheating Tips:
- Oven: Reheat at 350°F for 5-7 minutes.
- Air Fryer: Heat at 350°F for 3-4 minutes.
- Microwave: Use short 20-second bursts to avoid overcooking.
Serving Suggestions
If you’re looking for more jerk recipes, check out my jerk chicken or jerk fish recipes.
I hope you love this recipe as much as we do. If you have tried this or any other recipe on my blog, please rate it and let me know how it turned out in the comments below!

Jerk Salmon Recipe
Ingredients
- 1 lb salmon filets patted dry
- 2 Tablespoons wet jerk marinade
- 2 Tablespoons honey
- 1 Tablespoon fresh lime juice
- 1 green onion sliced
Instructions
- Coat the salmon filets evenly with the wet jerk marinade. Let them marinate for at least 10 minutes to allow the flavors to infuse.
- Position the oven rack about six inches from the heating element and set your oven to broil. Line a baking sheet with aluminum foil and lightly grease it to prevent sticking. Place the marinated salmon fillets on the prepared baking sheet, skin-side down if applicable.
- Place the baking sheet under the preheated broiler and cook for about 4–8 minutes, depending on the thickness of the fillets, until the salmon is almost cooked through and has a nice color on top.
- While the salmon is broiling, whisk together the honey and lime juice in a small bowl until well combined. Remove the salmon from the oven and brush the glaze generously over each fillet. Return the salmon to the broiler for another 1–2 minutes, watching closely to prevent burning, until the glaze is bubbly and slightly caramelized.
- Once done, remove the salmon from the oven and top with sliced green onion. Serve and enjoy.
Video
Notes
- Wet jerk marinade works best for this recipe. Feel free to use homemade or store-bought ones.
- The amount of time needed to broil the salmon depends on its thickness. Start checking around the 3-minute mark.