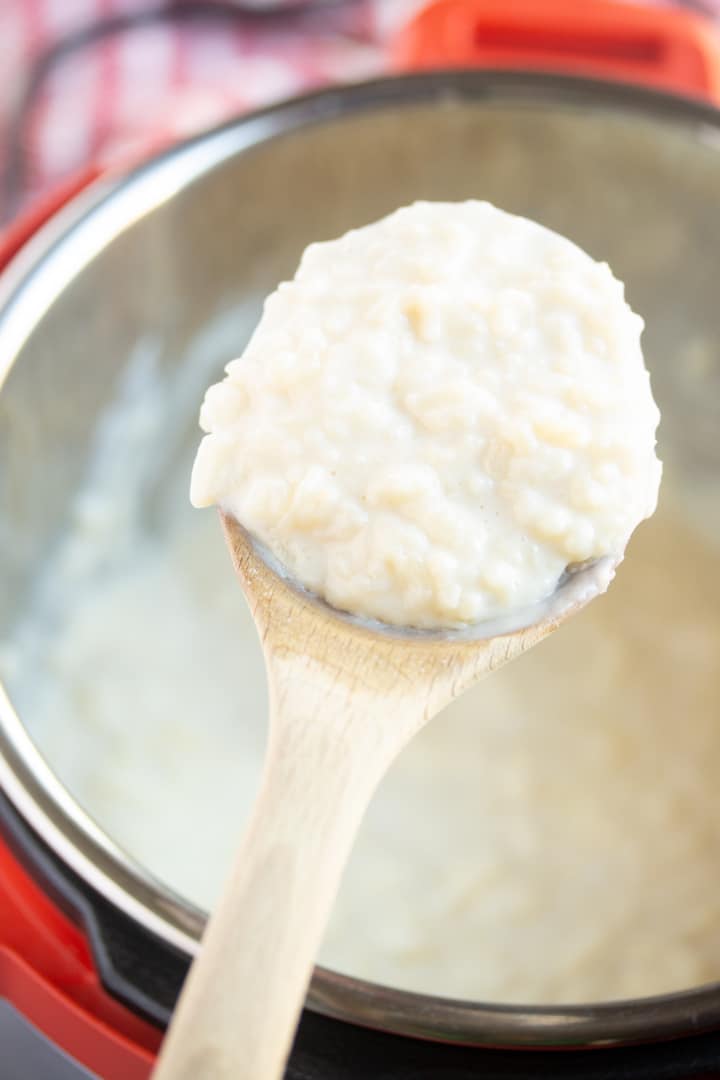
This Pressure Cooker Rice Pudding is not only creamy and delicious, it’s also easy when made in your electric pressure cooker. You don’t need eggs to thicken this rice pudding, and the flavor and texture will impress you.
This post contains affiliate links, please read my full disclaimer here.
Full Recipe Ingredients/Instructions are available in the
recipe card at the bottom of the post.
You can find important tips/tricks in the
blog post.
I love making rice pudding for the family and over the years I’ve tried recipe after recipe. I’ve never had a recipe fail when it came to rice pudding but there were times where I found it to be a little too much effort. Thanks to the pressure cooker, making a creamy and perfect rice pudding no longer has to be difficult.
Seriously, it’s as easy as placing the ingredients in the pressure cooker, starting it, walking away to play with your kids, or do some laundry, and then opening the lid and stirring.
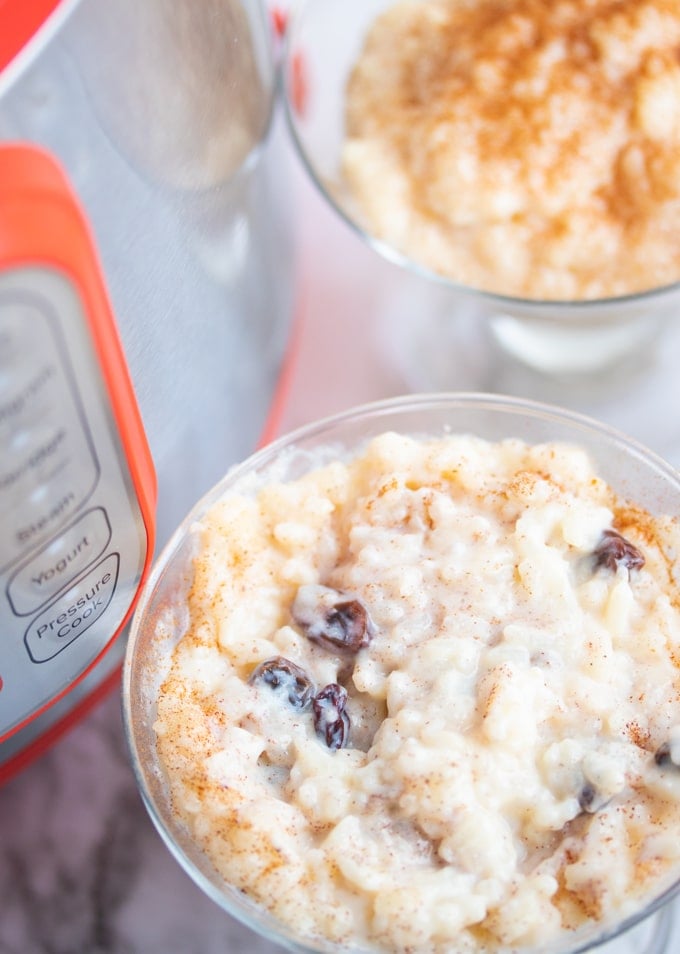
You can add raisins to your rice pudding if you like. My kids hate raisins, hubby and I love them.
Ingredients Needed
Ingredient amounts and full recipe instructions are on the printable recipe card at the bottom of the post.
- Rice - Although most rice pudding recipes use short-grain rice, like arborio rice, I use long-grain rice for this recipe, as it's usually what I have on hand. My rice pudding in the pressure cooker comes out creamy and delicious. I suggest rinsing the rice first in this recipe.
- Liquids - Water and milk - Having the correct ratio of water and milk in the pressure cooker will allow the rice pudding to cook in the pressure cooker without scorching the bottom.
- Spices - I use whole cinnamon sticks to flavor the rice pudding without changing the color. You can use a ¼ teaspoon of ground cinnamon if you don't have cinnamon sticks. I also add vanilla extract and salt.
- Sweetener - I use sweetened condensed milk to sweeten the rice pudding after it's cooked.
- Bourbon-soaked raisins (Optional) - I love adding a bit of bourbon-soaked raisins to the top of my rice pudding. Feel free to leave these out if you aren't a fan.
How to make Instant Pot Rice Pudding
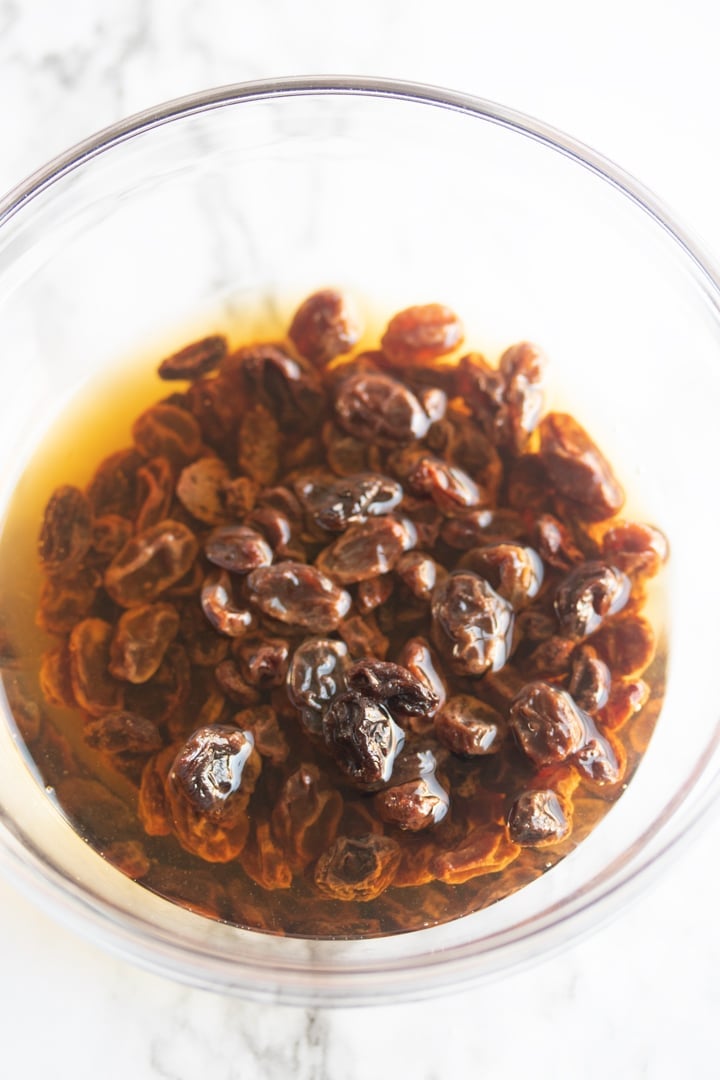
First, if using raisins, soak them to rehydrate them. I like to soak my raisins in a little bourbon. If you want to keep it alcohol-free, soak them in hot water. I start to soak them about an hour before my rice pudding will be ready. And if you don’t like raisins in your rice pudding, skip this step.
Next, give your long grain rice a quick rinse in a colander. You don’t have to rinse until the water runs clear, just a few seconds under the faucet.
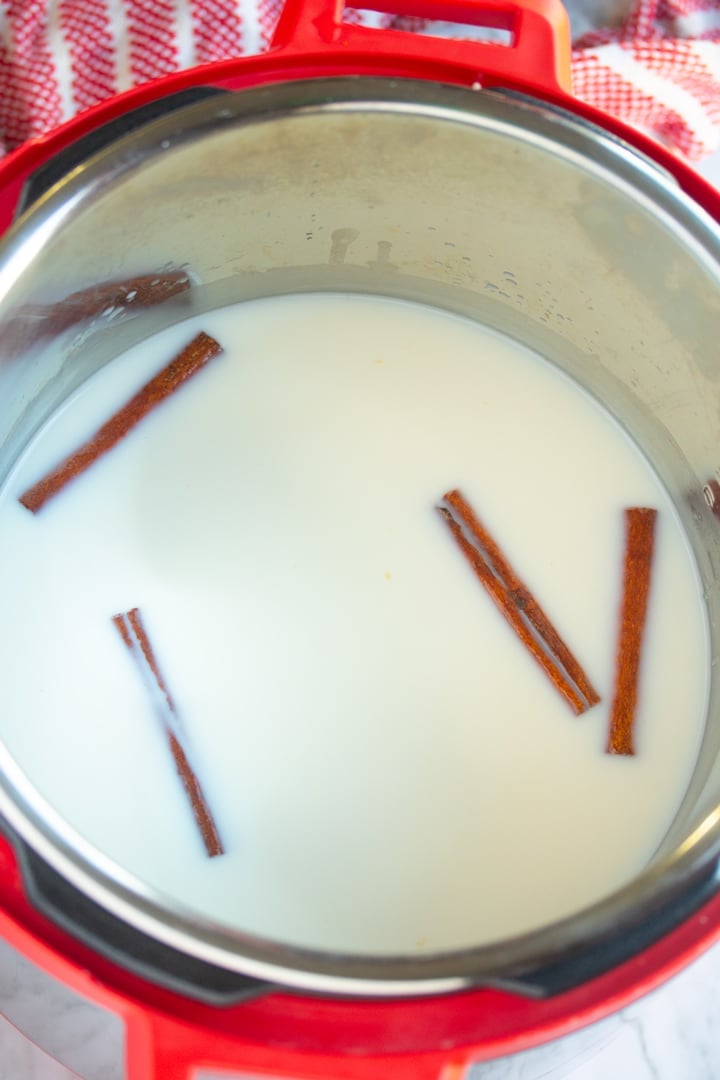
Pour long-grain rice, milk, water, and a pinch of salt into the pressure cooker insert and stir. Add cinnamon sticks and vanilla extract. Cover and cook on high pressure for 10 minutes.
It’ll take a few minutes for your machine to rise to pressure. Once your machine reaches pressure, your 10-minute timer will begin. Once the 10-minute timer goes off, allow the machine to release naturally. This will take about 20-25 minutes. When ready to open the lid, switch the valve from seal to venting to ensure all the pressure is released.
Once all the pressure has released, open the lid and remove the cinnamon sticks. Add in half a can of condensed milk. And stir. The rice pudding may appear watery but it will thicken once it cools a bit.
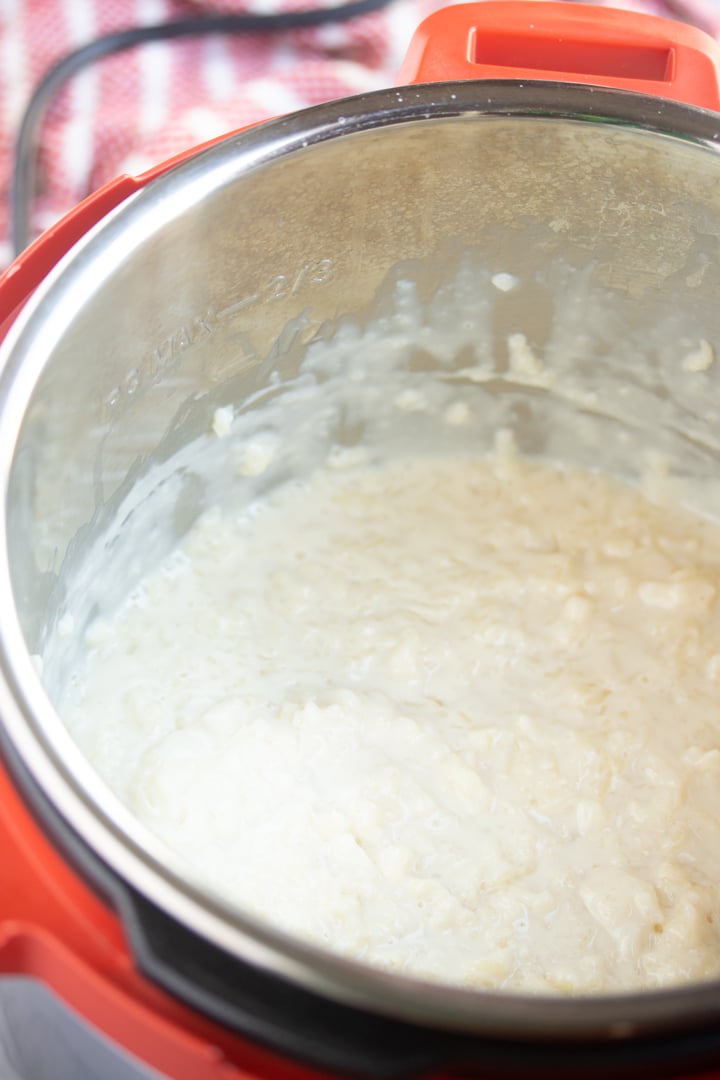
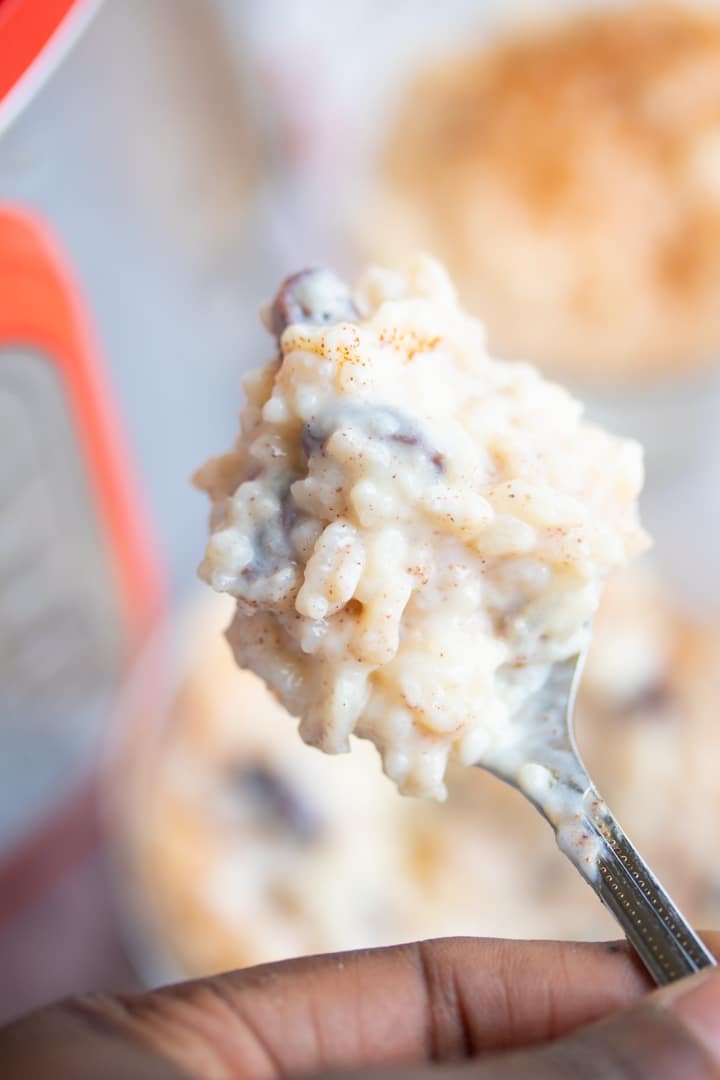
You can serve this rice pudding on its own, with raisins, or with a little cinnamon sprinkled over the top.
Tanya's Top Tips:
- This recipe works best with long grain rice. Short grain or middle grain kinds of rice can be used but the consistency will be more like a risotto.
- Your rice pudding will look watery when you open it. It will thicken up on its own. Do not try to sauté the mixture when you open the lid or you may end up scorching the bottom of your pressure cooker.
- The bourbon-soaked raisins are perfect for other uses too, like adding to vanilla ice cream. I store them in a separate glass store to use in multiple recipes. However, the taste of the bourbon gets stronger and stronger as they sit.
- Rice pudding can be eaten cold or warmed. I prefer warmed. To refrigerate, allow your rice pudding to cool to room temperature and then refrigerate. It can last in your fridge for 3-4 days. I've never frozen rice pudding.
I hope you enjoy this rice pudding recipe as much as we do.
Looking for more pressure cooker dessert recipes? Try these out:
- 30 Instant Pot Dessert Recipes
- Instant Pot Bread Pudding
- Instant Pot Carrot Cake Cheesecake
- Chocolate Cake Cake Bites
- Pressure Cooker Lemon Curd
Pressure Cooker Rice Pudding
Ingredients
- ½ cup long grain rice quickly rinsed
- 1 ½ cup water
- 1 ½ cup milk
- 4 cinnamon sticks
- 1 Tablespoon vanilla extract
- 1 pinch of salt
- 7 oz sweetened condensed milk
- ½ cup bourbon or hot water optional
- ½ cup raisins optional
Instructions
- Optional Step: Place raisins in a small bowl and pour bourbon or hot water over the raisins and set aside for an hour.
- Place rice, water, milk, and salt in pressure cooker insert and stir until combined. Place cinnamon sticks and vanilla extract into the pressure cooker. Cover and cook on high pressure for 10 minutes.
- Once the timer is up, allow the pressure cooker to naturally release.
- Once all the pressure is released, open the lid and stir in the condensed milk. Allow cooling for about 5 minutes. Serve with raisins or on its own. Serve warm or chilled.*
Suggested Tools
Video
Notes
- This recipe works best with long grain rice. Short grain or middle grain kinds of rice can be used but the consistency will be different.
- Your rice pudding will look watery when you open it. It will thicken up on its own. Do not try to sauté the mixture when you open the lid or you may end up scorching the bottom of your pressure cooker.
- Rice pudding can be eaten cold or warmed. To refrigerate, allow your rice pudding to cool to room temperature and then refrigerate. It can last in your fridge for 3-4 days.
Nutrition
This post was originally published on November 19, 2019 and has been updated with new information.



Amy says
This rice pudding is awesome! So easy and creamy! The raisins didn't soak up all the bourbon so I put some of it into the rice pudding at the end. I'll definitely be making this one again, especially because I have a half of a can of sweetened condensed milk in the freezer. (By the way, I calculated that a half can is equal to about 10 tablespoons or 1/2 cup plus 2 tablespoons.)
Tanya says
Thanks so much, Amy! So happy you like the recipe. And thank you for the calculation. 🙂
Conni says
Good morning Tanya,
Can this rice pudding be made without cinnamon sticks? If so when would you use regular cinnamon and how much?
Thanks so much,
Conni
Tanya says
Hi Conni, it can be. I'd add just a little, about 1/4 a teaspoon. Ground cinnamon will change the color of the pudding though.
sara says
can this be recipe doubled ?
Tanya says
Hi sara, I have not tried doubling it so I'm not sure how it would do in the pressure cooker.
Dom says
I doubled it and it turned out great! I didn't actually try a single batch to be able to say for sure it's the same, but I sure am pleased with the results.
Ann says
Hi:
I would love to try this but does the milk not “overflow” while under pressure?
Tanya says
Hi Ann, I didn't have that issue with this recipe. I actually use milk in my pressure cooker a good bit and it hasn't overflowed. I'd make sure to use a 6qt pressure cooker.
Ann says
@Tanya, thank you for this response. Now I simply MUST try this as I love Rice pudding. Also, what kind of milk do you use full cream or 2%.
Tanya says
Thanks Ann! I usually use 2% when I make this; it's what we usually have on hand. However, the last time I made it, I used full-fat milk and it worked just as fine.
Jim says
Excellent recipient! Easy and delicious. I soaked the raisins and the added them with all the other ingredients to cook. A pinch of nutmeg as well for a little flavour. Will definitely make this again!
Cheers!
Stan says
I checked out and tried some of the other Instant Pot Rice Pudding recipes (using condensed milk) on YouTube and you’re recipe is hands down the best!
I think using 3 cups of liquid per 1/2 cup of rice and only cooking for 10 minutes makes all the difference.
Tanya says
Thanks so much Stan! yea, it took me a couple of tries to get that water to rice ratio right lol. We ate a whole lotta rice pudding during this testing lol
Stevie says
How long does this usually take to thicken? You did say it would look watery but I'm a bit worried lol
Tanya says
Only about 5-10 minutes. It thickens even more when refrigerated.
Noelle says
So easy to make! Excited to make it again, even my kids enjoyed it!
Tanya says
How awesome! So glad they liked it 🙂
Katie says
So easy and delicious! Made this for the family and it was a hit.
Tanya says
Awesome! So glad they liked the recipe.
Sandy says
Hi Tanya
I just made this but it’s still very watery. I dye everything listed on your recipe. I’m questioning one thing; it doesn’t look like you are adding in 1 1/2 of water from the video. Can you plz tell me if I’m wrong. It shells great but it’s too watery. Thank you.
Tanya says
Hi Sandy, It's 1 1/2 cups. I used a large wine glass for the water in the video, which may be why it doesn't look like that amount. It will look watery when it first finishes. Adding the condensed milk will help thicken it. It'll also thicken while it cools... If it's still too watery, you can place it in the refrigerator and it'll thicken up even more.
Sandy says
Thank you so much for getting back to me. I think I went wrong when I didn’t let it natural release ; when it beeped I immediately opened it up I should have waited. I’ll be trying it again. One thing for sure the taste is great. I did salvage it by putting it on the stovetop and letting it thicken up and refrigerated it. My husband loved it. Thank you again.