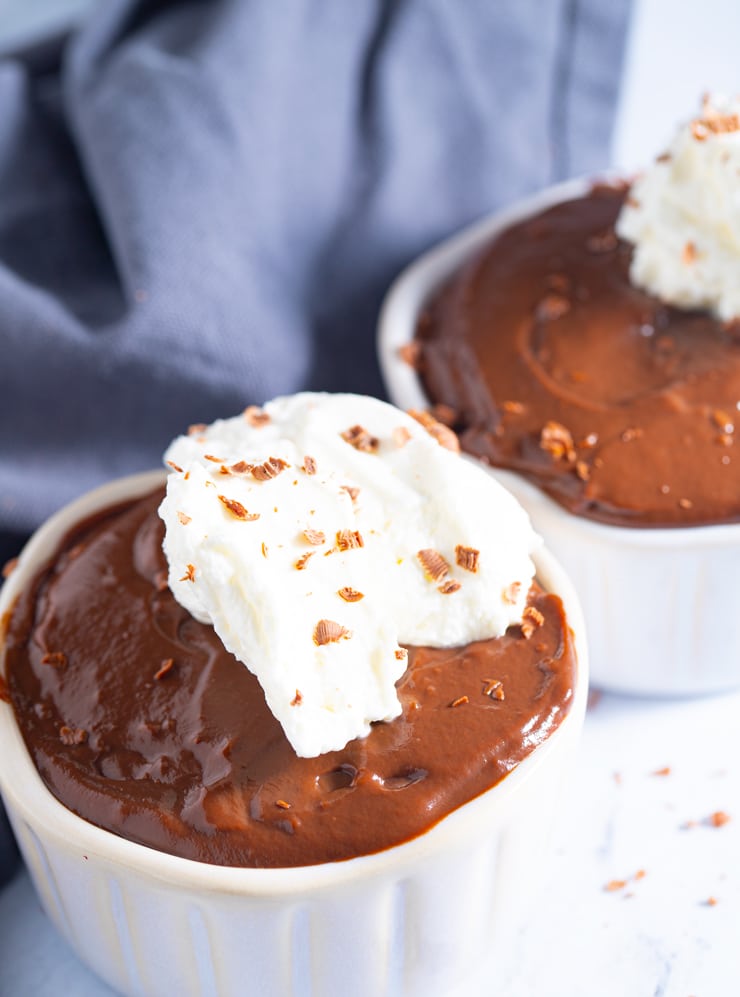
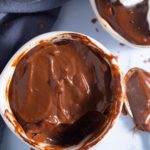
This easy Homemade Chocolate Pudding is quick and easy to make and ready to serve in 10 minutes. Made with just 4 main ingredients, it's fancy enough to serve to guests, but easy enough to make when you feel like a little treat!
This post contains affiliate links, please read my full disclaimer here.
Full Recipe Ingredients/Instructions are available in the
recipe card at the bottom of the post.
You can find important tips/tricks in the
blog post.
I love a good chocolate dessert and lucky for me, my family does too. Well except for my husband, he's not that into chocolate. Despite this, I still married him.
So this recipe is for all my chocolate lovers out there! This deliciously rich and creamy dessert is so easy to make on the stovetop and it's the perfect treat to serve after dinner. Wonderfully rich and creamy, it's a must have recipe!
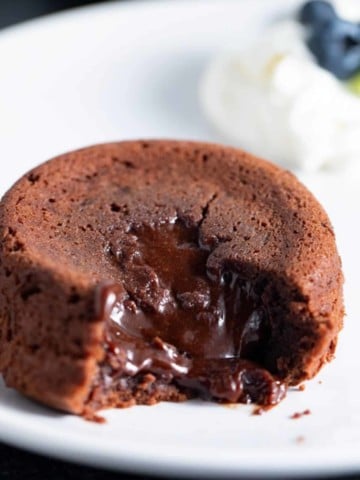
If you are a chocolate lover like me, be sure to check out my chocolate molten lava cakes and air fryer brownies. Treat yourself!
Chocolate Pudding Ingredients
You just need a few simple ingredients to make this yummy chocolate dessert!
- Cocoa powder
- Sugar
- Corn starch
- Salt
- Milk
How To Make Homemade Chocolate Pudding
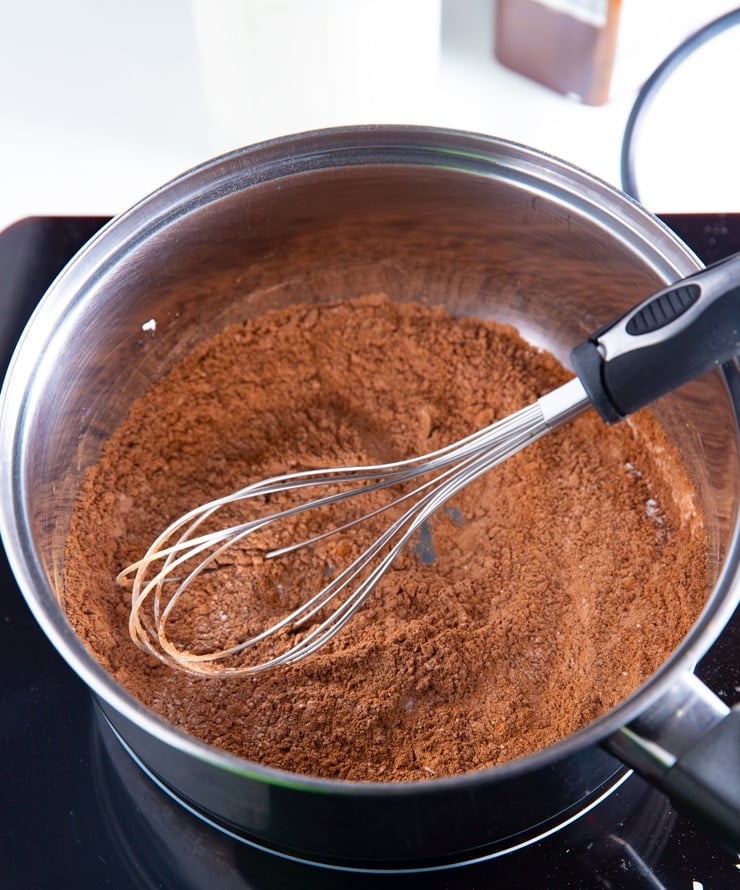
- Place a medium saucepan over medium-low heat. Add cocoa powder, sugar, and corn starch and whisk until thoroughly combined. You can add a pinch of salt at this time for amplifying the chocolate flavor a bit.
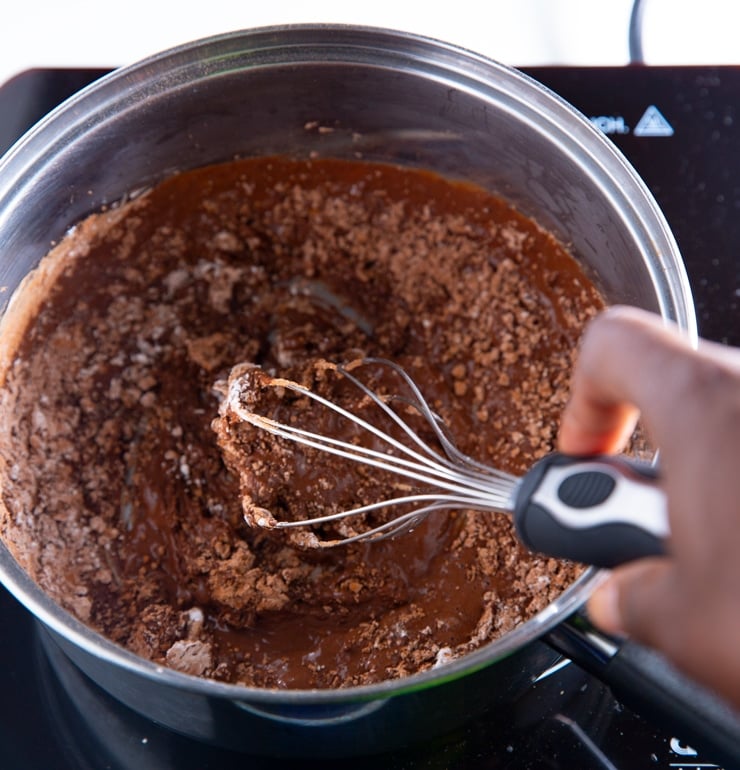
- Slowly whisk in milk, Pouring in about ½ of a cup at a time. Whisk until dissolved.
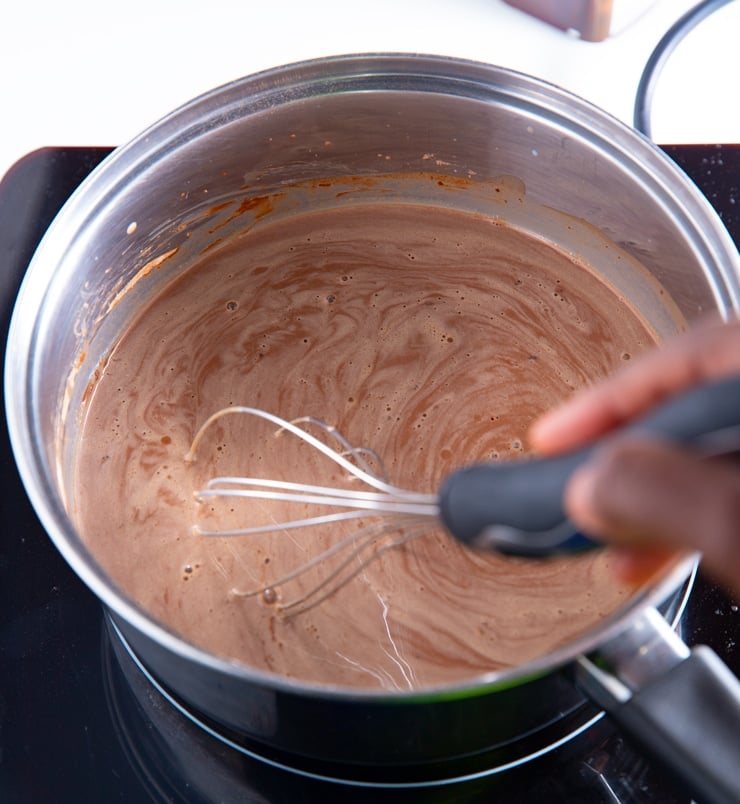
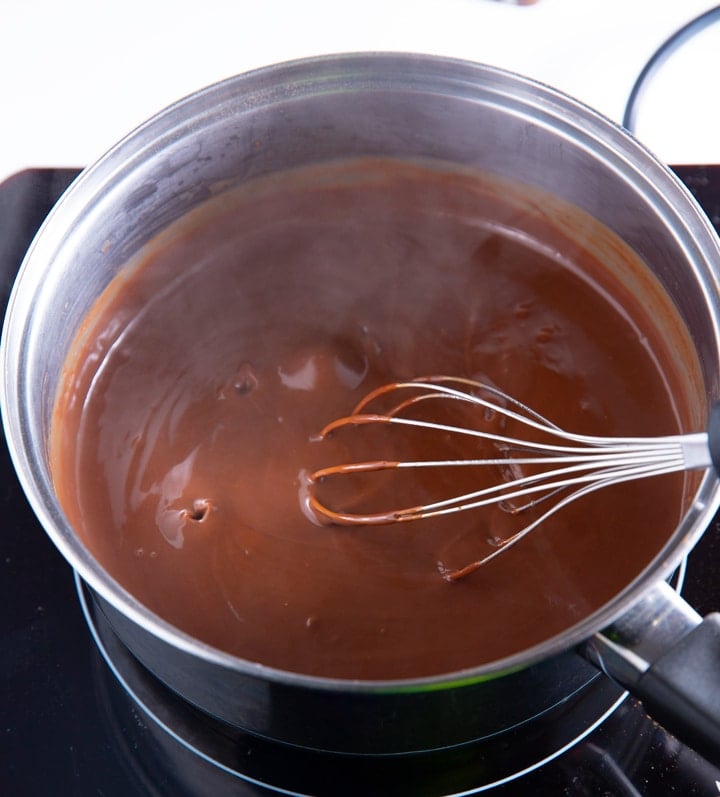
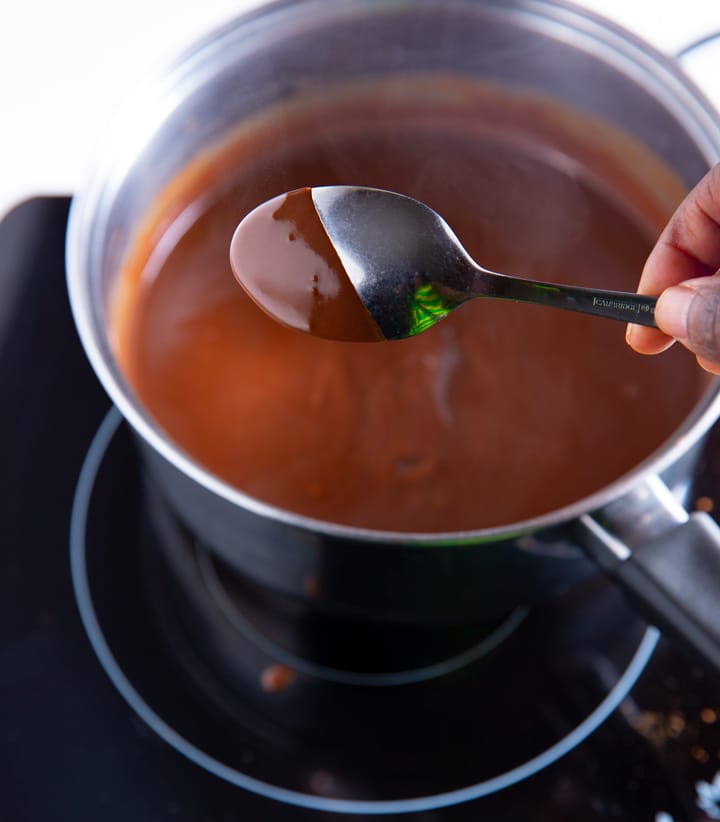
- Continue cooking over medium-low heat, whisking occasionally until the mixture has thickened and can coat the back of a metal spoon. This should take about 4-5 minutes.
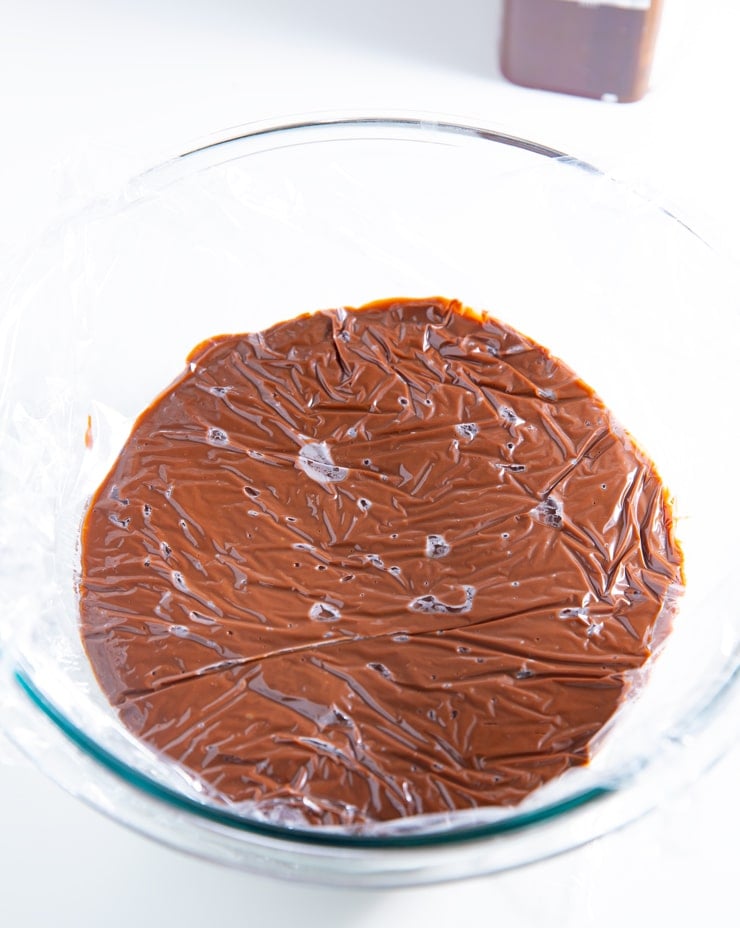
- Place the chocolate pudding in a bowl, cover with plastic wrap or parchment paper that touches the surface, and chill until serving in bowls with some whipped cream. This step avoids the pudding from getting a skin once the air touches it.
What's the best milk to use in this recipe?
I like to use 2% milk for this homemade chocolate pudding because it's what I always have on my fridge. Whole milk could also be used. It makes this dessert wonderfully thick and creamy. If you use a thinner milk, like 1% or nonfat, the pudding may be more thin and soupy. Non dairy milks are best to be avoided in this recipe as they don't thicken in the same way.
Can you make it ahead of time?
This chocolate pudding recipe is the perfect make ahead dessert. You can store it covered in the fridge for 5 to 7 days, making it a great treat to have on hand for whenever the chocolate craving strikes!
How do you serve it?
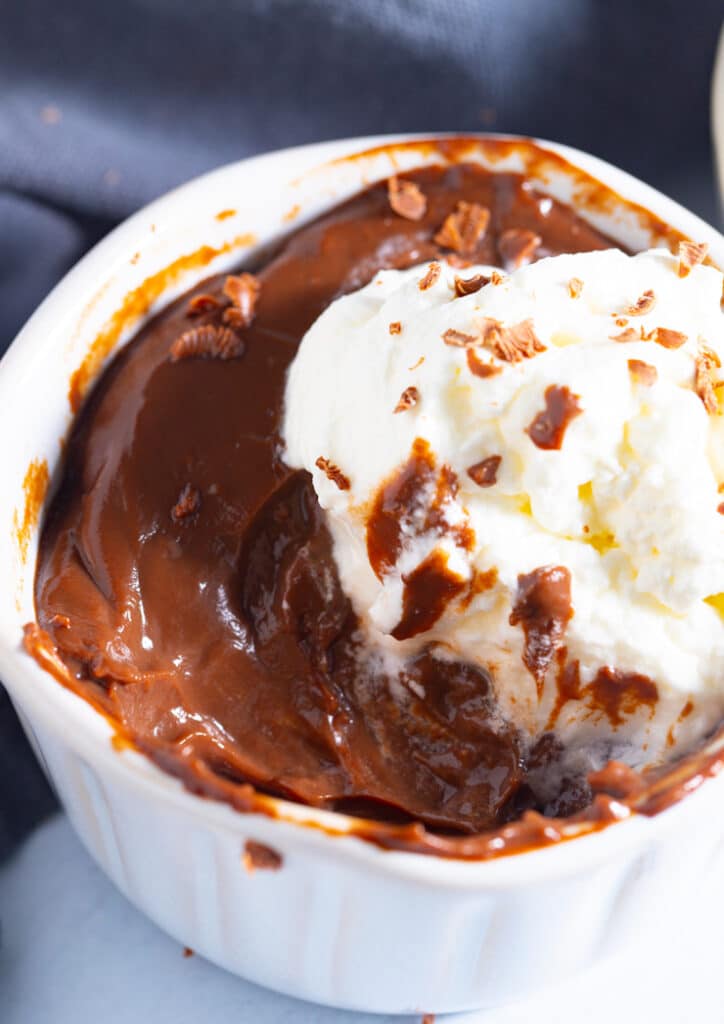
I like to serve this dessert in individual ramekins, a dollop of freshly whipped cream and some chocolate shavings. You can top it with all kinds of things like sprinkles, m&m's or crushed salted pretzels.
This pudding also works really well as a pie filling. Simply add it to a pre baked pie crust and chill before serving.
Recipe Notes and Tips
- To avoid a lumpy pudding, very slowly add the milk whilst whisking. Combine each ½ cup of milk before adding the next.
- Keep the heat medium low. If it is too hot it can scorch the pudding and it will taste burnt.
More Dessert Recipes
- Instant Pot Carrot Cake Cheesecake
- Chocolate Coca Cola Cake
- Southern Peach Cobbler
- Instant Pot Rice Pudding
- Insant Pot Chocolate Cake Bites
- Caribbean Rum Cake
Homemade Chocolate Pudding
Ingredients
- 6 Tablespoon cocoa powder
- ½ cup sugar
- ¼ cup corn starch
- Pinch of salt optional
- 2 ½ cups milk
Instructions
- Place a medium saucepan over medium low heat. Add cocoa powder, sugar, corn starch, and salt and whisk until thoroughly combined. Slowly whisk in milk, Pouring in about ½ of a cup at a time. Whisk until dissolved.
- Continue cooking over medium-low heat, whisking occasionally until the mixture has thickened and can coat the back of a metal spoon. This should take about 4-5 minutes.
- Pour the mixture into a bowl and cover with food safe plastic wrap or parchment paper. Cool on the counter for about 20 minutes, then chill in the refrigerator for 2-4 hours. Serve cold.
Suggested Tools
Video
Notes
- To avoid a lumpy pudding, very slowly add the milk whilst whisking. Combine each ½ cup of milk before adding the next.
- Keep the heat medium low. If it is too hot it can scorch the pudding and it will taste burnt.
- This pudding can be served warmed or chilled.

Deanna says
Mine didn't set...why would that be..
Tanya says
Hi Deanna, did your pudding not thicken? It shouldn't set like jello, it should just thicken from the cornstarch. If it is still to liquidy, it may be that it didn't cook long enough.
Carley says
My friend made this and I HAD TO get the recipe from her because this is the BEST chocolate pudding! I’m making it right now and I am using swerve confectioners sweetener and lactose free milk. Tastes good even with the sugar substitute (some things don’t taste as good with a sugar substitute).
Tanya says
Thanks so much, Carley! So happy you liked the recipe.
Jen says
Can you use a sugar substitute in this recipe? Like the swerve granular sugar? Thank you
Tanya says
Hi Jen, Swerve should work fine in the recipe as a replacement.
Jenn says
Made this a bit ago, super easy and seems like it will taste good ( I tried it when it was done). Thanks for the recipe!
Karen Williams says
I make very close to the same recipe in my microwave. First, I stir all ingredients together, then I cover the bowl with plastic wrap. I microwave for 1 - 1.5 minutes at a time, whisking in between microwaving until pudding thickens. It takes 6-7 minutes of microwave use. Watch it carefully toward the end of the cooking time and use a big enough bowl...or you might have to clean out your microwave. That's happened to me 2 times 🙁 Chill with plastic wrap placed directly on top of the pudding to avoid getting a "skin" on top of the pudding.
Tanya says
Thank you Karen 🙂 I didn't even think of making it in the microwave but that's a great idea.
Marie Moore says
Thank you for including nutrition labels with your recipes! I am on a very limited renal diet and have to limit sodium , potassium and phosphorus.